試した環境
- Max OSX 10.9.1
- Vagrant 1.5.0
Vagrant Shareとは
Vagnrat 1.5.0からリリースされた機能。
インターネット経由でローカルVagrant環境へ、HTTPやSSHでアクセスすることが可能となる。
(ローカルVagrant環境を、Vagrant Cloud上へ配置するものと思っていたが、そうではない。)
事前準備
- Vagrant 1.5.0のインストール
- Vagrant Cloudへのアカウント登録
HTTPによるShare
Vagrant環境上で起動したHTTPサーバへ、インターネット経由でアクセスする。
1.Vagrantfileを編集し、80ポートを適当なポートにFowardする。
config.vm.network "forwarded_port", guest: 80, host: 50000
2.vagrant upで起動し、Apache等のサーバをインストールし起動する。詳細は省略。
3.vagrant loginコマンドで、Vagrant Cloudで取得したアカウントでログインする。
$ vagrant login

In a moment we'll ask for your username and password to Vagrant Cloud.
After authenticating, we will store an access token locally. Your
login details will be transmitted over a secure connection, and are
never stored on disk locally.

If you don't have a Vagrant Cloud account, sign up at vagrantcloud.com

Username or Email: ymori
Password (will be hidden):
You're now logged in!
4.vagrant Shareコマンドを実行することで、Vagrant環境を共有するURLが生成される。
$ vagrant share
==> default: Detecting network information for machine...
    default: Local machine address: 127.0.0.1
    default:
    default: Note: With the local address (127.0.0.1), Vagrant Share can only
    default: share any ports you have forwarded. Assign an IP or addres to your
    default: machine to expose all TCP ports. Consult the documentation
    default: for your provider ('virtualbox') for more information.
    default:
    default: Local HTTP port: 50000
    default: Local HTTPS port: disabled
    default: Port: 50000
    default: Port: 2222
==> default: Checking authentication and authorization...
==> default: Creating Vagrant Share session...
    default: Share will be at: caring-polar-2527
==> default: Your Vagrant Share is running! Name: caring-polar-2527
==> default: URL: http://caring-polar-2527.vagrantshare.com
==> default:
==> default: You're sharing your Vagrant machine in "restricted" mode. This
==> default: means that only the ports listed above will be accessible by
==> default: other users (either via the web URL or using `vagrant connect`).
この場合だと、このURLが生成されたURLとなる。
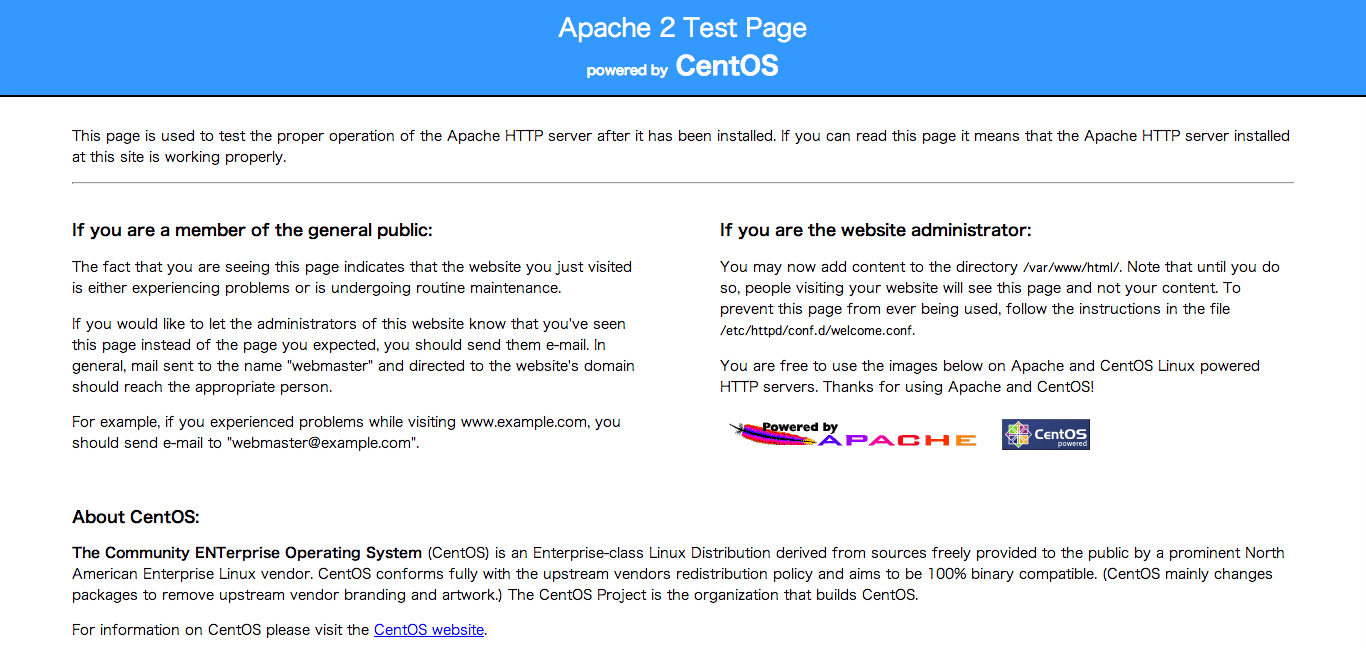
このURLへアクセスすると、Vagrant環境のApacheが表示される。
Vagrant Cloudへアクセスすると共有状態が見えるので、ここからでもURLが分かる。
5.Ctr + Cで共有を終了する。
エラーが出る場合は?
設定がうまく行っていないと、Vagrant Share実行時にこんなエラーがでる。
Vagrant was unable to detect an HTTP port for your machine.

Because your machine appears to have no static IP associated with
it, Vagrant scans through your forwarded ports, looking for one
that responds to an HTTP request. Vagrant couldn't find any
functioning HTTP port!
この場合は以下を見直す。
- HTTPサーバ実行されてない
- 80ポートのFowardがされていない
- iptablesなどのFWによって、HTTPサーバにアクセス出来ない
SSHによるShare
インターネット経由で、Vagrant環境へSSHでアクセスする。
1.vagrant shareコマンド実行時に、--sshオプションを付与する。
途中接続するためのパスワードを聞かれるので入力する。
$ vagrant share --ssh
==> default: Detecting network information for machine...
・・・
    default: Please enter a password to encrypt the key:
    default: Repeat the password to confirm:
    default: Inserting generated SSH key into machine...
==> default: Checking authentication and authorization...
==> default: Creating Vagrant Share session...
    default: Share will be at: verbose-reptile-8211
==> default: Your Vagrant Share is running! Name: verbose-reptile-8211
==> default:
・・
==> default: run `vagrant connect --ssh`. Please share this password with them
==> default: in some secure way.
「verbose-reptile-8211」が接続するための共有名となる。
2.vagrant connectコマンドを使用して、生成された共有名を入力するとSSHで接続できる。パスワードを聞かれるので、先ほどのパスワードを入れる。
$ vagrant connect --ssh verbose-reptile-8211
Loading share 'verbose-reptile-8211'...
The SSH key to connect to this share is encrypted. You will require
the password entered when creating to share to decrypt it. Verify you
access to this password before continuing.

Press enter to continue, or Ctrl-C to exit now.
Password for the private key:
Executing SSH...
Last login: Thu Mar 13 16:23:08 2014 from 10.0.2.2
Welcome to your Vagrant-built virtual machine.

[vagrant@localhost ~]$
インターネット経由なので少し遅い。

