本記事ではCSSにおけるFlexBoxの書き方をまとめていきたいと思います。
FlexBoxについて
FlexBox
…Webサイトの装飾を行うCSSにおいて、配置や方向、順序、サイズなどを柔軟に調整できるレイアウト方法。
横並びのレイアウトを作成が容易に行えます。
基本的な使用方法
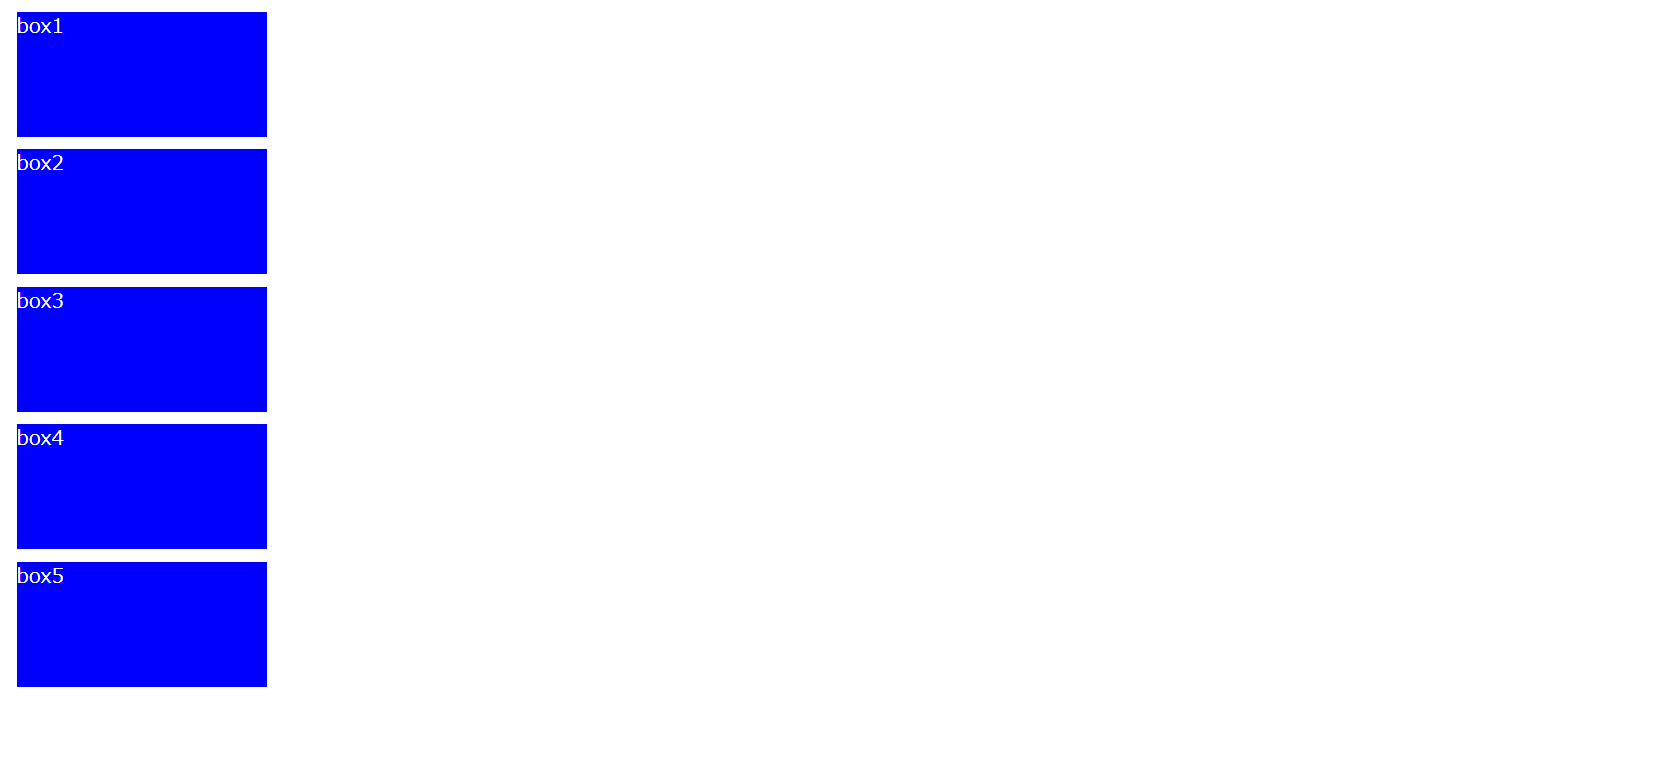
まず下記のようにdivで囲まれたboxを作成します。
<!DOCTYPE html>
<html lang="ja">
<head>
  <meta charset="UTF-8">
  <meta name="viewport" content="width=device-width, initial-scale=1.0">
  <title>フレックスボックスについて</title>
  <style>
    .box{
      background-color: blue;
      color: white;
      width: 200px;
      height: 100px;
      margin: 10px;
    }
  </style>
</head>
<body>
  <div class="example">
    <div class="box">box1</div>
    <div class="box">box2</div>
    <div class="box">box3</div>
    <div class="box">box4</div>
    <div class="box">box5</div>
  </div>
</body>
</html>
これらをFlexBoxを使用して横並びにします。
この場合各ボックスを囲っているdiv(クラス名example)に対してスタイルを適用します。
<style>
    /*追記*/
    .example{
      display: flex;
    }
    .box{
      background-color: blue;
      color: white;
      width: 200px;
      height: 100px;
      margin: 10px;
    }
  </style>
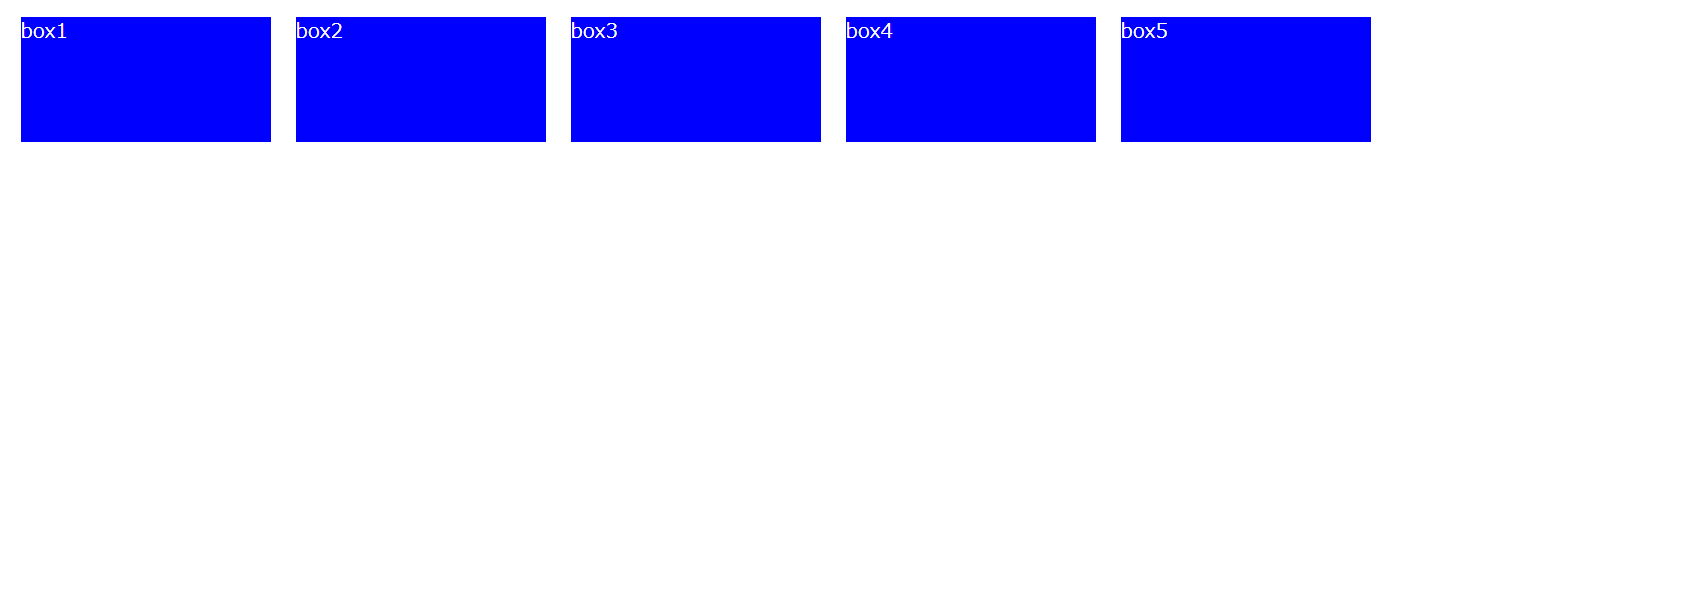
このように記述するだけで容易にボックスを横並びにすることができます。
flex-direction
…このプロパティを設定することで要素の並ぶ向きを指定できるようになります。向きには4種類あります。
・row(初期値)
…左から右に並べる。
・row-reverce
…右から左に並べる。
・colomn
…上から下に並べる。
・colomn-reverse
…下から上に並べる。
下記はそのソースコードの例と画面です。
【rowの例】
  <style>
    .example{
      display: flex;
      flex-direction: row;
    }
    .box{
      background-color: blue;
      color: white;
      font-size: x-large;
      width: 200px;
      height: 100px;
      margin: 10px;
    }
  </style>
rowは初期値であるため、画面に変化は有りませんが、左から右への並びでボックスが配置されています。
【row-reverseの例】
  <style>
    .example{
      display: flex;
      flex-direction: row-reverse;
    }
    .box{
      background-color: blue;
      color: white;
      font-size: x-large;
      width: 200px;
      height: 100px;
      margin: 10px;
    }
  </style>
【columnの例】
  <style>
    .example{
      display: flex;
      flex-direction: column;
    }
    .box{
      background-color: blue;
      color: white;
      font-size: x-large;
      width: 200px;
      height: 100px;
      margin: 10px;
    }
  </style>
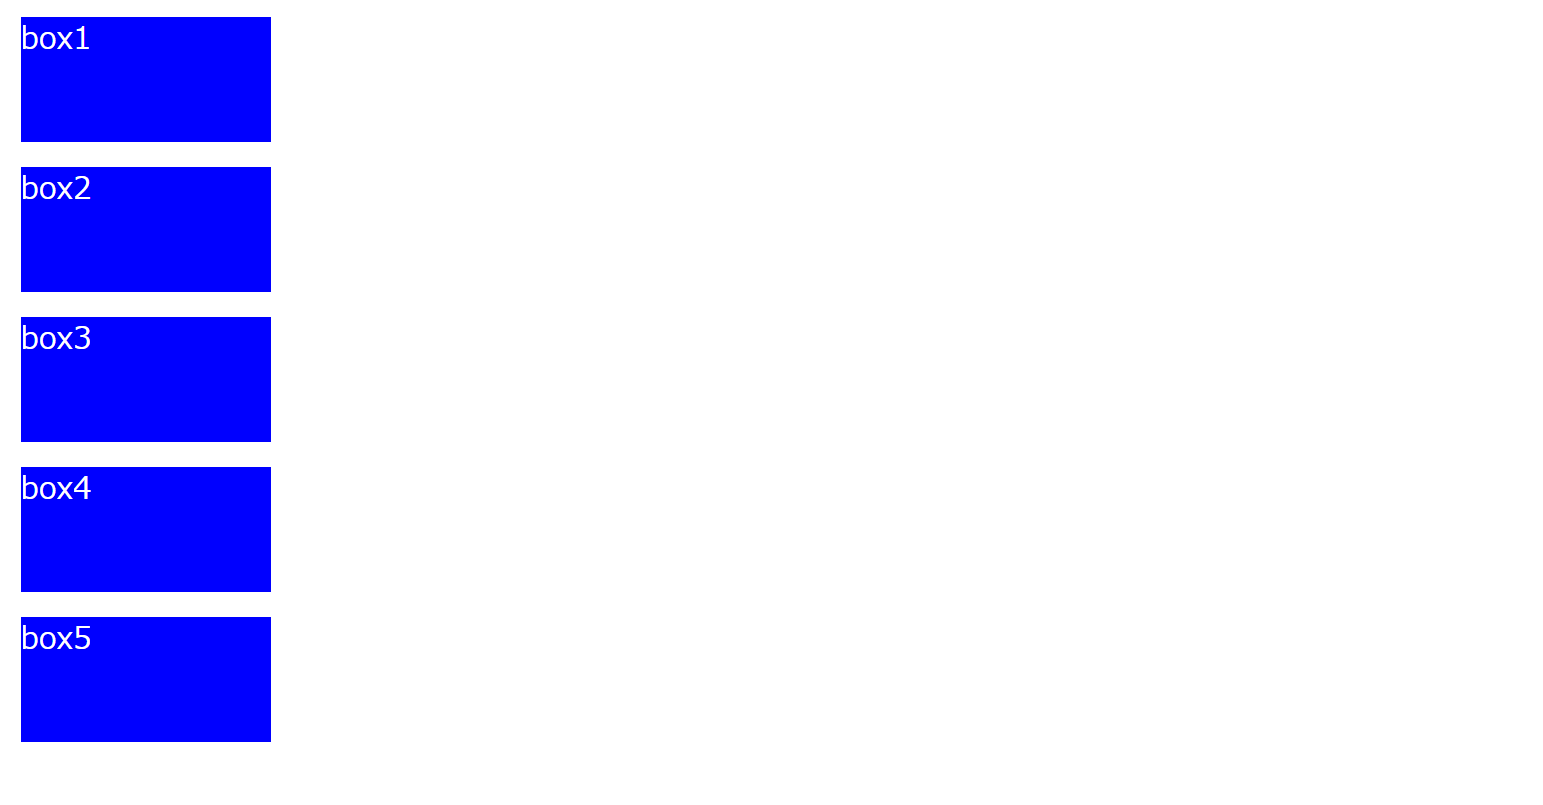
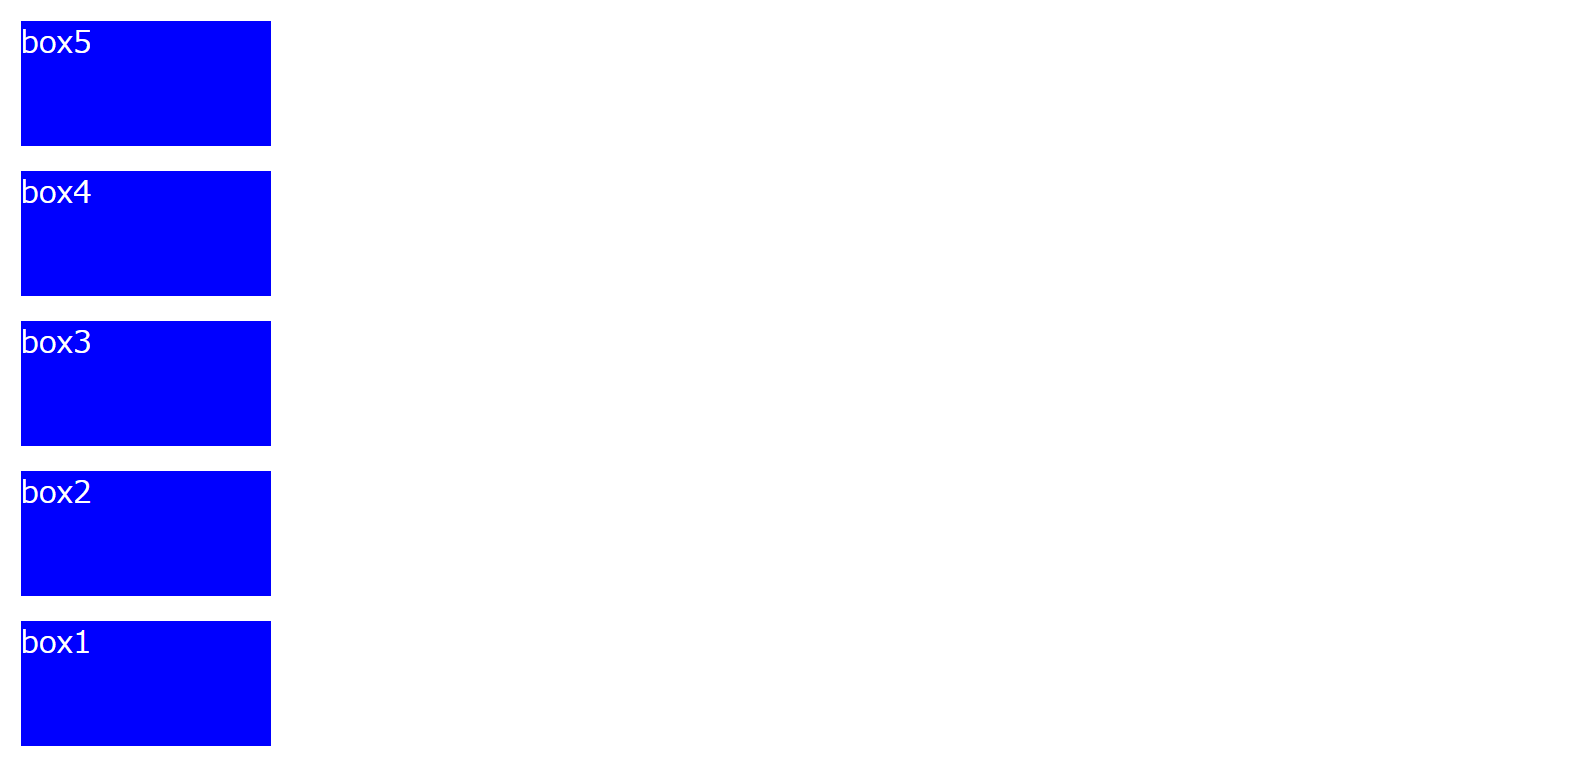
上から下への並びでボックスが配置されます。
【column-reverseの例】
  <style>
    .example{
      display: flex;
      flex-direction: column-reverse;
    }
    .box{
      background-color: blue;
      color: white;
      font-size: x-large;
      width: 200px;
      height: 100px;
      margin: 10px;
    }
  </style>
先ほどのcolumnとは逆向きに下から上へボックスが配置されます。
flex-wrap
…このプロパティを設定することで、画面の拡大縮小が行われた際に、要素を折り返し表示するか決めることができます。
・nowrap(初期値)
…画面が小さくなっても要素を折り返し表示しない。
・wrap
…画面が小さくなったら要素を上の段から下の段へ表示する。
・wrap-reverse
…画面が小さくなったら要素を下の段から上の段へ表示する。
ボックスを増やしてそれぞれのプロパティを設定したときの動きを見てみます。
【nowrapの例】
<!DOCTYPE html>
<html lang="ja">
  <head>
    <meta charset="UTF-8">
    <meta name="viewport" content="width=device-width, initial-scale=1.0">
    <title>フレックスボックスについて</title>
    <style>
      .example {
        display: flex;
        flex-wrap: nowrap;
      }
      .box {
        background-color: blue;
        color: white;
        font-size: x-large;
        width: 200px;
        height: 100px;
        margin: 10px;
      }
    </style>
  </head>
  <body>
    <div class="example">
      <div class="box">box1</div>
      <div class="box">box2</div>
      <div class="box">box3</div>
      <div class="box">box4</div>
      <div class="box">box5</div>
      <div class="box">box6</div>
      <div class="box">box7</div>
      <div class="box">box8</div>
      <div class="box">box9</div>
      <div class="box">box10</div>
    </div>
  </body>
</html>
通常時はすべて一列で並んでいるのが確認できますが、画面を小さくすると要素が見切れて一部表示されません。
【wrapの例】
    <style>
     .example {
       display: flex;
       flex-wrap: wrap;
     }

     .box {
       background-color: blue;
       color: white;
       font-size: x-large;
       width: 200px;
       height: 100px;
       margin: 10px;
     }
   </style>
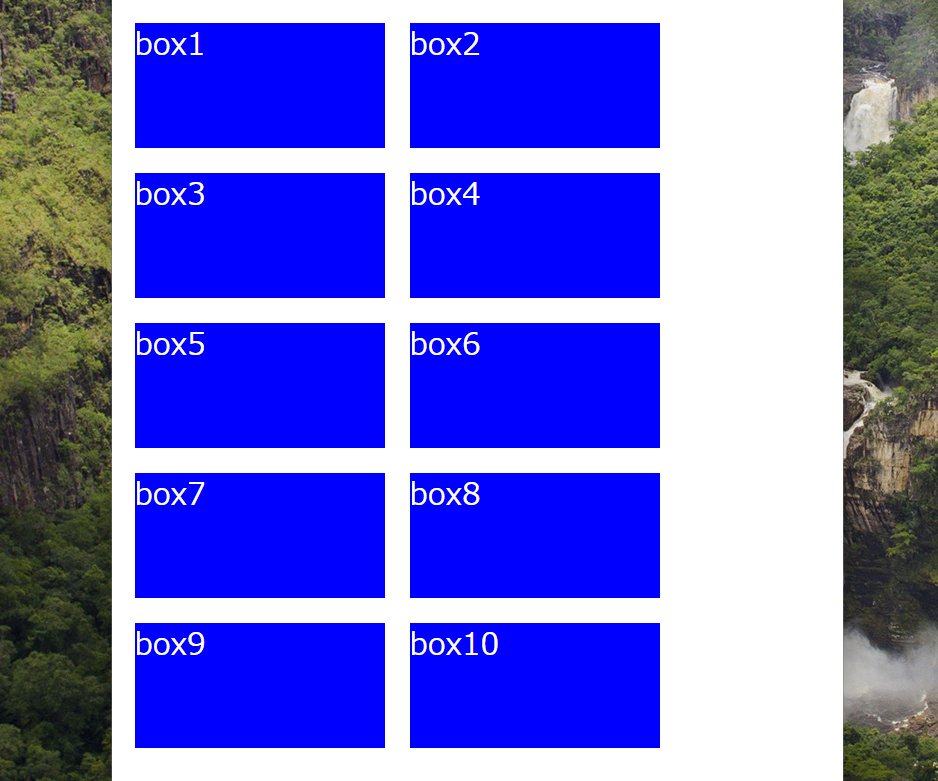
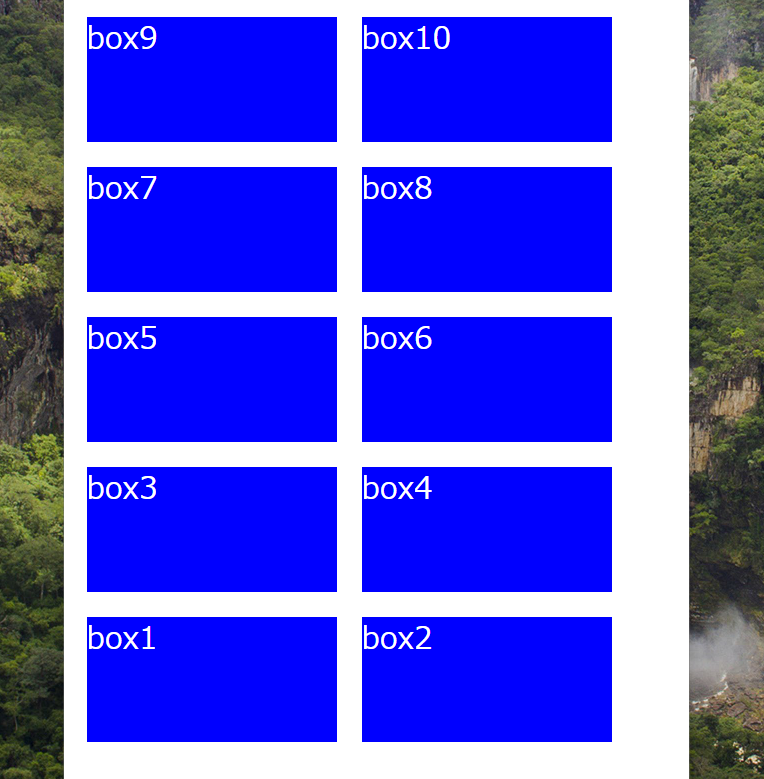
画面からはみ出そうになると下に要素が移動し、折り返し表示されます。
画面の横幅を縮小すると、下の画像のようにすべての要素が折り返して表示されます。
【wrap-reverseの例】
    <style>
      .example {
        display: flex;
        flex-wrap: wrap-reverse;
      }

      .box {
        background-color: blue;
        color: white;
        font-size: x-large;
        width: 200px;
        height: 100px;
        margin: 10px;
      }
    </style>
画面からはみ出そうになると下に要素が移動し、折り返し表示されます。
画面の横幅を縮小すると、下の画像のようにすべての要素が逆に折り返して表示されます。
justify-content
…子要素の水平方向での配置を指定することができます。
(文字の左揃えや中央揃えと似た概念です。)
・flex-start(初期値)
…要素を左揃えにします。
・flex-end
…要素を右揃えにします。
・center
…要素を中央揃えにします。
・space-between
…両端の要素を画面のはしっこに配置し、残りの要素を均等に配置します。
・space-around
…要素を均等に配置します。両端に要素の半分の大きさの空白ができるように並べます。
・space-evenly
…コンテナの両端にも要素の間隔と同じだけの空白ができるように並べます。
これらは説明だけでは理解が難しいので、ボックスを減らしてそれぞれのプロパティを設定したときの動きを見てみます。
【flex-startの例】
    <style>
      .example {
        display: flex;
        justify-content: flex-start;
      }

      .box {
        background-color: blue;
        color: white;
        font-size: x-large;
        width: 200px;
        height: 100px;
        margin: 10px;
      }
    </style>
ボックスが左揃えになります。(初期値が左揃えなので絵的には特段変化は有りません)

【flex-endの例】
    <style>
      .example {
        display: flex;
        justify-content: flex-end;
      }

      .box {
        background-color: blue;
        color: white;
        font-size: x-large;
        width: 200px;
        height: 100px;
        margin: 10px;
      }
    </style>
【centerの例】
    <style>
      .example {
        display: flex;
        justify-content: center;
      }

      .box {
        background-color: blue;
        color: white;
        font-size: x-large;
        width: 200px;
        height: 100px;
        margin: 10px;
      }
    </style>
ボックスが中央揃えになります。
【space-betweenの例】
    <style>
      .example {
        display: flex;
        justify-content: space-between;
      }

      .box {
        background-color: blue;
        color: white;
        font-size: x-large;
        width: 200px;
        height: 100px;
        margin: 10px;
      }
    </style>
両端のボックスが画面はじに配置され、他ボックスが等間隔に並べられます。

【space-aroundの例】
    <style>
      .example {
        display: flex;
        justify-content: space-around;
      }

      .box {
        background-color: blue;
        color: white;
        font-size: x-large;
        width: 200px;
        height: 100px;
        margin: 10px;
      }
    </style>
各ボックスに均等なスペースが配置されます。
両端のボックスの外側のスペースは、ボックス間で設定されているスペースの半分です。

【space-evenlyの例】
    <style>
      .example {
        display: flex;
        justify-content: space-evenry;
      }

      .box {
        background-color: blue;
        color: white;
        font-size: x-large;
        width: 200px;
        height: 100px;
        margin: 10px;
      }
    </style>
各ボックスに均等なスペースが配置されます。
両端のボックスの外側のスペースは、ボックス間で設定されているスペースと同じです。

aline-items
…親要素に空きスペースがあった場合、子要素を垂直方向のどの位置に配置するかを指定することができます。
・strech(初期値)
…親要素の高さや中身が一番多い子要素の高さに合わせて要素の高さが広がります。
・flex-start
…要素の高さ内で上揃えになります。
・flex-end
…要素の高さ内で下揃えになります。
・center
…親要素の高さ内で中央揃えになります。
・baseline
…子要素のベースラインで揃えます。
こちらも説明だけでは理解が難しいので、それぞれのプロパティを設定したときの動きを見てみます。
【strechの例】
    <style>
      .example {
        display: flex;
        height: 50vh;
        align-items: stretch;
      }

      .box {
        background-color: blue;
        color: white;
        font-size: x-large;
        width: 200px;
        margin: 10px;
      }
    </style>
指定していたボックス要素のheightプロパティを削除し、親要素側で50vhを(画面の50%を親要素が占めるように)設定します。
すると下記のように親要素の大きさに合わせてボックスの高さも長くなりました。
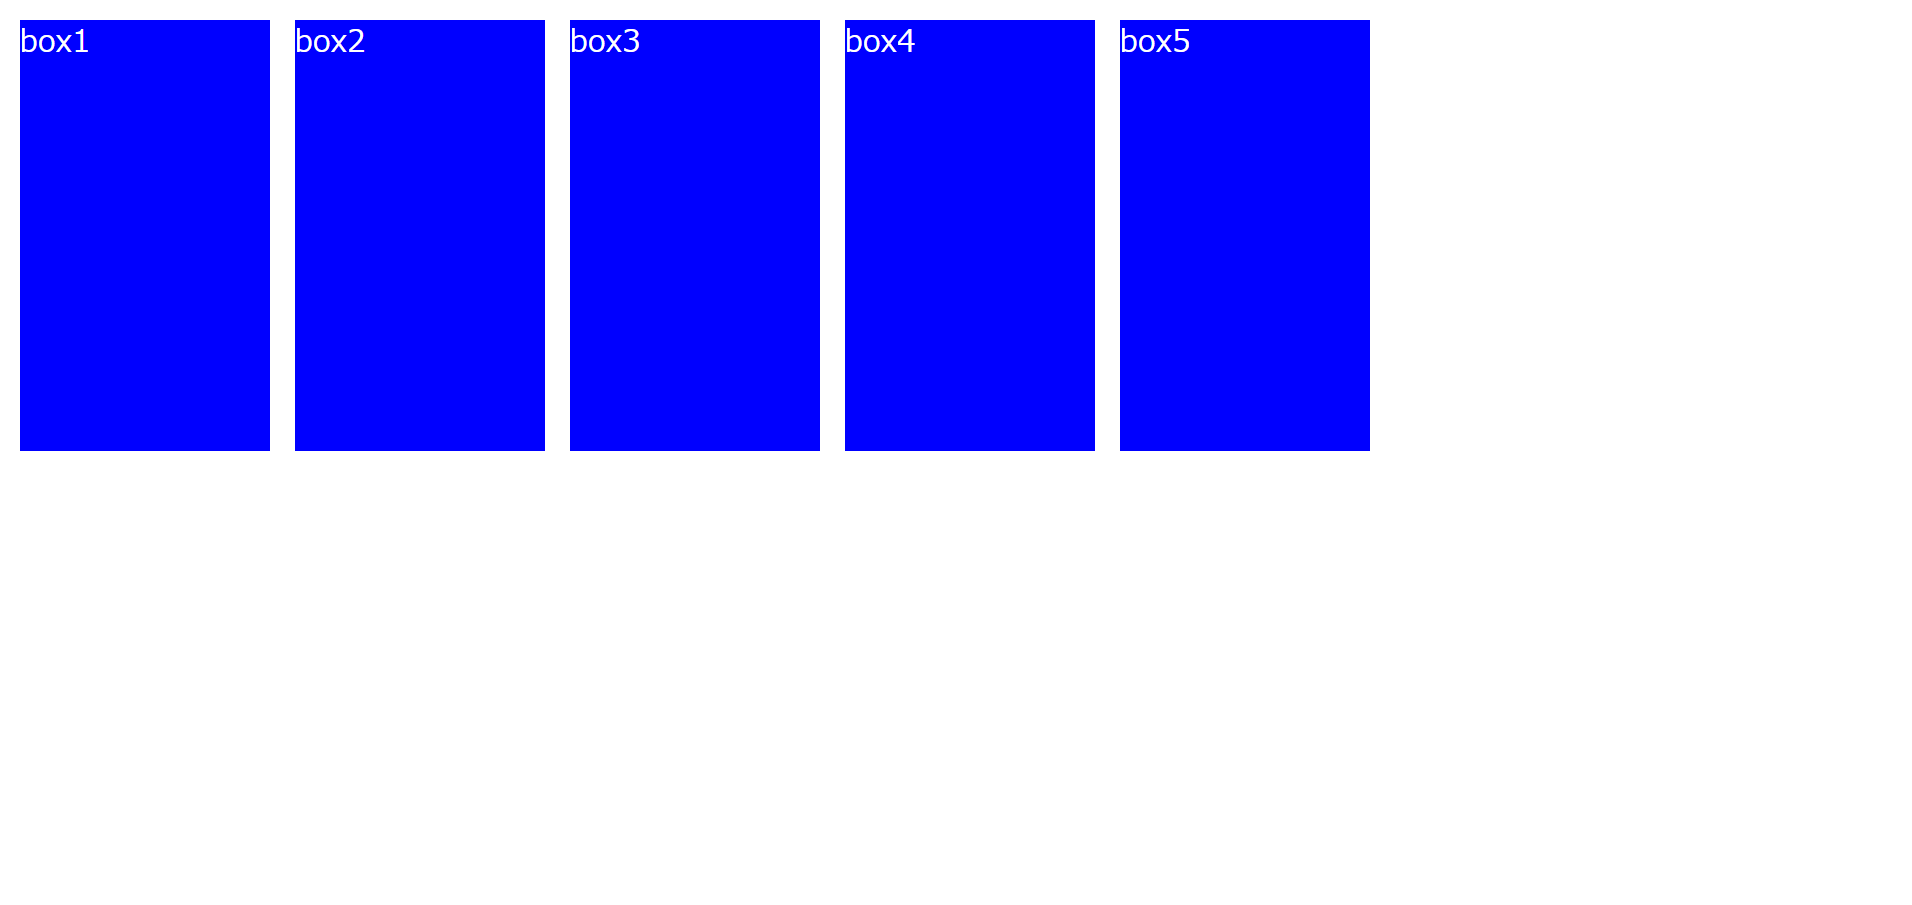
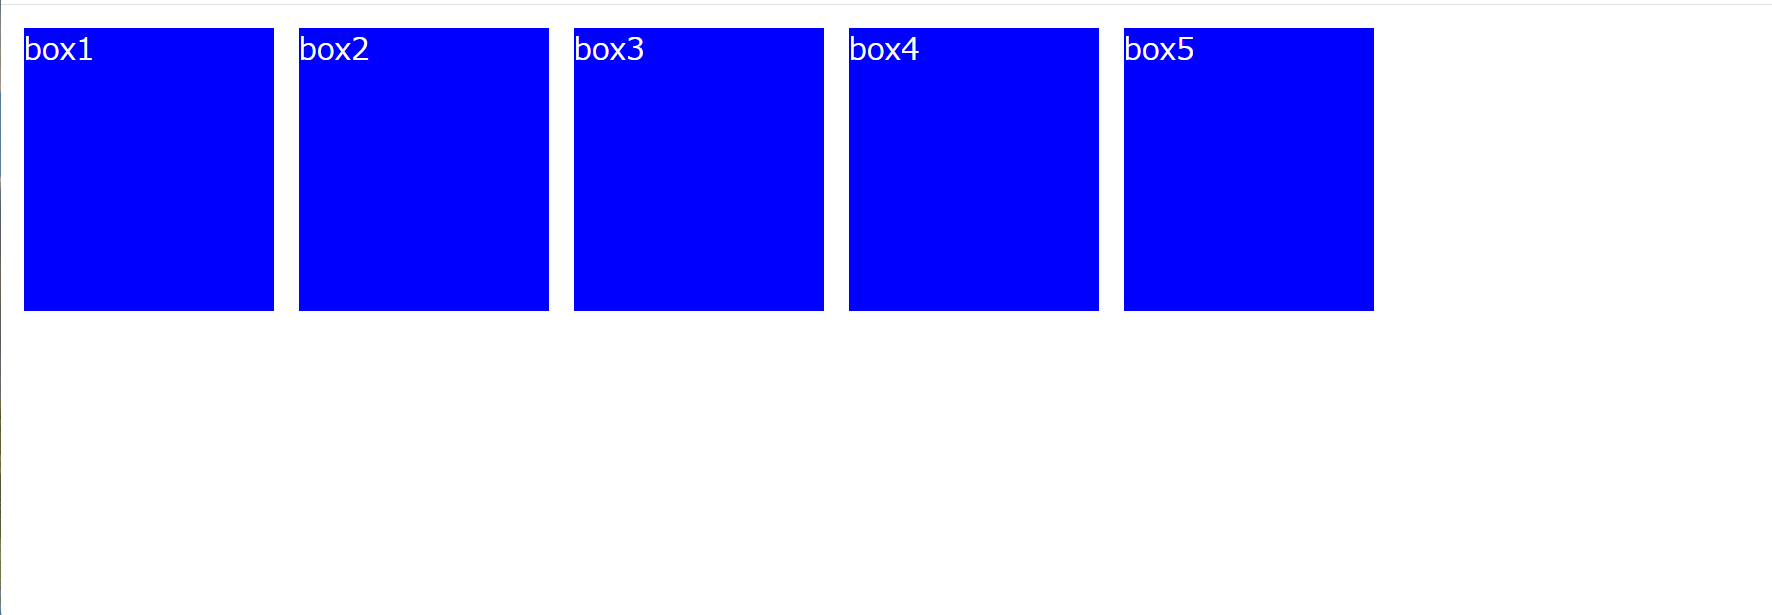
画面を縮めると、親要素の高さに合わせているので、子要素の高さも一緒に縮みます。
【flex-startの例】
    <style>
      .example {
        display: flex;
        height: 50vh;
        align-items: flex-start;
      }

      .box {
        background-color: blue;
        color: white;
        font-size: x-large;
        width: 200px;
        margin: 10px;
      }
    </style>
【flex-endの例】
    <style>
      .example {
        display: flex;
        height: 50vh;
        align-items: flex-end;
      }

      .box {
        background-color: blue;
        color: white;
        font-size: x-large;
        width: 200px;
        margin: 10px;
      }
    </style>
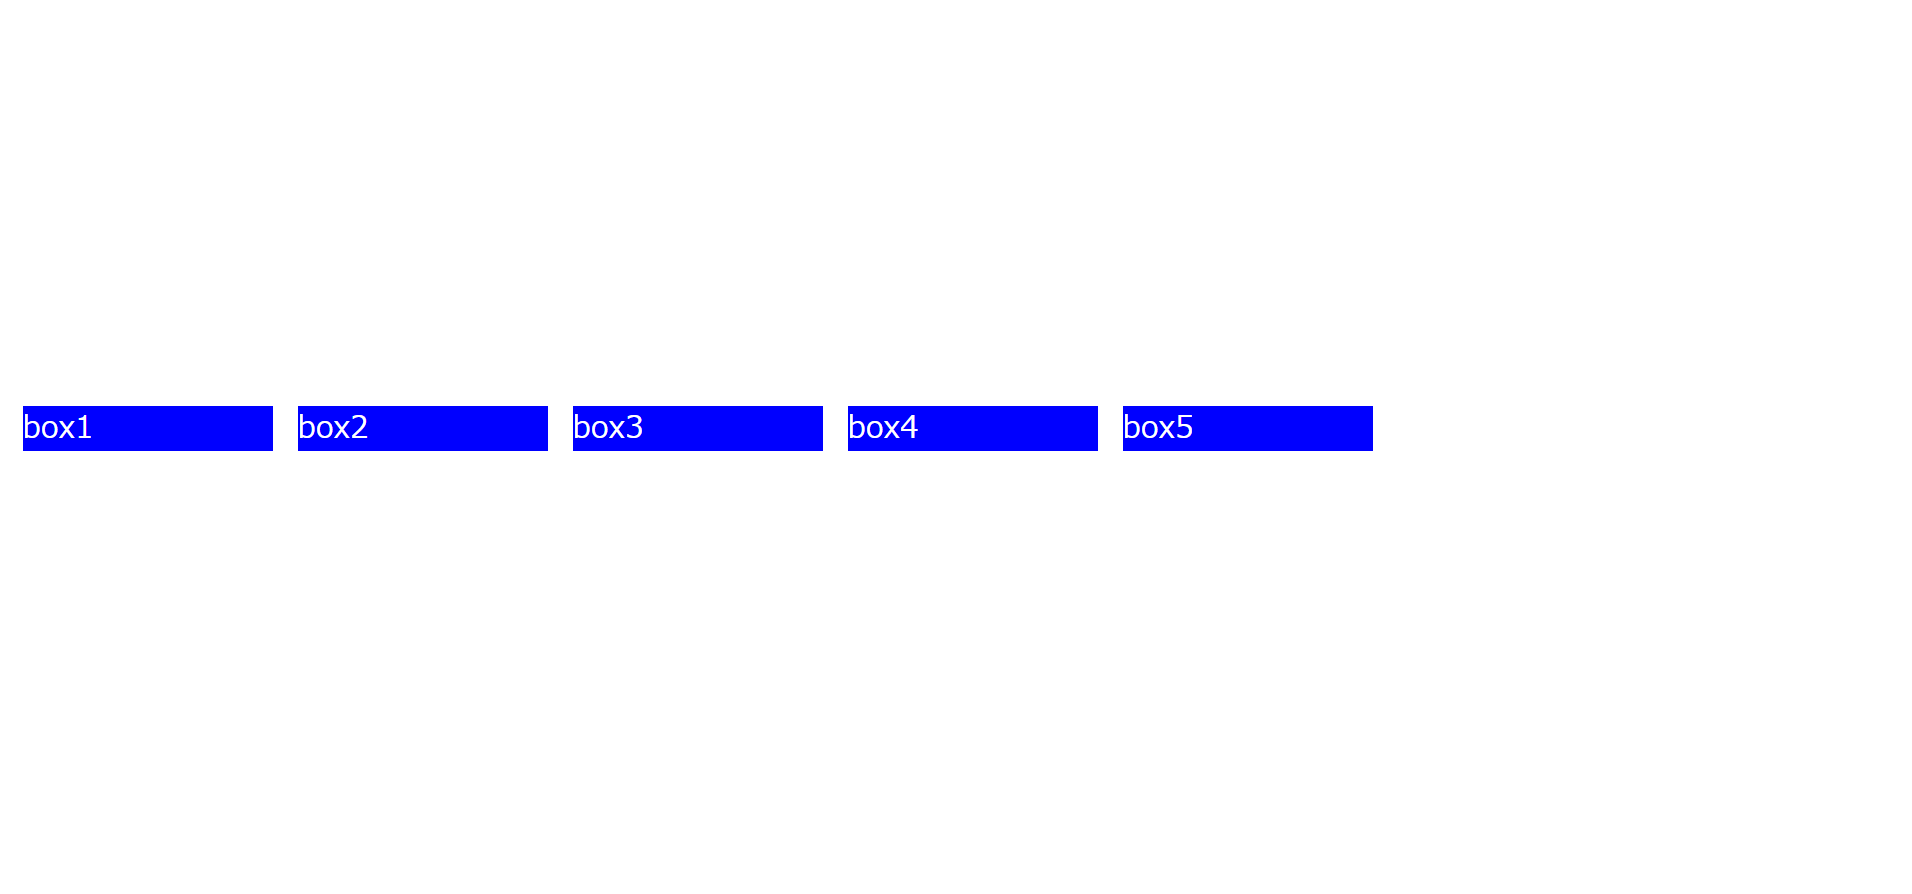
今回の例では親要素が画面の半分(50vh)の高さに設定されており、その要素の下に揃えて子要素が配置されます。
【centerの例】
    <style>
      .example {
        display: flex;
        height: 50vh;
        align-items: center;
      }

      .box {
        background-color: blue;
        color: white;
        font-size: x-large;
        width: 200px;
        margin: 10px;
      }
    </style>
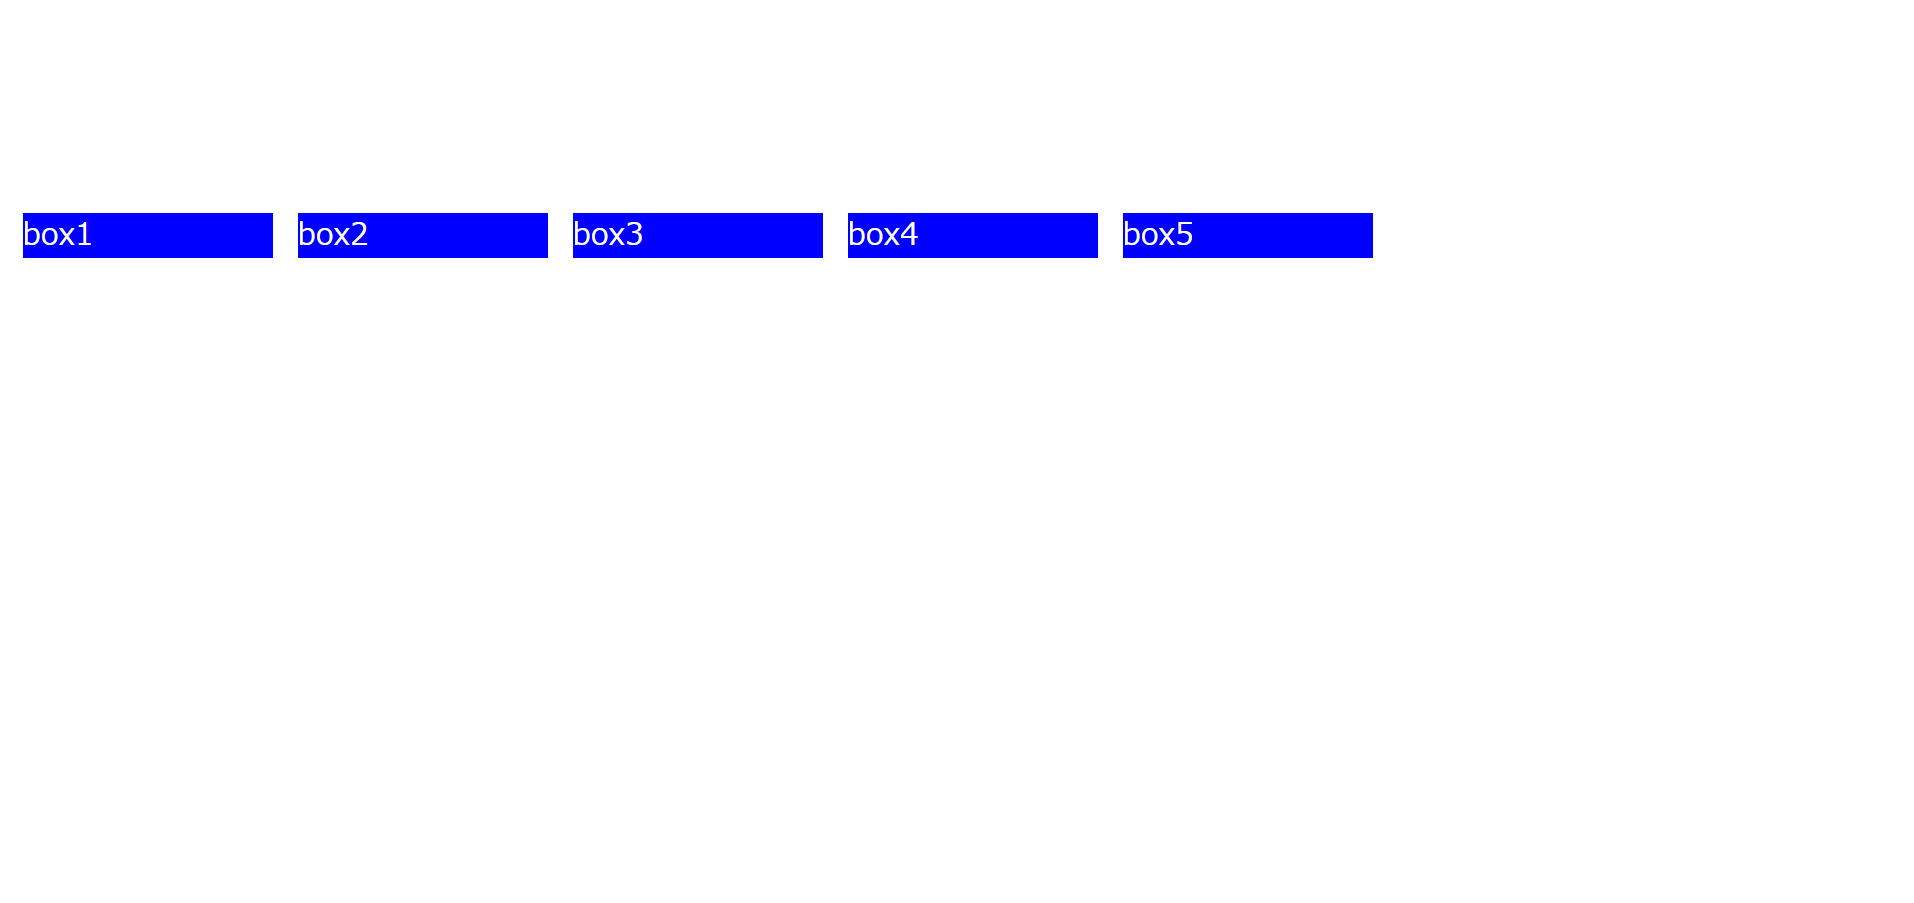
今回の例では親要素が画面の半分(50vh)の高さに設定されており、その要素の中央に揃えて子要素が配置されます。
【baselineの例】
<!DOCTYPE html>
<html lang="ja">

  <head>
    <meta charset="UTF-8">
    <meta name="viewport" content="width=device-width, initial-scale=1.0">
    <title>フレックスボックスについて</title>
    <style>
      .example {
        display: flex;
      }

      .box {
        background-color: blue;
        color: white;
        font-size: x-large;
        width: 200px;
        margin: 10px;
      }

      .base{
        font-size: xx-large;
      }
    </style>
  </head>

  <body>
    <div class="example">
      <div class="box base">box1</div>
      <div class="box">box2</div>
      <div class="box base">box3</div>
      <div class="box">box4</div>
      <div class="box base">box5</div>
    </div>
  </body>

</html>
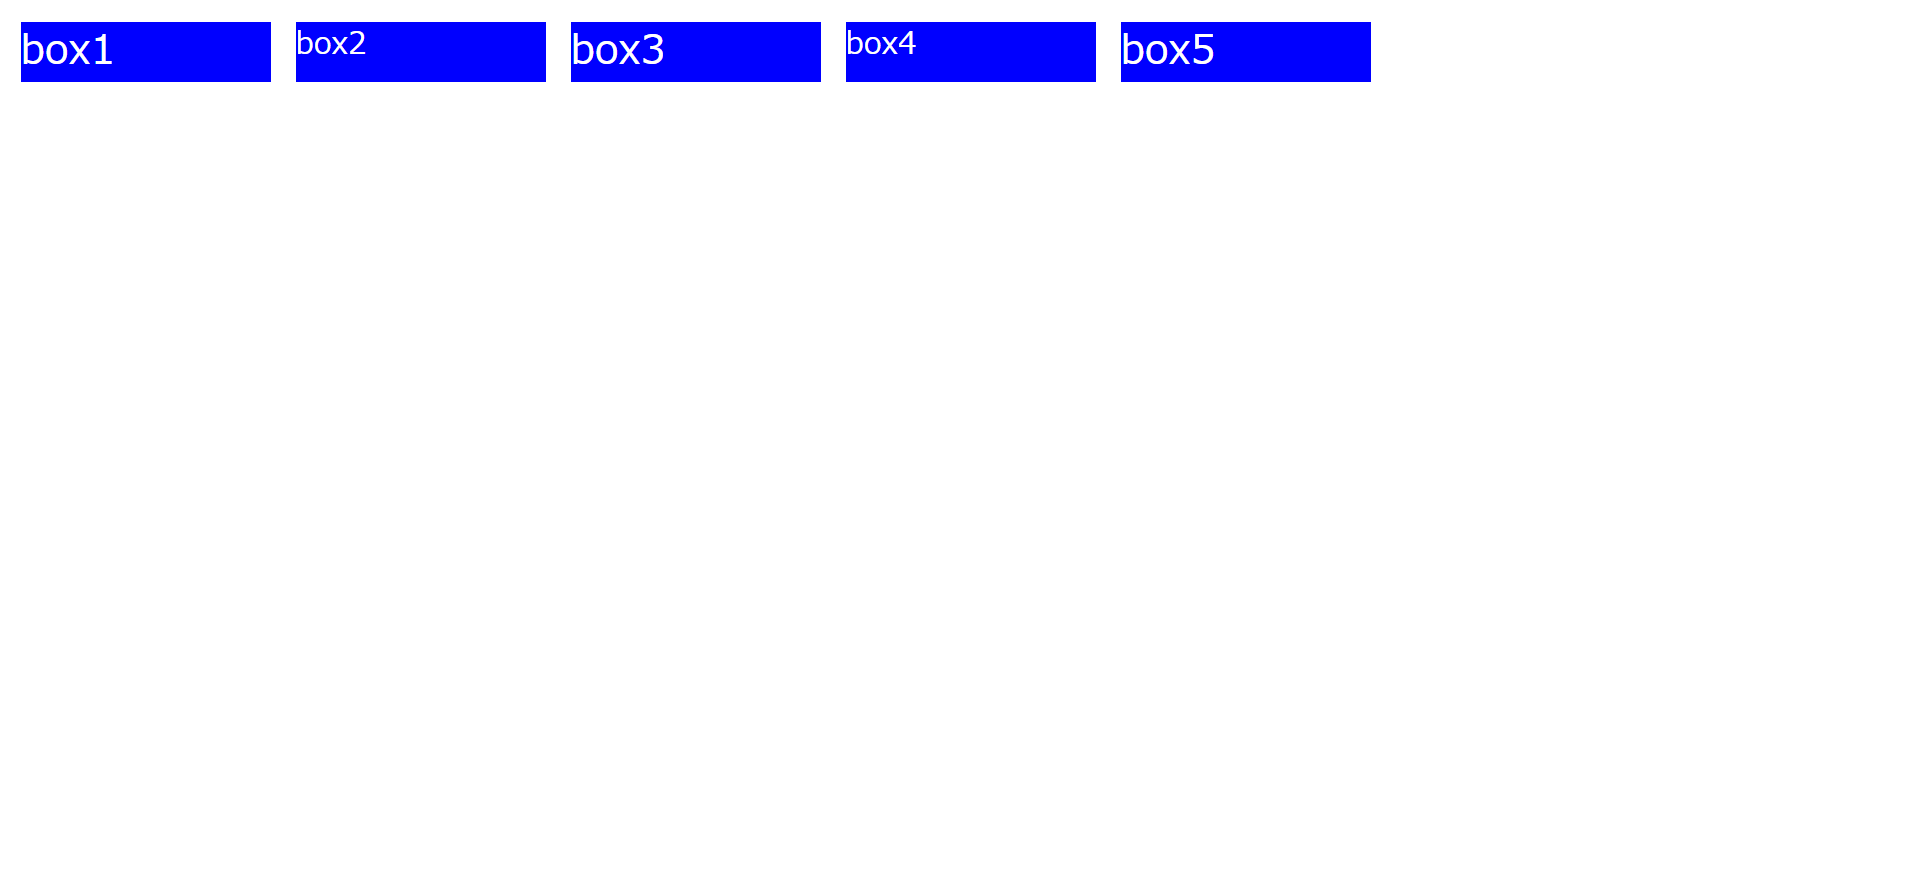
まず一部のボックスのフォントサイズを変更し、下記画像のような状態にします。
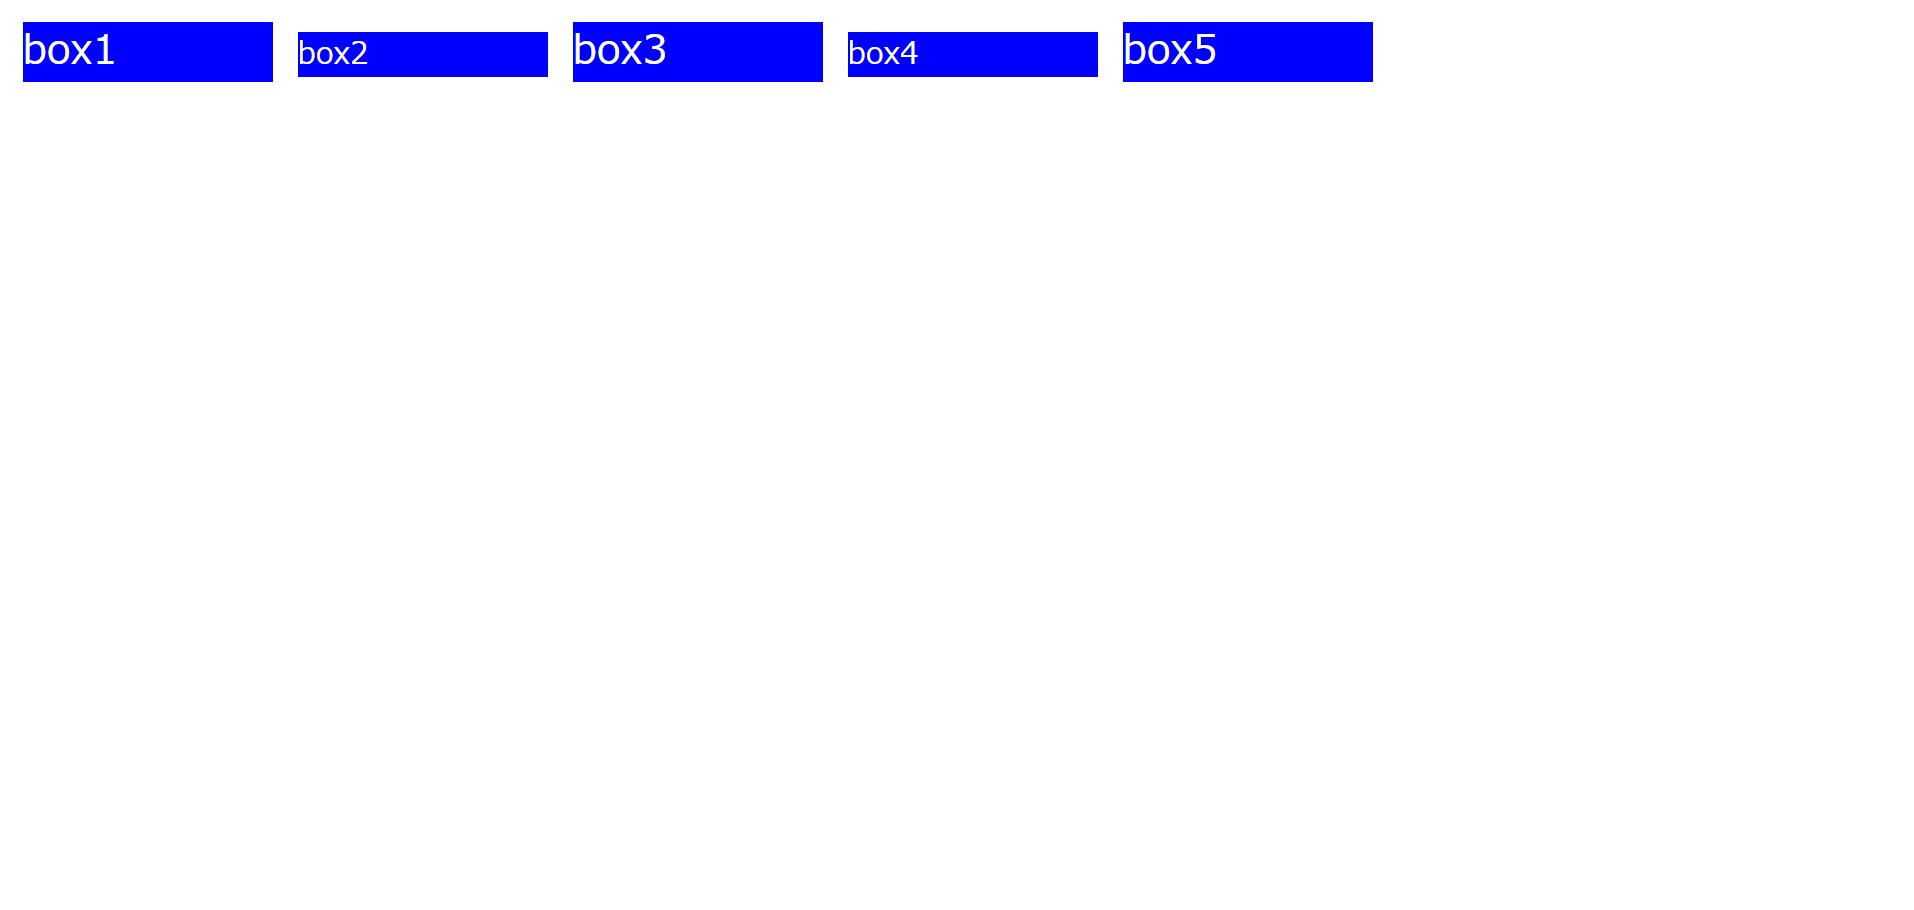
この状態からstyleタグ内に「align-items: baseline;」を追記します。
    <style>
      .example {
        display: flex;
        align-items: baseline;
      }

      .box {
        background-color: blue;
        color: white;
        font-size: x-large;
        width: 200px;
        margin: 10px;
      }

      .base{
        font-size: xx-large;
      }
    </style>
すると、少しわかりづらいかもしれませんが、先ほどの画像と比較して、
フォントサイズが異なる要素でも文字の下部分が揃えられています。
aline-content
…親要素に空きがあり、子要素が複数行にわたって配置された場合を垂直方向に設定することができます。
(複数行になっている場合のみであるためnowrapで折り返し表示されないように設定されている場合以外で使用できます。)
・strech(初期値)
…親要素の高さに合わせます。
・flex-start
…親要素の高さ内で上ぞろえに設定します。
・flex-end
…親要素の高さ内で下ぞろえに設定します。
・center
…親要素の高さ内で下ぞろえに設定します。
・space-between
…最初の行と最後の行(両端)は端っこに配置し、他の行は等間隔に配置されます。
・space-around
…等間隔の配置についてはspace-betweenと同じだが、最初の行と最後の行(両端)にも、他の行と同じ空白が配置されます。
それぞれのプロパティを設定したときの動きを見てみます。
【strechの例】
折り返し表示させるためにボックスを増やし、
styleタグ内には「flex-wrap: wrap;」を追記しておきます。
また親要素側のheightも100vhに指定しておきます。
<!DOCTYPE html>
<html lang="ja">

  <head>
    <meta charset="UTF-8">
    <meta name="viewport" content="width=device-width, initial-scale=1.0">
    <title>フレックスボックスについて</title>
    <style>
      .example {
        display: flex;
        flex-wrap: wrap;
        height: 100vh;
        align-content: stretch;
      }

      .box {
        background-color: blue;
        color: white;
        font-size: x-large;
        width: 200px;
        margin: 10px;
      }
    </style>
  </head>

  <body>
    <div class="example">
      <div class="box">box1</div>
      <div class="box">box2</div>
      <div class="box">box3</div>
      <div class="box">box4</div>
      <div class="box">box5</div>
      <div class="box">box6</div>
      <div class="box">box7</div>
      <div class="box">box8</div>
      <div class="box">box9</div>
      <div class="box">box10</div>
      <div class="box">box11</div>
      <div class="box">box12</div>
      <div class="box">box13</div>
      <div class="box">box14</div>
      <div class="box">box15</div>
    </div>
  </body>

</html>
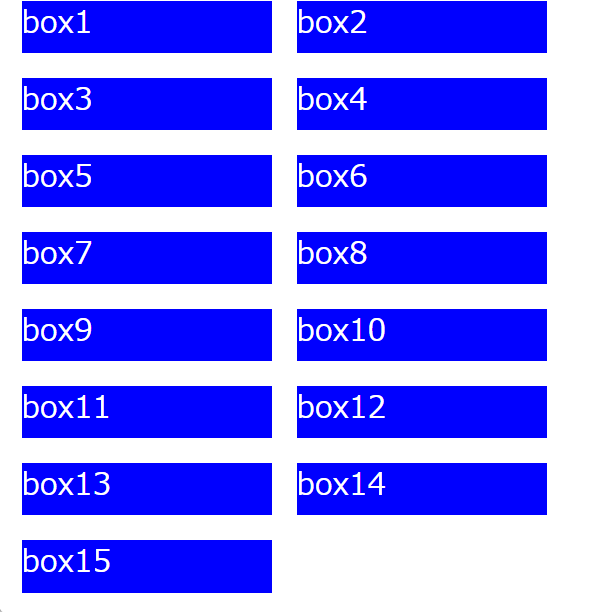
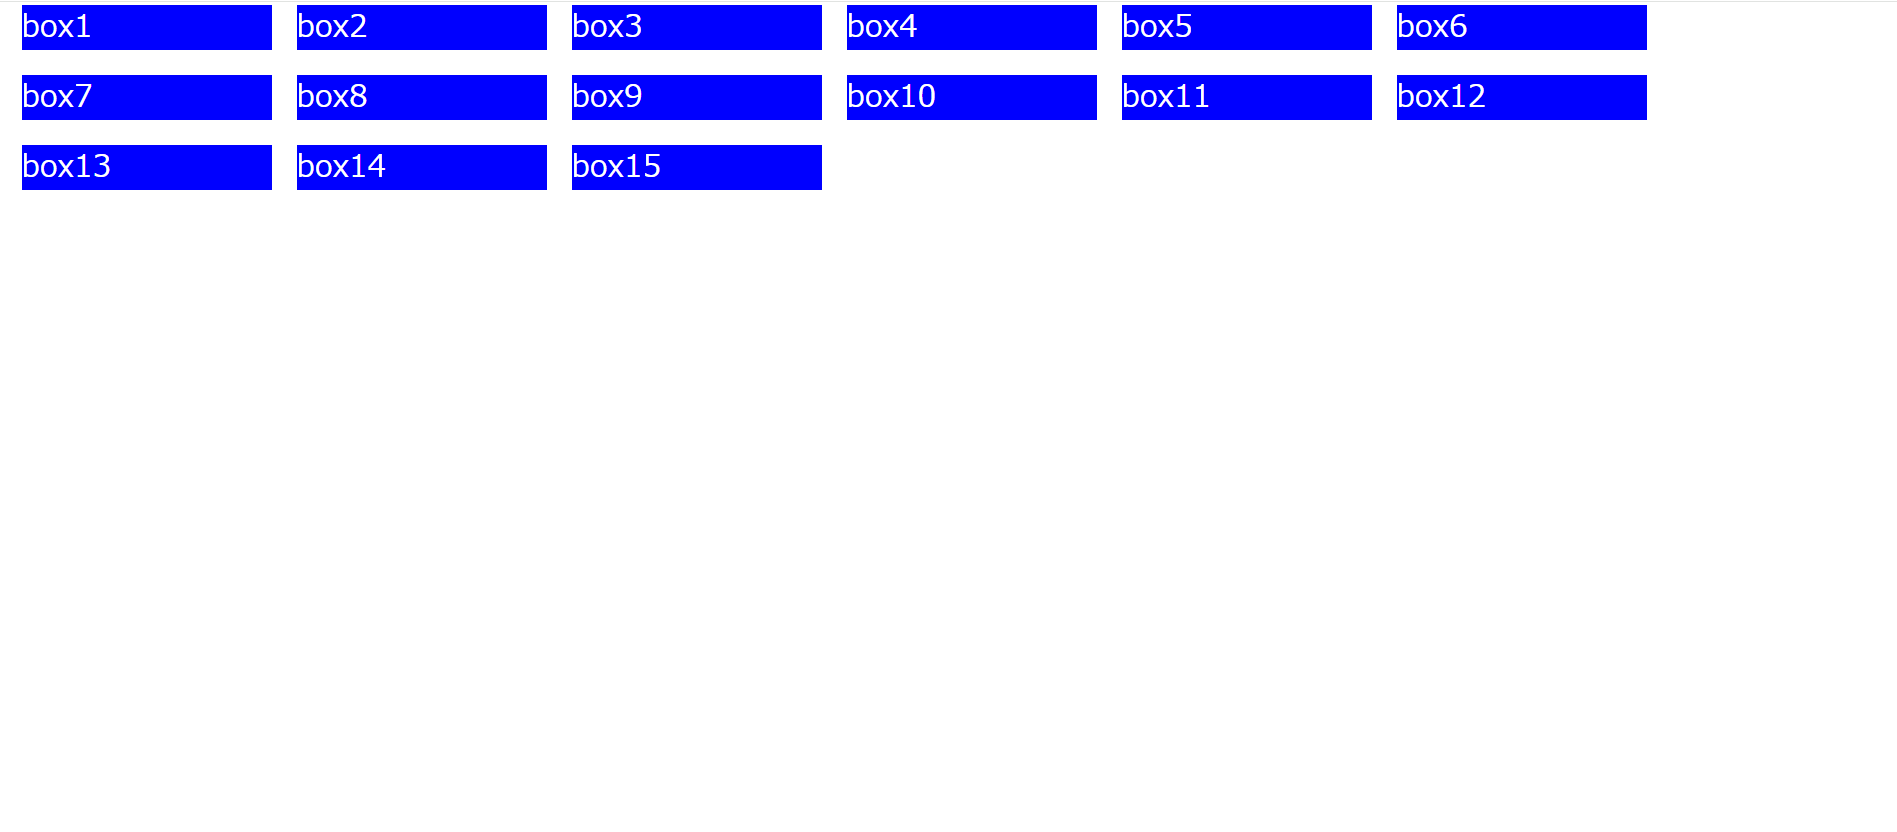
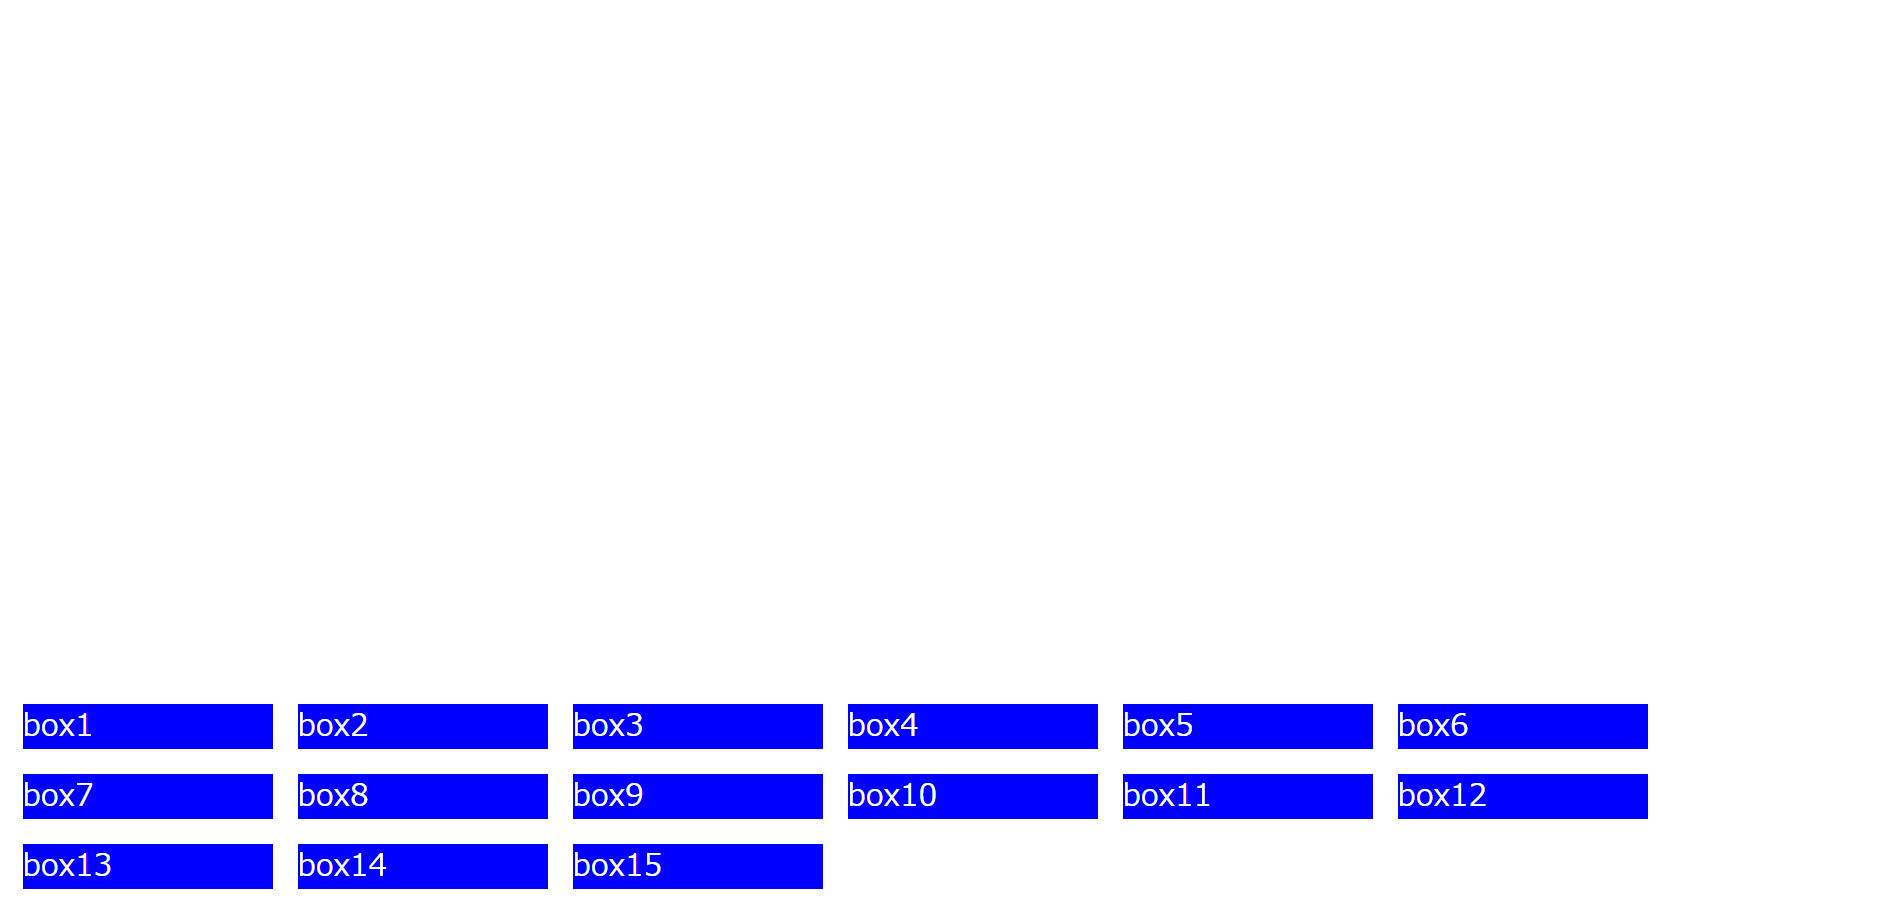
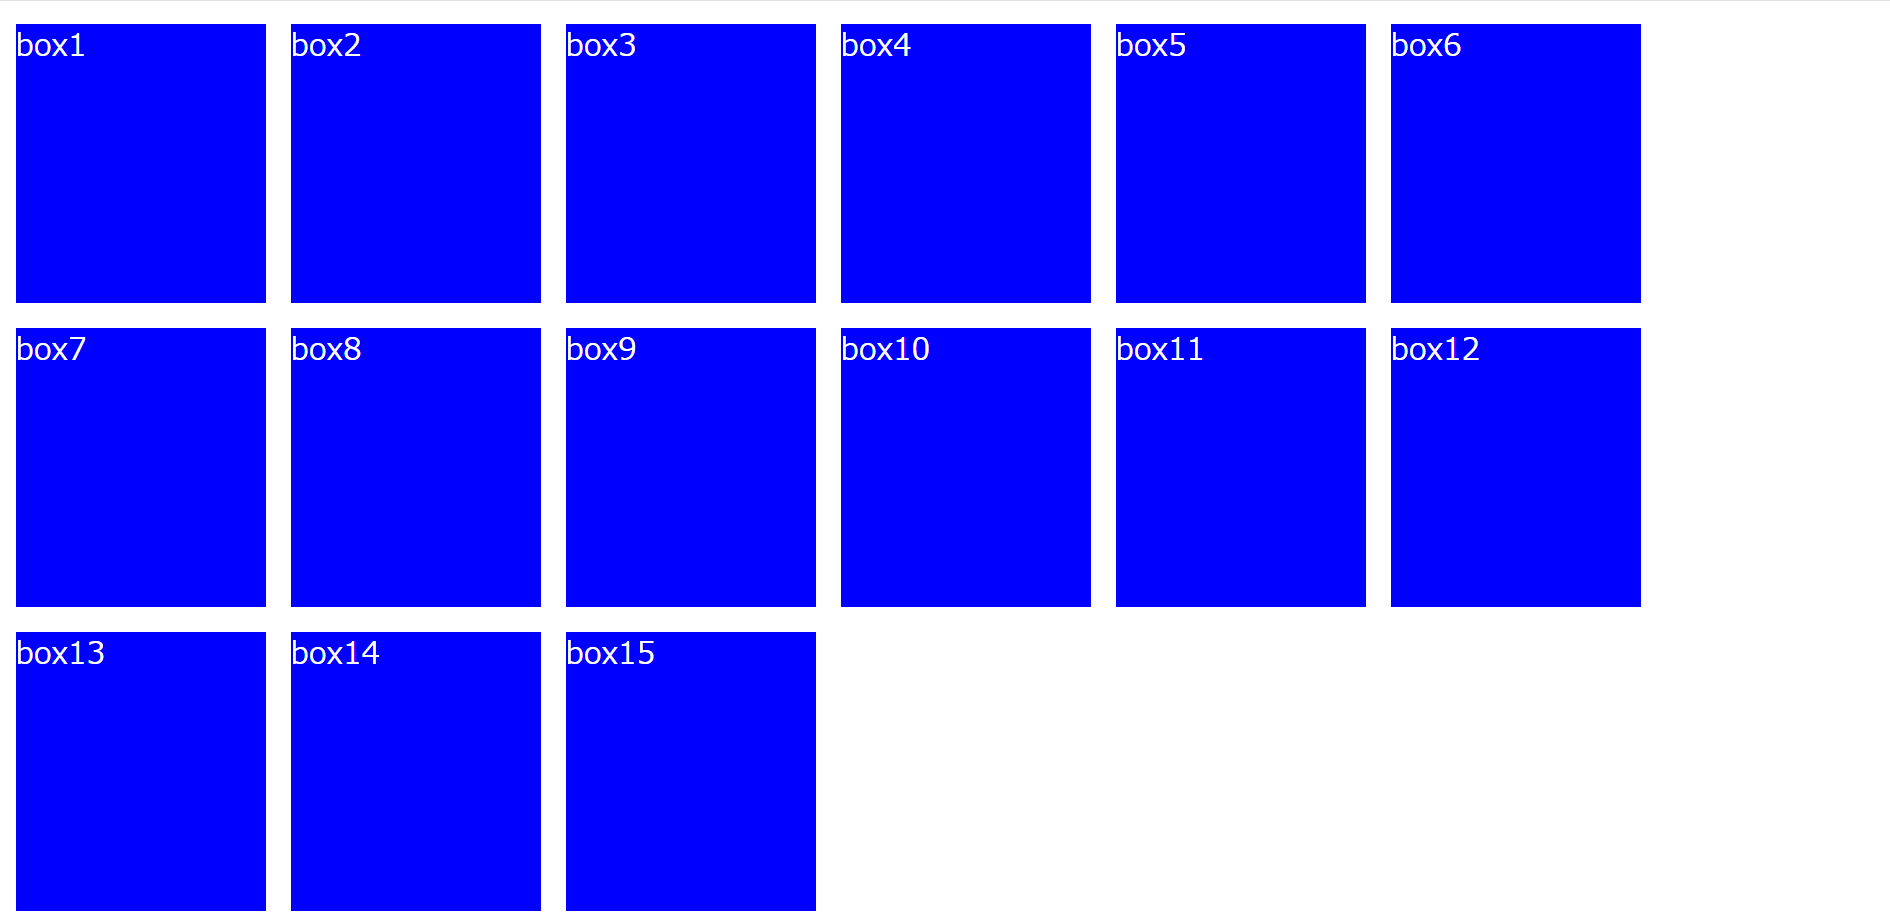
親要素を100vhで指定しているので、画面いっぱいにボックスが折り返し表示されるようになりました。
【flex-startの例】
    <style>
      .example {
        display: flex;
        flex-wrap: wrap;
        height: 100vh;
        align-content: flex-start;
      }

      .box {
        background-color: blue;
        color: white;
        font-size: x-large;
        width: 200px;
        margin: 10px;
      }
    </style>
下記画像のように親要素内で上揃えで折り返し表示されます。
【flex-endの例】
    <style>
      .example {
        display: flex;
        flex-wrap: wrap;
        height: 100vh;
        align-content: flex-end;
      }

      .box {
        background-color: blue;
        color: white;
        font-size: x-large;
        width: 200px;
        margin: 10px;
      }
    </style>
【centerの例】
    <style>
      .example {
        display: flex;
        flex-wrap: wrap;
        height: 100vh;
        align-content: center;
      }

      .box {
        background-color: blue;
        color: white;
        font-size: x-large;
        width: 200px;
        margin: 10px;
      }
    </style>
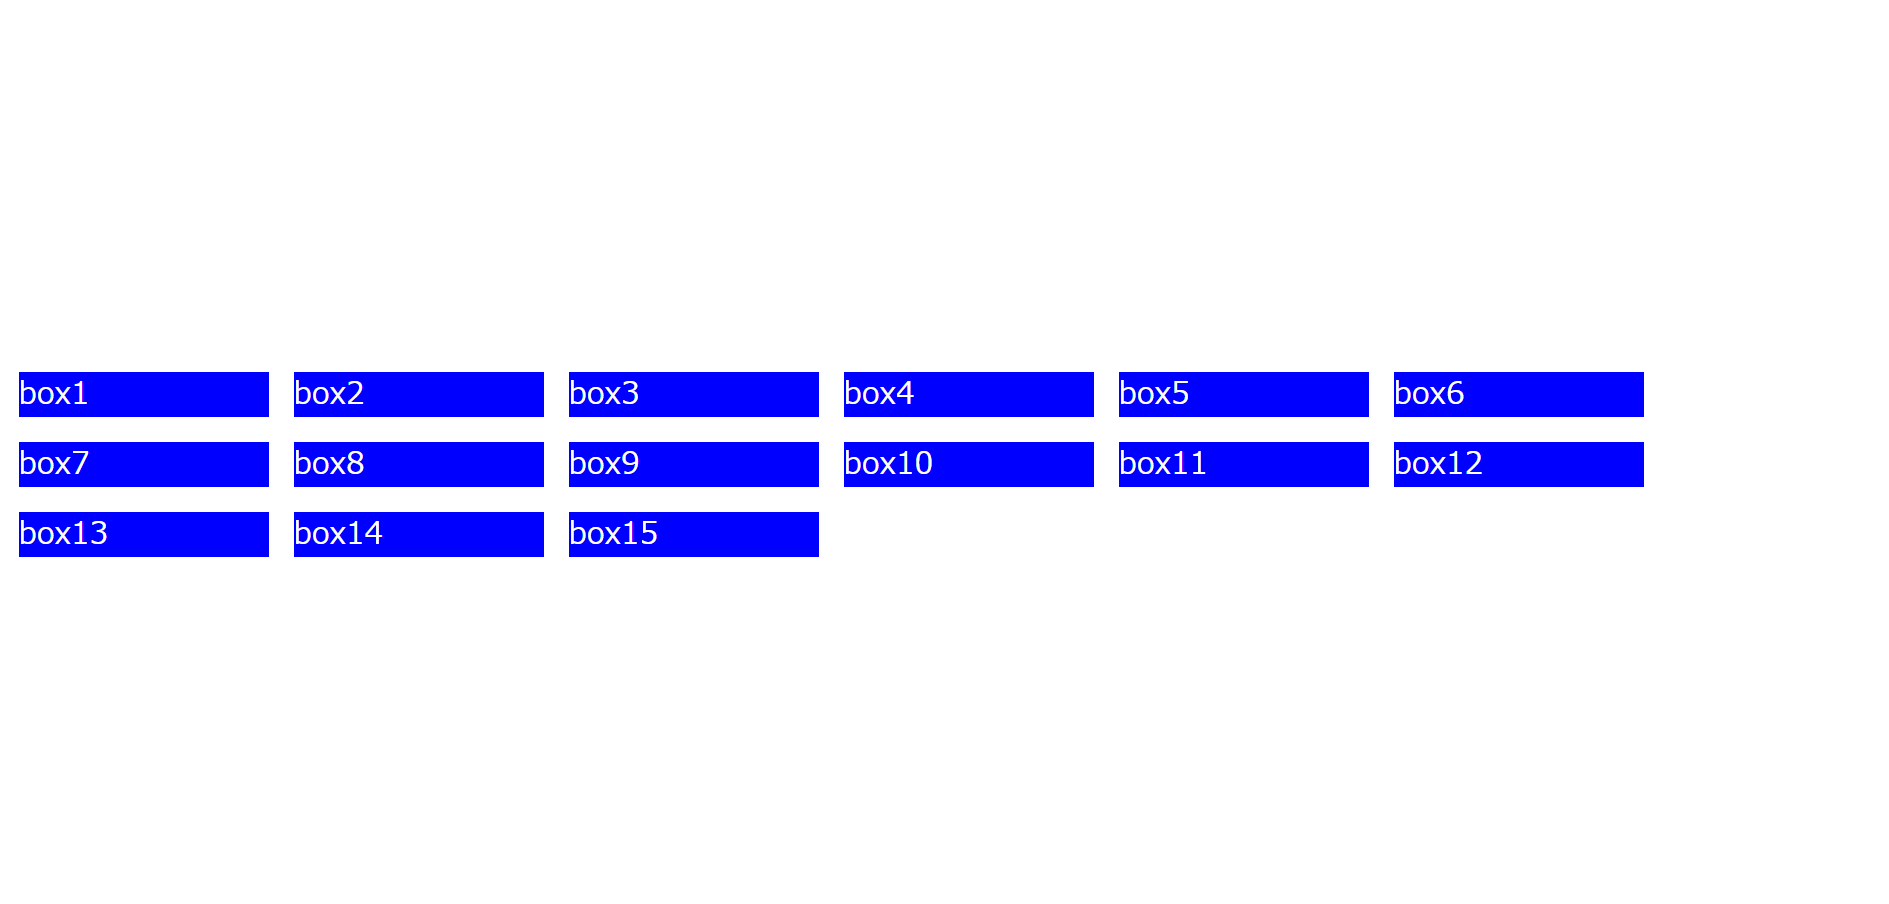
下記画像のように親要素内で中央揃えで折り返し表示されます。
【space-betweenの例】
    <style>
      .example {
        display: flex;
        flex-wrap: wrap;
        height: 100vh;
        align-content: space-between;
      }

      .box {
        background-color: blue;
        color: white;
        font-size: x-large;
        width: 200px;
        margin: 10px;
      }
    </style>
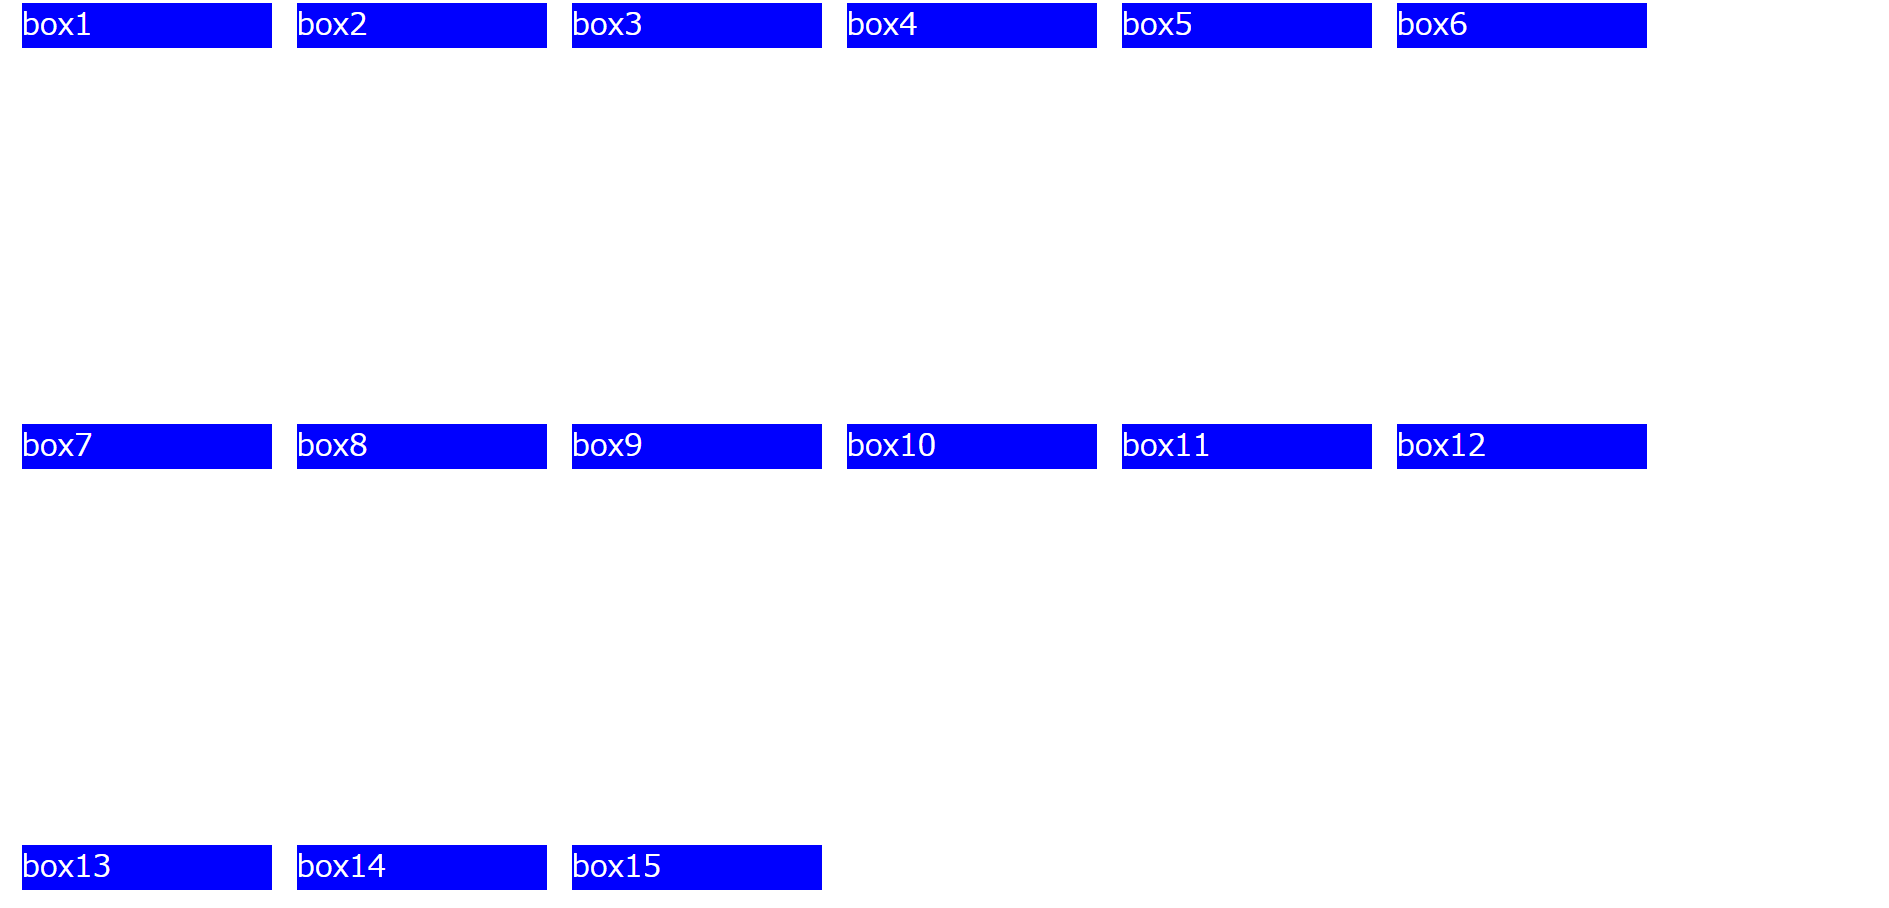
下記画像のように最初の行と最後の行(両端)は端っこに配置し、他の行は等間隔に配置されます。
【space-aroundの例】
    <style>
      .example {
        display: flex;
        flex-wrap: wrap;
        height: 100vh;
        align-content: space-around;
      }

      .box {
        background-color: blue;
        color: white;
        font-size: x-large;
        width: 200px;
        margin: 10px;
      }
    </style>
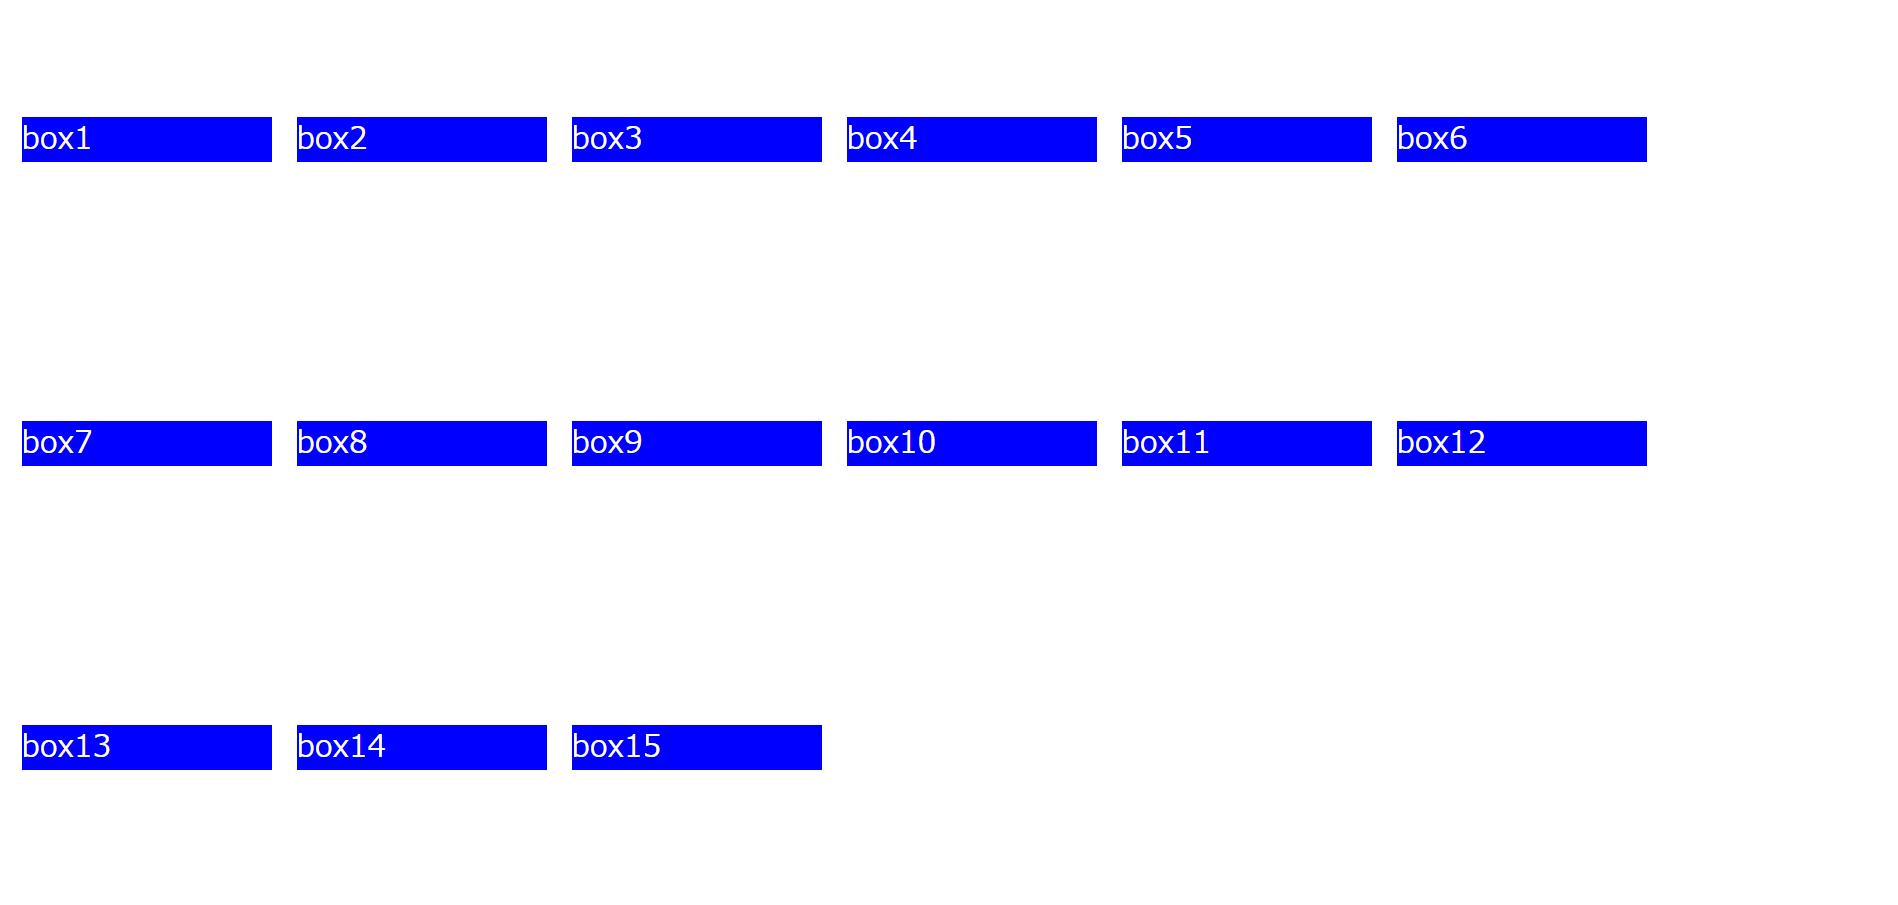
上下両端の空白も、他行の間隔と同じように等間隔に配置されます。
flex-flow
…flex-direction(要素の並び方向)とflex-erap(要素の折り返し)を一括で設定できます。
様々な組み合わせを用いて使用されます。下記は代表例です。
・row nowrap(初期値)
…要素を左から右へ一列に配置し、折り返し表示をしません。
・row-reverse nowrap(初期値)
…要素を右から左へ一列に配置し、折り返し表示をしません。
【row nowrapの例】
    <style>
      .example {
        display: flex;
        flex-wrap: wrap;
        flex-flow: row nowrap;
      }

      .box {
        background-color: blue;
        color: white;
        font-size: x-large;
        width: 200px;
        margin: 10px;
      }
    </style>
左から一列にボックスが並べられ、画面を小さくすると一部が見切れて表示されないようになります。
【row-reverse nowrapの例】
    <style>
      .example {
        display: flex;
        flex-wrap: wrap;
        flex-flow: row-reverse nowrap;
      }

      .box {
        background-color: blue;
        color: white;
        font-size: x-large;
        width: 200px;
        margin: 10px;
      }
    </style>
