初版: 2019/5/24
著者: 古山 悠介, 株式会社 日立製作所
はじめに
この投稿では、Acumos AIの概要と機能検証結果を紹介します。
本投稿の内容はThe Linux Foundation、LF Deep Learning Foundationの公開資料と、Acumos AIの最新リリース(2019/05現在)であるAthenaリリースでの機能検証結果に基づいて記載しています。
第3回目となる今回は、共通APIを使用した学習モデルのラッピングと、学習モデルのDockerイメージの生成機能について検証した結果を紹介します。
投稿一覧:
- Acumos AIの概要
- Acumos AIの環境構築と機能検証の概要
- Acumos AIの機能検証(1): 学習モデルのラッピングとDockerイメージの生成 (本投稿)
- Acumos AIの機能検証(2): Design StudioによるAIアプリケーション開発
- Acumos AIの機能検証(3): AIアプリケーションの展開と実行
共通APIを使用した学習モデルのラッピング
(1) [事前準備]として、デモ環境に下記のパッケージをインストールします。
*1: 手順の詳細はhttps://pypi.org/project/acumos を参照してください。
(2) Acumos AIのface-privacy-filterリポジトリを複製します。
# git clone https://gerrit.acumos.org/r/face-privacy-filter
(3) Acumos AIが提供しているツールを使用して、共通API化した学習モデル(detectとpixelateの2つ)を生成します。
# cd face-privacy-filter
# pip install -r requirements.txt
# python face_privacy_filter/filter_image.py -d . -f detect
# python face_privacy_filter/filter_image.py -d . -f pixelate
(4) detectモデルとpixelateモデルが生成されたことを確認します。
# ls face_privacy_filter_detect/
metadata.json    model.proto    model.zip
# ls face_privacy_filter_pixelate/
metadata.json    model.proto    model.zip
(5) 使用する学習モデル(2つ)のzipアーカイブを作成します。
# cd face_privacy_filter_detect
# zip ../detect.zip metadata.json model.proto model.zip
# cd ..
# cd face_privacy_filter_pixelate
# zip ../pixelate.zip metadata.json model.proto model.zip
# cd ..
(6) detectモデルとpixelateモデルのzipアーカイブが作成されたことを確認します。
# ls -l *.zip
-rw-r--r-- 1 root root 134734 Mar  1 10:08 detect.zip
-rw-r--r-- 1 root root  35575 Mar  1 10:10 pixelate.zip
学習モデルのDockerイメージ化
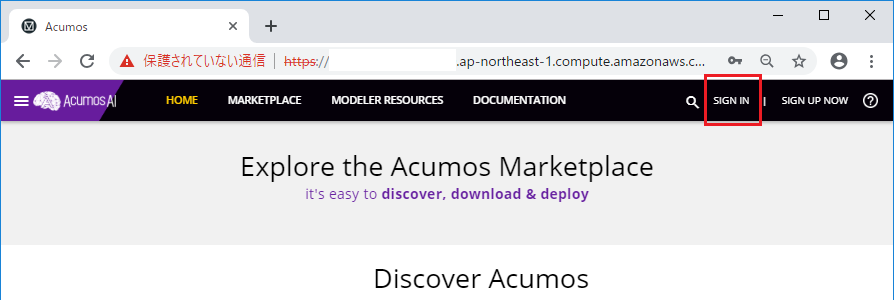
(1) WebブラウザからAcumos AIポータルに接続し、右上にある”SIGN IN”からログインします。
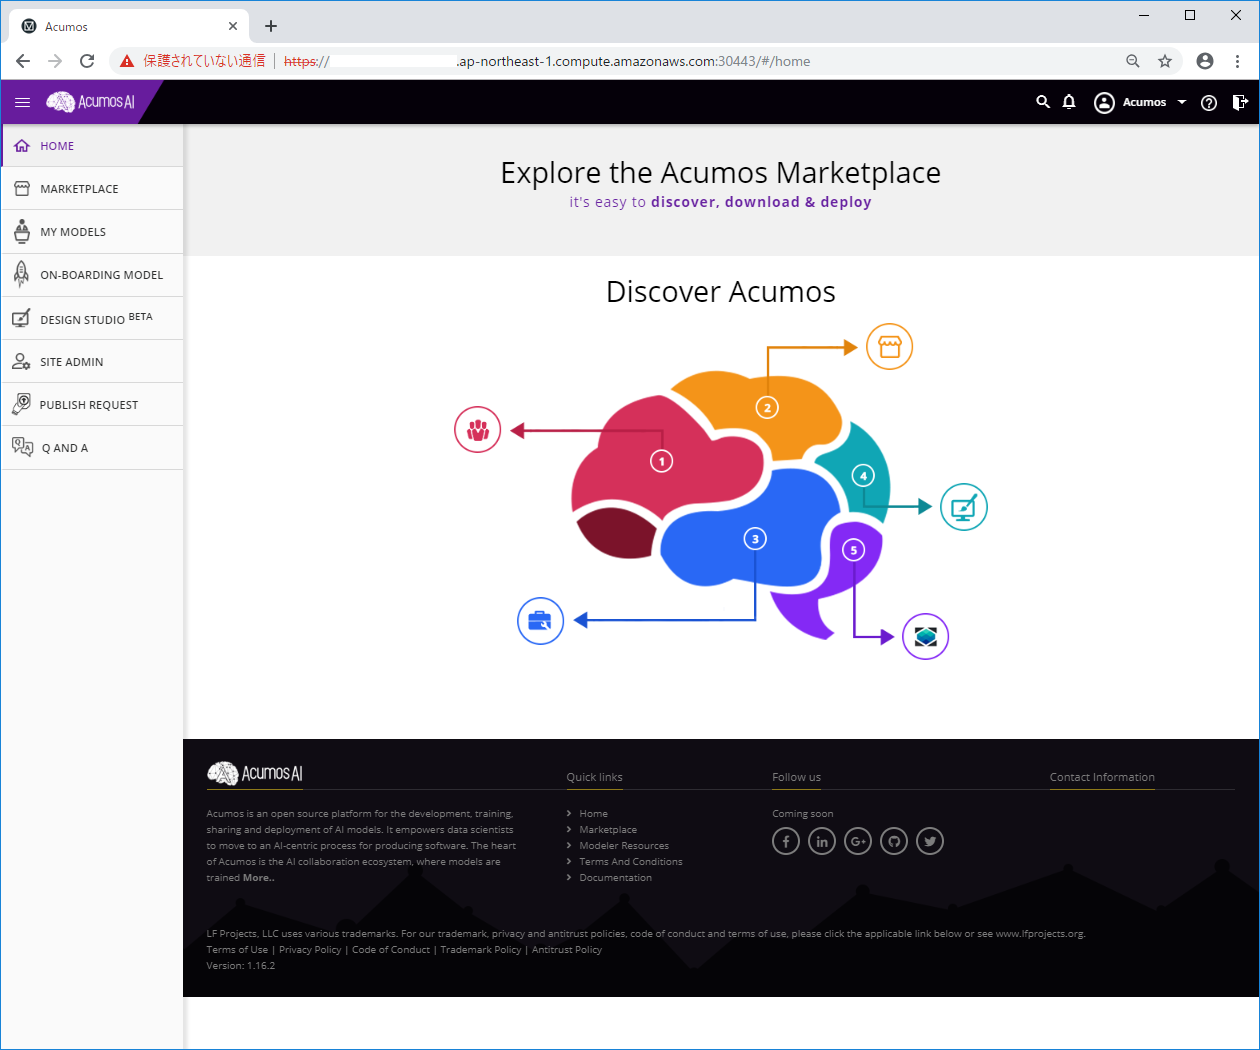
(2) ログインが完了するとAcumos AIポータルの画面左にメニューが表示されます。
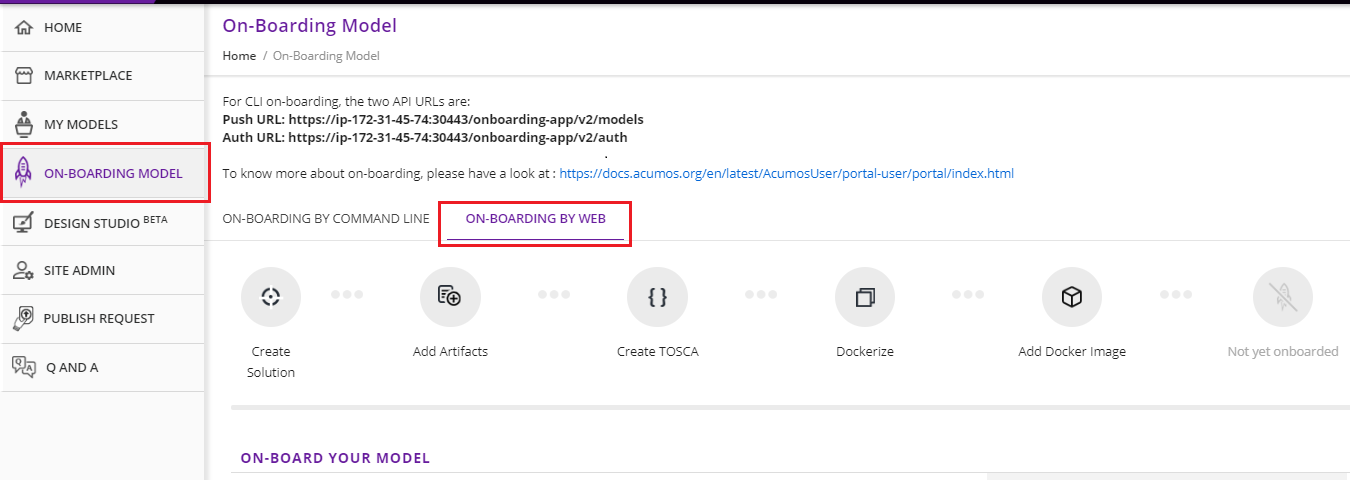
(3) Acumos AIポータルの左メニューから[ON-BOARDING MODEL]を選択し、”ON-BOARDING BY
WEB”をクリックします。
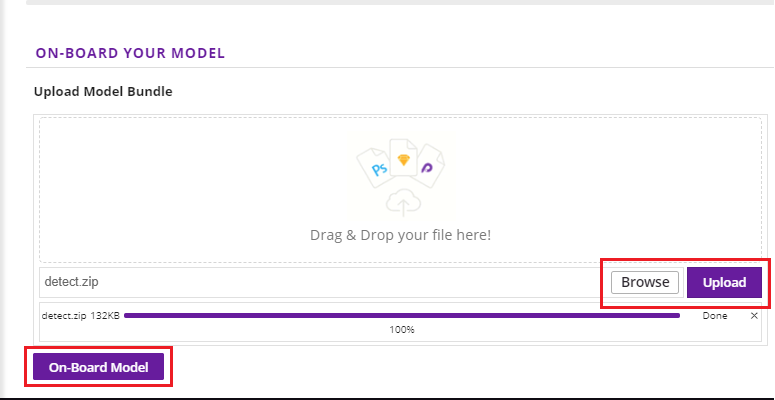
(4) “Browse”→”Upload”→”On-Board Model”の順で学習モデルをアップロードします。
※ここでは1つ目の学習モデル: face-privacy-filter-detect のzipファイルを選択しています
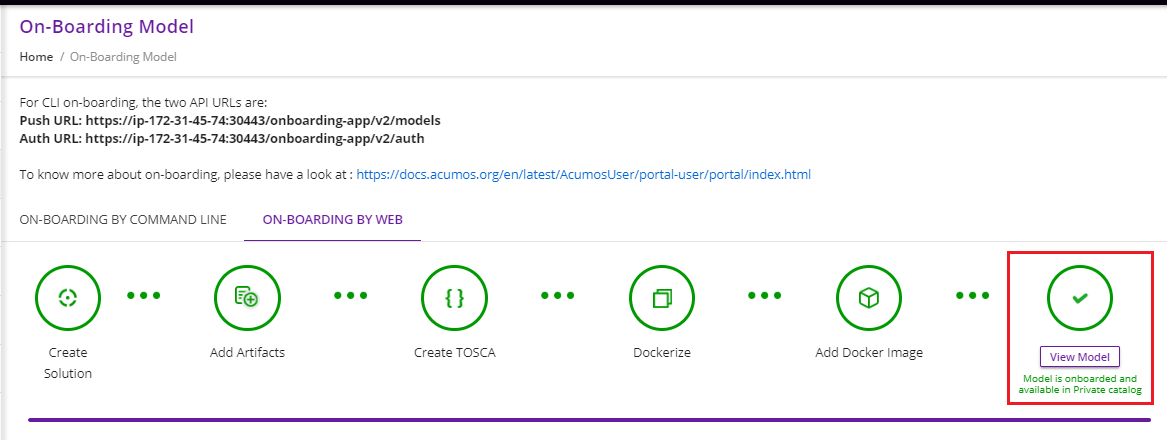
(5) Dockerイメージの生成に成功すると右端のアイコン表示が下記のように変化します。
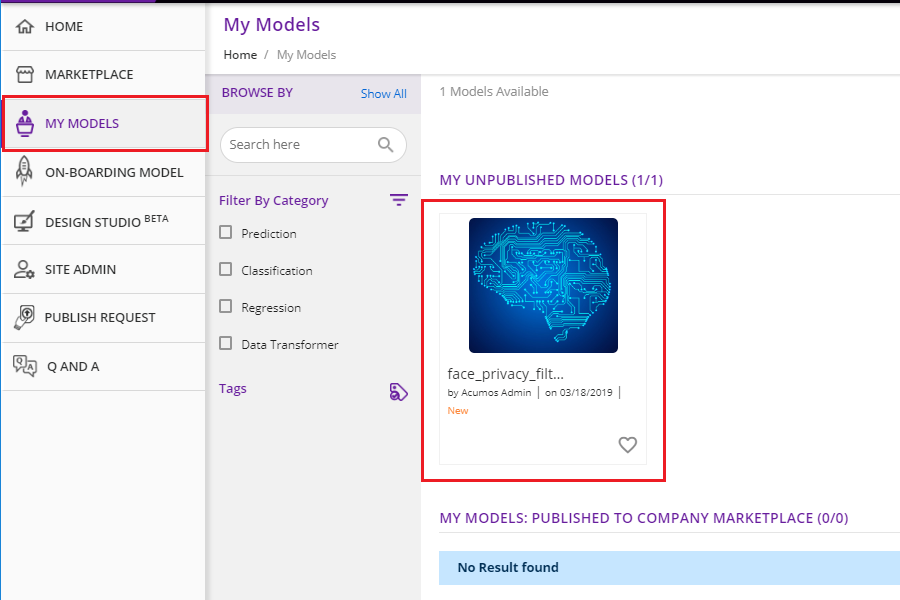
(6) 左メニューから[MY MODELS]を選択するとDockerイメージとして生成された学習モデルが
”MY UNPUBLISH MODES”の項目に表示されます。
(7) 2つ目の学習モデル: face-privacy-filter-pixelateについても(4)以降の手順を繰り返し、Dockerイメージ化します。
おわりに
本投稿では共通APIを使用した学習モデルのラッピングと、学習モデルのDockerイメージの生成機能について検証した結果を紹介しました。次回は、Acumos AIのGUI開発ツールである、Design StudioでのAIアプリケーション開発について紹介します。
