この記事の概要
最近は UI デザインツールとプロトタイピングツールはセットになりつつあります。
しかし、ユーザーテストで実際に情報を入力してもらい、それにあわせて結果を変化させるのは難しいです。
今回は入力フォームの内容と、その内容を保持した確認画面風のプロトタイプをFramerで作ってみます。
完成物
およそ上の GIF の通りですが、実物は以下のリンクからご覧ください。
作り方
GUI 側の作成
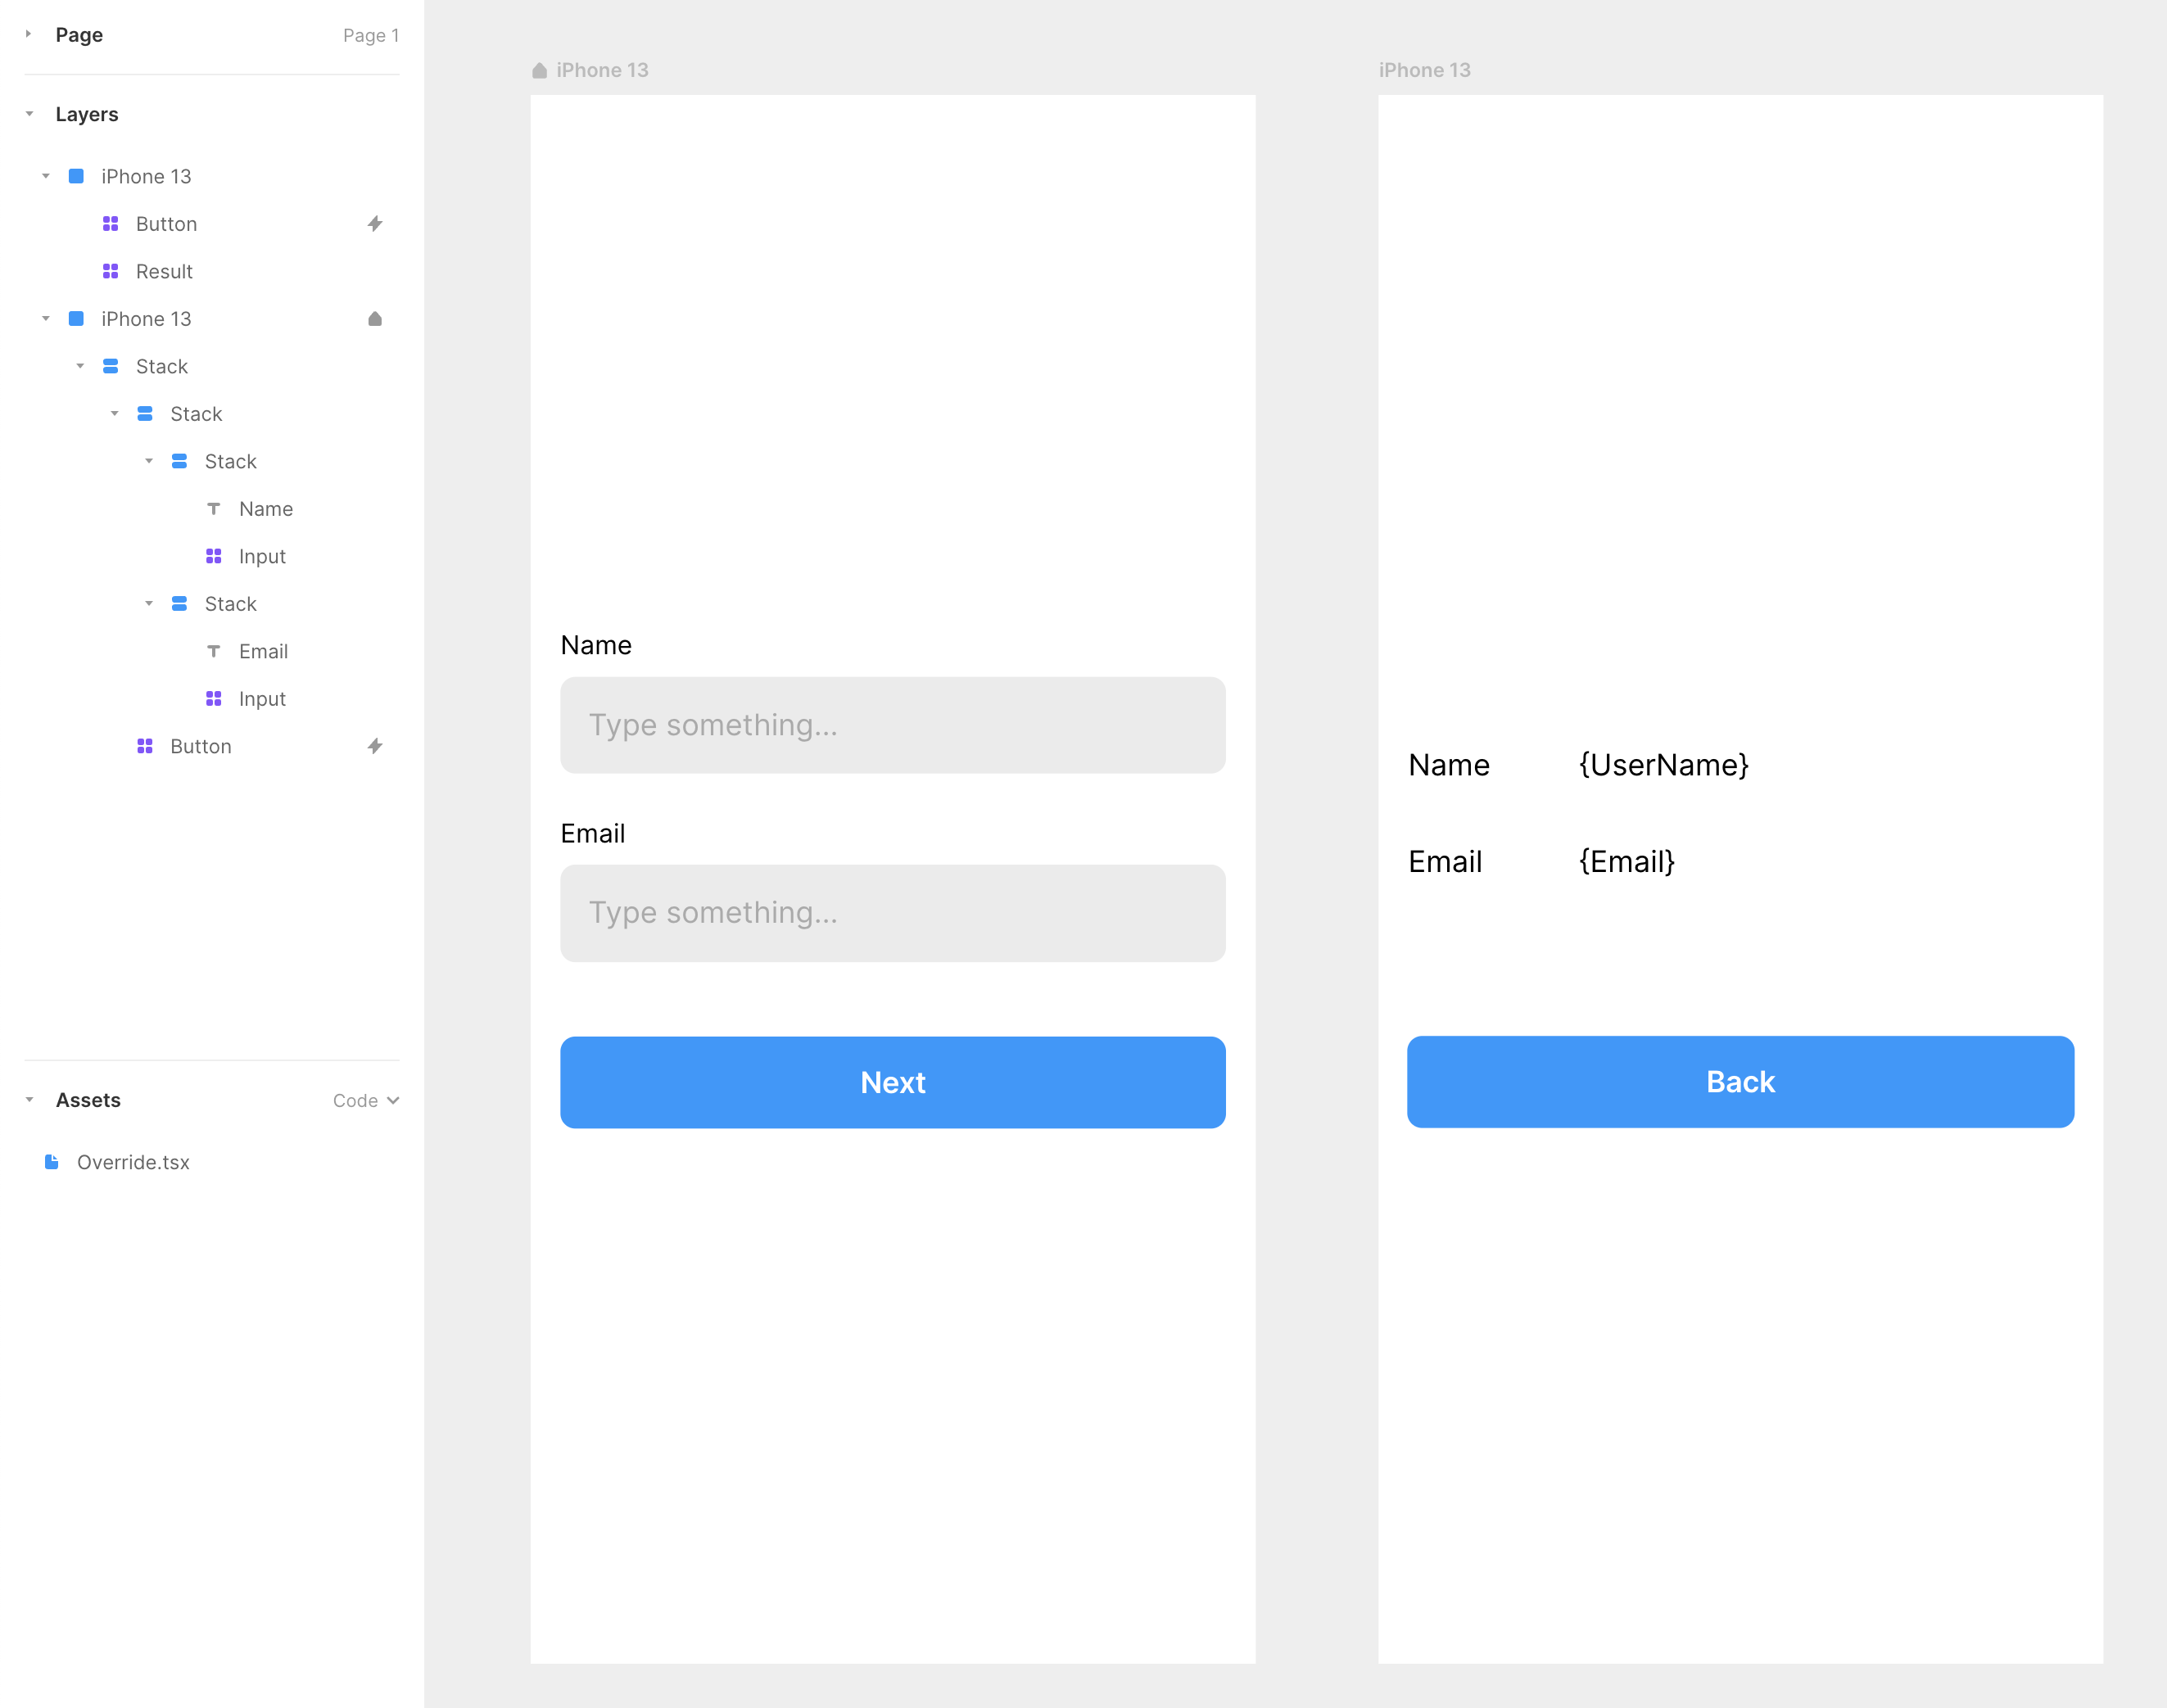
画面上に必要なのは今回はこれだけです。
- 入力フォーム
-
type="text"な input 要素 2 つ- Framer の Built-in Components
- ボタン
- 確認画面に進む用
-
- 確認画面
- 簡単な表組み(?)
- フォームで入力する内容に対応した項目が載っている
- ボタン
- (データが反映されているのを確認するために)前のページに戻る用
- 簡単な表組み(?)
Code Editor 側の作成
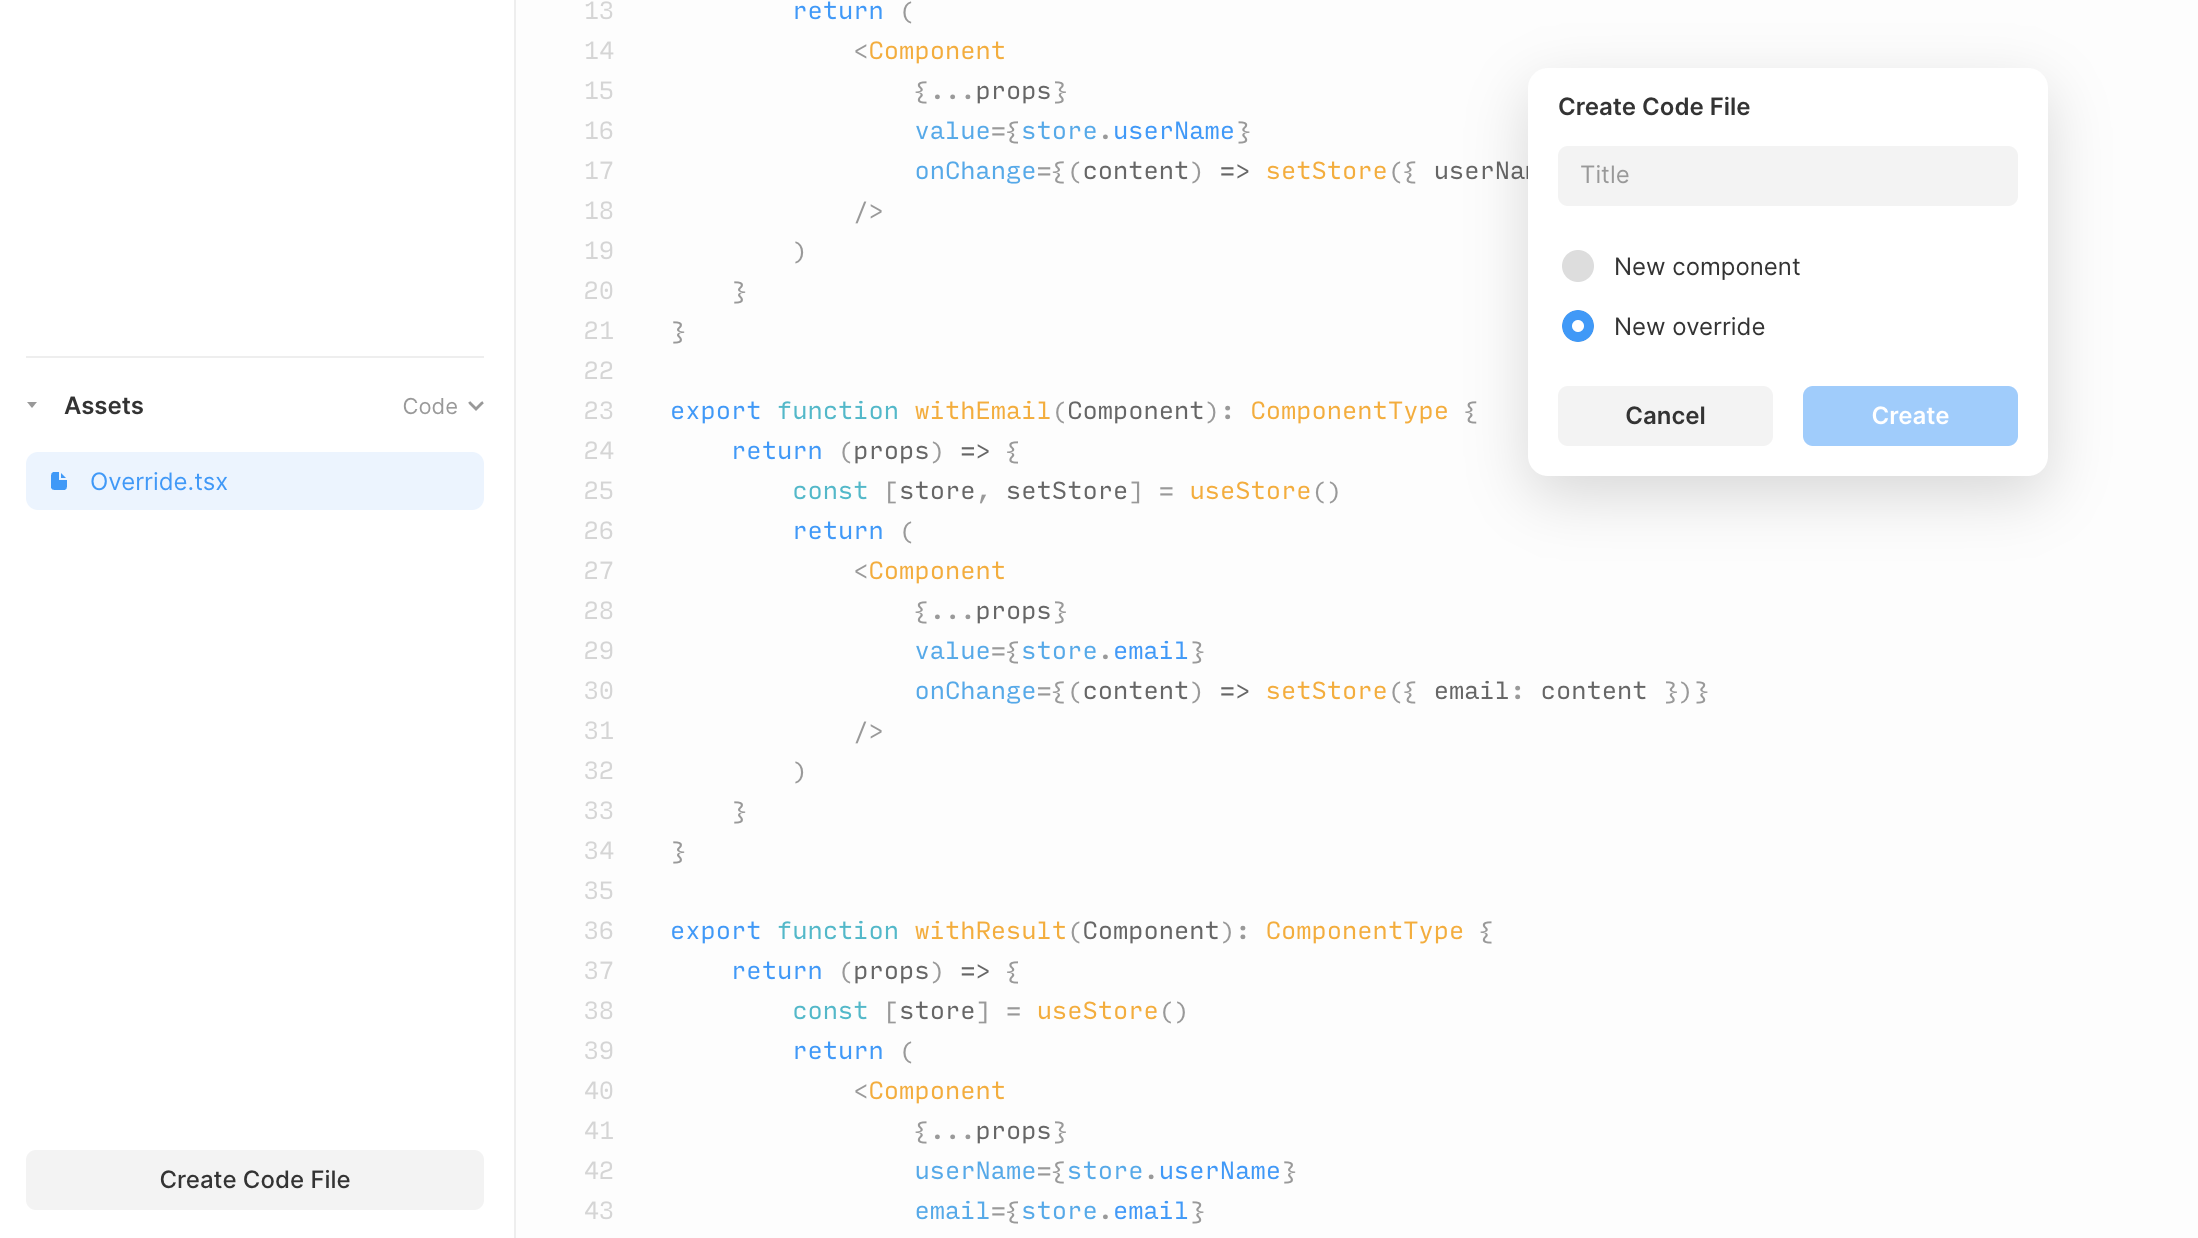
Assets > Code > Create Code FileからNew overrideを選びます。
ここではファイル名はOverrideとしておきましたが、なんでも OK です。
あとはこんな感じでコードを書きます。
import type { ComponentType } from "react";
import { createStore } from "https://framer.com/m/framer/store.js@^1.0.0";

const useStore = createStore({
  userName: "",
  email: "",
});

export function withUserName(Component): ComponentType {
  return (props) => {
    const [store, setStore] = useStore();
    console.table(store);
    return (
      <Component
        {...props}
        value={store.userName}
        onChange={(content) => setStore({ userName: content })}
      />
    );
  };
}

export function withEmail(Component): ComponentType {
  return (props) => {
    const [store, setStore] = useStore();
    return (
      <Component
        {...props}
        value={store.email}
        onChange={(content) => setStore({ email: content })}
      />
    );
  };
}

export function withResult(Component): ComponentType {
  return (props) => {
    const [store] = useStore();
    return (
      <Component {...props} userName={store.userName} email={store.email} />
    );
  };
}
割と普通のReactですが、多少違う箇所を説明します。
-
import { createStore } from ~- Framer独自の状態管理用ライブラリと思ってください
- これを使えばプロトタイプ内で値を保持できます
-
onChange={(content) => setStore({ userName: content })}- input要素なので最初は
(event) =>setStore({ userName: event.target.value })になるのかと思っていました - 特にそういうわけではなく、ただ引数を指定するだけでOKのようです
- input要素なので最初は
GUIをコードをマージ
inputの方には、単にOverridesから該当の関数を適用するだけです。
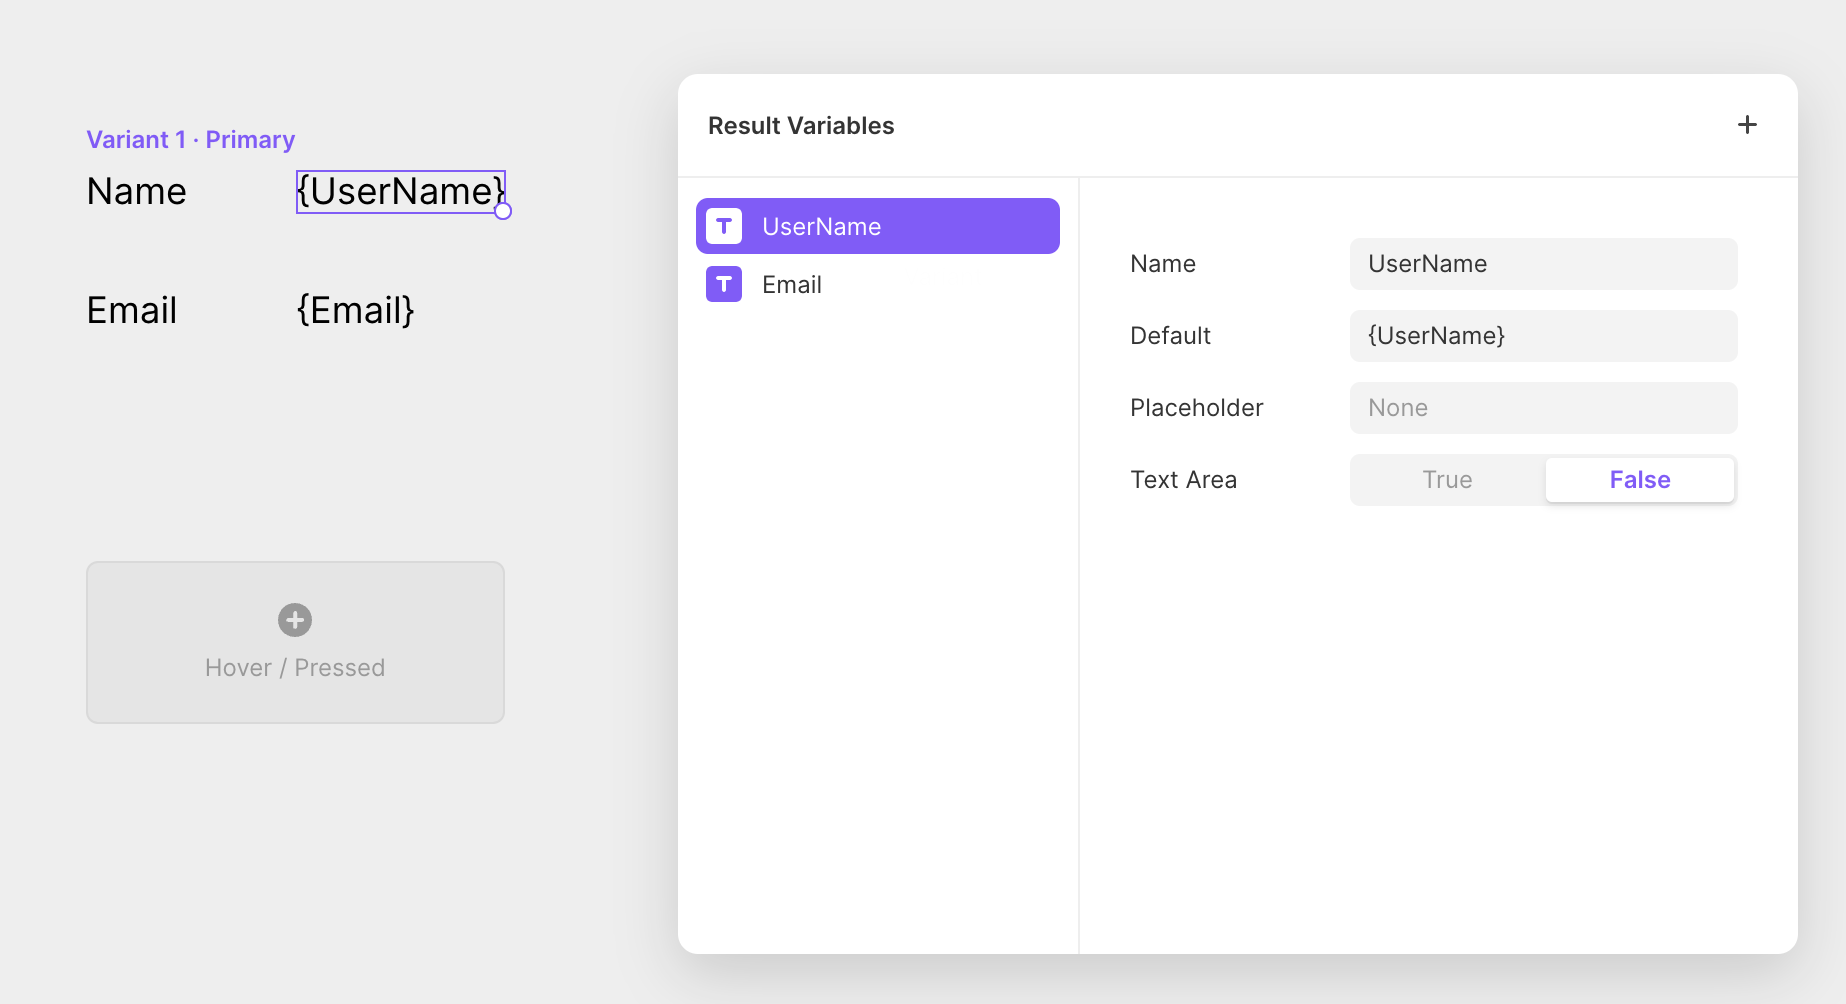
確認画面の方は、Variablesからそれぞれの項目に名前や型指定をした上で、Overridesから該当の関数を適用します。
改めて、最初に貼った通りですが入力内容にあわせて確認画面に進めます。
今回は簡単な作りですが、もう少し項目を増やしたり適切なタイミングで出したりすれば選んだ項目にあわせてメッセージが変わるようなプロトタイプも実現できます。
最後まで読んでくださってありがとうございます!
Twitterでも情報を発信しているので、良かったらフォローお願いします!


