この記事の概要
マウスストーカーってありますよね。
マウスカーソルにくっついてくる、丸とかキラキラなアレです。
一般的なマウスストーカーが物理的なストーカーだとすると、精神的なストーカーってなんだろう……と思いました。
色々考えた結果、ずっとマウスカーソルを見続けてきたら精神的なストーカーなのではないかと思い、作ってみました。
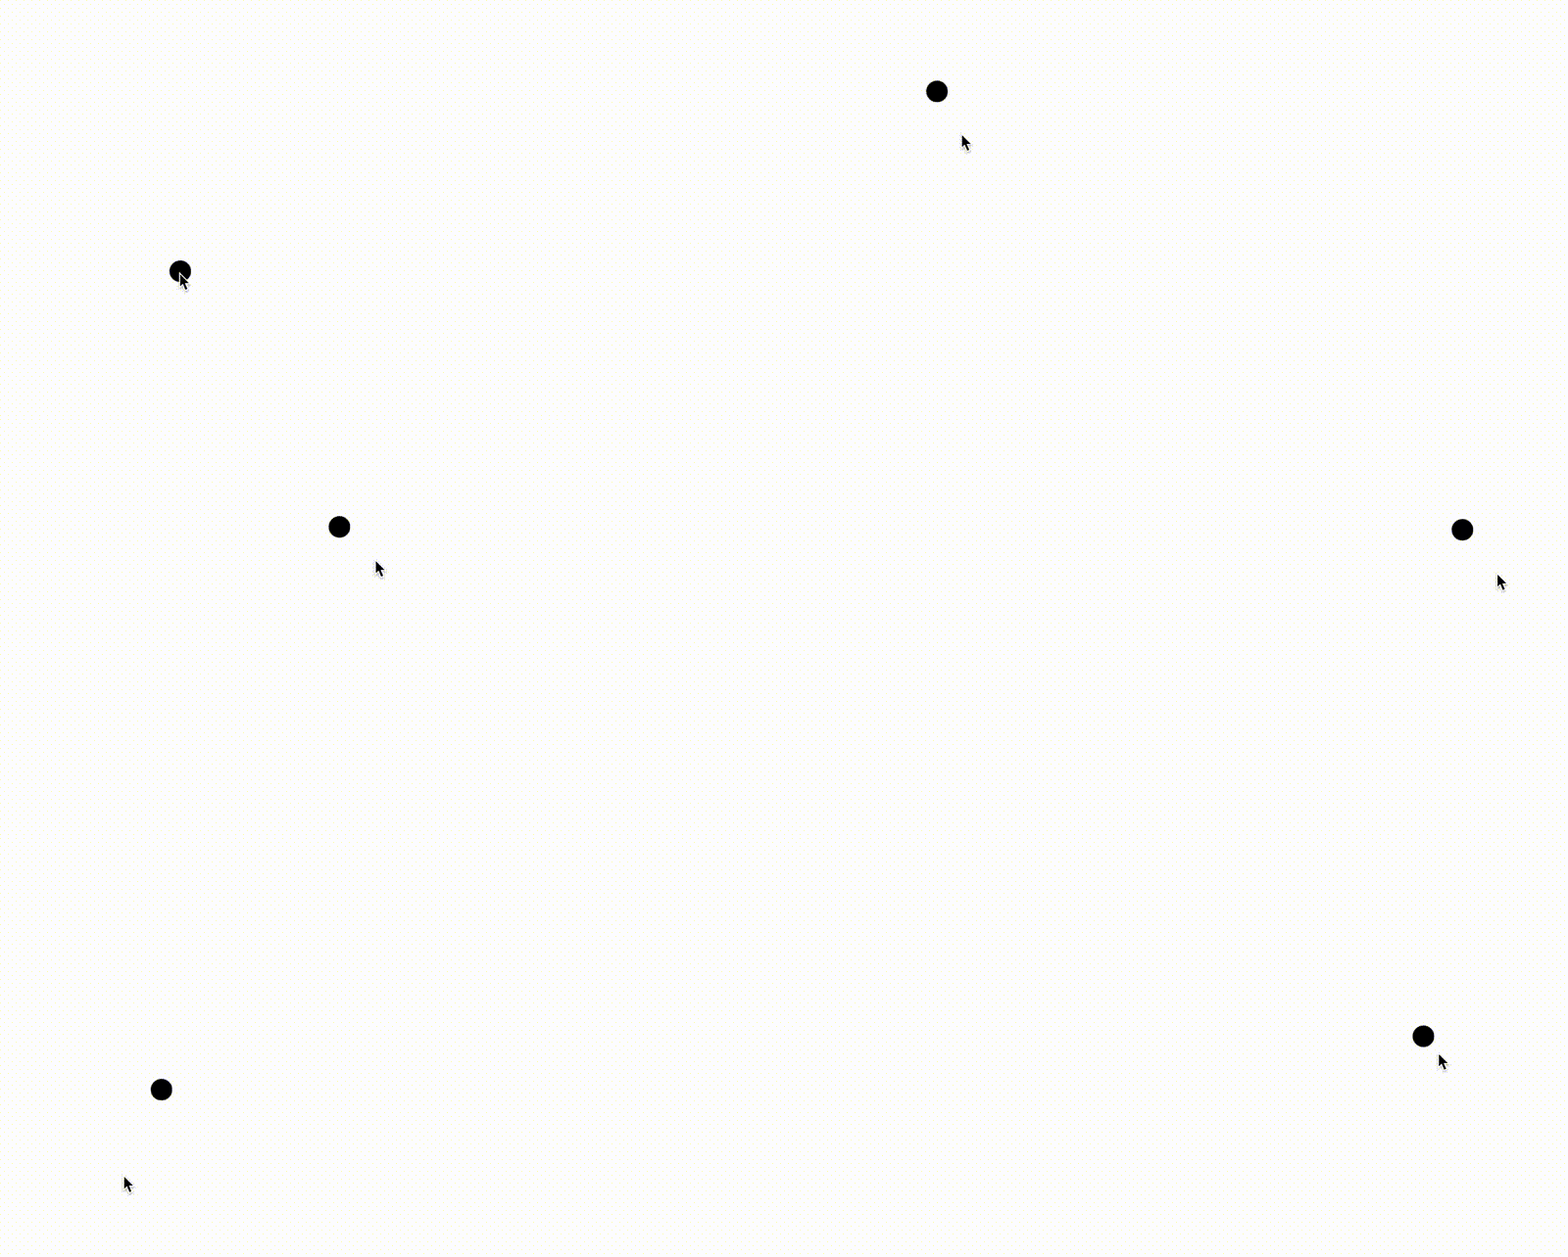
なお一般的なマウスストーカーとして指すのは以下のようなものをイメージしています。
完成形
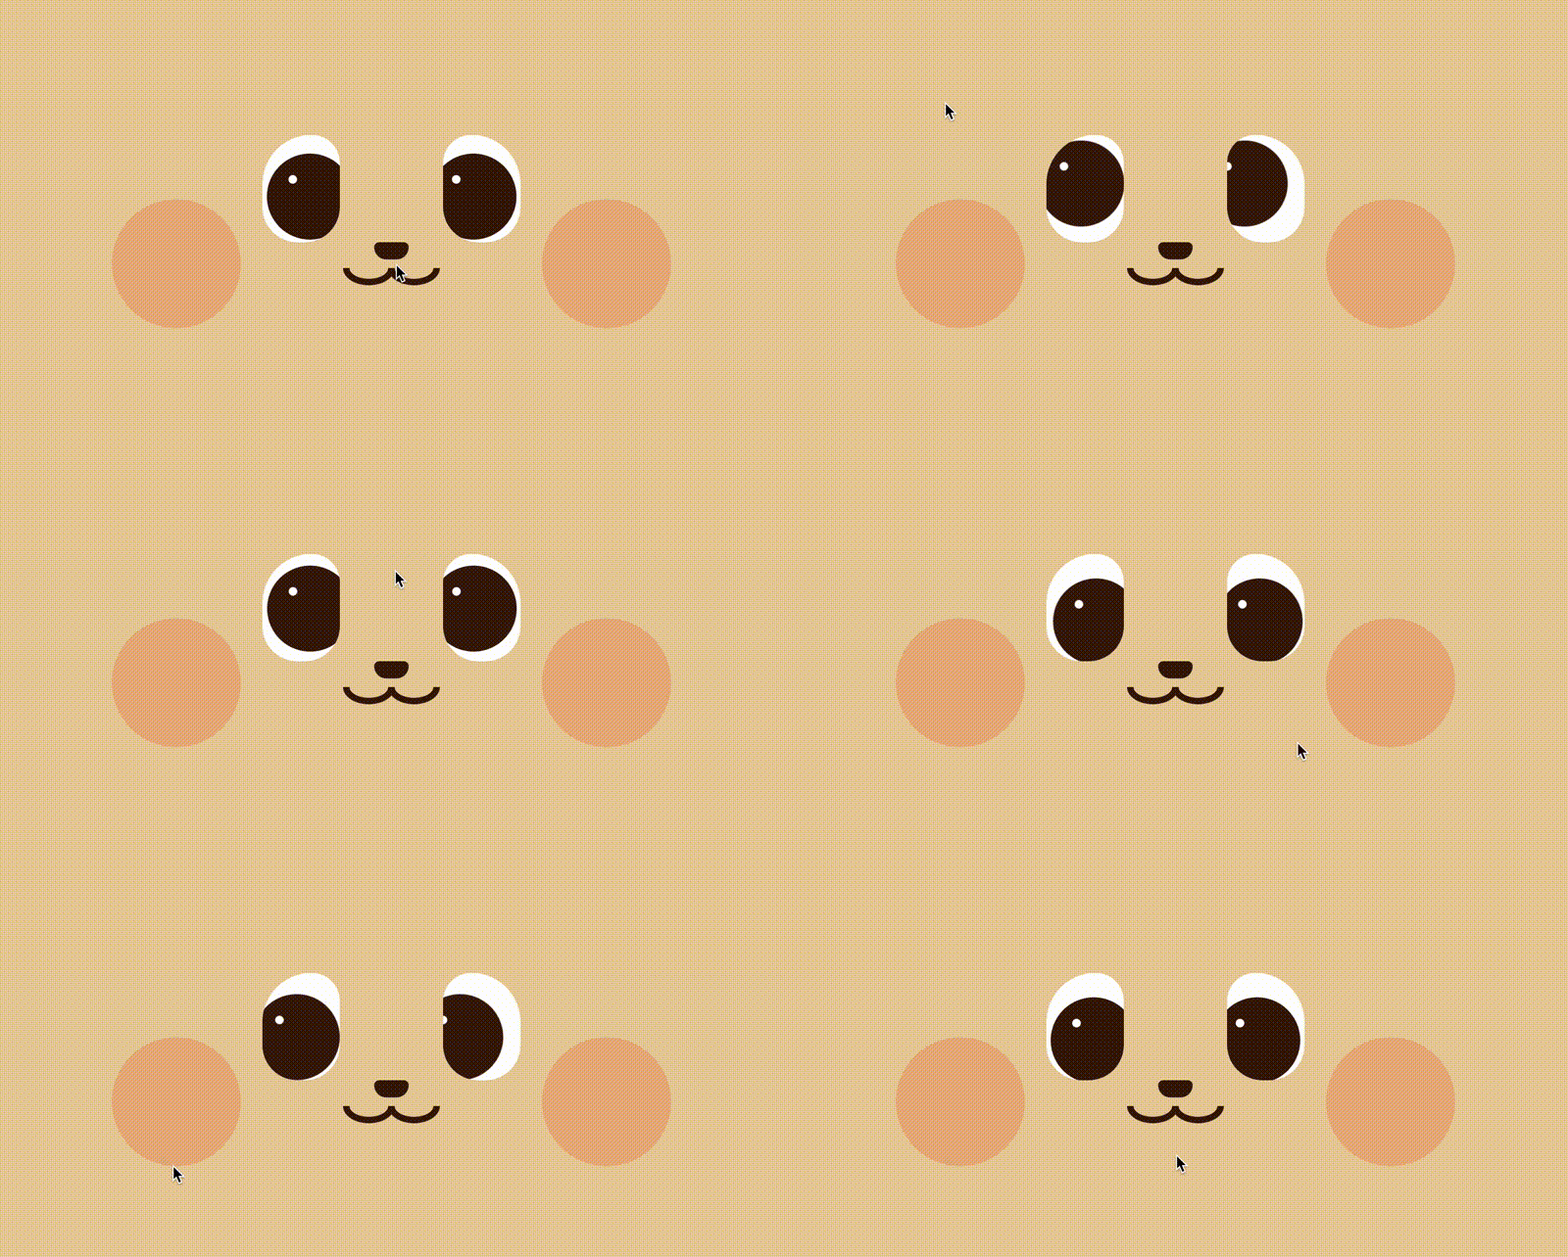
精神的なストーカーとまで言うと怖いので、見た目は少し可愛くしました。
マウスを動かして試してみたください。
どこに動かしても目線が追いかけてきます。
See the Pen マウスストーカー(視線) by Keisuke Watanuki (@xrxoxcxox) on CodePen.
スマホで見ている人用に、gifも添付しておきます。
作り方
HTMLとCSS
まずはHTMLとCSSを書きます。
クラス名からだいたい顔の構成が見えてきました。
<div class="face">
  <div class="eyes">
    <div class="eye-left">
      <div class="iris-left">
        <div class="highlight"></div>
      </div>
    </div>
    <div class="eye-right">
      <div class="iris-right">
        <div class="highlight"></div>
      </div>
    </div>
  </div>
  <div class="nose"></div>
  <div class="cheeks">
    <div class="cheek"></div>
    <div class="cheek"></div>
  </div>
  <div class="mouse-wrapper">
    <div class="mouse"></div>
    <div class="mouse"></div>
  </div>
</div>
CSS時点での工夫でいうと、.eye-left, .eye-rightにoverflow: hidden;をかけていることでしょうか。
これにより、視線を動かしたときも白目の外側に黒目がはみ出なくなります。
.face {
  align-items: center;
  background-color: #E9CE9F;
  display: flex;
  flex-direction: column;
  justify-content: center;
  height: 100vh;
}

.eyes {
  display: flex;
  gap: 96px;
}

.eye-left, .eye-right {
  background-color: #fff;
  overflow: hidden;
}

.eye-left {
  border-radius: 56px 32px 40px 40px;
}

.eye-right {
  border-radius: 32px 56px 40px 40px;
}

.iris-left, .iris-right {
    margin: 12px -4px 8px;
    pointer-events: none;
    width: 80px;
    height: 80px;
    background-color: #3B1909;
    border-radius: 50%;
    position: relative;
    transition: transform 0.1s;
    transition-timing-function: ease-out;
}

.iris-left {
  transform: translate(8px, 4px);
}

.iris-right {
  transform: translate(-8px, 4px);
}

.highlight {
  background-color: #fff;
  border-radius: 50%;
  height: 8px;
  left: 20px;
  position: relative;
  top: 20px;
  width: 8px;
}

.nose {
  background-color: #3B1909;
  border-radius: 16px 16px 40px 40px;
  height: 16px;
  width: 32px;
}

.cheeks {
  display: flex;
  gap: 280px;
  margin-top: -56px;
}

.cheek {
  background-color: #EAB282;
  border-radius: 50%;
  height: 120px;
  width: 120px;
}

.mouse-wrapper {
  display: flex;
  margin-top: -72px;
}

.mouse {
  border: 6px solid #3B1909;
  border-radius: 50%;
  clip-path: inset(50% 0 0 0);
  margin: 0 -3px;
  height: 32px;
  width: 48px;
}
JavaScript
const irisLeft = document.querySelector('.iris-left');
const irisRight = document.querySelector('.iris-right');

document.addEventListener('mousemove', (e) => {
  x = (e.clientX - (window.innerWidth / 2)) / window.innerWidth * 50;
  y = (e.clientY - (window.innerHeight / 2)) / window.innerHeight * 50;
  irisLeft.style.transform = `translate(calc(${x}% + 8px), ${y}%)`;
  irisRight.style.transform = `translate(calc(${x}% - 8px), ${y}%)`;
});
右目と左目を微妙にずらして動かす都合上、それぞれをquerySelectorで取得しています。
その上で、mousemove内でx座標とy座標を正規化(プラスアルファ調整)し、スタイルのtransfromに突っ込みます。
目の挙動として、右を向くときは右目より左目の方が、左を向くときは左目より右目の方が大きく動きます。
それを再現するためにtranslate内で計算(calc(${x}% ± 8px))しています。
一方で、上下の動きは左右で変わらないので同じ値(${y}%)を使っています。
以上で「その場から動かないけどずっと見てくる」というマウスストーカーが完成しました。
画像を再掲します。
最後に
特段何かの役に立つとは思えないのですが「マウスストーカーは物理的について来る」という思い込みは打破できたかもしれません。
見た目はともかく、構造として何かの役に立てば幸いです。
最後まで読んでくださってありがとうございます!
Twitterでも情報を発信しているので、良かったらフォローお願いします!
Devトークでのお話してくださる方も募集中です!

