前記事でさらっと触れたFontForgeをMacにインストールする記事です。
AA表示用の軽量なフォント(43KB)を作った
なんか色々起動でハマったので書き記して起きます。
XQuartzのインストール
FontForgeを動かすために必要です。以下のサイトから最新のdmgをダウンロードしてインストールします。
https://www.xquartz.org/
dmgをダブルクリックすればインストーラーが動きます。
XQuartzの設定
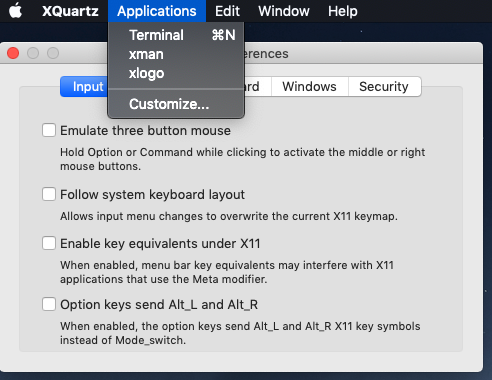
インストールが完了したらXQuartzを立ち上げます。Prefernce > Inputタブから"Enable key equivalents under X11"のチェックを外しておきます。
FontForgeのインストール
とりあえずbrewでインストールしましょう。
brew install fontforge
インスとーるが完了したら以下のコマンドを実行してAplicationにFontForgeを紐付けます。
brew cask install fontforge
これで完了です。
FontForgeの起動
ここでハマりました。AplicationsフォルダにあるFontForgeをクリックしても何も動きません。ぶっちゃけ動かない理由はよくわかりません。しかし、動かす方法はあります。
まずX11からTerminalを開きます。上部メニューからApplication > Terminalをクリックします。

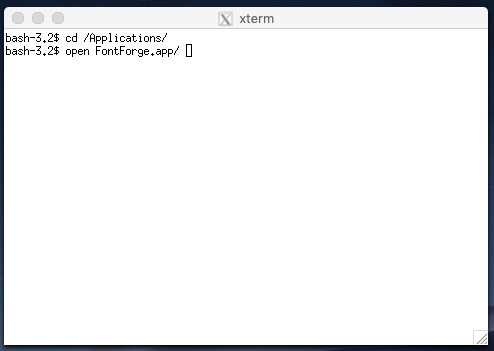
そうするとxtermsが立ち上がるので以下のコマンドを入力しましょう。
cd /Applicaions/
open FontForge.app/
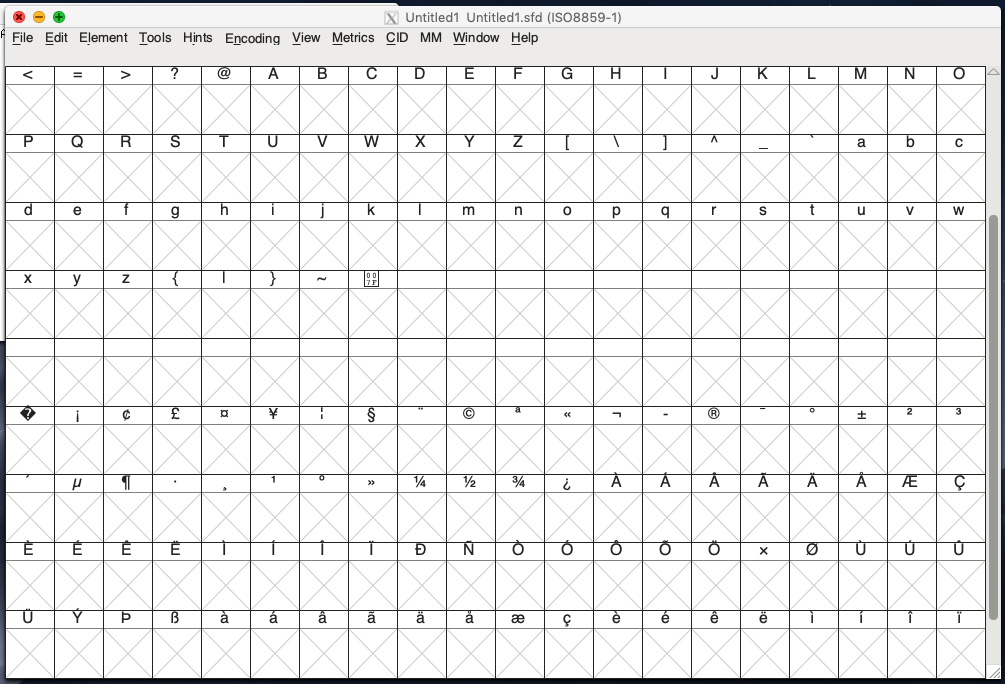
こうすることでFontForgeが起動します。この後は普通のFontForgeと同じように使用することができます。

まとめ
以上、MacにてFontForgeが立ち上がりました。これで自由にフォントファイルをいじれるようになります。
それでは。
