はじめに
pythonで画像処理をする上で避けては通れないopenCV。
というかめちゃくちゃ便利なのでお世話になっているわけですが、
その中にputTextという関数があります。
要するに画像の中に文字入れをする関数で、画像とテキストを用意してあげれば誰でも簡単に文字入れが出来ます。
import cv2
import numpy as np
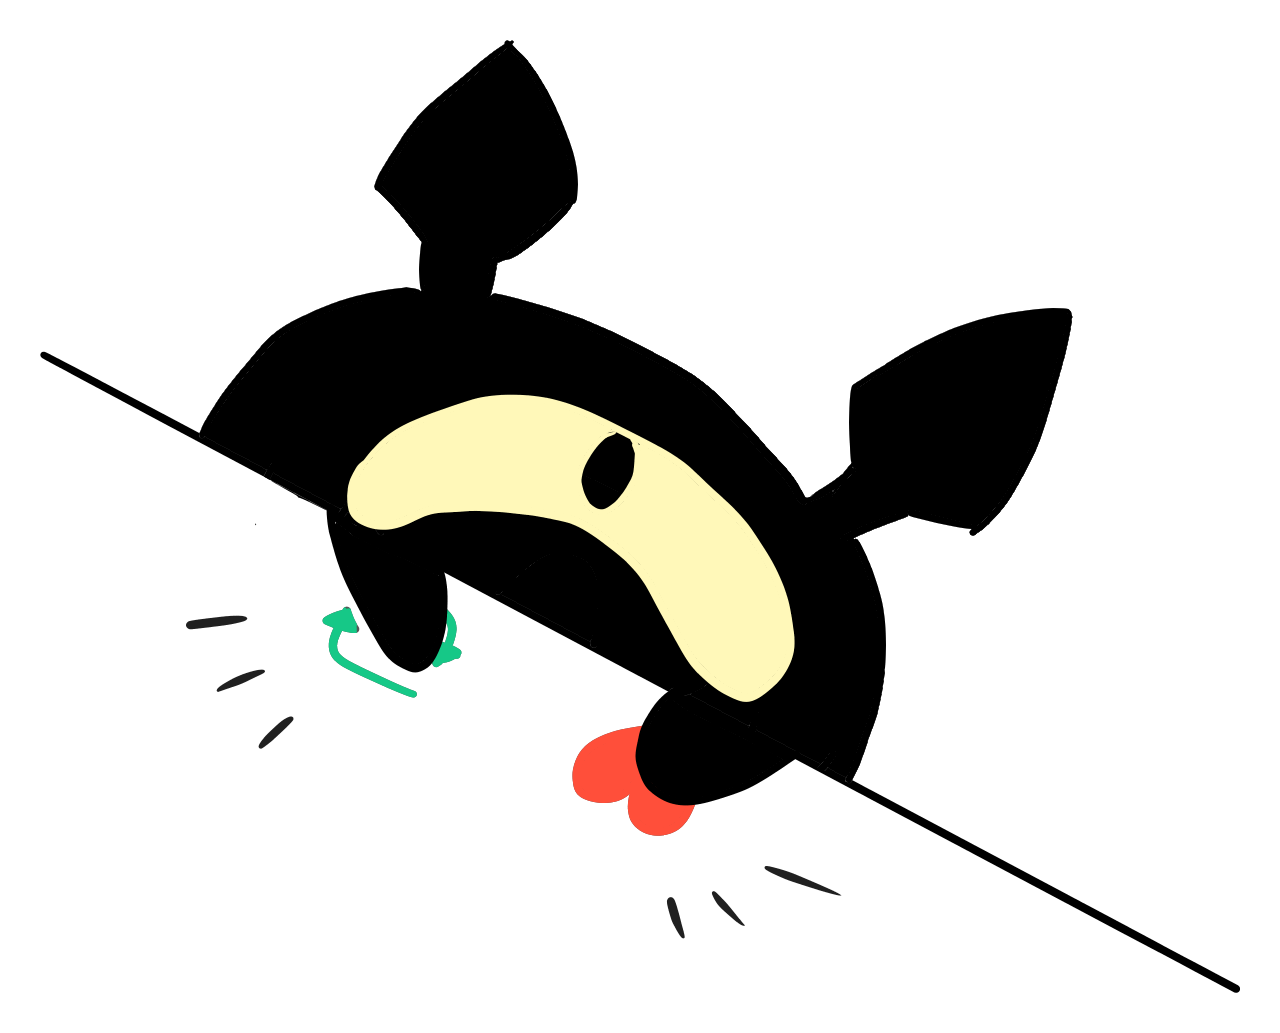
img = cv2.imread('./neko.png')
text = 'happy!'
cv2.putText(img, text, (100,300), fontFace = cv2.FONT_HERSHEY_SIMPLEX, fontScale = 10.0, color = (0,0,255), thickness=5)
cv2.imwrite('nekoHappy.png', img)
はっぴー!
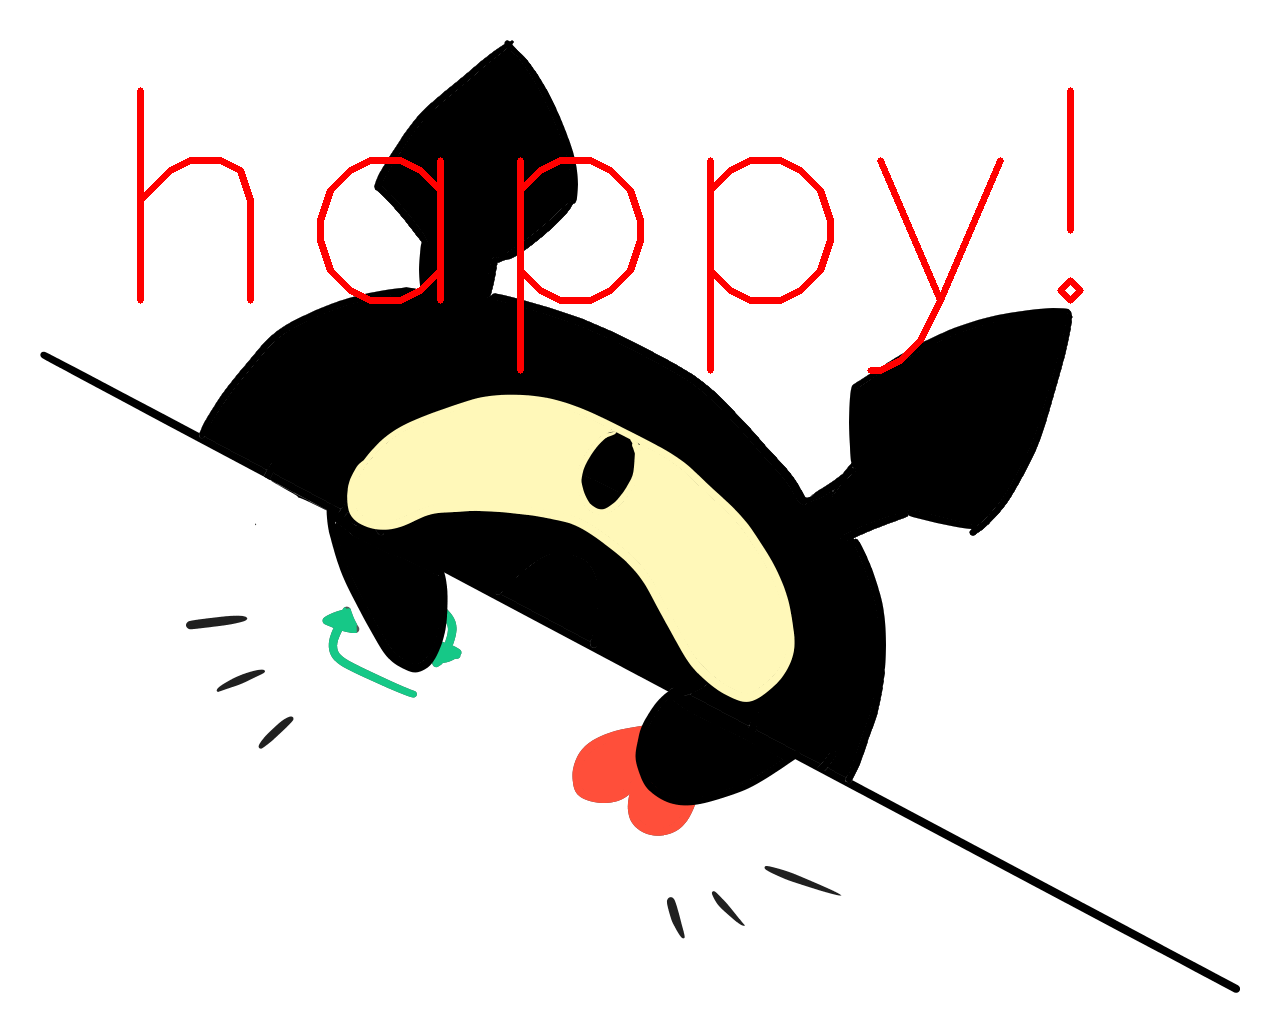
じゃあ今度はhappyを右上に置いてみましょう!
となった時、場所を間違うと、
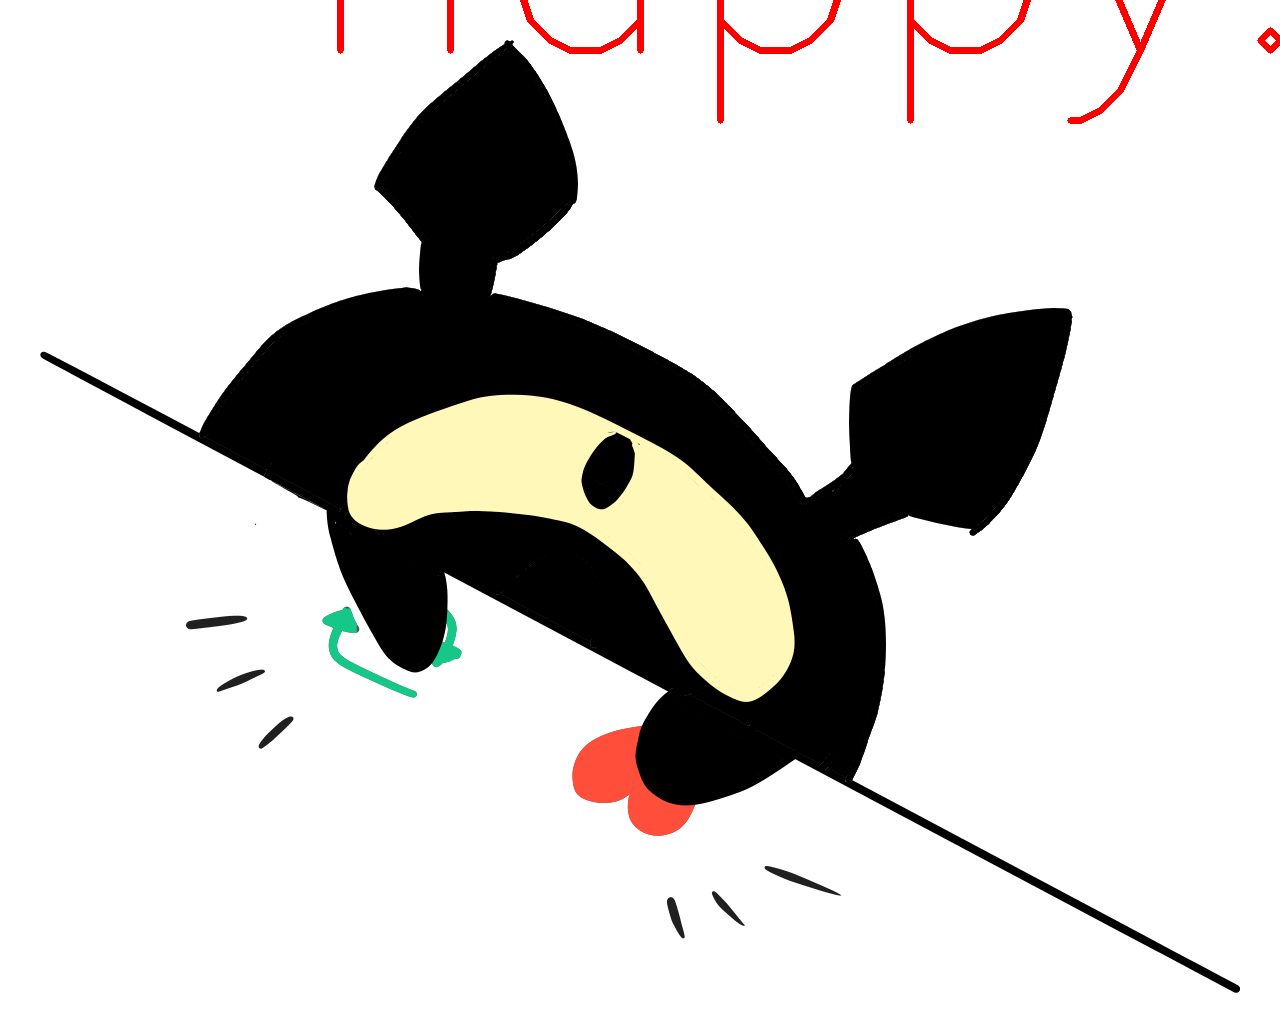
切れとるがな。
もちろん位置を調整していけば置けるんですけど、毎回調整するのはしんどいし、画像100枚に別の文字列とかなったらもうお手上げ!!
putText(img, 'happy', 'top-right')とかやりたい!!!
実装
というわけで実装しました。
とりあえずソース置いておきます。
ソースで分かる方はコピペして煮るなり焼くなりして下さい。
ソースの下に使用例と解説も置いておきます。
動作環境
python 3.8.3
OpenCV 4.6.0
OS Windows10(64bit)
ソース
def put_text_in_image(img, text, place = 'bottom-right', size = 1, color = 'black', thickness = 2, margin = 5, bordering = None):
    """
    画像に文字を入れる

    Parameters
    ----------
    img : np.array
        文字を入れたい画像イメージ(cv2形式)

    text : str
        入れたい文字列(英数字のみ)

    place : str
        'top' : 上部中央
        'top-left' : 上部左寄せ
        'top-right' : 上部右寄せ
        'center' : 中央
        'bottom' : 下部中央
        'bottom-left' : 下部左寄せ
        'bottom-right' : 下部右寄せ

    size : float
        フォントサイズ

    color : str
        文字色。['black', 'red', 'blue', 'green', 'orange', 'yellow', 'white']のいずれか

    thickness : int > 0
        フォントの太さ

    margin : int
        余白の大きさ

    bordering : dic
        縁取りしたい時に指定する
        'color' : 縁取りの色
        'thickness' : 縁取りの太さ

    return : np.array
        ウィンドウの画像イメージ(cv2形式)
        ウィンドウが見つからなかった場合はNoneを返す
    """
    # textをstrに変換
    text = str(text)

    # 文字の大きさを取得する
    # 黒バックの仮画像を生成
    height = int(50*size)
    width = int(len(text)*20*size + 10 + thickness - 1)
    blank = np.zeros((height, width, 3))

    # 黒バックに白で文字を入れる
    top, bottom, left, right = [0,0,0,0]
    cv2.putText(blank, text, (10,int(height/2)), fontFace = cv2.FONT_HERSHEY_SIMPLEX, fontScale = size, color = (255,255,255), thickness=thickness)
    # 単純な2次元配列に落とす
    temp = np.array([[int(j[0]) for j in i] for i in blank])
    # 文字がある上限を検索
    for i in range(height):
        if 255 in temp[i]:
            top = i
            break
    # 文字がある下限を検索
    for i in reversed(range(height)):
        if 255 in temp[i]:
            bottom = i
            break
    # 文字がある左限を検索
    for i in range(width):
        if 255 in temp[:,i]:
            left = i
            break
    # 文字がある右限を検索
    for i in reversed(range(width)):
        if 255 in temp[:,i]:
            right = i
            break

    # 描画開始位置の左限と実際のピクセル左限との差
    left_diff = left - 10

    # 描画開始位置の下限と実際のピクセル下限との差
    bottom_diff = bottom - int(height/2)

    # 文字を置く座標を算出
    height, width = img.shape[:2]
    text_height, text_width = [bottom-top, right-left]
    loc = (0,0)
    if place == 'top':
        loc = (width/2 - text_width/2, text_height + margin - size*7)
    elif place == 'top-left':
        loc = (margin, text_height + margin - size*7)
    elif place == 'top-right':
        loc = (width - text_width - margin + left_diff, text_height + margin - size*7)
    elif place == 'center':
        loc = (width/2 - text_width/2, height/2 - text_height/2)
    elif place == 'bottom':
        loc = (width/2 - text_width/2, height - margin - bottom_diff)
    elif place == 'bottom-left':
        loc = (margin, height - margin - bottom_diff)
    elif place == 'bottom-right':
        loc = (width - text_width - margin + left_diff, height - margin - bottom_diff)

    # 座標を整数値化
    loc = [int(i) for i in loc]

    # 色を指定
    color_BGR = {
        'black' : (0,0,0),
        'red' : (0,0,255),
        'blue' : (255,0,0),
        'green' : (0,255,0),
        'orange' : (0,127,255),
        'yellow' : (0,255,255),
        'white' : (255,255,255),
    }

    text_img = img.copy()

    # 縁取り
    if bordering:
        cv2.putText(text_img, text, loc, fontFace = cv2.FONT_HERSHEY_SIMPLEX, fontScale = size, color = color_BGR[bordering['color']], thickness=thickness + bordering['thickness'])

    cv2.putText(text_img, text, loc, fontFace = cv2.FONT_HERSHEY_SIMPLEX, fontScale = size, color = color_BGR[color], thickness=thickness)

    return text_img
使用例
その1
場所 :上部右寄せ
サイズ:10
色 :赤
太さ :5
余白 :10
img = put_text_in_image(img, text, place='top-right', size=10.0, color = 'red', thickness=5, margin=10)

その2
場所 :下部中央寄せ
サイズ:7
色 :黄色
太さ :10
余白 :10
img = put_text_in_image(img, text, place='bottom', size=7.0, color = 'yellow', thickness=10, margin=10)

その3
場所 :中央
サイズ:7
色 :白
太さ :10
余白 :10
縁取り
色 :赤
太さ:10
img = put_text_in_image(img, text, place='center', size=7.0, color = 'white', thickness=10, margin=10, bordering={'color':'red', 'thickness':10})

解説
引数はの説明はコメント参照。
    # textをstrに変換
    text = str(text)
数値でも入れられるように文字列に変換しています。
文字の大きさの取得
    # 文字の大きさを取得する
    # 黒バックの仮画像を生成
    height = int(50*size)
    width = int(len(text)*20*size + 10 + thickness - 1)
    blank = np.zeros((height, width, 3))
ここからは文字の大きさを取得しています。
文字のsizeや太さから一文字ずつ計算しても良いのですが、文字によって高さや幅に差が出て面倒なので、
一旦バックの画像に白文字で文字を入れます。
np.zerosで0埋めすることで、黒い画像が出来上がります。
大きさは、文字が入るようにちょっと広めに取ってあります。
    # 黒バックに白で文字を入れる
    top, bottom, left, right = [0,0,0,0]
    cv2.putText(blank, text, (10,int(height/2)), fontFace = cv2.FONT_HERSHEY_SIMPLEX, fontScale = size, color = (255,255,255), thickness=thickness)
実際に文字を入れます。
# 単純な2次元配列に落とす
    temp = np.array([[int(j[0]) for j in i] for i in blank])
文字を入れ終わった画像は
[(0,0,0),(0,0,0),      (0,0,0),      (0,0,0),(0,0,0),]
[(0,0,0),(255,255,255),(255,255,255),(0,0,0),(0,0,0),]
[(0,0,0),(255,255,255),(0,0,0),      (0,0,0),(0,0,0),]
[(0,0,0),(0,0,0),      (0,0,0),      (0,0,0),(0,0,0),]
みたいな状態になっています。
このままでも良いのですが、後の処理をやりやすくするために
[0,0,  0,  0,0]
[0,255,255,0,0]
[0,255,0,  0,0]
[0,0,  0,  0,0]
のような状態にします。色が白と黒しかないので本質は変わらないですね。
    # 文字がある上限を検索
    for i in range(height):
        if 255 in temp[i]:
            top = i
            break
    # 文字がある下限を検索
    for i in reversed(range(height)):
        if 255 in temp[i]:
            bottom = i
            break
    # 文字がある左限を検索
    for i in range(width):
        if 255 in temp[:,i]:
            left = i
            break
    # 文字がある右限を検索
    for i in reversed(range(width)):
        if 255 in temp[:,i]:
            right = i
            break
上下左右それぞれの行と列に255(白色)があるか検査していきます。
見つけた部分が、文字列を画像にした時の上下左右の端の座標ですね。
    # 描画開始位置の左限と実際のピクセル左限との差
    left_diff = left - 10

    # 描画開始位置の下限と実際のピクセル下限との差
    bottom_diff = bottom - int(height/2)
これは図で説明しますね。
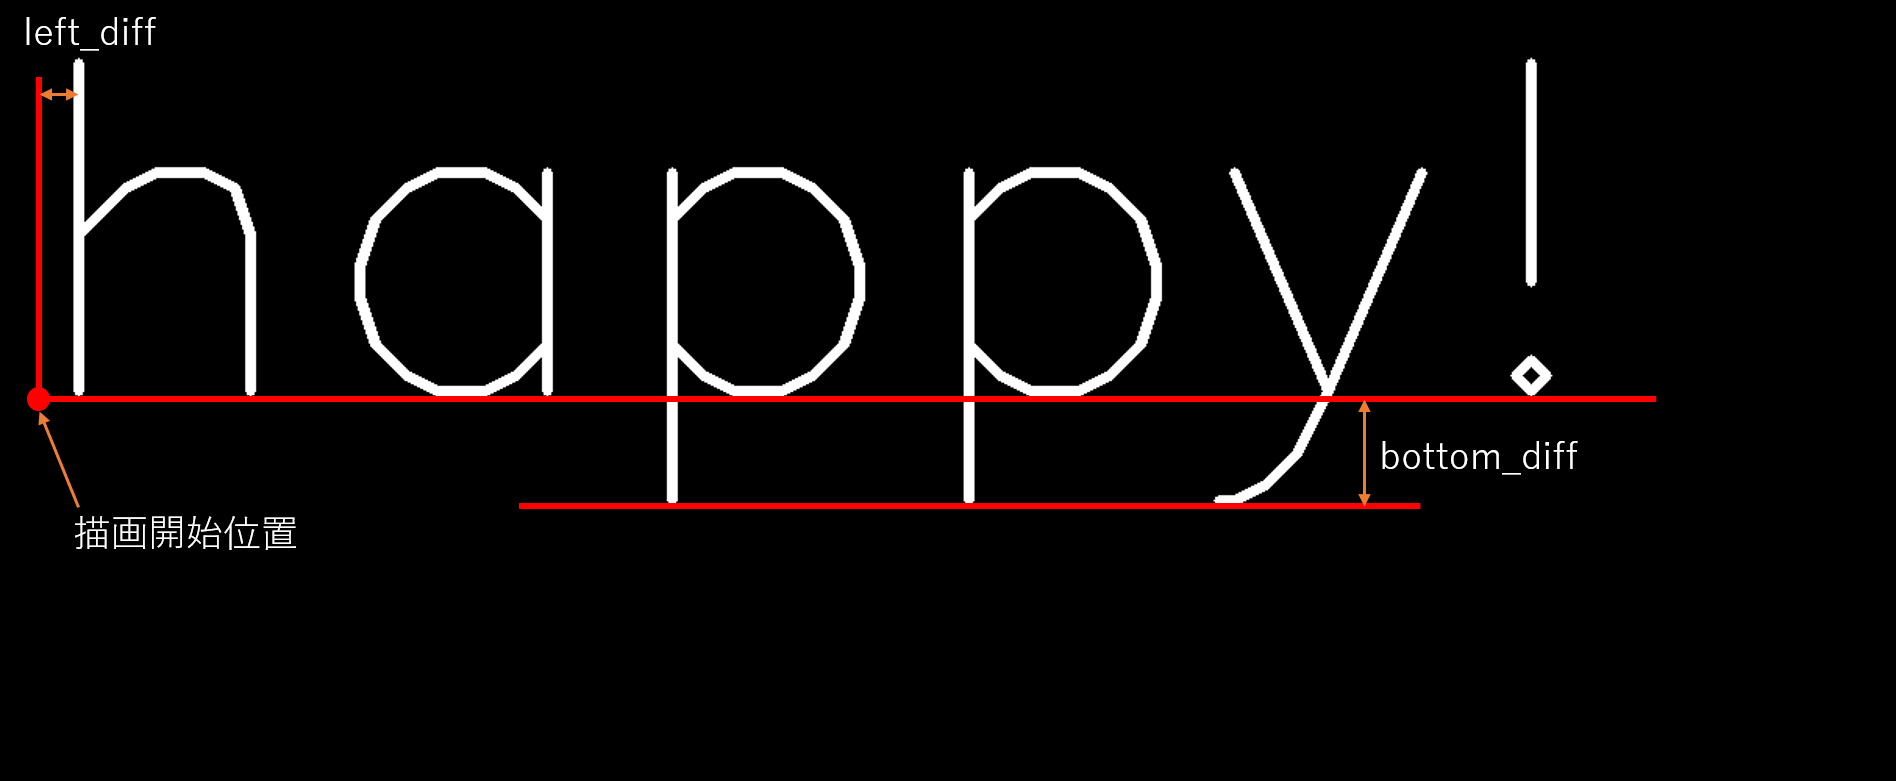
putTextで文字を挿入する場合、描画開始位置と実際の文字の左端、下端がズレる場合があります。
文字を左端や下に挿入する場合はこの差が原因でズレますので、その補正のためにズレの値を取っておきます。
描画位置の算出
# 文字を置く座標を算出
    height, width = img.shape[:2]
    text_height, text_width = [bottom-top, right-left]
    loc = (0,0)
    if place == 'top':
        loc = (width/2 - text_width/2, text_height + margin - size*7)
    elif place == 'top-left':
        loc = (margin, text_height + margin - size*7)
    elif place == 'top-right':
        loc = (width - text_width - margin + left_diff, text_height + margin - size*7)
    elif place == 'center':
        loc = (width/2 - text_width/2, height/2 - text_height/2)
    elif place == 'bottom':
        loc = (width/2 - text_width/2, height - margin - bottom_diff)
    elif place == 'bottom-left':
        loc = (margin, height - margin - bottom_diff)
    elif place == 'bottom-right':
        loc = (width - text_width - margin + left_diff, height - margin - bottom_diff)
文字列画像の大きさが取得出来たので、もとの画像の大きさと合わせて、
文字の挿入位置を算出していきます。
これは数式だけなので特に言うことは無いですね。
marginで、端から何ピクセル離すかを指定できます。
    # 座標を整数値化
    loc = [int(i) for i in loc]
中央寄せの場合はlocの値が少数になる場合があるので、整数値化。
色指定
    # 色を指定
    color_BGR = {
        'black' : (0,0,0),
        'red' : (0,0,255),
        'blue' : (255,0,0),
        'green' : (0,255,0),
        'orange' : (0,127,255),
        'yellow' : (0,255,255),
        'white' : (255,255,255),
    }
putTextの色指定はBGR方式です。
RGBではないので注意。
縁取り
    text_img = img.copy()

    # 縁取り
    if bordering:
        cv2.putText(text_img, text, loc, fontFace = cv2.FONT_HERSHEY_SIMPLEX, fontScale = size, color = color_BGR[bordering['color']], thickness=thickness + bordering['thickness'])
putTextはもとの画像を直接いじるので、コピーを取ってから文字を挿入します。
縁取りは、更に太い文字列を下に挿入することで、それっぽく見せています。
文字挿入
    cv2.putText(text_img, text, loc, fontFace = cv2.FONT_HERSHEY_SIMPLEX, fontScale = size, color = color_BGR[color], thickness=thickness)

    return text_img
ここも特に言う事はないですね。
文字入れて、returnして終わりです。
おわりに
もともと
雀魂の画面から画像認識で対戦情報を持ってくる
https://qiita.com/xenepic_takku/items/786f110eb5be6ccf246d
で使うために作った関数だったのですが、そこで紹介するにはちょっと長く、別に麻雀も関係なかったので別記事でまとめました。
色とかフォントとか、増やしたい方はそのへんを弄って貰えればと思います。
それでは!