Gmail APIをPHPから呼び出してメール情報を取得しようとしたが、苦戦したのでその時のメモを残す。
その際、以下の公式のページを参考に設定した。
Gmail APIの申請方法
https://developers.google.com/gmail/api/quickstart/php
Gmail APIの設定
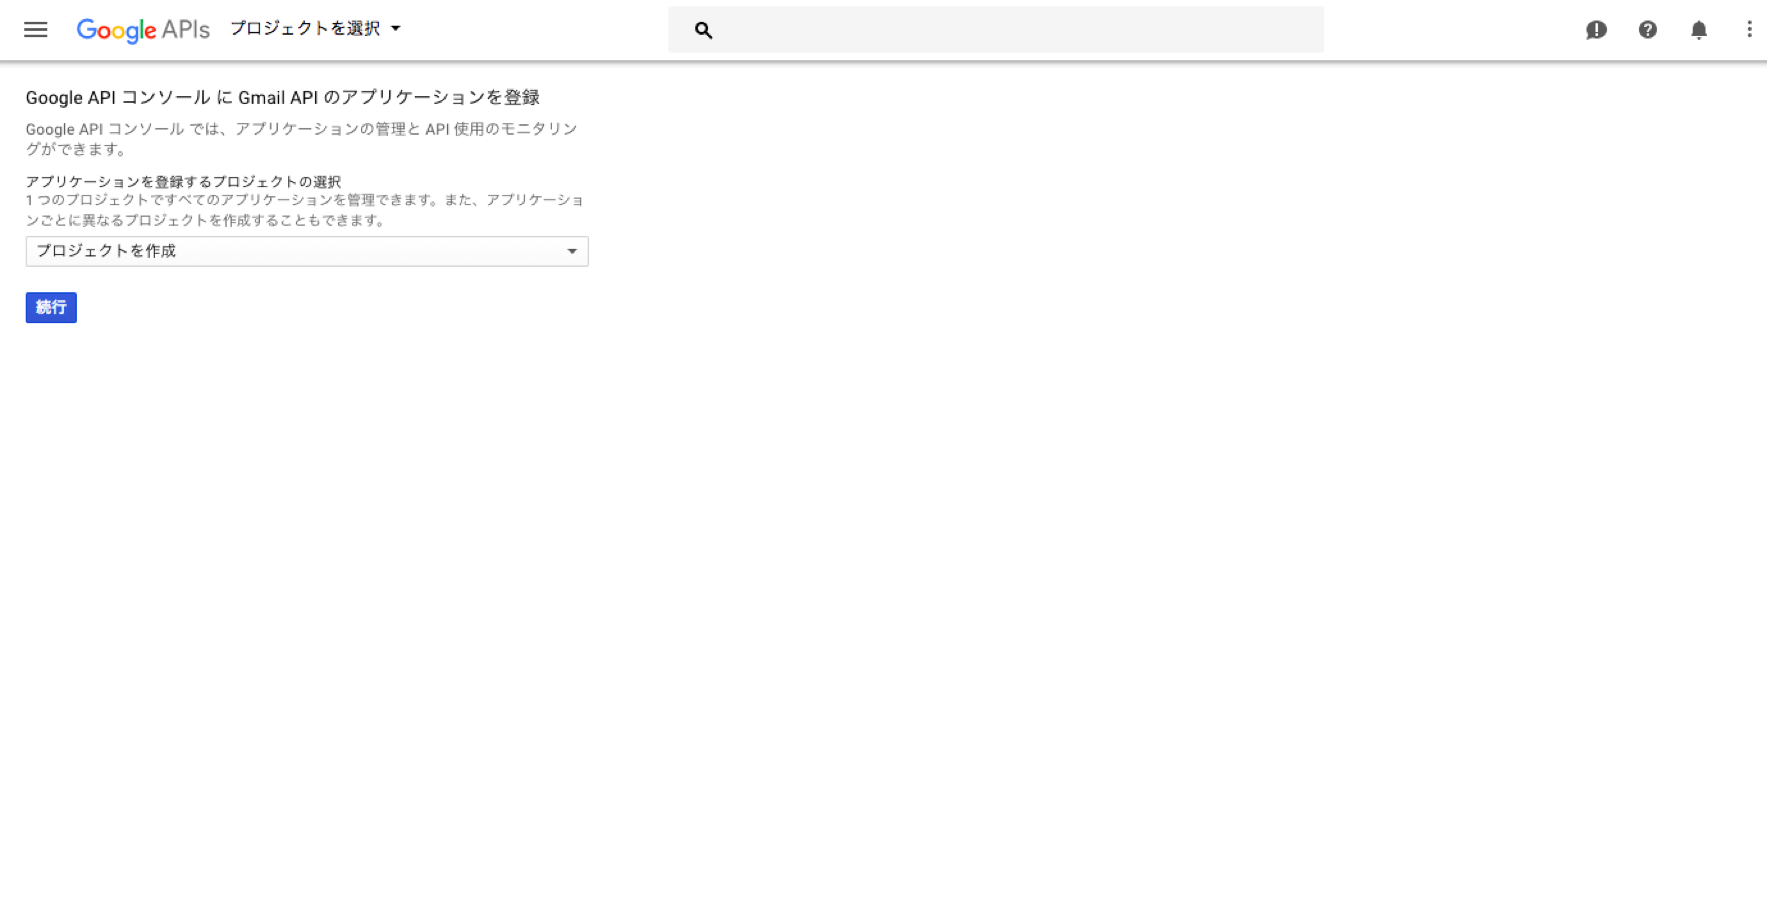
1.[Step 1: Turn on the Gmail API]の[this wizard]のリンクをクリックする

2.[続行]をクリックする
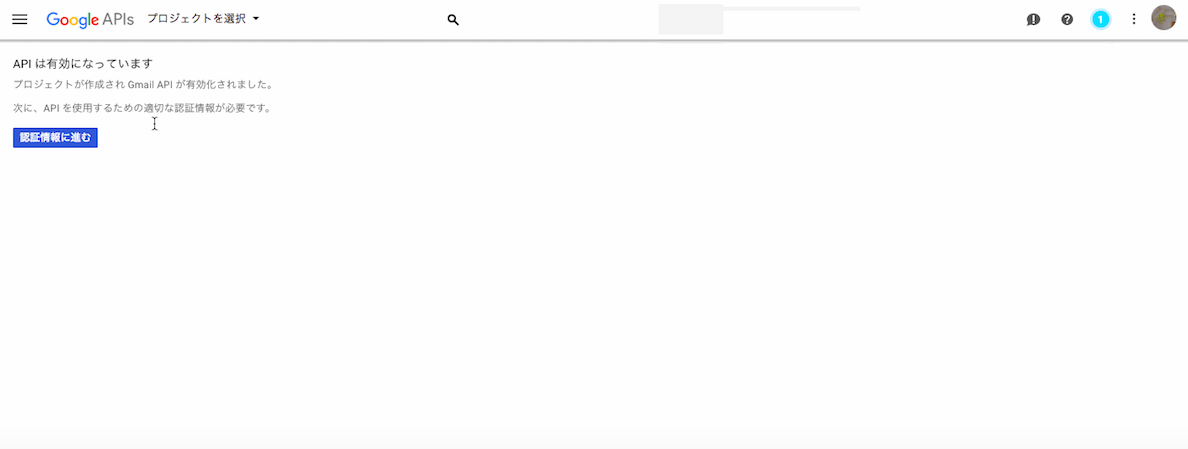
3.[認証情報に進む]をクリックする
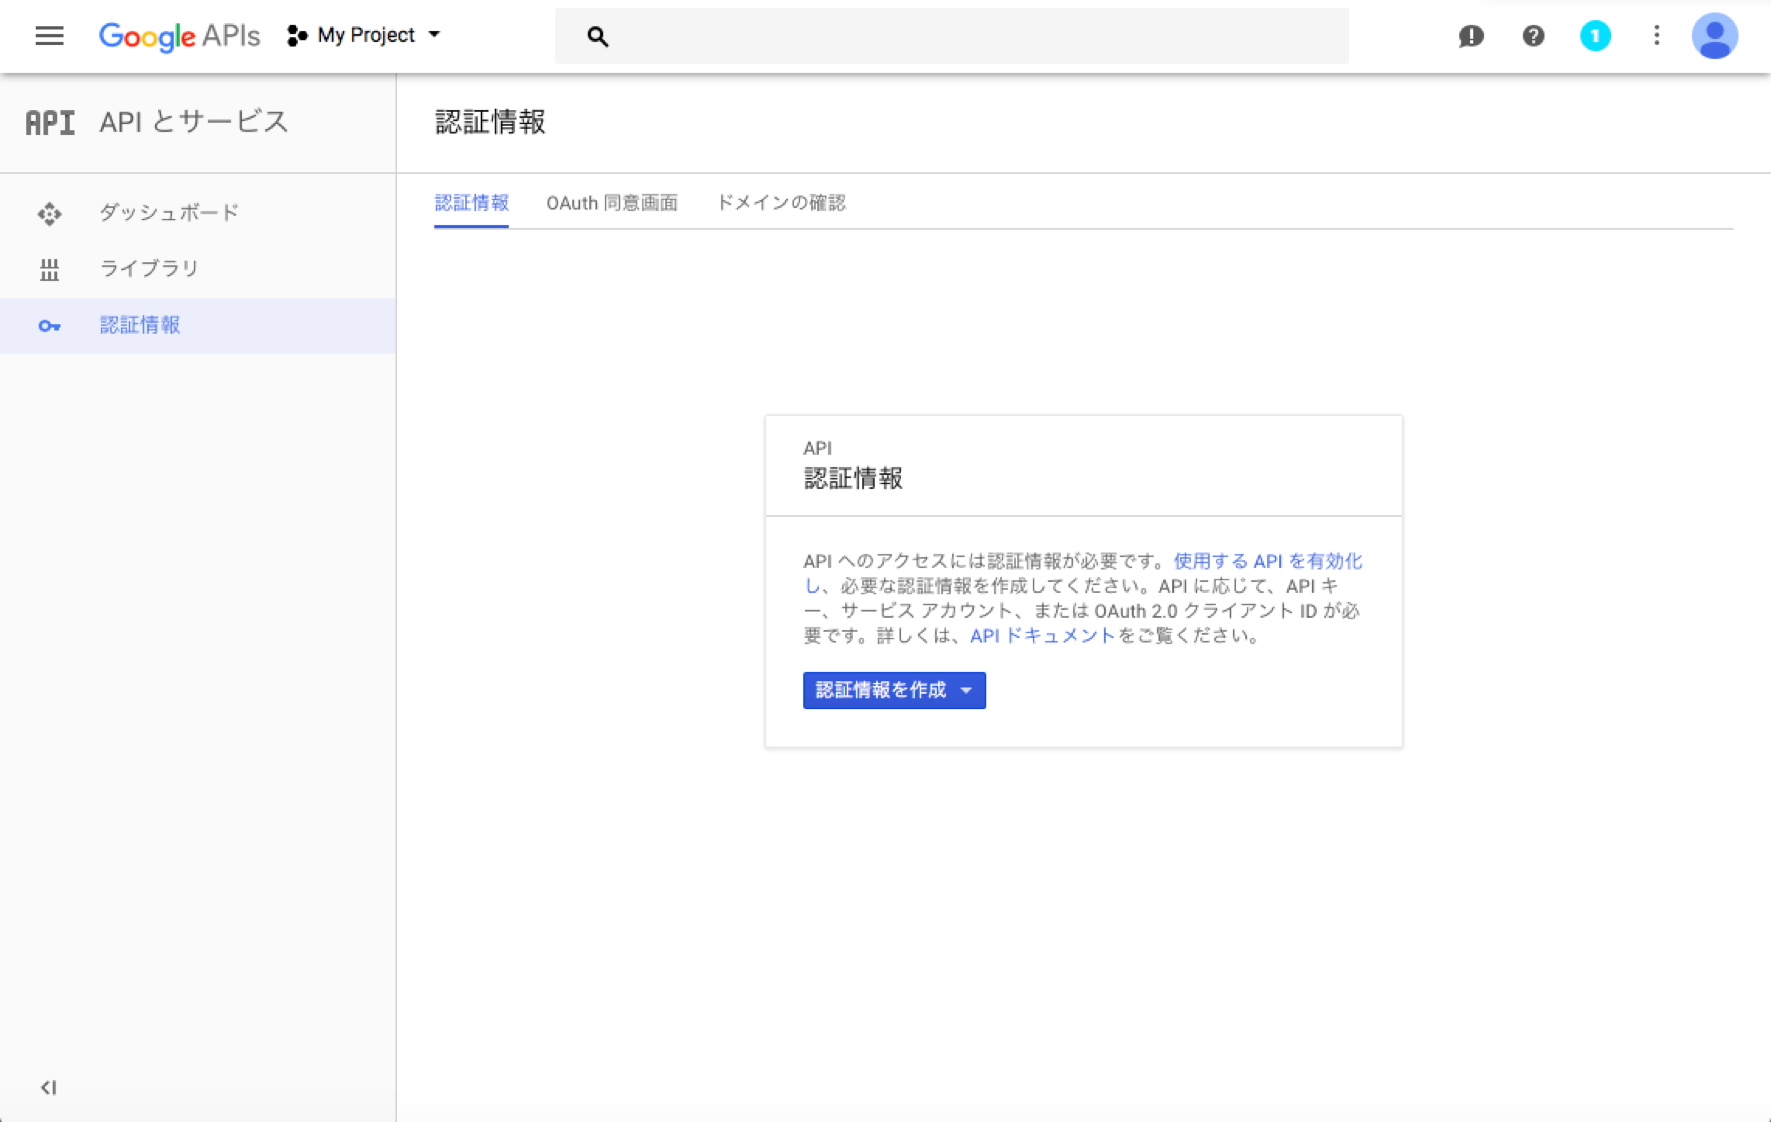
4.[プロジェクトへの認証情報の追加]で[キャンセル]をクリックする

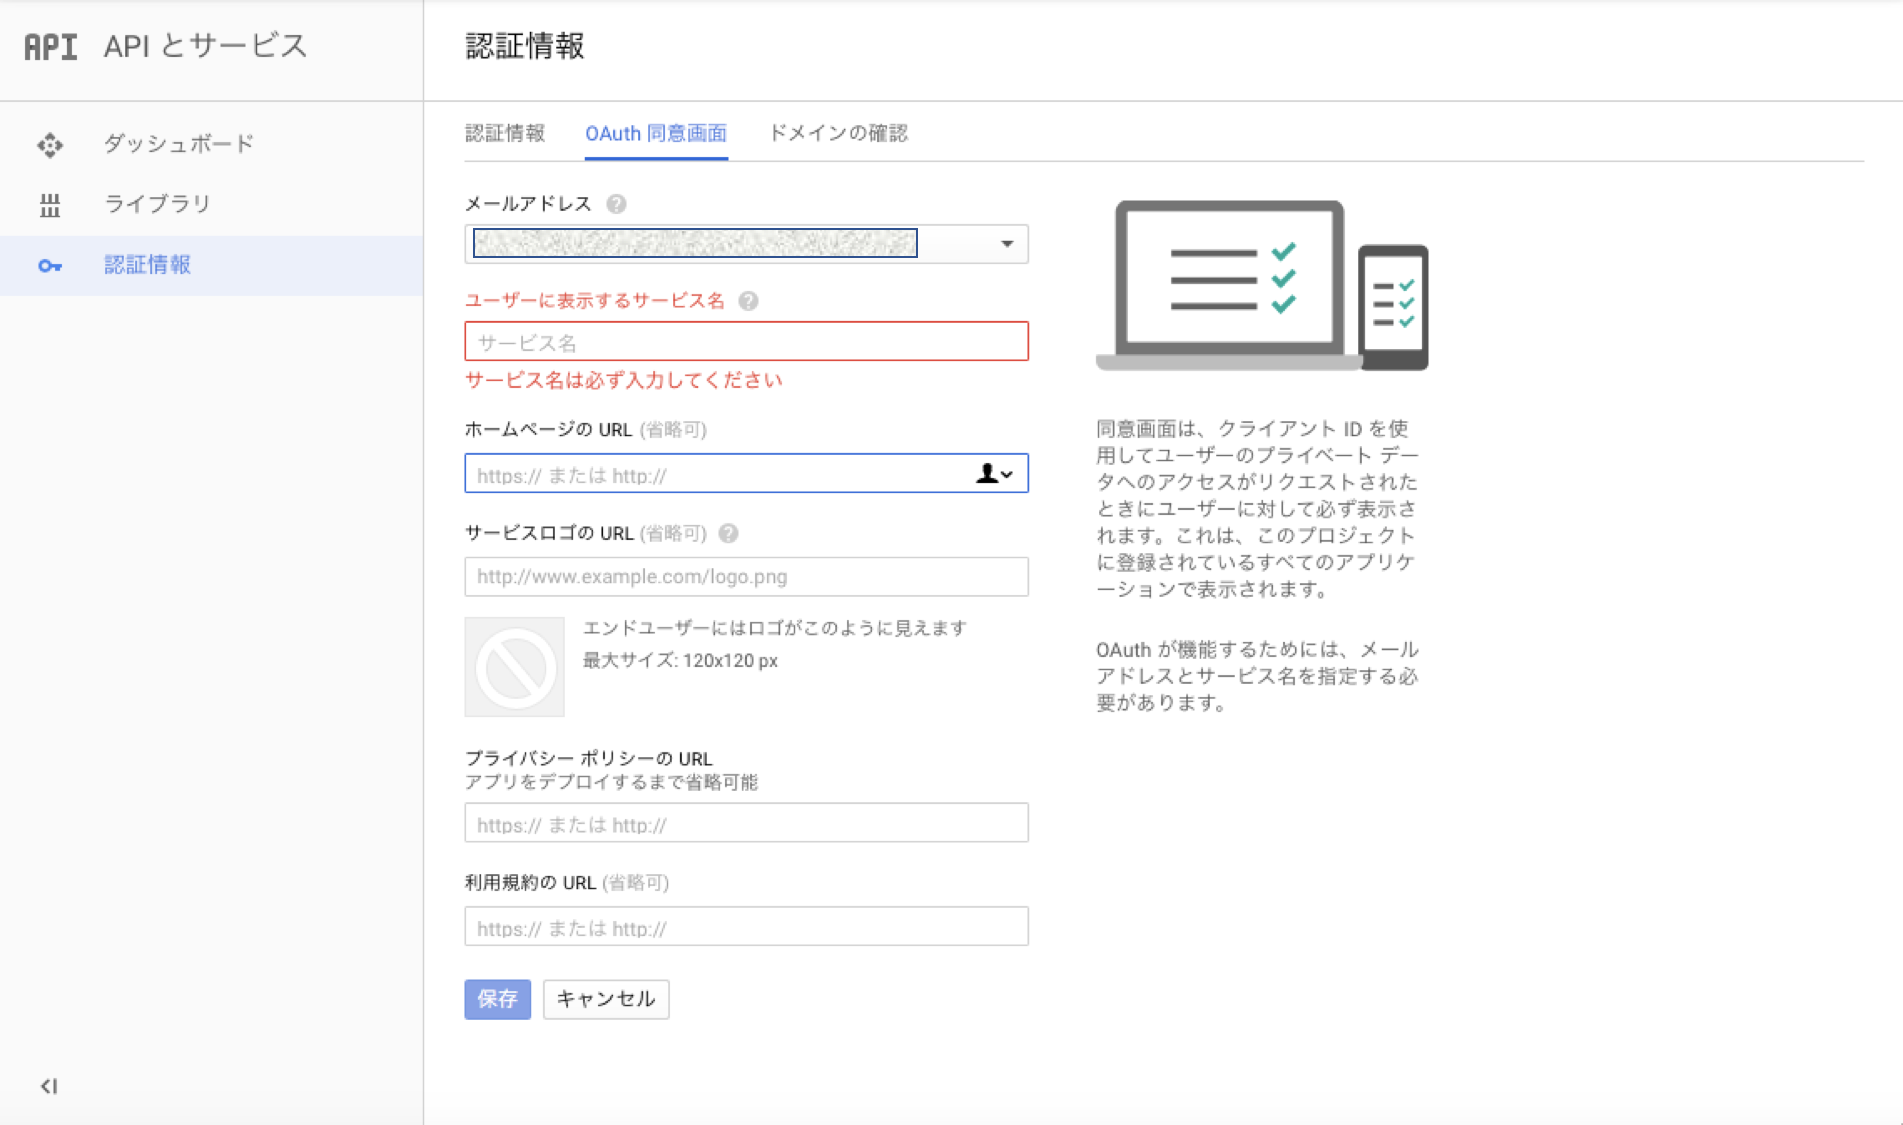
5.[OAuth 同意画面]タブをクリックする
6.メールアドレスと適当なサービス名を入力して保存する
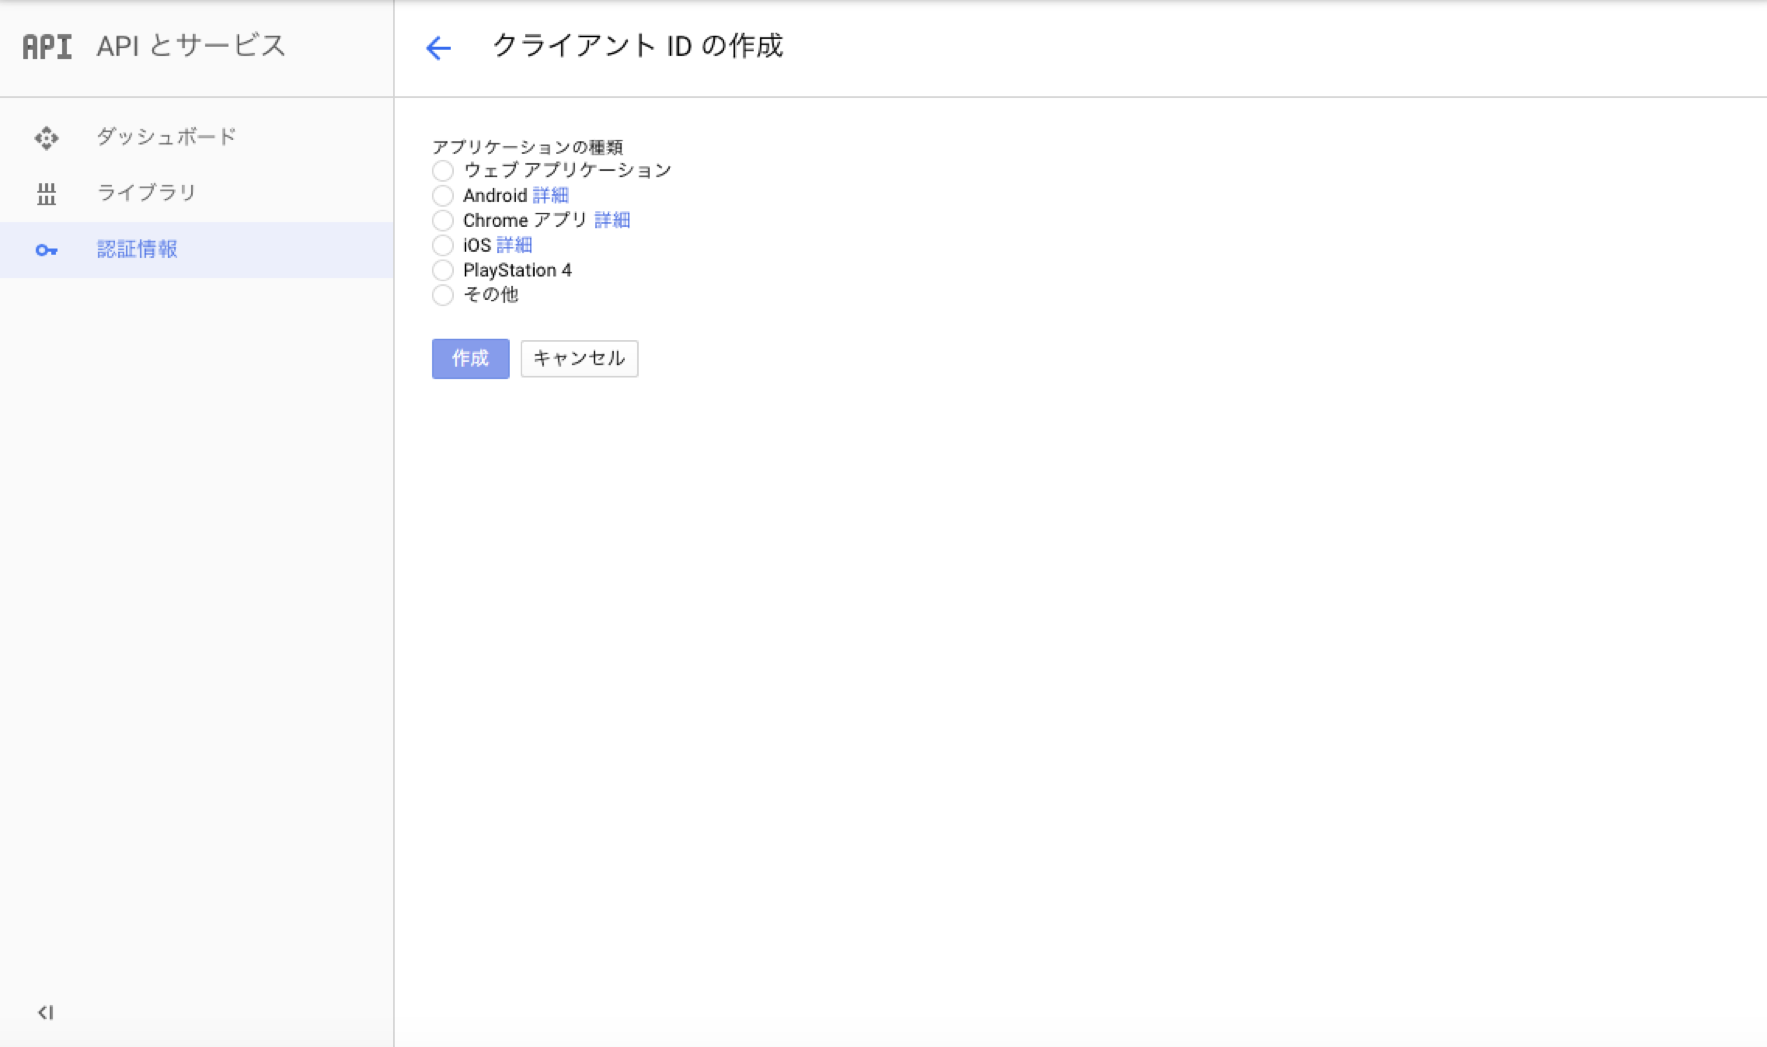
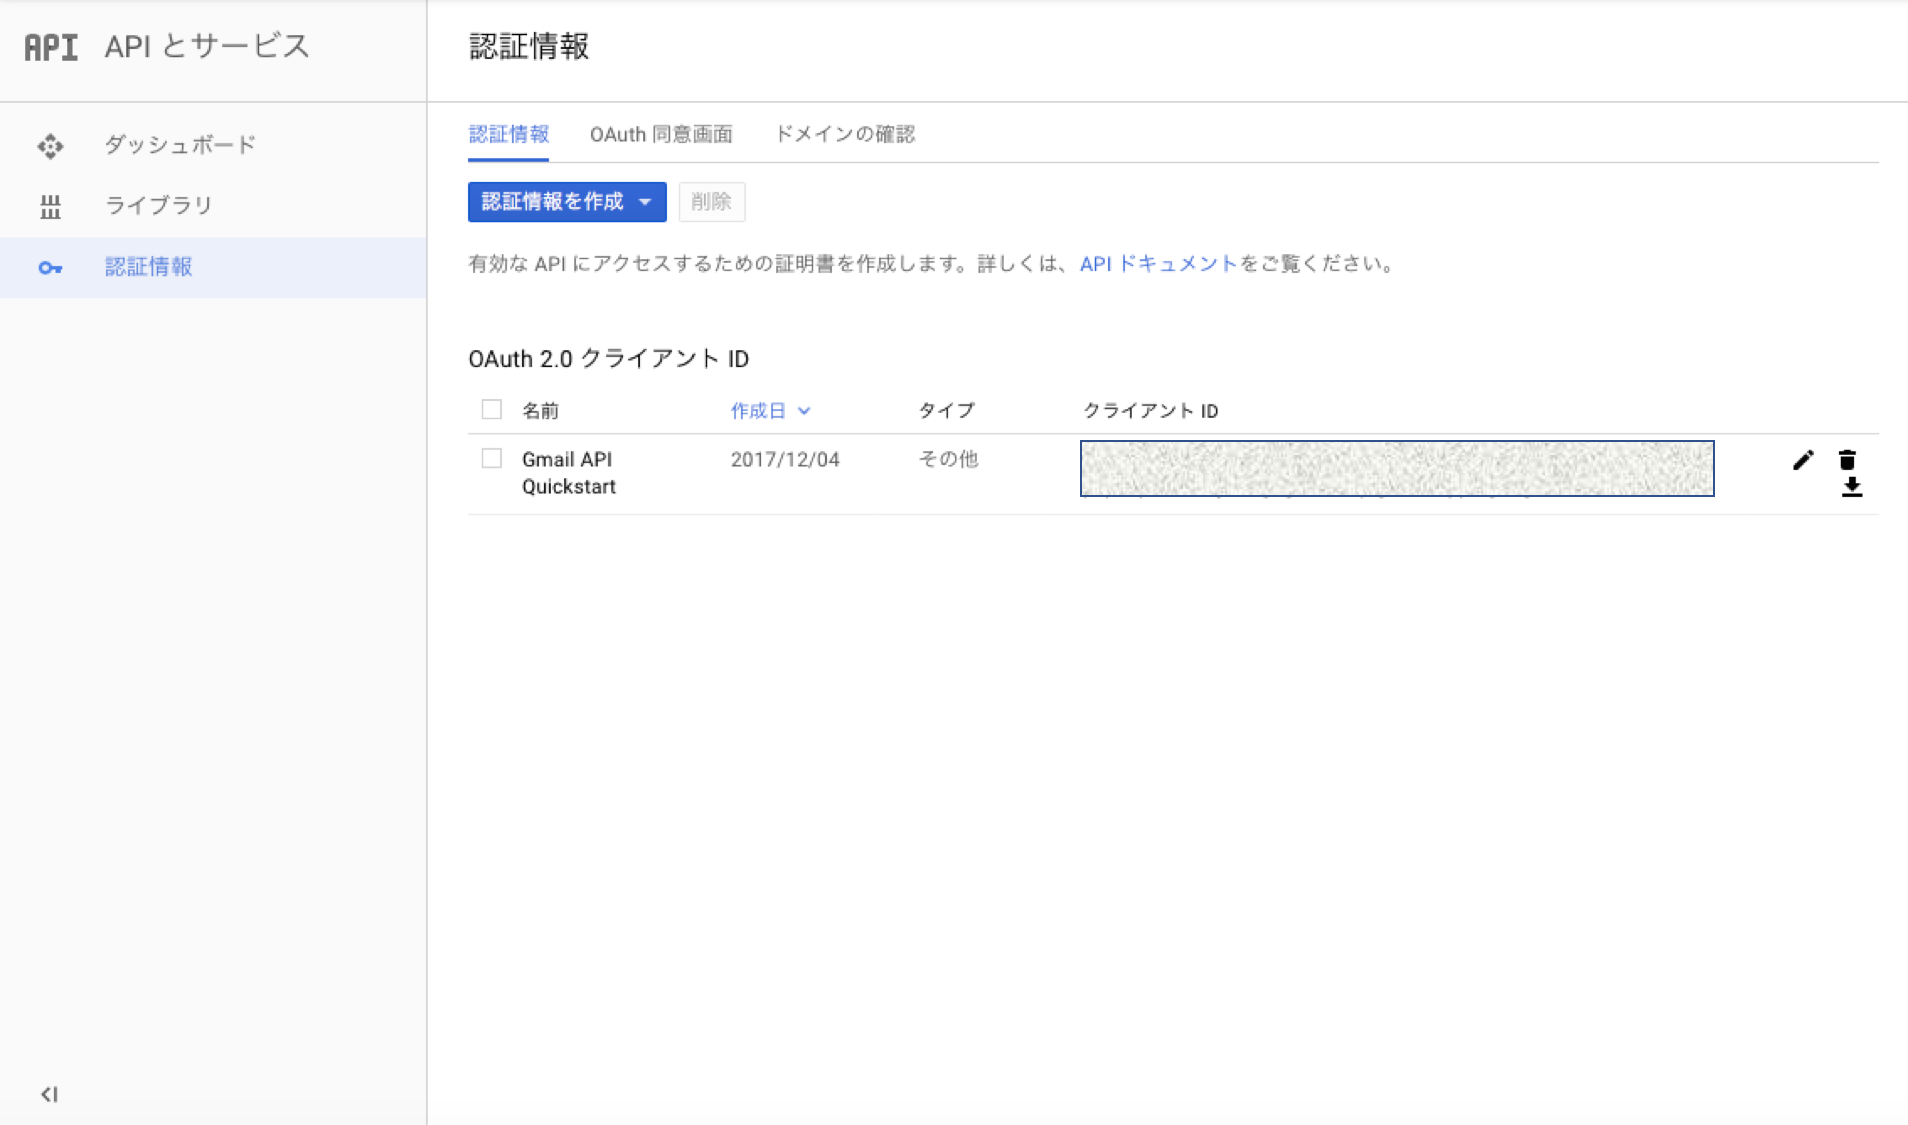
7.[その他]を選択して、"Gmail API Quickstart"と入力して[作成]をクリックする
8.右側のダウンロードのアイコンをクリックし、JSONをダウンロードする
9.ダウンロードしたJSONファイルは、メール取得のプログラムと同じディレクトリに置く。その際、JSONファイルの名前をclient_secret.jsonに変更する
Google Client Libraryのインストール
Composerを用いて以下のコマンドを実行する
php composer.phar require google/apiclient:^2.0
composer.pharをJSONファイルと同じディレクトリに置いて、上記のコマンドを実行する
サンプルプログラムを実行
1.以下のプログラムをquickstart.phpという名前でclient_secret.jsonと同じディレクトリに保存する
<?php
require_once __DIR__ . '/vendor/autoload.php';


define('APPLICATION_NAME', 'Gmail API PHP Quickstart');
define('CREDENTIALS_PATH', '~/.credentials/gmail-php-quickstart.json');
define('CLIENT_SECRET_PATH', __DIR__ . '/client_secret.json');
// If modifying these scopes, delete your previously saved credentials
// at ~/.credentials/gmail-php-quickstart.json
define('SCOPES', implode(' ', array(
  Google_Service_Gmail::GMAIL_READONLY)
));

if (php_sapi_name() != 'cli') {
  throw new Exception('This application must be run on the command line.');
}

/**
 * Returns an authorized API client.
 * @return Google_Client the authorized client object
 */
function getClient() {
  $client = new Google_Client();
  $client->setApplicationName(APPLICATION_NAME);
  $client->setScopes(SCOPES);
  $client->setAuthConfig(CLIENT_SECRET_PATH);
  $client->setAccessType('offline');

  // Load previously authorized credentials from a file.
  $credentialsPath = expandHomeDirectory(CREDENTIALS_PATH);
  if (file_exists($credentialsPath)) {
    $accessToken = json_decode(file_get_contents($credentialsPath), true);
  } else {
    // Request authorization from the user.
    $authUrl = $client->createAuthUrl();
    printf("Open the following link in your browser:\n%s\n", $authUrl);
    print 'Enter verification code: ';
    $authCode = trim(fgets(STDIN));

    // Exchange authorization code for an access token.
    $accessToken = $client->fetchAccessTokenWithAuthCode($authCode);

    // Store the credentials to disk.
    if(!file_exists(dirname($credentialsPath))) {
      mkdir(dirname($credentialsPath), 0700, true);
    }
    file_put_contents($credentialsPath, json_encode($accessToken));
    printf("Credentials saved to %s\n", $credentialsPath);
  }
  $client->setAccessToken($accessToken);

  // Refresh the token if it's expired.
  if ($client->isAccessTokenExpired()) {
    $client->fetchAccessTokenWithRefreshToken($client->getRefreshToken());
    file_put_contents($credentialsPath, json_encode($client->getAccessToken()));
  }
  return $client;
}

/**
 * Expands the home directory alias '~' to the full path.
 * @param string $path the path to expand.
 * @return string the expanded path.
 */
function expandHomeDirectory($path) {
  $homeDirectory = getenv('HOME');
  if (empty($homeDirectory)) {
    $homeDirectory = getenv('HOMEDRIVE') . getenv('HOMEPATH');
  }
  return str_replace('~', realpath($homeDirectory), $path);
}

// Get the API client and construct the service object.
$client = getClient();
$service = new Google_Service_Gmail($client);

// Print the labels in the user's account.
$user = 'me';
$results = $service->users_labels->listUsersLabels($user);

if (count($results->getLabels()) == 0) {
  print "No labels found.\n";
} else {
  print "Labels:\n";
  foreach ($results->getLabels() as $label) {
    printf("- %s\n", $label->getName());
  }
}
2.以下のコマンドを実行する
3.リンクが出力されるのでWebブラウザでアクセスする
4.googleの認証ページにアクセスされ、googleアカウントにログインする
5.遷移先のコードを実行中のコマンドラインに貼り付けエンターを押す。
6.~/.credentials/gmail-php-quickstart.jsonが作成される
もう一度、php quickstart.phpを実行すると成功する。