はじめに
先日、自分史上初めてnpmのパッケージを作成したので、これを使ったデモの作り方を説明しようと思います。
前回の記事です。
https://qiita.com/wok/items/9025059893a406f4307f
なお、今回のパッケージバージョンは1.0.19を想定しています。
前準備
今回はReactでデモを作成します。
まずは環境構築をしましょう
create-react-app demo --typescript
パッケージをインストール
それではvirtual背景のパッケージをインストールします。
npm install local-video-effector
npm install
背景画像の準備
virtual背景で使う画像を準備しましょう。
上記create-react-appコマンドで作成されるpublicディレクトリにお好みの画像を置いてください。
今回はpic1.jpgという名前の画像ファイルを置きました。
$ ls public/pic1.jpg
public/pic1.jpg
ソースコード
全体で60行程度なので、まずは全部貼り付けてしまいますね。
import * as React from 'react'
import { LocalVideoEffectors, ModelConfigMobileNetV1, ModelConfigResNet, getDeviceLists } from 'local-video-effector'

class App extends React.Component {

  localCanvasRef = React.createRef<HTMLCanvasElement>()
  localVideoEffectors : LocalVideoEffectors|null = null

  componentDidMount() {
    getDeviceLists().then((res)=>{console.log(res)})                           // <--------- (2-6')

    const model      = new URL(window.location.href).searchParams.get('model') // <---------  (1-1)
    const blurString = new URL(window.location.href).searchParams.get('blur')  // <---------  (1-2)
    const blur = blurString === null ? 0 : parseInt(blurString)
    if(model === 'MobileNetV1'){                                               // <---------  (2-1)
      this.localVideoEffectors = new LocalVideoEffectors(ModelConfigMobileNetV1)
    }else if (model === 'ResNet'){
      this.localVideoEffectors = new LocalVideoEffectors(ModelConfigResNet)
    }else{
      this.localVideoEffectors = new LocalVideoEffectors(null)
    }
    this.localVideoEffectors.cameraEnabled              = true                 // <---------  (2-2)
    this.localVideoEffectors.virtualBackgroundEnabled   = true                 // <---------  (2-3)
    this.localVideoEffectors.virtualBackgroundImagePath = "/pic1.jpg"          // <---------  (2-4)
    this.localVideoEffectors.maskBlurAmount             = blur                 // <---------  (2-5)
    this.localVideoEffectors.selectInputVideoDevice("").then(() => {           // <---------  (2-6)
      requestAnimationFrame(() => this.drawVideoCanvas())                      // <---------  (3)
    })
  }

  drawVideoCanvas = () => {
    if (this.localCanvasRef.current !== null) {
      const width  = 640
      const height = 480
      this.localVideoEffectors!.doEffect(width,height)                         // <---------- (4)

      if (this.localVideoEffectors!.outputWidth !== 0 && this.localVideoEffectors!.outputHeight !== 0) {
        this.localCanvasRef.current.width  = width
        this.localCanvasRef.current.height = height
        const ctx = this.localCanvasRef.current.getContext("2d")!
        ctx.drawImage(this.localVideoEffectors!.outputCanvas, 0, 0,            // <---------- (5)
          this.localCanvasRef.current.width, this.localCanvasRef.current.height)
      }
    }
    requestAnimationFrame(() => this.drawVideoCanvas())                        // <---------- (6)
  }

  render() {
    return (
      <div style={{ width: "640px", margin: "auto" }}>
        <canvas ref={this.localCanvasRef}  style={{ display: "block", width: "640px", margin: "auto" }} />
      </div>
    )
  }
}

export default App
それでは、ソースコードの解説です。
まず(1-1)から(1-2)では、URLのパラメータを解析をしています。
modelはvirtual背景を行うときに人間と背景を識別するために使用するAIのモデルを指定するものです。
一般的にAIのモデルは、識別の精度と処理速度はトレードオフになっています。virtual背景のパッケージは次の3つのモデルを選択できます。
・デフォルト (精度中、速度中)
・MobileNetV1 (精度低い、高速)
・ResNet (精度高い、低速)
blurは、人物と背景との境界に入れるぼかしをどの程度にするかを決める値です。
大きい数字ほどぼかしの範囲が大きくなります。zeroはぼかしなしになります。
(2-1)-(2-6)で挙動を設定しています。
(2-1)から数行は、virtual背景を行うクラスLocalVideoEffectorのコンストラクタに使用するモデルを設定して初期化しています。
(2-2)で、カメラを有効化するフラグを立て、(2-3)でvirtual背景を有効化するフラグを立てています。
(2-4)では、使用する背景画像を指定しています。先程publicにおいたpic1.jpgを指定しています。
(2-5)でblurを設定しています。
(2-6)で使用するカメラデバイスのID指定します。空文字列を渡すとデフォルトのカメラを使います。
デフォルト以外のカメラデバイスのIDを知りたい場合はユーティリティ関数を用意しているので(2-6')のようにして取得してください。
この(2-1)から(2-6)までを完了すると、virtual背景を使用する準備完了です。(3)のようにループ処理に入ります。
ループ内では(4)-(6)の処理をおこないます。
(4)で、virtual背景を適用したビデオフレームの生成を行います。引数で幅と高さを指定できます。この数値は内部で処理を行う際に使う画像サイズになりますので、大きすぎると処理時間がかりコマ落ちが発生してしまいます。逆に処理が重いと感じた場合は、この値を小さくしてあげてください。
(5)では、(4)で生成したフレームを表示用のHTMLCanvasに描画しています。描画が完了したら(6)でループを行い次のフレームを処理するようにします。
以上が、デモのソースコードになります。
デモ
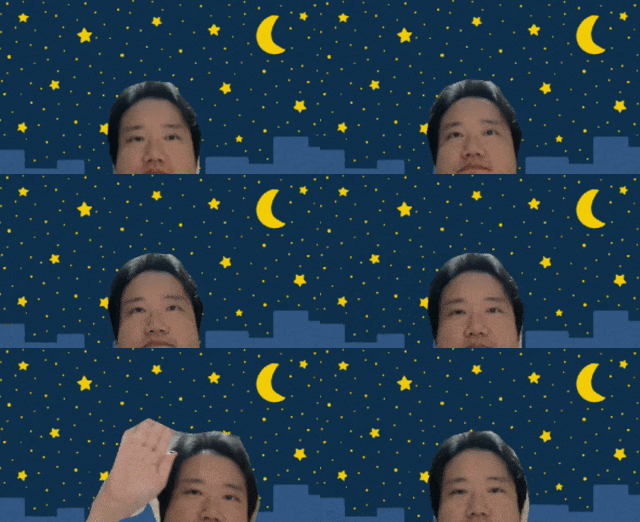
作成したデモはこのような感じになります。クエリパラメータを変更すれば、モデルや境界のぼやけを変えることができます。
ソースコードとnpmパッケージ
本ソースコードは下記のリポジトリに格納してあります。
https://github.com/FLECT-DEV-TEAM/cloudblog20200622
npmパッケージのページは次のURLになります。
https://www.npmjs.com/package/local-video-effector
さいごに
今回は、npmパッケージを利用してvirtual背景のデモを作成してみました。
60行程度で作成できてしまうのでお手軽に利用できるのではないでしょうか。
よかったら、使ってみてください。
