はじめに
これまで、Amazon Chime SDK, Twillio, Zoom SDK, Janus Gatewayなどを用いてビデオ会議アプリを開発してきました。より幅を広げようと思い、今回初めてTRTC(Tencent Real-Time Communication)を勉強しています。
最初の投稿では、Typescript+ReactでHello world的なところまで作ってみて、感想を述べました。その後、ちょっとしたサービスを作成しようと思っていたのですが、TRTCにはいろいろと面白い機能がありそうなので、それについても引き続き記事にしていきたいと思います。
ちなみに、前回の投稿ではWatermarking機能を使ってみています。ご興味を持たれましたらご覧ください。
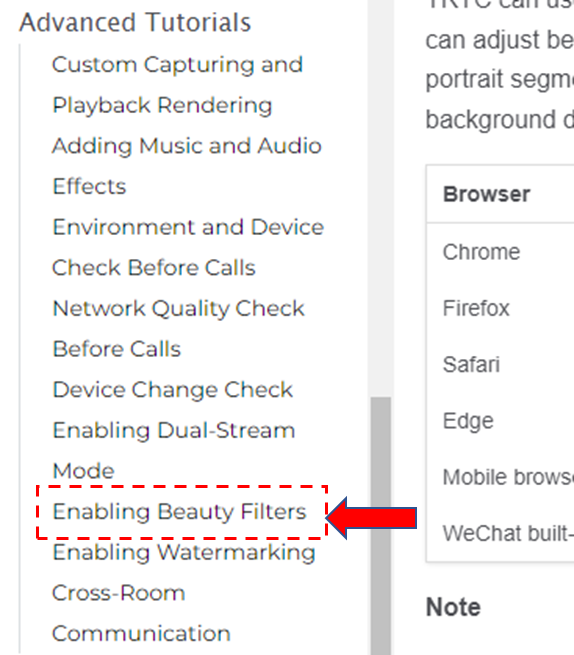
今回は、Advanced Tutrialに掲載されているBeauty Filters機能を見ていきたいと思います。名前的になんか期待が高まりますね。
Beauty Filters
そもそも、Beuty Filtersとは何ぞや?ですが、チュートリアルの記述を読むと、どうやら映像を美しくする以外にも、仮想背景を行う機能も付いているようです。仮想背景の機能は、他のSDKでも提供され始めていますが、映像を美しくするのは見たことないような気がします。期待して実装してみましょう。
実装
前提その1
ひとつ前の投稿での、コードをベースに見ていくことにします。一度目を通しておいてください。
前提その2
Beauty Filtersは別途プラグインをインストールする必要があります。
$ npm install rtc-beauty-plugin
Beauty Pluginの型定義(オプション)
Beauty Pluginには型定義がないので定義しておきます。TRTCの本質ではないので、省略可能です。
declare module "rtc-beauty-plugin";

declare class RTCBeautyPluginClass {
    generateBeautyStream: (localStream: LocalStream) => LocalStream
    generateVirtualStream: (localStream: LocalStream) => Promise<LocalStream>
    loadResources: () => Promise<void>
    destroy: () => void
}
コード概要
ひとつ前の投稿からの差分を説明していきます。(細かなところは省略します。後述するリポジトリでご確認ください。)
まず、Beauty Filtersで利用可能な機能をメニューから選択できるようにします。
// Beauty Filtersで利用可能な機能の定義
const Effect = {
    "none": "none",
    "beauty": "beauty",
    "virtual background": "virtual background",
    "blur": "blur"
} as const
type Effect = typeof Effect[keyof typeof Effect]
// メニューコンポーネント
<div className="header-item-container">
    <div className="header-label">effect</div>
    <select onChange={(e) => { setEffect(e.target.value as Effect) }}>
        {
            Object.values(Effect).map((x) => {
                return (
                    <option value={x} key={x}>{x}</option>
                )
            })
        }
    </select>
</div>
メニューで機能を選択したらエフェクトをかけるようにします。
const [effect, _setEffect] = useState<Effect>(effectRef.current)
const setEffect = (val: Effect) => {
    effectRef.current = val
    _setEffect(effectRef.current)
}

useEffect(() => {
    publishLocalStream()
}, [effect]) // ★ メディアのタイプが選択されたら英ぞを切り替え
機能の適用処理の実体は次のようになります。まず最初に、(★1)のところでプラグインをロードしておきます。(★2)で、通常の方法で作成したLocalStreamにBeauty Filtersの機能を適用する処理(generateLocalStreamWithEffect)を呼び出します。(★3)で指定された機能ごとに適用処理をしていきます。このBeauty Filters適用後の戻り値もLocalFilterになりますので、そのままpublishすることができます。
const generateLocalStreamWithEffect = async (): Promise<LocalStream | null> => {
    if (effectRef.current === "none") {
        return localStreamRef.current
    } else {
        // (★3) 指定されたBeauty Filtersの機能を適用
        if (effectRef.current === "beauty") {
            return beautyPlugin.current!.generateBeautyStream(localStreamRef.current)
        }
        if (effectRef.current === "blur") {
            console.log("BLUR")
            return await beautyPlugin.current!.generateVirtualStream({
                localStream: localStreamRef.current!,
                type: 'blur'
            })

        } else {
            console.log("VGG", effectRef.current)
            return await beautyPlugin.current!.generateVirtualStream({
                localStream: localStreamRef.current!,
                type: 'virtual',
                img: document.getElementById("virtual-background-image"),
            })
        }
    }
}

const publishLocalStream = async () => {
    // ...(略)

    // (★1) Beauty Filtersのプラグインをロード
    if (!beautyPlugin.current) {
        beautyPlugin.current = new RTCBeautyPlugin() as RTCBeautyPluginClass;
        await beautyPlugin.current.loadResources()
    }

    await localStreamRef.current.initialize()
    effectedLocalStreamRef.current = await generateLocalStreamWithEffect() // (★2) Beauty Filtersの適用処理を呼び出す。
    localStreamRef.current.play('local-video-container');

    await clientRef.current.publish(localStreamRef.current);
}
前回に処理を少し足しましたが、これでも250行弱といったところでしょうか。
デモ
このアプリはこんな感じで動きます。ちゃんと動いていますね。
リポジトリ
リポジトリは次のところです。
使い方
リポジトリをクローンする。
$ git clone https://github.com/w-okada/trtc-simple-demo-ts.git -b beauty-filters
src/const.tsに情報を設定する。
そして、次のコマンドを実行してください。
$ npm install
$ npm run start
表示されたアドレスにブラウザでアクセスしてください。
感想
以上、TRTCのbeauty filtersを適用させて映像配信させてみました。
仮想背景については、開発者ツールのコンソールを見るとログを見るとselfie segmentationという文字列が出ているのでGoogleのモデルを使っているのかなと思います。ちょっと映像だと荒い感じもしますが、ビデオ会議で使う分には問題ないレベルかなと思います。一方Beauty filtersは、ちょっと効果がわかりにくいですね。全体的に画面が明るめになりますが、それが美しいように見えるかは個人差がありそうです。また、Beauty Filterはパラメータを細かく調整できるので、うまくチューニングすればもっと美しい映像が作れるかもしれません。
フィルタの適用を行う際には、処理を関数の中に隠蔽しているので、ビデオ会議アプリの開発者が直接AIのモデルを触ることなく実装できるので、お手軽感がありました。
今後は機能がもっと増えたり、精度が上がったりするかもしれないので、将来が楽しみな機能だなと思いました。
