現在ゲーム中に配置されているActorの情報を取得したい状況、ゲームを作っているときはあると思います。
それをc++から実装してみようという内容。
ただし、検索処理はそれなりの時間がかかるので、BeginPlay等で一度Actorを取得した後はその参照を保持し、そこからアクセスを行うようにするといいと思います。
環境
UE4 4.20.3
Visual Studio Community 2017
参考記事
下準備
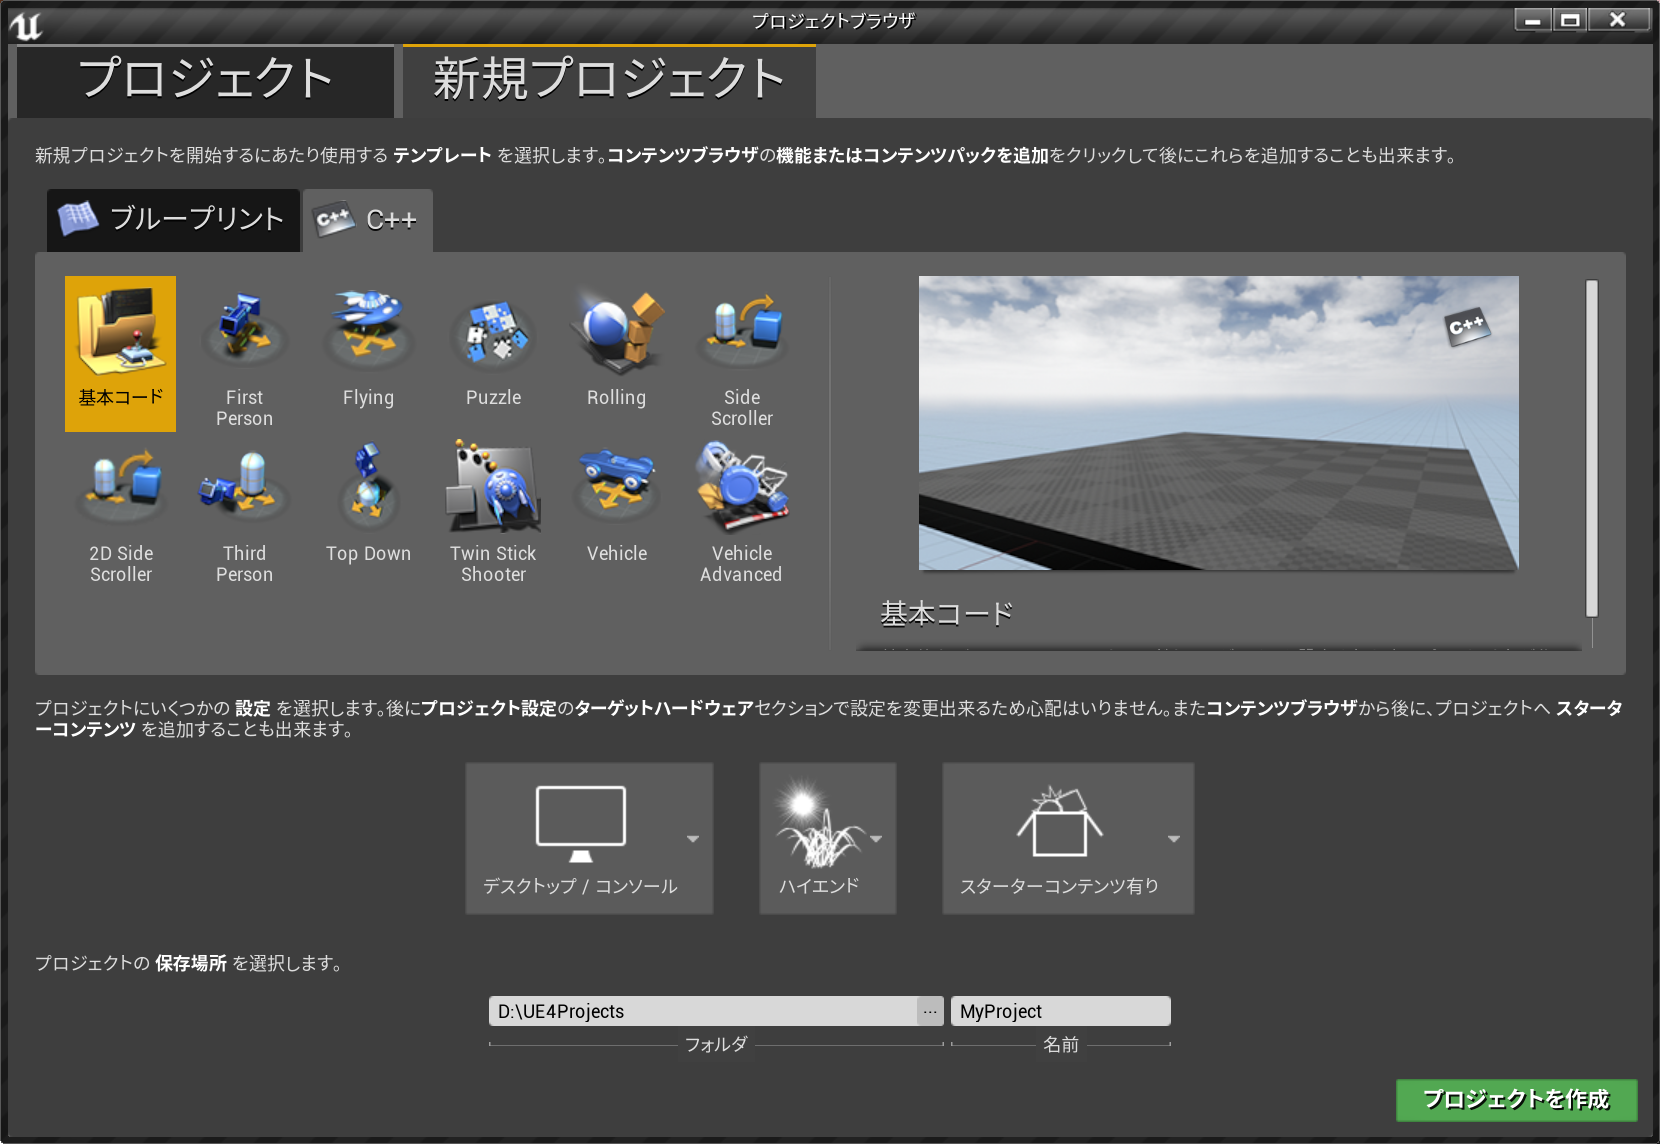
適当なプロジェクト作成。
新規プロジェクトタブから基本コードのプロジェクトを作成します。

検索の実装
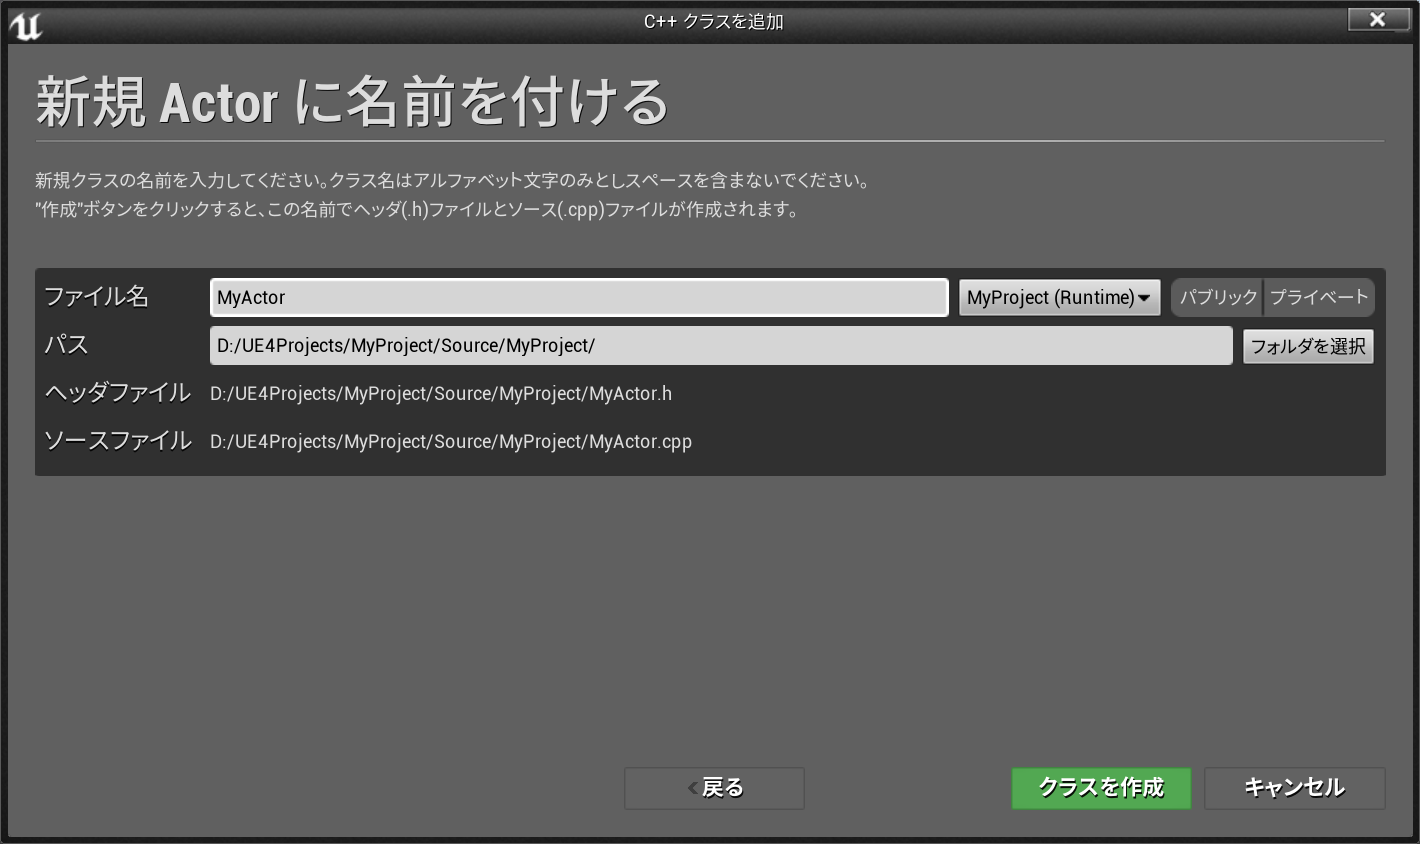
新規c++クラスを作成からActorを継承したMyActorを作成します。

内部の実装
MyActor.h
# pragma once

# include "CoreMinimal.h"
# include "GameFramework/Actor.h"
# include "MyActor.generated.h"

UCLASS()
class MYPROJECT_API AMyActor : public AActor
{
	GENERATED_BODY()

public:
	// Sets default values for this actor's properties
	AMyActor();

public:
	UFUNCTION(meta = (CallInEditor = "true"))
	void GetEmitter();
};
MyActor.cpp
# include "MyActor.h"
# include "Particles/Emitter.h"
# include "Kismet/GameplayStatics.h"
# include "Engine/World.h"
# include "Engine/Engine.h"

// Sets default values
AMyActor::AMyActor()
{
 	// Set this actor to call Tick() every frame.  You can turn this off to improve performance if you don't need it.
	PrimaryActorTick.bCanEverTick = false;
}

void AMyActor::GetEmitter()
{
	TSubclassOf<AEmitter> findClass;
	findClass = AEmitter::StaticClass();
	TArray<AActor*> emitters;
	UGameplayStatics::GetAllActorsOfClass(GetWorld(), findClass, emitters);

	if (emitters.Num())
	{
		AEmitter* emitter = Cast<AEmitter>(emitters[0]);
		FString message = FString("EmitterName:") + emitter->GetName();
		GEngine->AddOnScreenDebugMessage(-1, 5.0f, FColor::Cyan, message);
	}
}
GetAllActorsOfClassを使ってクラスを指定してWorldに配置されているActorから一致するクラスを持ったアクターを取得できます。
UGameplayStaticsからはクラスの他タグやInterfaceを指定してActorを取得する関数もあります。
UGameplayStatics::GetAllActorsあたりまで入力してインテリセンスを使えば見つかるかと。
テスト
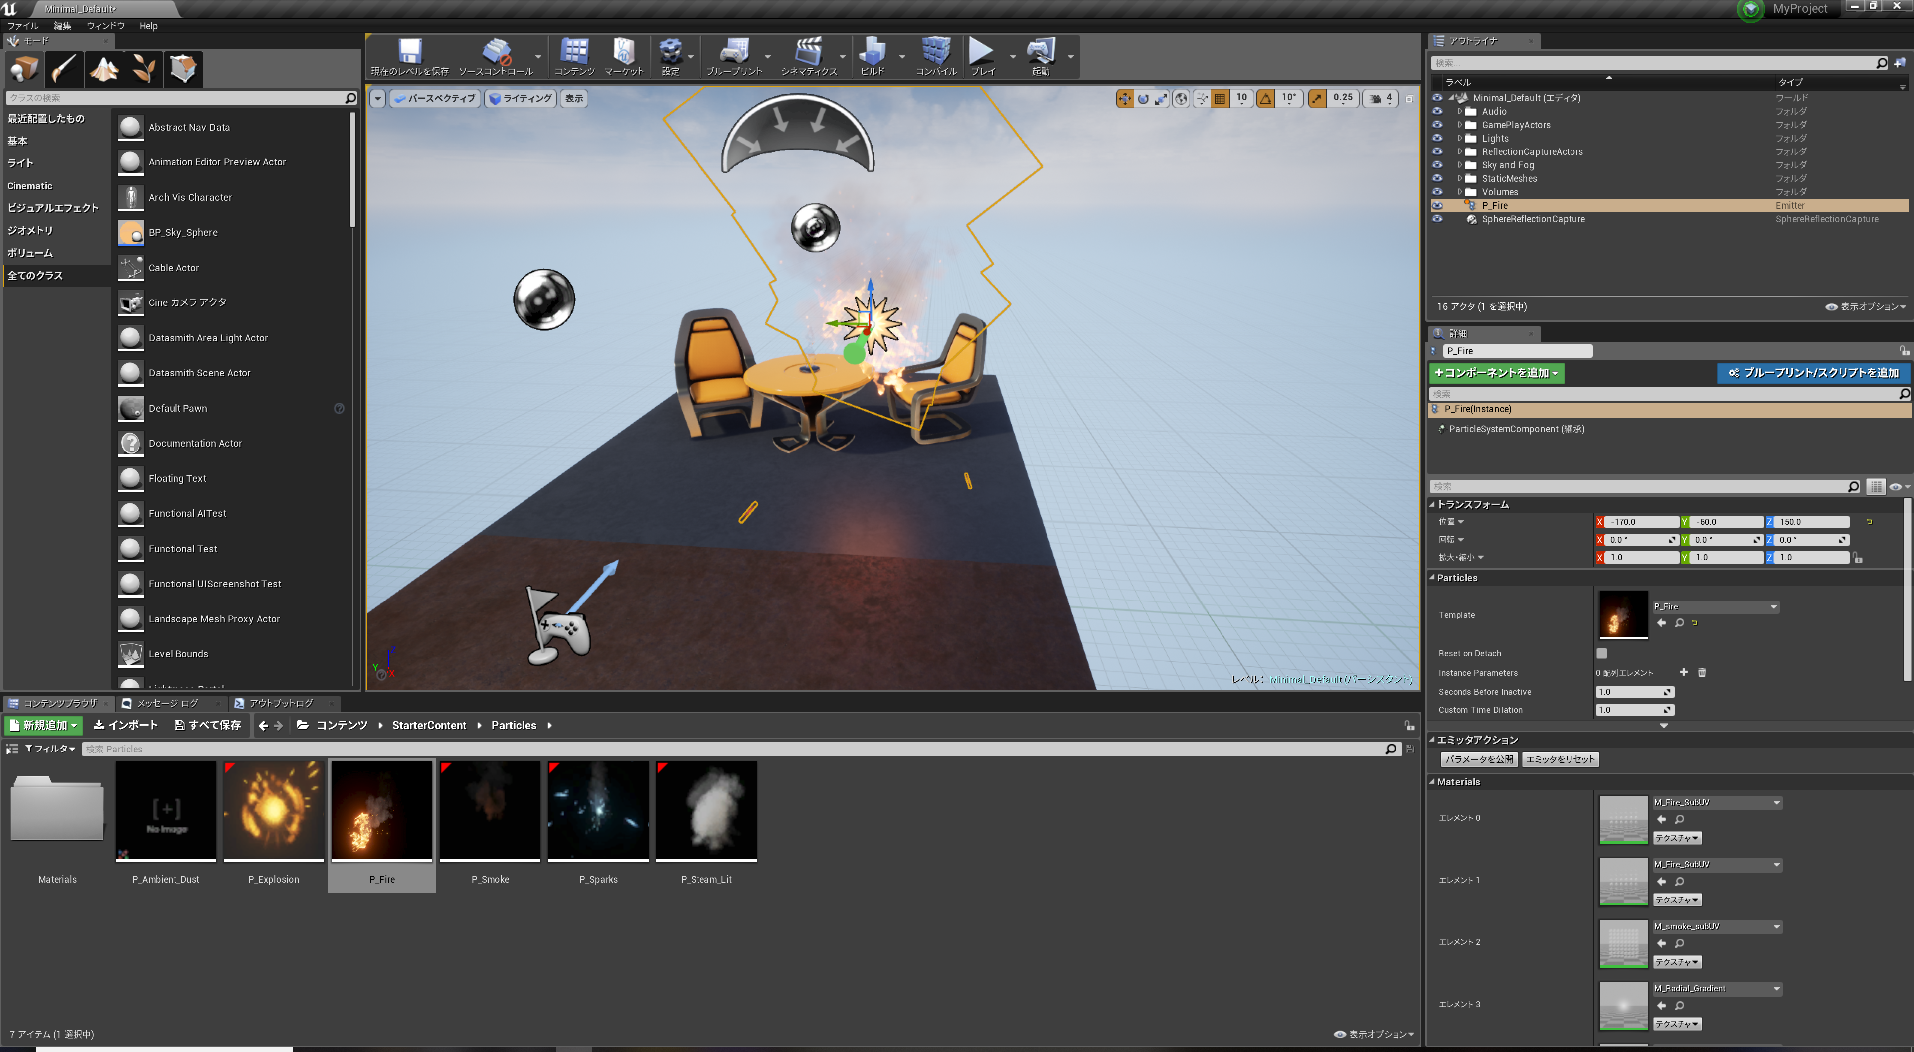
プロジェクトを作る際、スターターコンテンツを含めた状態で作成をしておいたのでそこから検索用のオブジェクトを配置します。
StarterContent/Particles/にあるP_Fireをビューポート上に配置します。

そして、先ほど実装したAMyActorもビューポート上に配置します。
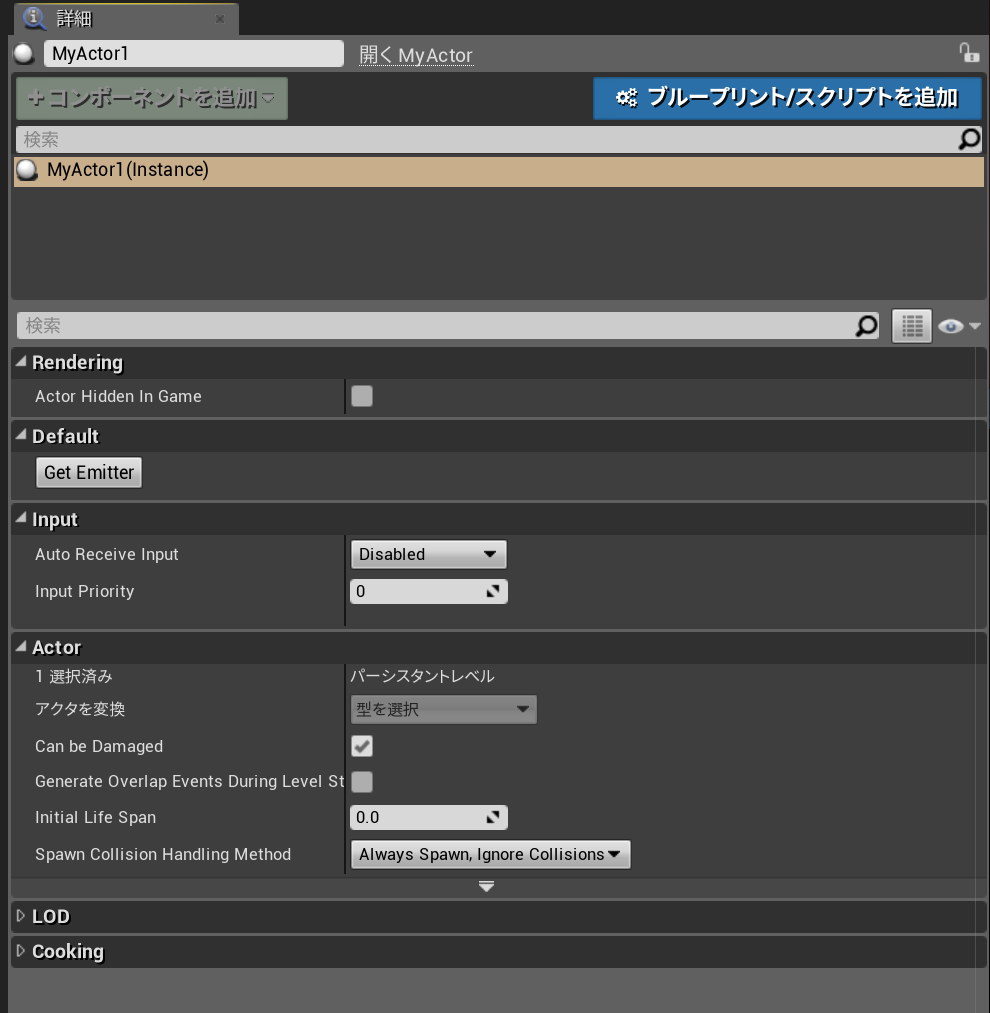
AMyActorのGetEmitterメソッドのプロパティに
UFUNCTION(meta = (CallInEditor = "true"))
を設定してあるので、アウトライナ上でMyActorを選択すると詳細ウィンドウにGetEmitterボタンが表示されます。
それを押すことでビューポート上にデバッグメッセージが表示されるのを確認できると思います。

まとめ
またも基本的な記事です。
同じ内容が書かれている記事も見つけていたり…自分用の覚え書きと割り切ろう。そうしよう。