Reactが何たるかはこの記事では省略します。
VSCodeを利用して、手短に動作環境を作るとこまでが記事の範囲です。
事前準備
- Windows10環境で実施してます。
- Visual Studio Codeのインストール
- Node.jsのインストール
Reactアプリを起動
npm install -g create-react-app
create-react-app my-app
cd my-app
npm start
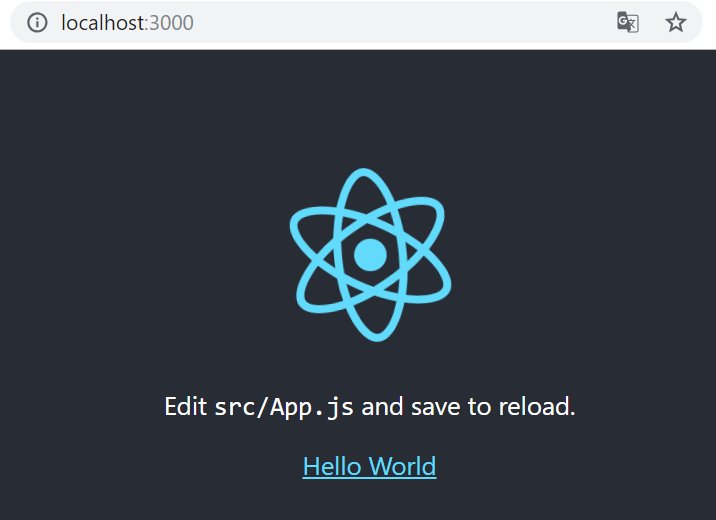
Learn ReactをHello Worldに変更して保存
Chromeの場合は、ブラウザのリロードは不要です。
import React, { Component } from 'react';
import logo from './logo.svg';
import './App.css';

class App extends Component {
  render() {
    return (
      <div className="App">
        <header className="App-header">
          <img src={logo} className="App-logo" alt="logo" />
          <p>
            Edit <code>src/App.js</code> and save to reload.
          </p>
          <a
            className="App-link"
            href="https://reactjs.org"
            target="_blank"
            rel="noopener noreferrer"
          >
            Hello World
          </a>
        </header>
      </div>
    );
  }
}

export default App;
まだ3分残ってるので、ESLintの設定もしておきましょう。
ESLintの設定
npm install -g eslint
npm install eslint-plugin-react -g
eslint --init
ルートに以下のファイルが生成されます。
{
    "env": {
        "browser": true,
        "commonjs": true,
        "es6": true,
        "jest": true
    },
    "extends": "eslint:recommended",
    "parserOptions": {
        "ecmaFeatures": {
            "jsx": true
        },
        "ecmaVersion": 2018,
        "sourceType": "module"
    },
    "plugins": [
        "react"
    ],
    "rules": {
        "indent": [
            "error",
            4
        ],
        "linebreak-style": [
            "error",
            "windows"
        ],
        "quotes": [
            "error",
            "single"
        ],
        "semi": [
            "error",
            "always"
        ]
    }
}
VSCodeにESLintのExtensionsをインストール

無事にEslintが動作すると以下のような感じでエラーが表示されます。

create-react-appで生成するファイルは、改行コードがLF、インデントのスペースの数が2つなので
一旦、eslintの設定を変更します。
またReact(+JSX)の記法をエラーにしないために、envとrulesに設定を追加します。
{
    "env": {
        "browser": true,
        "commonjs": true,
        "es6": true
    },
    "extends": "eslint:recommended",
    "parserOptions": {
        "ecmaFeatures": {
            "jsx": true
        },
        "ecmaVersion": 2018,
        "sourceType": "module"
    },
    "plugins": [
        "react"
    ],
    "rules": {
        "indent": [
            "error",
            2
        ],
        "react/jsx-uses-react": 1,
        "react/jsx-uses-vars": 1,
        "react/react-in-jsx-scope": 1,
        "linebreak-style": [
            "error",
            "unix"
        ],
        "quotes": [
            "error",
            "single"
        ],
        "semi": [
            "error",
            "always"
        ]
    }
}
あと1分残っているので、VSCodeでChromeのデバッグができるようにしておしまいにします。
Debugger for Chromeのインストール
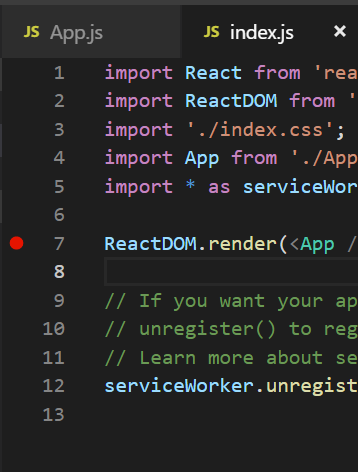
Debugを最初に開始すると、launch.jsonが開くので、ポート番号を8080から3000に変更します。
{
  // Use IntelliSense to learn about possible attributes.
  // Hover to view descriptions of existing attributes.
  // For more information, visit: https://go.microsoft.com/fwlink/?linkid=830387
  "version": "0.2.0",
  "configurations": [
    {
      "type": "chrome",
      "request": "launch",
      "name": "Launch Chrome against localhost",
      "url": "http://localhost:3000",
      "webRoot": "${workspaceFolder}"
    }
  ]
}
以上です。
番外 Proxy環境でこの記事の内容を実施する場合
Proxy環境下でエラーになった場合は、以下の設定をするとたぶん大丈夫です。
npm -g config set registry https://registry.npmjs.org/
npm -g config set strict-ssl false
何となく気になる方は作業終了後に戻してもよいです。
npm -g config delete registry
npm -g config delete strict-ssl


