pngやjpegの画像をobjにしたいがさくっとする術が見つからん。。
Unityできたけど
ちょっと忘れそう、かつ、またはまりそうなので備忘録
手順
画像を反映したMaterialを用意
unityのProjectビューの任意の場所にお目当ての画像をドラッグ&ドロップ

projectビューの任意のフォルダで右クリックから新規マテリアル作成
右クリック > Create > Material
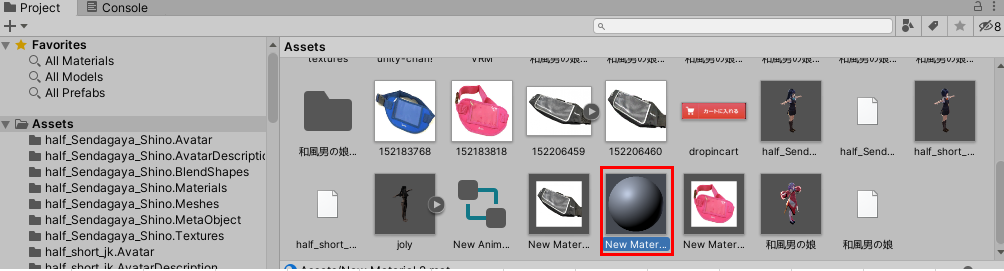
で、そのMaterialのInspectorビューからShaderを変更
Diffuseで検索したら出てくる「Mobile/Diffuse」にする
で下記画像の様になっているので↓
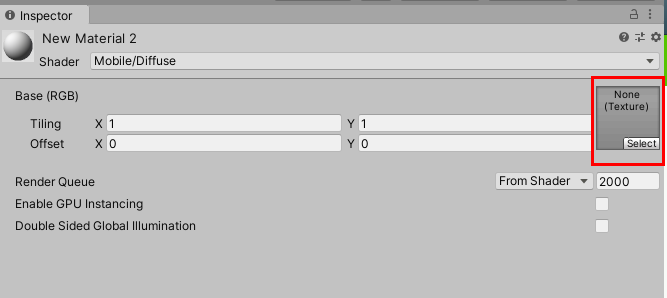
赤枠のところにお目当て画像をドラッグ&ドロップする
こんな感じで画像はいったの確認できる↓
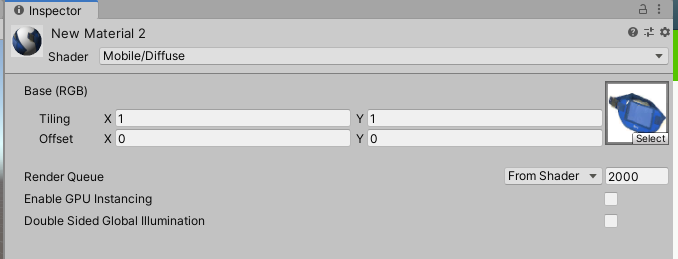
ただこの状態だとなんか灰色がかった状態になってしまう。
そこで更にShaderを変更するとそれが回避出来る
UI > Defaultを選択する
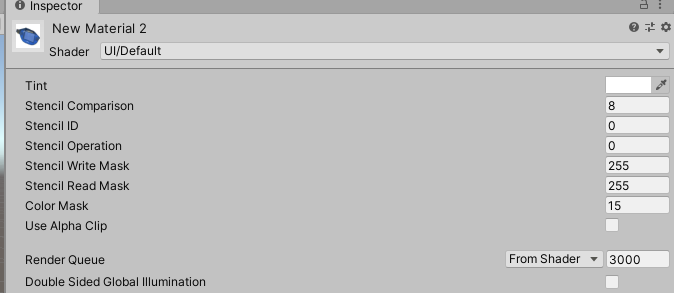
これでMaterial完成
Materialを反映する3Dオブジェクト作る
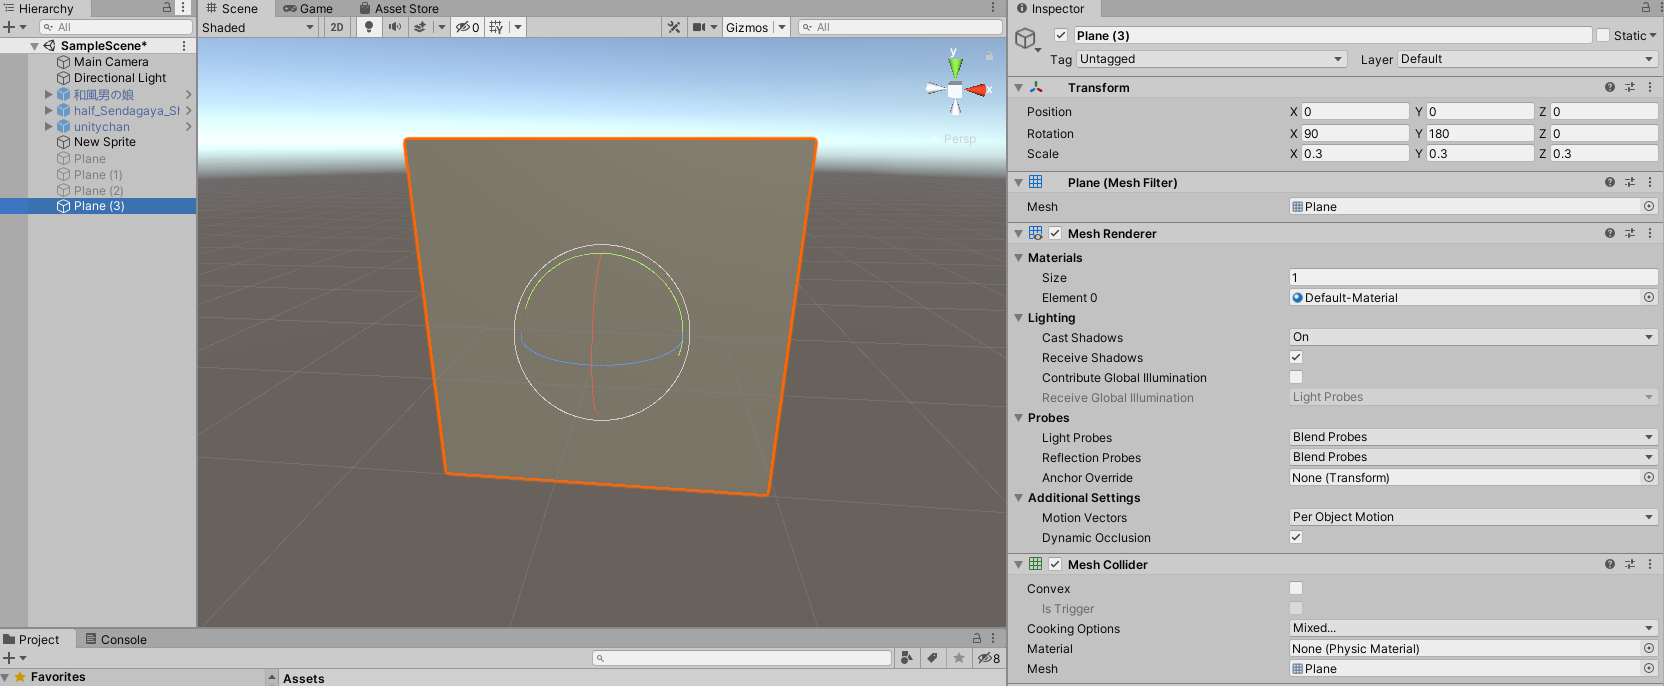
HierarchyビューでPlaneオブジェクト作ってよしなにする。
とりあえず縦向けたかったり、サイズ適当に調整してこんな感じ
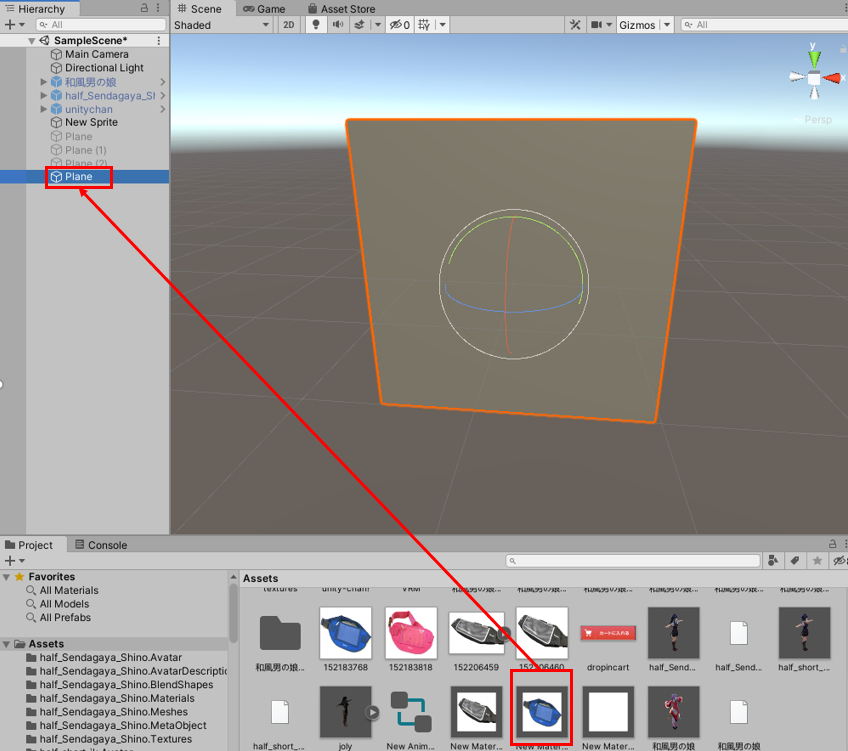
Materialを3Dオブジェクトに反映する
先ほど作ったMaterialを、これまた先ほど作ったPlaneオブジェクトにドラッグ&ドロップする反映される
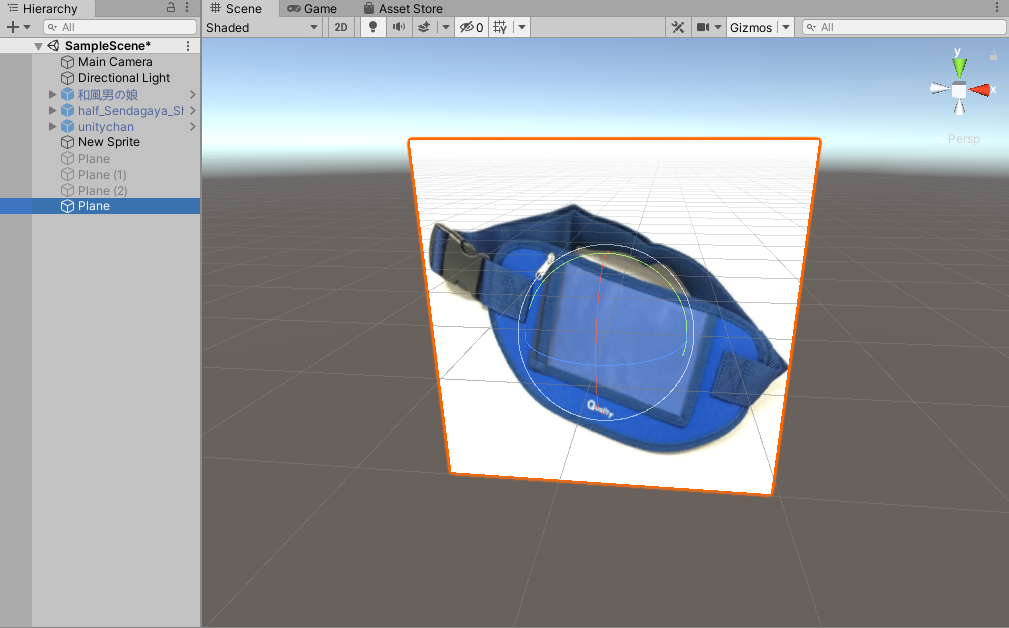
したらいい感じの3Dオブジェクト出来上がり
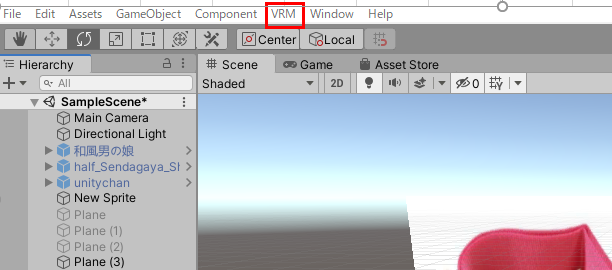
UniVRMでglb形式でエクスポートする
UniVRMをインポートしてないひとは探してインポートしてください。
インポートしてれば画面上の方にVRMボタンがあるので
UniGLTF 1.28 > Export で適当に名前を付けてglb形式のファイルを無事出力。
これで完成よ。