クラスとオブジェクトってなあに?
最近のプログラミングには欠かせないクラスとオブジェクト
クラスとオブジェクトを使おう!
と題名にあるけど実際は難しいの…
だから円が動くプログラミングを使って説明していくよ!
Lesson7のすることをまとめたよ!
- キャンバスの中に円を描く(7-2)
- クリックしたところに円を動かす(7-3)
- 円を右に動かす(7-4)
- 円を往復させる(7-5)
- 円を斜めに動かす(7-6)
- 円を増やして動かす(7-7)
- 6をクラスとプロジェクトを使って書いてみよう!(7-8)
- 四角、三角を混ぜよう(7-9)
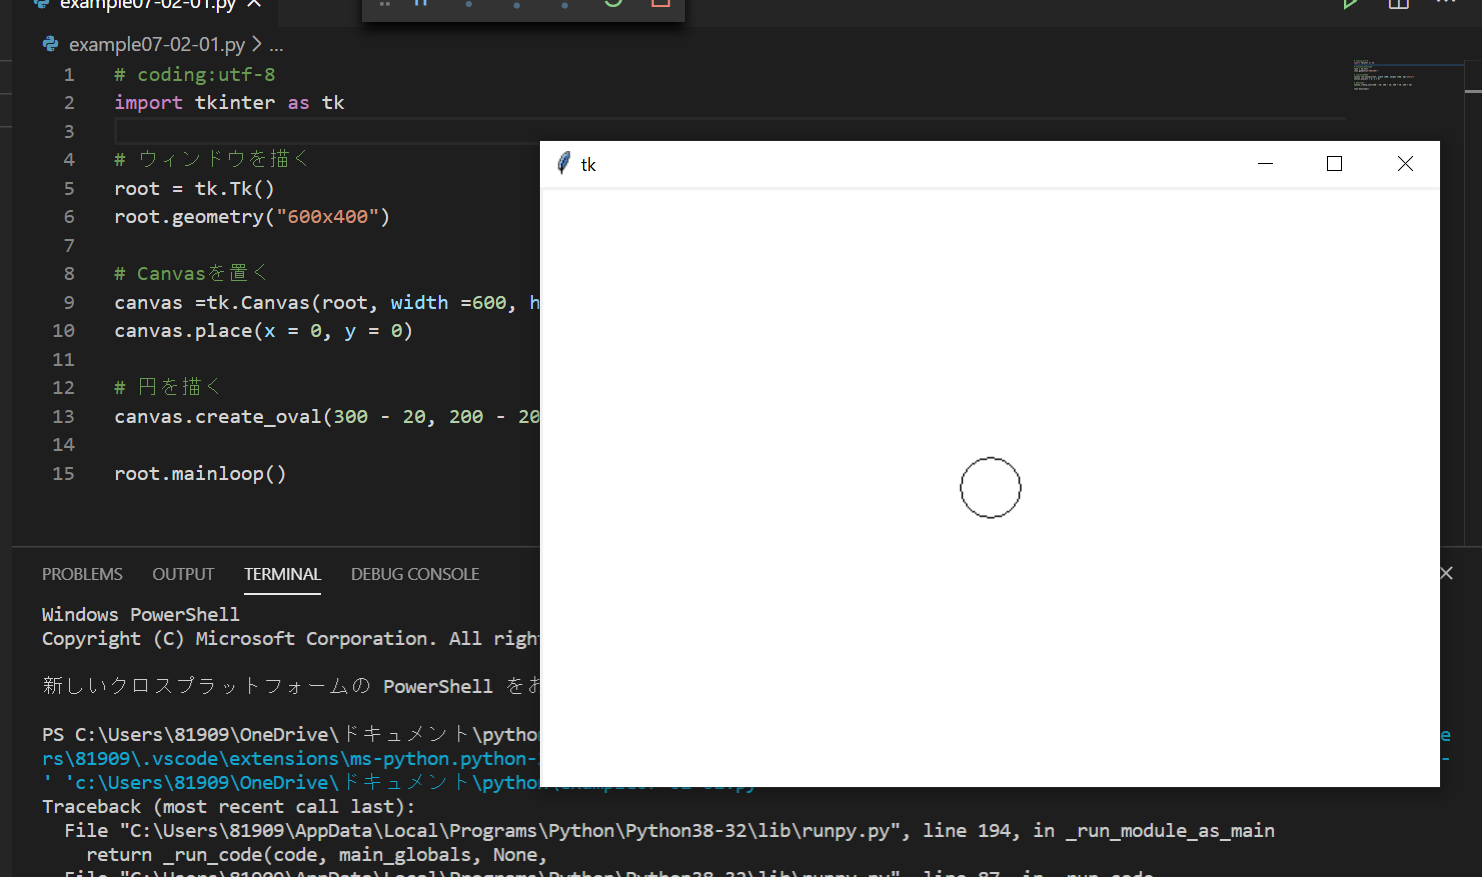
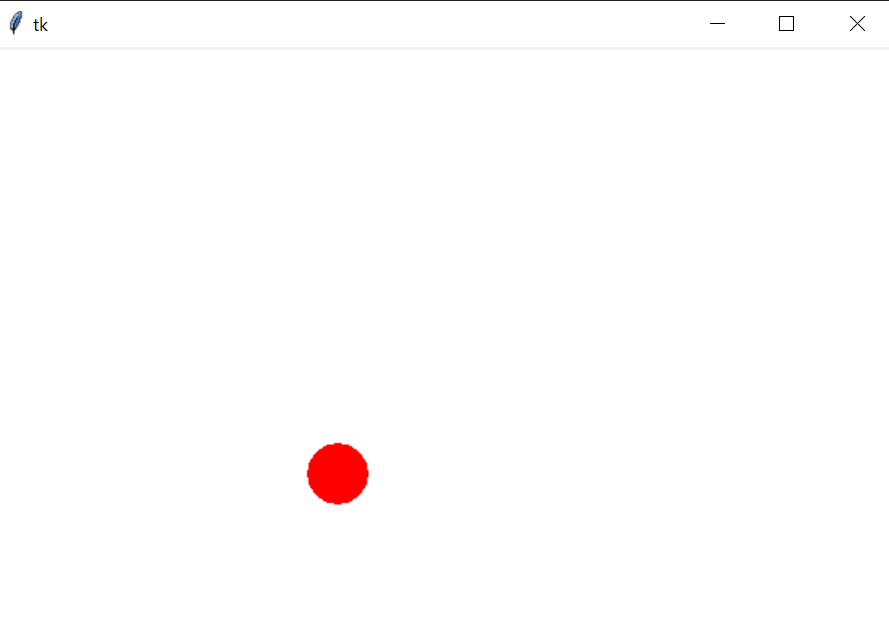
1.キャンバスの中に円を描こう!
キャンバスの中に円を描く(7-2-1)code説明だよん
・ Lesson6でも使ったウィンドウを使ってる
・ tkinterのcanvasを使う
・ bg は背景の色
・ x=o,y=oはウィンドウの左上
・ create_ovalというメソッドを使っている
7-2-1のcodeだよ!
# coding:utf-8
import tkinter as tk

# ウィンドウを描く
root = tk.Tk()
root.geometry("600x400")

# Canvasを置く
canvas =tk.Canvas(root, width =600, height =400, bg="white")
canvas.place(x = 0, y = 0)

# 円を描く
canvas.create_oval(300 - 20, 200 - 20, 300 + 20, 200 + 20)

root.mainloop()
丸が描けた!
2.クリックしたところに円を動かそう!
クリックしたところに円を描く(7-3-1)code説明だよ!
・ キャンバスの時はbindメソッドを使うよ!
(いろんなことができるから!)
・ bindのイベントButtonをclickという名前にしたよ↓
canvas.bind("<Button-1>", click)
・ event.xはevent(ここではclick)された時のx座標の場所だよ!
7-3-1のcodeだよ!
# coding:utf-8
import tkinter as tk

def click(event):
    # クリックされたときにそこに描画する
    canvas.create_oval(event.x - 20, event.y - 20, event.x + 20, event.y + 20,  fill="red", width=0)

# ウィンドウを描く
root = tk.Tk()
root.geometry("600x400")

# キャンバスを置く
canvas =tk.Canvas(root, width =600, height =400, bg="white")
canvas.place(x = 0, y = 0)

# イベントを設定する
canvas.bind("<Button-1>",click)

root.mainloop()
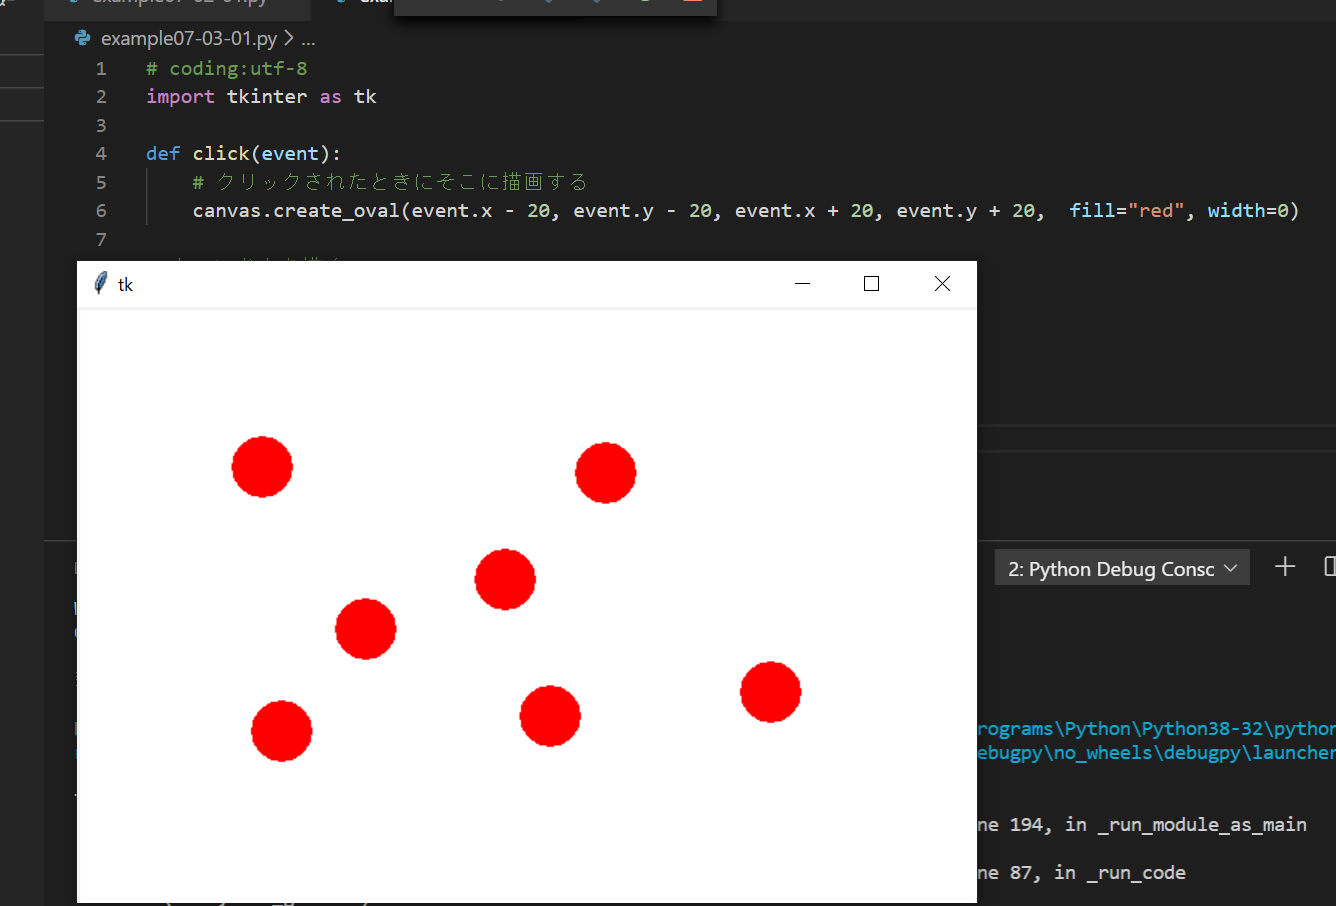
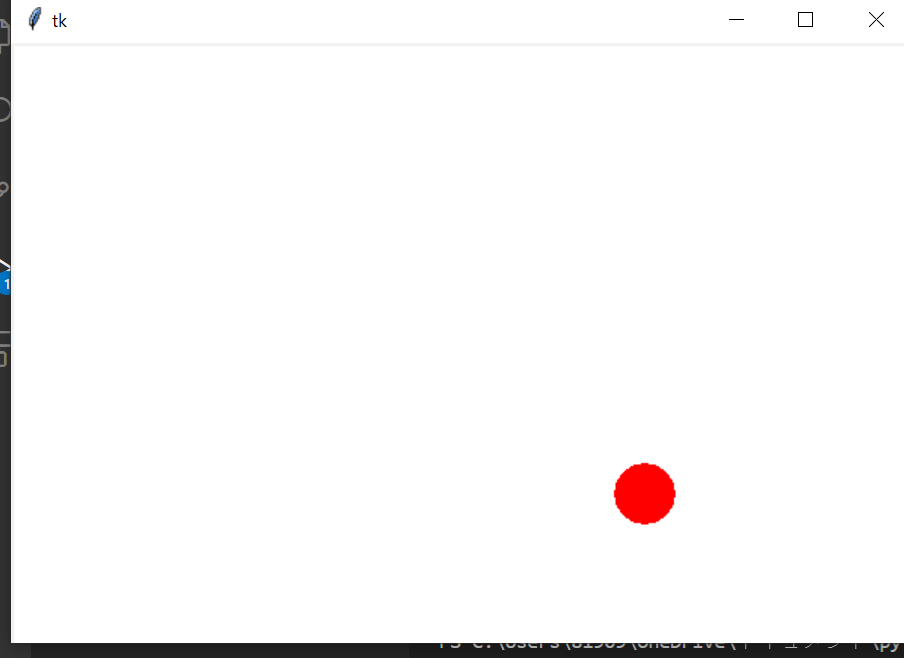
いっぱいクリックした!
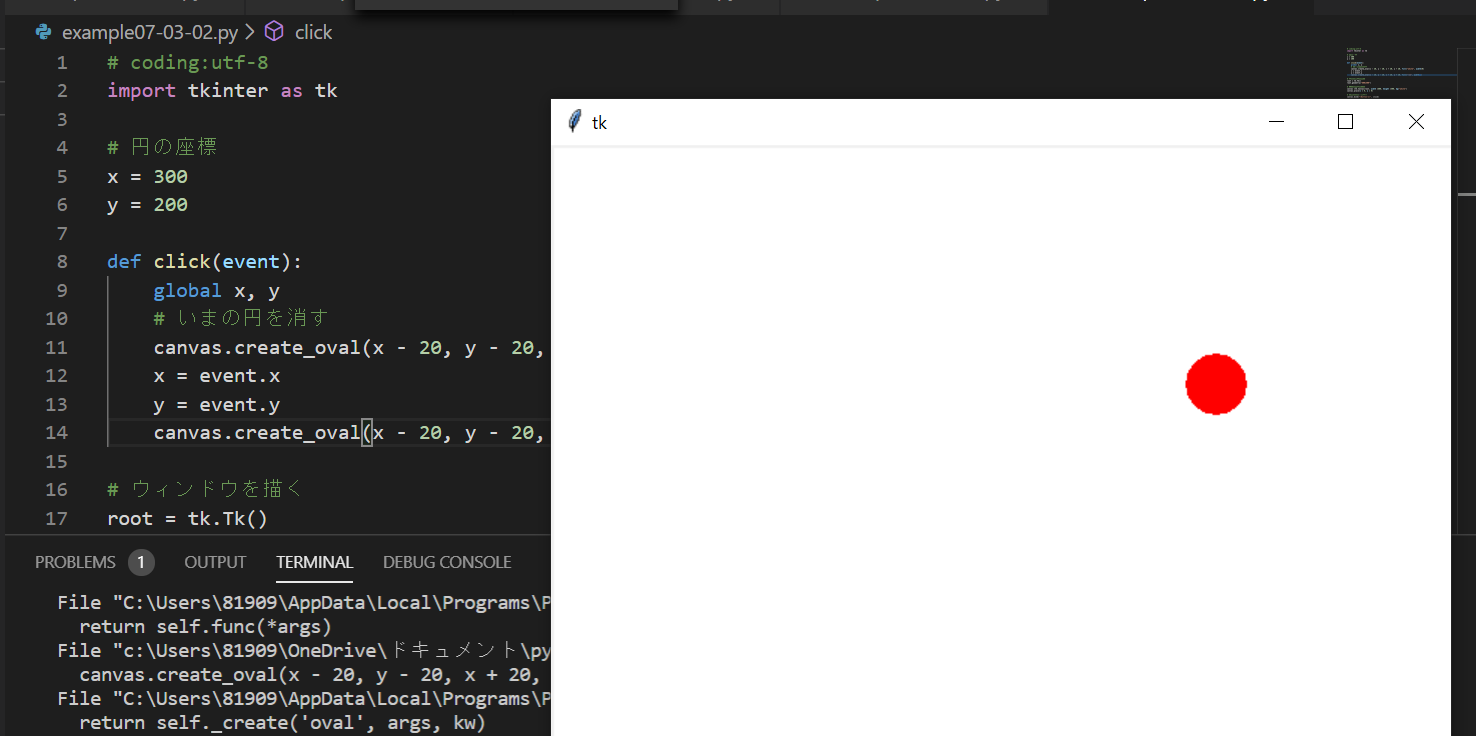
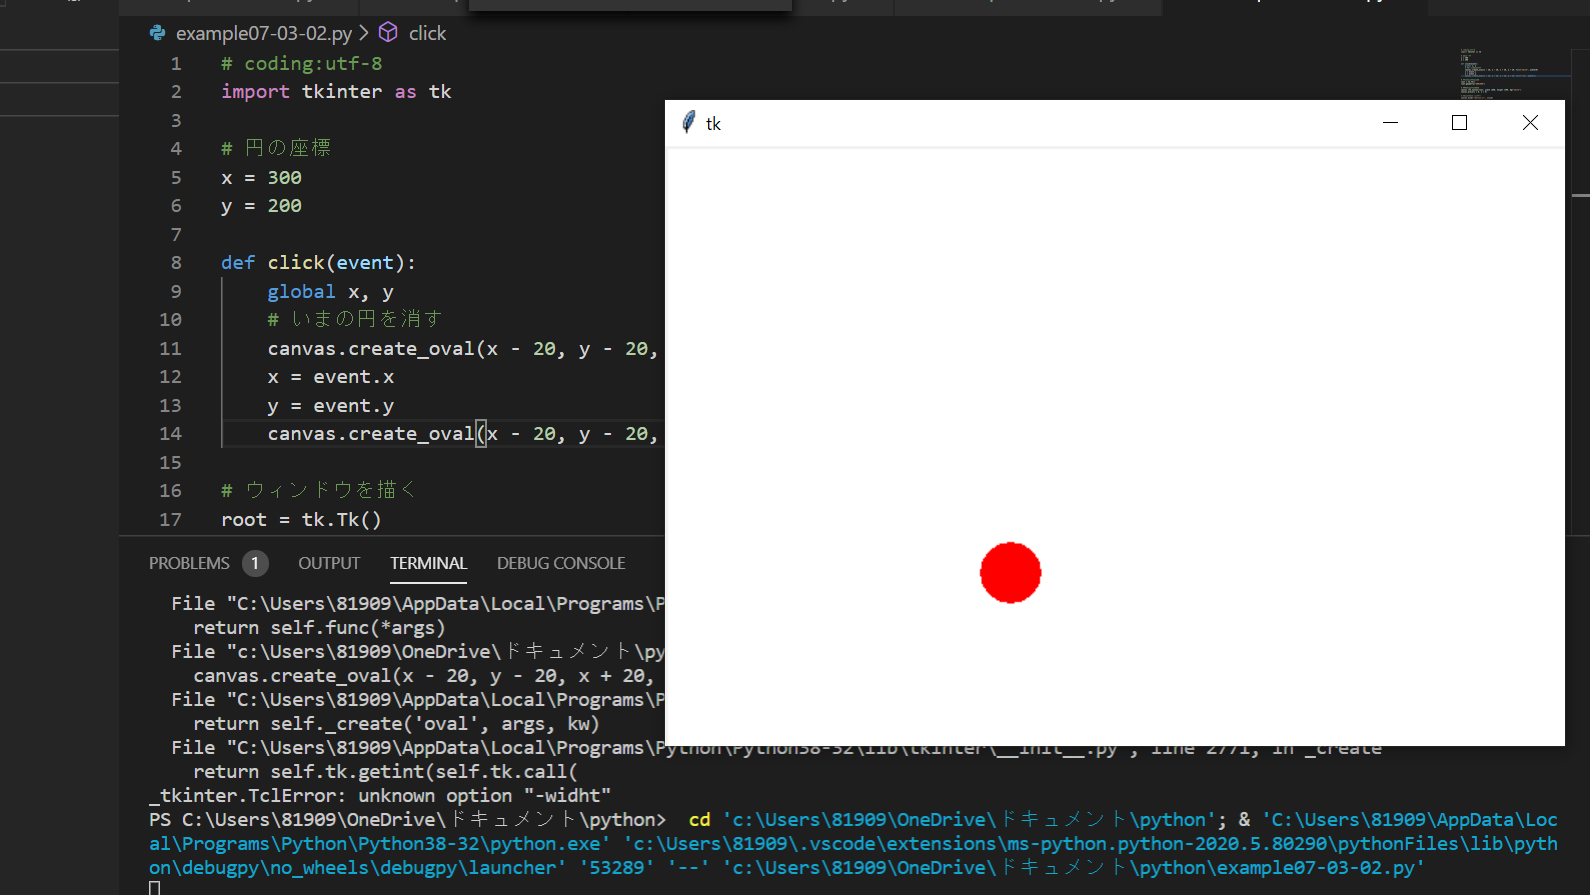
クリックしたところに移動する(7-3-2)code説明だよ!
・ 前の円の位置を保存してそれを白にして、円をけしてるようにしている
canvas.create_oval(x-20.y-20.x+20,y+20,fill="white")
7-3-2のcodeだよ!
# coding:utf-8
import tkinter as tk

# 円の座標
x = 300
y = 200

def click(event):
    global x, y
    # いまの円を消す
    canvas.create_oval(x - 20, y - 20, x + 20, y + 20, fill="white", width=0)
    x = event.x
    y = event.y
    canvas.create_oval(x - 20, y - 20, x + 20, y + 20, fill="red", width=0)

# ウィンドウを描く
root = tk.Tk()
root.geometry("600x400")

# キャンバスを置く
canvas =tk.Canvas(root, width =600, height =400, bg="white")
canvas.place(x = 0, y = 0)

# イベントを設定する
canvas.bind("<Button-1>", click)

root.mainloop()
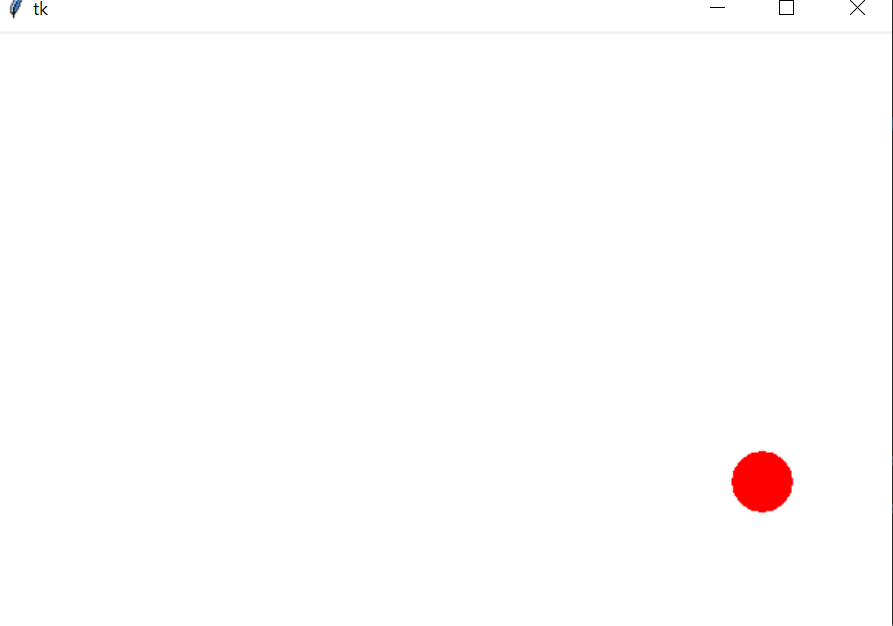
二回クリックしたよ!
一回目
二回目(一回目が消えてる)
3.円を右に動かそう!
右に動かす(7-4-1)code説明だよ!
・ tkinterオブジェクトのafterメソッドでタイマー機能が使える!
root.after(時間,実行したい関数)
・ 一定時間の円の座標を変えることで動いてるように見せる!
・ 2を応用して動いているようにする
・ afterメソッドは一回だけなのでmove関数をafterメソッドに登録して、次も実行されるようにしてる
root.after(10,move)
7-4-1のcodeだよ!
# coding:utf-8
import tkinter as tk

# 円の座標
x = 400
y = 300

def move():
    global x, y
    #今の円を消す
    canvas.create_oval(x - 20, y - 20, x + 20, y + 20, fill = "white", width = 0)
    #x座標を動かす
    x = x + 1
    #次の位置に円を描く
    canvas.create_oval(x - 20, y - 20, x + 20, y + 20, fill = "red", width = 0)
    #再びタイマー
    root.after(10,move)

# ウィンドウを描く
root = tk.Tk()
root.geometry("600x400")

# キャンバスを置く
canvas = tk.Canvas(root, width = 600, height = 400, bg = "white")
canvas.place(x = 0, y = 0)

# タイマーを設定する
root.after(10, move)

root.mainloop()
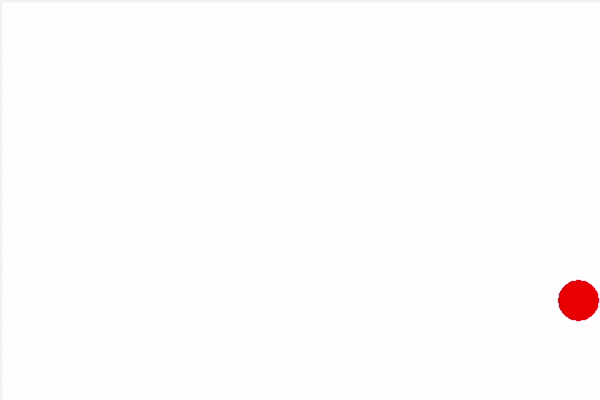
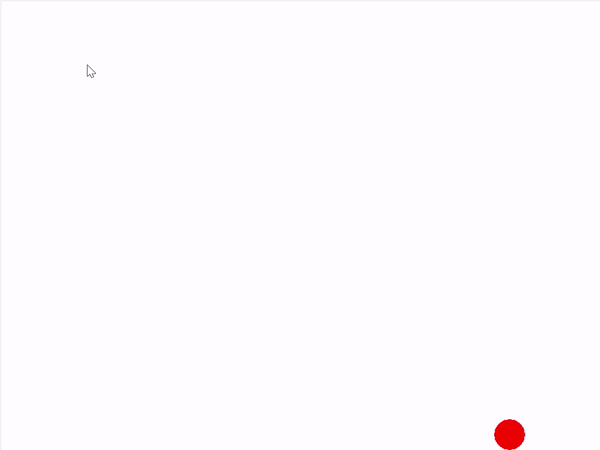
動いた!でも動画にできなかったのでスクショはるよ
3回連打してね
4.円を往復させよう!
円を往復させる(7-5-1)code説明だよ!
・ キャンバスの端にあたったら移動量を反転するようにする
・ dxを移動量としてx=x+dxとかくことで右に進んでいく
・ winfo_widthメソッドを使うことでキャンバス幅を越えたか分かる
・ dx=-1とすることで反転することを表している
7-5-1のcodeだよ!
# coding:utf-8
import tkinter as tk

# 円の座標
x = 400
y = 300
#移動量
dx = 1

def move():
    global x, y, dx
    # 今の円を消す
    canvas.create_oval(x - 20, y - 20, x + 20, y + 20, fill = "white", width = 0)
    # x座標を動かす
    x = x + dx
    # 次の位置に円を描く
    canvas.create_oval(x - 20, y - 20, x + 20, y + 20, fill = "red", width = 0)
    # 幅を超えていたら反対向きにする
    if x >= canvas.winfo_width():
        dx = -1
    if x <= 0:
        dx = +1
    # 再びタイマー
    root.after(10,move)

# ウィンドウを描く
root = tk.Tk()
root.geometry("600x400")

# Canvasを置く
canvas = tk.Canvas(root, width = 600, height = 400, bg = "white")
canvas.place(x = 0, y = 0)

#タイマーを設定する
root.after(10, move)

root.mainloop()
横に当たると反転してくれる!
5.円を斜めに動かそう!
斜めに動かす(7-6-1)code説明するよ!
・ Y座標の移動量をdy変数としたよ
・ winfo_heightメソッド(キャンバスの高さ)を追加することで上下左右の端で反転するようになる
7-6-1のcodeだよ!
# coding:utf-8
import tkinter as tk

# 円の座標
x = 400
y = 300
# 移動量
dx = 1
dy = 1

def move():
    global x, y, dx, dy
    # 今の円を消す
    canvas.create_oval(x - 20, y - 20, x + 20, y + 20, fill = "white", width = 0)
    # x座標を動かす
    x = x + dx
    # y座標を動かす
    y = y + dy
    # 次の位置に円を描く
    canvas.create_oval(x - 20, y - 20, x + 20, y + 20, fill = "red", width = 0)
    # 幅を超えていたら反対向きにする
    if x >= canvas.winfo_width():
        dx = -1
    if x <= 0:
        dx = +1
    # y座標についても同様
    if y >= canvas.winfo_height():
        dy = -1
    if y <= 0:
        dy = +1
    # 再びタイマー
    root.after(10,move)

# ウィンドウを描く
root = tk.Tk()
root.geometry("600x400")

# キャンバスを置く
canvas = tk.Canvas(root, width = 600, height = 400, bg = "white")
canvas.place(x = 0, y = 0)

#タイマーを設定する
root.after(10, move)

root.mainloop()
めっちゃ動いてくれる!
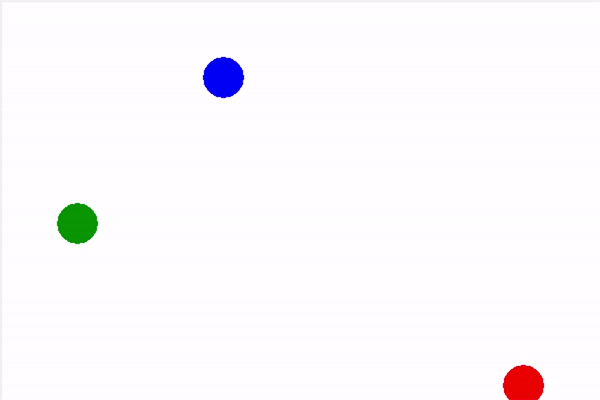
6.円を増やして動かそう!
たくさんの円を動かす(7-7-1)code説明するよ!
・ pythonのディクショナリという機能を使う!
変数名={キー名:値,キー名:値…}とすることで
変数名["キー名"]で参照できる!
・ for b in balls:でそれぞれの円に対する操作を表している
7-7-1のcodeだよ!
# coding:utf-8
import tkinter as tk

# 円をリストで用意する
balls = [
  {"x" : 400, "y" : 300, "dx" : 1, "dy" : 1, "color":"red"},
  {"x" : 200, "y" : 100, "dx" : -1, "dy" : 1, "color":"green"},
  {"x" : 100, "y" : 200, "dx" : 1, "dy" : -1, "color":"blue"} ]

def move():
    global balls
    for b in balls:
        # いまの円を消す
        canvas.create_oval(b["x"] - 20, b["y"]  - 20, b["x"] + 20, b["y"] + 20, fill="white", width=0)
        # X座標を動かす
        b["x"] = b["x"] + b["dx"]
        # Y座標も動かす
        b["y"] = b["y"] + b["dy"]
        # 次の位置に円を描く
        canvas.create_oval(b["x"] - 20, b["y"] - 20, b["x"] + 20, b["y"] + 20, fill=b["color"], width=0)
        # 端を越えていたら反対向きにする
        if b["x"] >= canvas.winfo_width():
           b["dx"] = -1
        if b["x"] <= 0:
           b["dx"] = +1
        # Y座標についても同様
        if b["y"] >= canvas.winfo_height():
           b["dy"] = -1
        if b["y"] <= 0:
           b["dy"] = +1
    # 再びタイマー
    root.after(10, move)

# ウィンドウを描く
root = tk.Tk()
root.geometry("600x400")

# キャンバスを置く
canvas =tk.Canvas(root, width =600, height =400, bg="white")
canvas.place(x = 0, y = 0)

# タイマーを設定する
root.after(10, move)

root.mainloop()
3つのカラフルな円が動く!(遅いのは動画のせいかも)
7.クラスとプロジェクトを使おう!
クラスとオブジェクトを使った(7-8-1)code説明だよ!1
・ 円を部品とするよ。消すとか、描写するとかの命令をすることで部品をコントロールしていくことをプログラムというよ!
円=部品=オブジェクト、命令=メソッドというのが大事だよ!
・ オブジェクトはデータを持っていてそれを引き出すには命令がいるの
・ オブジェクトを使いたいときはクラスというプログラムを使って作るよ
・ クラスでデータを管理することができるの!class クラス名:
クラスとオブジェクトを使った(7-8-1)code説明だよ!2
・ __init___は特殊な関数でオブジェクトを作るときに呼び出される関数である
・ 今回はmoveメソッドを使っている
def move(self,canvas)
難しいのでたとえ!
1クラス30人の学年があり、1~30人各一人ずつ名前を持っている
クラスの番号、性別などが載っている名簿をここでのクラス
各一人ずつの名前などをオブジェクトとしたらわかりやすいかもね!
7-8-1のcodeだよ!
#coding:utf-8
import tkinter as tk

class Ball:
    def __init__(self, x, y, dx, dy, color):
        self.x = x
        self.y = y
        self.dx = dx
        self.dy = dy
        self.color = color

    def move(self, canvas):
        # いまの円を消す
        canvas.create_oval(self.x - 20, self.y - 20, self.x + 20, self.y + 20, fill="white", width=0)
        # X座標、Y座標を動かす
        self.x = self.x + self.dx
        self.y = self.y + self.dy
        # 次の位置に円を描写する
        canvas.create_oval(self.x - 20, self.y - 20, self.x + 20, self.y + 20, fill=self.color, width=0)
        # 端を越えていたら反対向きにする
        if self.x >= canvas.winfo_width():
           self.dx = -1
        if self.x <= 0:
           self.dx = 1
        if self.y >= canvas.winfo_height():
           self.dy = -1
        if self.y <= 0:
           self.dy = 1

# 円をひとつ作る
b = Ball(400, 300, 1, 1, "red")

def loop():
  # 動かす
  b.move(canvas)
  # もう一回
  root.after(10,loop)

# ウィンドウを描く
root = tk.Tk()
root.geometry("800x600")

# Canvasを置く
canvas =tk.Canvas(root, width =800,height = 600, bg ="white")
canvas.place(x = 0, y = 0)

# タイマーをセット
root.after(10, loop)

root.mainloop()
一個動いてるだけだけど中のプログラミングが変わったよ!
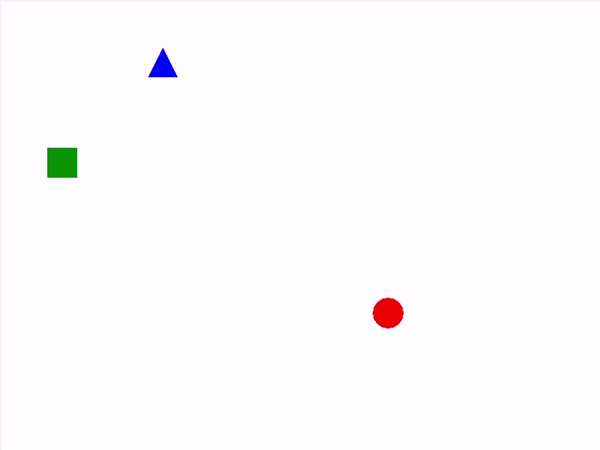
8.四角、三角を混ぜよう!
四角三角を増やす(7-9-1)code説明だよ!
・ BallのプログラムをRectangleとTriangleに応用させてる!
・ オーバーライトという機能を使って別のクラスを作っている
・ 既存のクラスをもとに新しいクラスを作るこを継承というよ
・ create_rectangleメソッドとsreate_ploygonメソッドを使って継承していく!
7-9-1のcodeだよ!
# coding:utf-8
import tkinter as tk
class Ball:
    def __init__(self, x, y, dx, dy, color):
        self.x = x
        self.y = y
        self.dx = dx
        self.dy = dy
        self.color = color

    def move(self, canvas):
        # いまの円を消す
        self.erase(canvas)
        # X座標、Y座標を動かす
        self.x = self.x + self.dx
        self.y = self.y + self.dy
        # 次の位置に円を描写する
        self.draw(canvas)
        # 端を越えていたら反対向きにする
        if (self.x >= canvas.winfo_width()):
            self.dx = -1
        if (self.x <= 0):
            self.dx = 1
        if (self.y >= canvas.winfo_height()):
           self.dy = -1
        if (self.y <= 0):
            self.dy = 1

    def erase(self, canvas):
        canvas.create_oval(self.x - 20, self.y - 20, self.x + 20, self.y + 20, fill="white", width=0)

    def draw(self, canvas):
        canvas.create_oval(self.x - 20, self.y - 20, self.x + 20, self.y + 20, fill=self.color, width=0)

class Rectangle(Ball):
    def erase(self, canvas):
        canvas.create_rectangle(self.x - 20, self.y - 20, self.x + 20, self.y + 20, fill="white", width=0)

    def draw(self, canvas):
        canvas.create_rectangle(self.x - 20, self.y - 20, self.x + 20, self.y + 20, fill=self.color, width=0)

class Triangle(Ball):
    def erase(self, canvas):
        canvas.create_polygon(self.x, self.y - 20, self.x + 20, self.y + 20, self.x - 20, self.y + 20, fill="white", width=0)

    def draw(self, canvas):
        canvas.create_polygon(self.x, self.y - 20, self.x + 20, self.y + 20, self.x - 20, self.y + 20, fill=self.color, width=0)

# 円、四角形、三角形を、まとめて用意する
balls=[
    Ball(400, 300, 1, 1, "red"),
    Rectangle (200, 100, -1, 1, "green"),
    Triangle(100, 200, 1, -1, "blue")
]
def loop():
    # 動かす
    for b in balls:
        b.move(canvas)
    # もう一回
    root.after(10,loop)

# ウィンドウを描く
root = tk.Tk()
root.geometry("800x600")

# Canvasを置く
canvas =tk.Canvas(root, width =800,height = 600, bg="#fff")
canvas.place(x = 0, y = 0)

# タイマーをセット
root.after(10, loop)

root.mainloop()
三つできた!動く!うれしい!
行き詰った点
・ whiteとwhileを打ち間違えてたところ
・ redをwhiteにしていたところ
・ 動画をGIFにすること