目次
- Waypoints.js
(1-1) 準備
(1-2) 基本的な使い方 - Animate.css
(2-1)準備
(2-2)基本的な使い方 - Waypoints.jsとAnimate.cssの組み合わせ
(3-1)要素をふわっとフェードインさせる方法
(3-2)要素の表示を遅延させる方法
(3-3)要素を表示したままにさせる方法
1. Waypoints.js
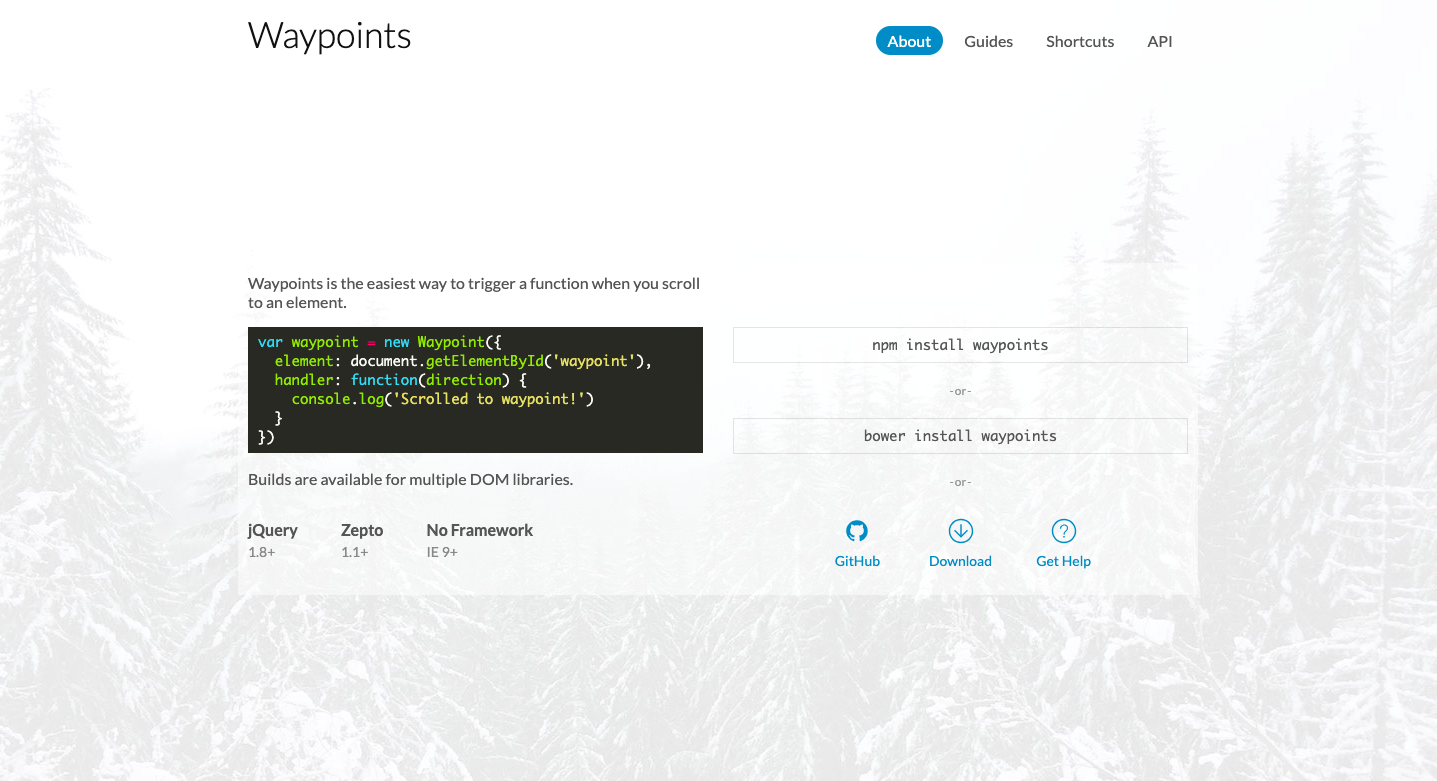
準備(Waypoints)
公式サイト:http://imakewebthings.com/waypoints/
読み込み方は、以下の2通りです。どちらでもいいです。
- ダウンロード
- cdn
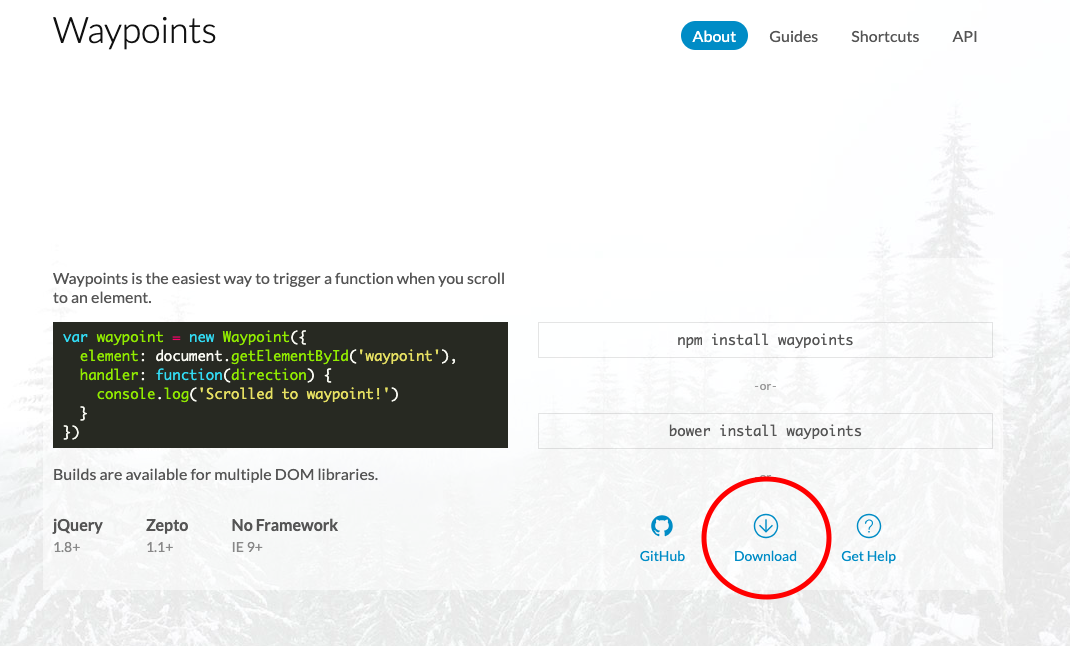
ダウンロードする場合
公式サイトからzipファイルをダウンロードし、解凍してください。
zipファイルを展開したあと、「libフォルダ」内のjquery.waypoints.jsかjquery.waypoints.min.jsどちらかを読み込んで使用します。
*今回はjquery.waypoints.min.jsとしてみましょう
このjsファイルをプロジェクト内に配置してください。jsファイルなどを用意して、そこに配置しておくと良いでしょう。
あとは、bodyの閉じタグ直前で以下のようにjqueryを読み込み、
jquery.waypoints.min.jsを読み込みましょう。
<body>
    <!-- 中略 -->

    <script src="https://code.jquery.com/jquery-3.6.1.min.js"></script>
    <script src="jquery.waypoints.min.js"></script>
    <script src="main.js"></script>
</body>
CDNの場合
CDNとは「Contents Delivery Network」の略で、Webコンテンツを迅速に、効率よくユーザーに配信するためのネットワークです。以下のようにbodyの閉じタグ直前にcdnを読み込むだけです。
<body>
    <!-- 中略 -->

    <script src="https://code.jquery.com/jquery-3.6.1.min.js"></script>
    <script src="https://cdnjs.cloudflare.com/ajax/libs/waypoints/3.0.0/jquery.waypoints.min.js"></script>
    <script src="main.js"></script>
</body>
基本的な使い方(Waypoints)
html要素を用意します(hogeというクラスを与えました)。
hogeに対してwaypointの関数を呼びます。
handlerが実行する処理を記述するオプションです。
handlerの中でスクロールの方向も定めます。
offsetが実行するタイミングを決めるオプションです。
$('.hoge').waypoint({
  handler: function (direction) {
    if (direction === 'down') {
      // 下にスクロールした時の処理
      console.log('hoge is in the middle');
    }
  },
  // 要素が画面中央にきた時にhandlerを実行する
  offset: '50%',
});
2. Animate.css
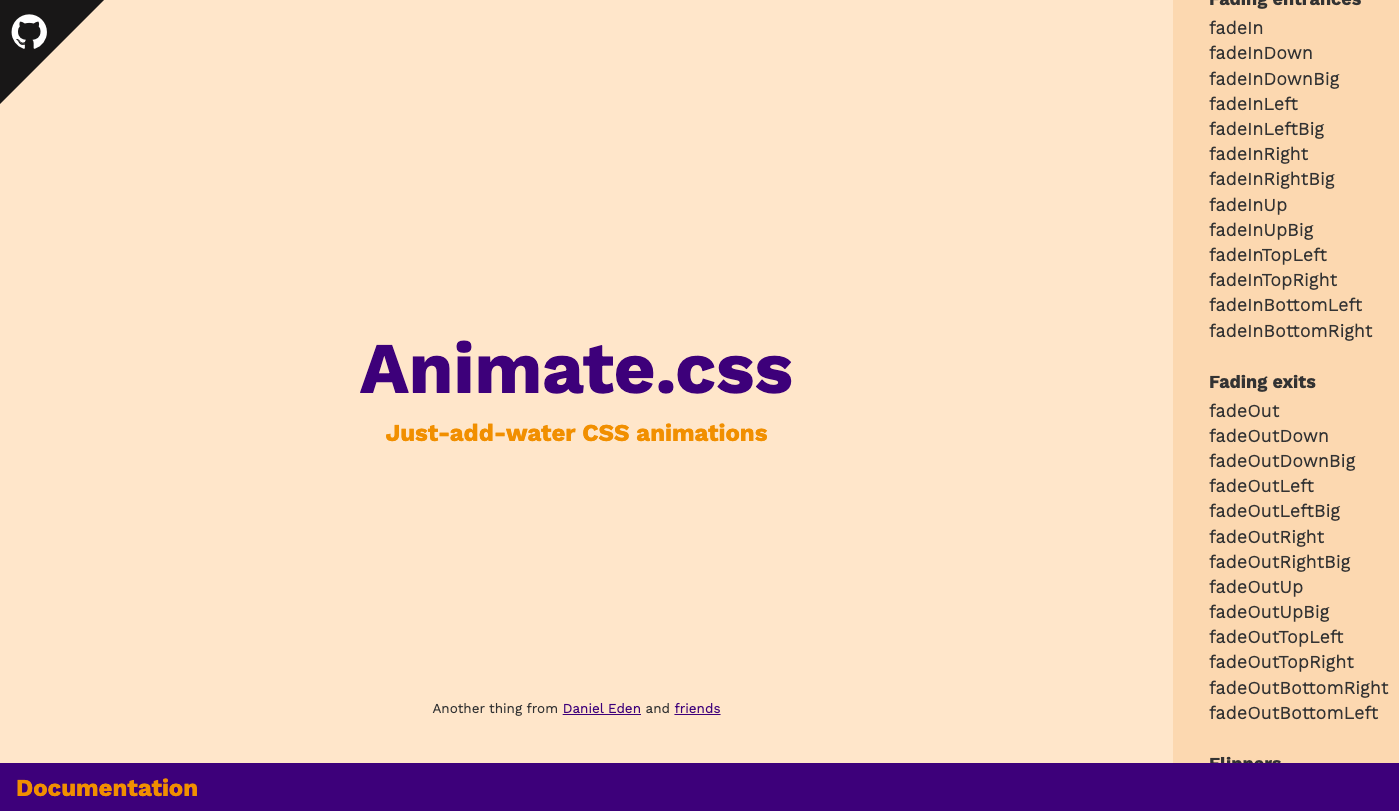
準備(Animate.css)
公式サイト:https://animate.style/
読み込み方は、以下の2通りです。どちらでもいいです。
- ダウンロード
- cdn
ダウンロードする場合
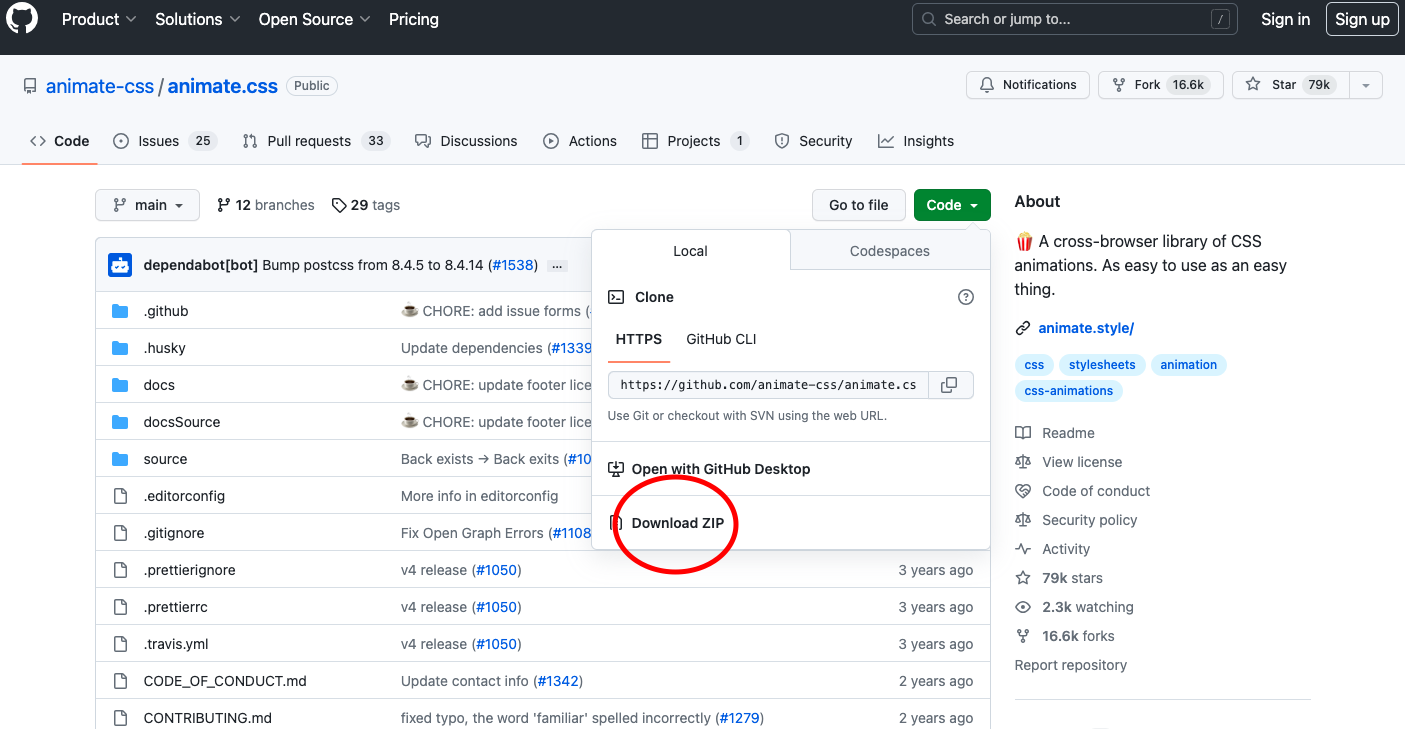
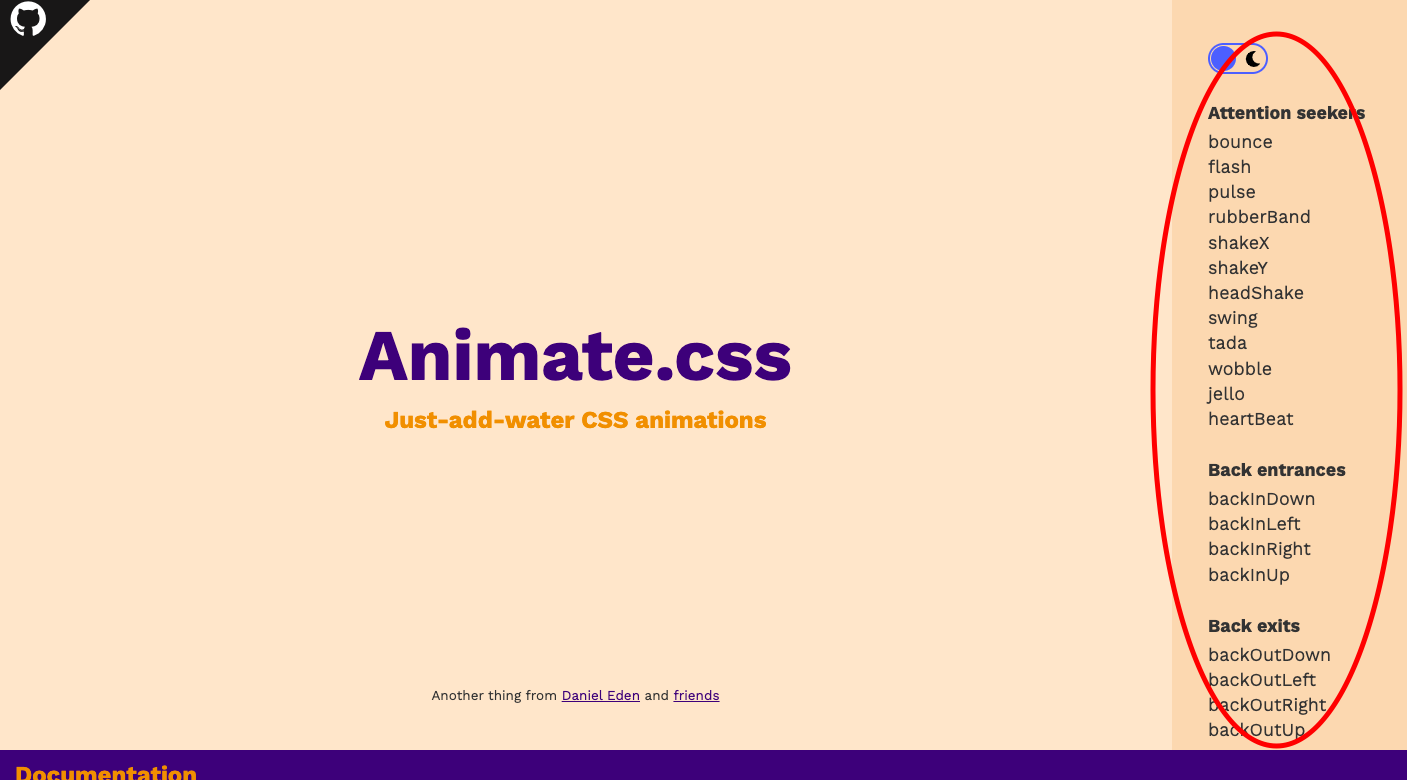
公式サイトの左上にあるgithubに移動します。githubからダウンロードします。
ダウンロードしたzipファイルを解凍後、animate.cssまたはanimate.min.cssをプロジェクト内に配置します。cssフォルダなどを作ってそこに配置すると良いでしょう。
そのあと、HTMLのhead内で読み込みます。
<head>
  <!-- 中略 -->
  <link rel="stylesheet" href="css/animate.css">
  <link rel="stylesheet" href="css/style.css">
</head>
cdnの場合
以下のようにcdnでリンクを読み込むだけです。
<head>
  <!-- 中略 -->
  <link
    rel="stylesheet"
    href="https://cdnjs.cloudflare.com/ajax/libs/animate.css/4.1.1/animate.min.css"
  />
</head>
基本的な使い方(Animate.css)
アニメーションを施したいhtmlの要素にanimate__animatedクラスをつけます。
<div class="box animate__animated"></div>
<div class="box animate__animated"></div>
<div class="box animate__animated"></div>
<div class="box animate__animated"></div>
<div class="box animate__animated"></div>
アニメーションの種類はいっぱいあるので、公式サイトからコピペしてみてください。
つけたいアニメーションが決まったら、そのクラスを追加します。
今回はanimate__bounceを追加してみました。
<div class="box animate__animated animate__bounce"></div>
アニメーションを遅らせたい場合、animate__delay-〇sとしてください。
<div class="box animate__animated animate__bounce animate__delay-2s"></div>
アニメーションの速さを変えたい場合、以下のうちどれかを選んでください。
animate__slowは2秒
animate__slowerは3秒
animate__fastは0.8秒
animate__fasterは0.5秒
(デフォルトは1秒)
<div class="box animate__animated animate__bounce animate__slow"></div>
<div class="box animate__animated animate__bounce animate__slower"></div>
<div class="box animate__animated animate__bounce animate__fast"></div>
<div class="box animate__animated animate__bounce animate__faster"></div>
アニメーションを繰り返したい場合、animate__repeat-〇としてください。
<div class="box animate__animated animate__bounce animate__repeat-3"></div>
アニメーションを永遠リピートしたい場合、animate__infiniteとしてください。
<div class="box animate__animated animate__bounce animate__infinite"></div>
このようにクラスを付与するだけなので簡単です。
3. Waypoints.jsとAnimate.cssの組み合わせ
あとはWaypointsとAnimate.cssを掛け合わせるだけです。
スクロールして要素が画面のある高さまで来たら、アニメーションのクラスを付与するだけです。
ここで最初にしておくべき重要な設定があります。
アニメーションを施す要素は最初に隠しておきましょう。
.animate__animated { opacity: 0; }
アニメーションのクラスを付与すると勝手にopacity: 1になって表示されます。
要素をふわっとフェードインさせる方法
要素が画面中央に来たら、animate__fadeInUpというAnimate.cssのクラスを付与しています。
$('.box').waypoint({
  handler: function (direction) {
    if (direction === 'down') {
      // フェードインアップというクラスを付与してます
      $(this.element).addClass('animate__fadeInUp');

      // アニメーションが1回しか呼ばれないようにするためにdestroyしてます
      this.destroy();
    }
  },

  // 画面中央に来たらhandlerを実行する設定です
  offset: '50%',
});
要素の表示を遅延させる方法
以下のように三つ要素が横並びになっていたとします。

これらの要素が画面の45%の高さまできたら、赤→オレンジ→黄色の順でanimate__fadeInUpというクラスを付与したいと思います。
javascriptの方は先ほどまでと同じです。
$('.box').waypoint({
  handler: function (direction) {
    if (direction === 'down') {
      $(this.element).addClass('animate__fadeInUp');
      this.destroy();
    }
  },
  offset: '45%',
});
cssの方でanimation-delayプロパティの設定をしました。
.box:nth-of-type(1) {
  background: red;
}
.box:nth-of-type(2) {
  background: orange;
  /* 0.3秒の遅延 */
  animation-delay: 0.3s;
}
.box:nth-of-type(3) {
  background: yellow;
  /* 0.6秒の遅延 */
  animation-delay: 0.6s;
}
ユーティリティクラスを付与することでanimationの遅延を実装することもできますが、私はこのようにcssの方で記述する方が分かりやすいと思ったのでこの方法を紹介しました。
要素を表示したままにさせる方法
Animate.cssのクラスを試していると、いくつかのアニメーションで表示されてから消えてしまうものがあったので、アニメーション後も表示したままにさせる方法をご紹介します。
$('.box').waypoint({
  handler: function (direction) {
    if (direction === 'down') {
      $(this.element).addClass('animate__zoomIn');
      // opacityが0に戻らないように1に変更しました
      $(this.element).css('opacity', '1');
      this.destroy();
    }
  },
  offset: '20%',
});
まとめ
Waypoints.jsとAnimate.cssを使えばスクロール時のアニメーションはとっても簡単です。
要素が画面のある高さまで来たら、クラスを付与するだけです。
是非使ってみてください〜