Windows Terminal
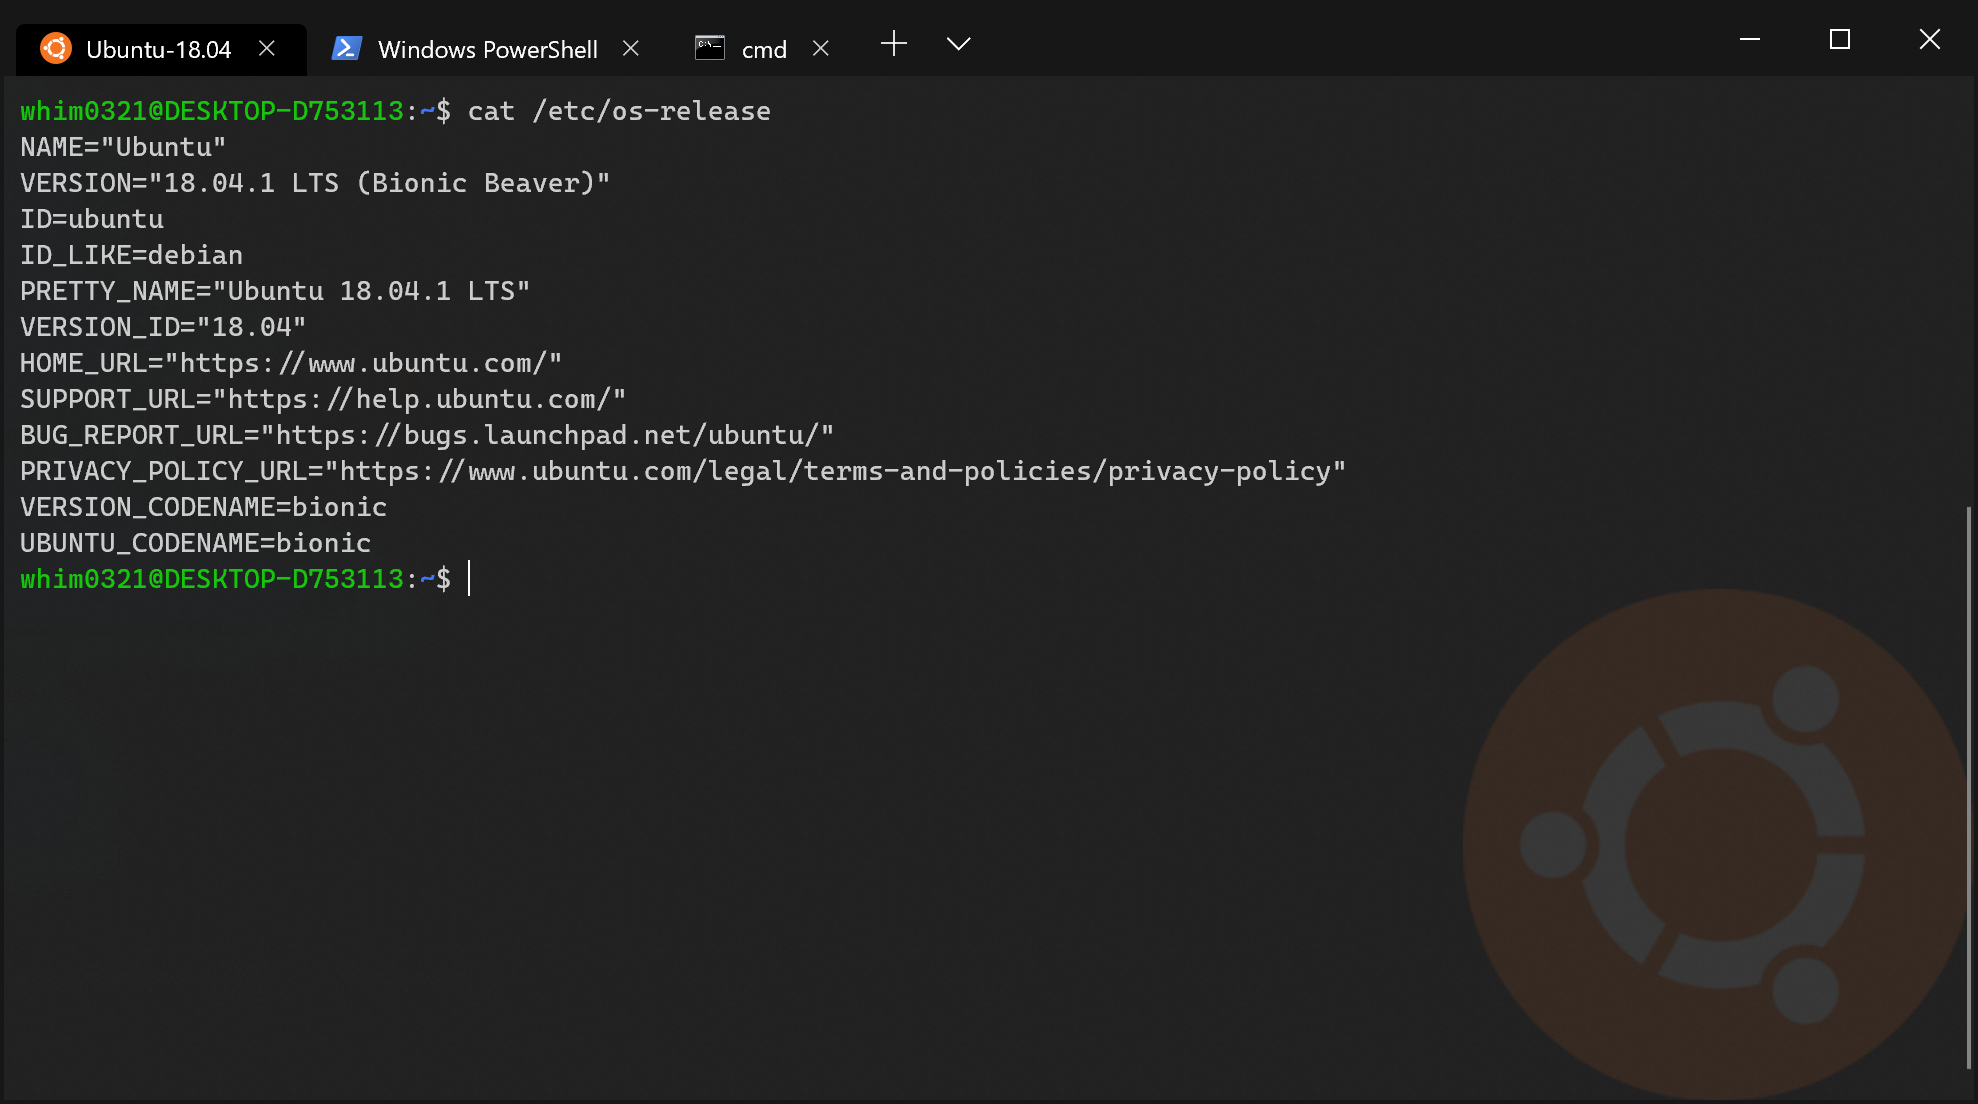
Windowsの新しいTerminalアプリケーション。WindowのTab化や様々な設定が可能。デフォルトでコマンドプロンプト、PowerShell、WSL、Azure Cloud Shellを使用可能。2020/5/19に正式版(V1.0)がリリースされた。
Preview版で実装されていた設定画面が、遂にV1.7安定板でも実装された。このページで説明していた設定ファイル(settings.json)の編集方法は、ページの後半に移動した。
How to install
Windows 10 20H1 (build 19041)以降であれば、インストール可能。
Microsoft StoreからWindows Terminalを検索してインストール。とっても簡単。
Settings
Windows Terminal画面でCtrl + ,を押す、またはTabの右横のメニューからSettingsをクリックすることで設定画面が表示される。基本的に設定画面から設定可能。以降は、設定画面からは設定できず、settings.jsonを直接編集する必要がある設定に関して説明する。settings.jsonはCtrl + Shift + ,で開くことができる。
unfocusedAppearance設定(フォーカスが外れた画面の外観設定)
unfocusedAppearanceプロパティで、フォーカスが外れた画面に関する外観の設定を行うことができる。設定できる項目はbackgroundImage, backgroundImageAlignment, backgroundImageOpacity, backgroundImageStretchMode, cursorHeight, cursorShape, cursorColor, colorScheme, foreground, background, selectionBackground, experimental.retroTerminalEffect, experimental.pixelShaderPath。プロファイルのDefault設定 or プロファイルごとの設定のどちらかに設定可能。
        "defaults":
        {
      ...
            "unfocusedAppearance":
            {
                "foreground": "#DCDFE4",
                "background": "#282C34",
                "experimental.retroTerminalEffect": true
            }
        }
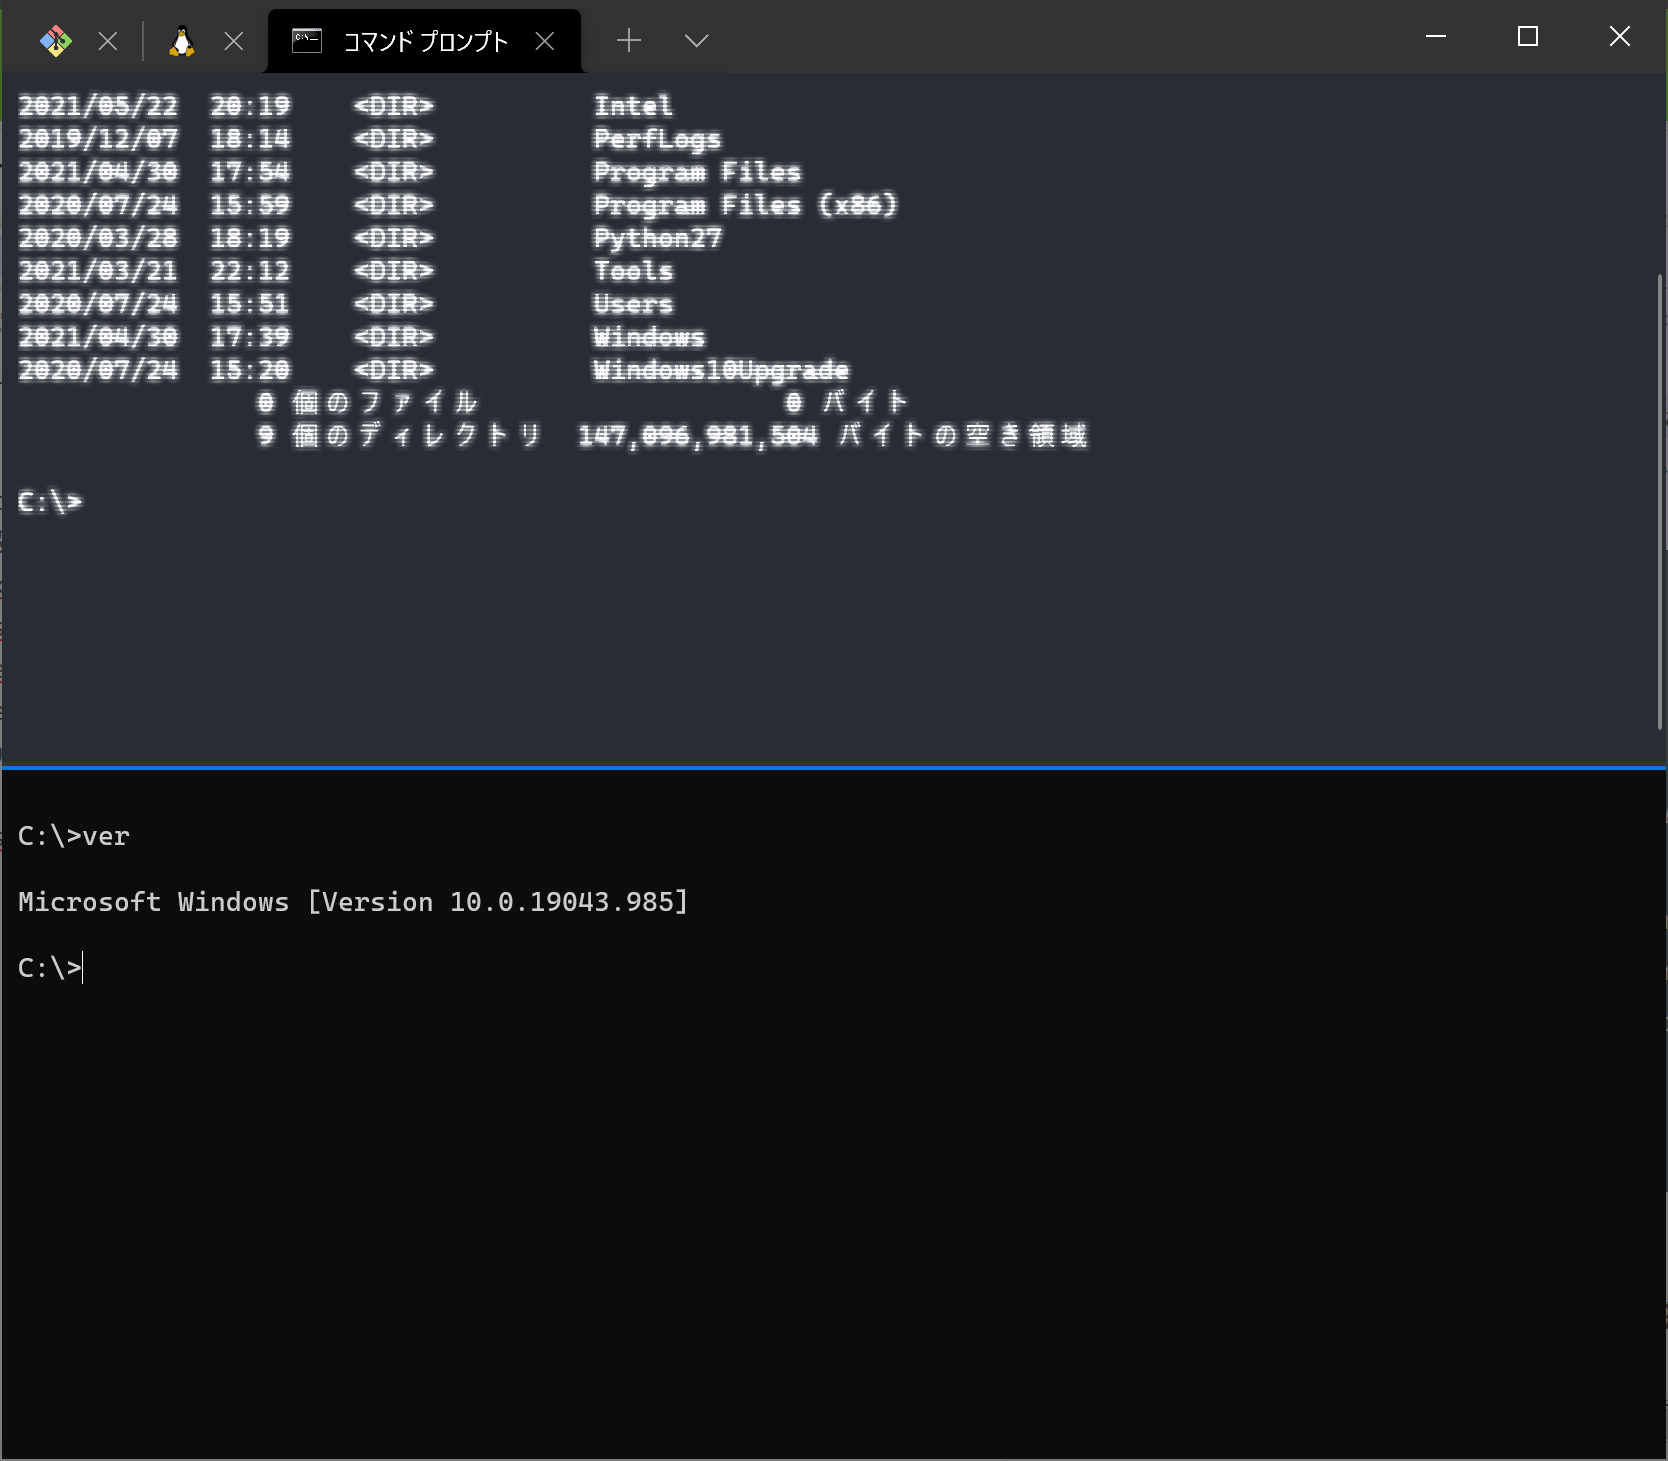
上記の設定結果が下記。フォーカスは下の画面にある。
便利機能
個人的に使っている便利な機能を紹介。
スクロールバーにマークを表示
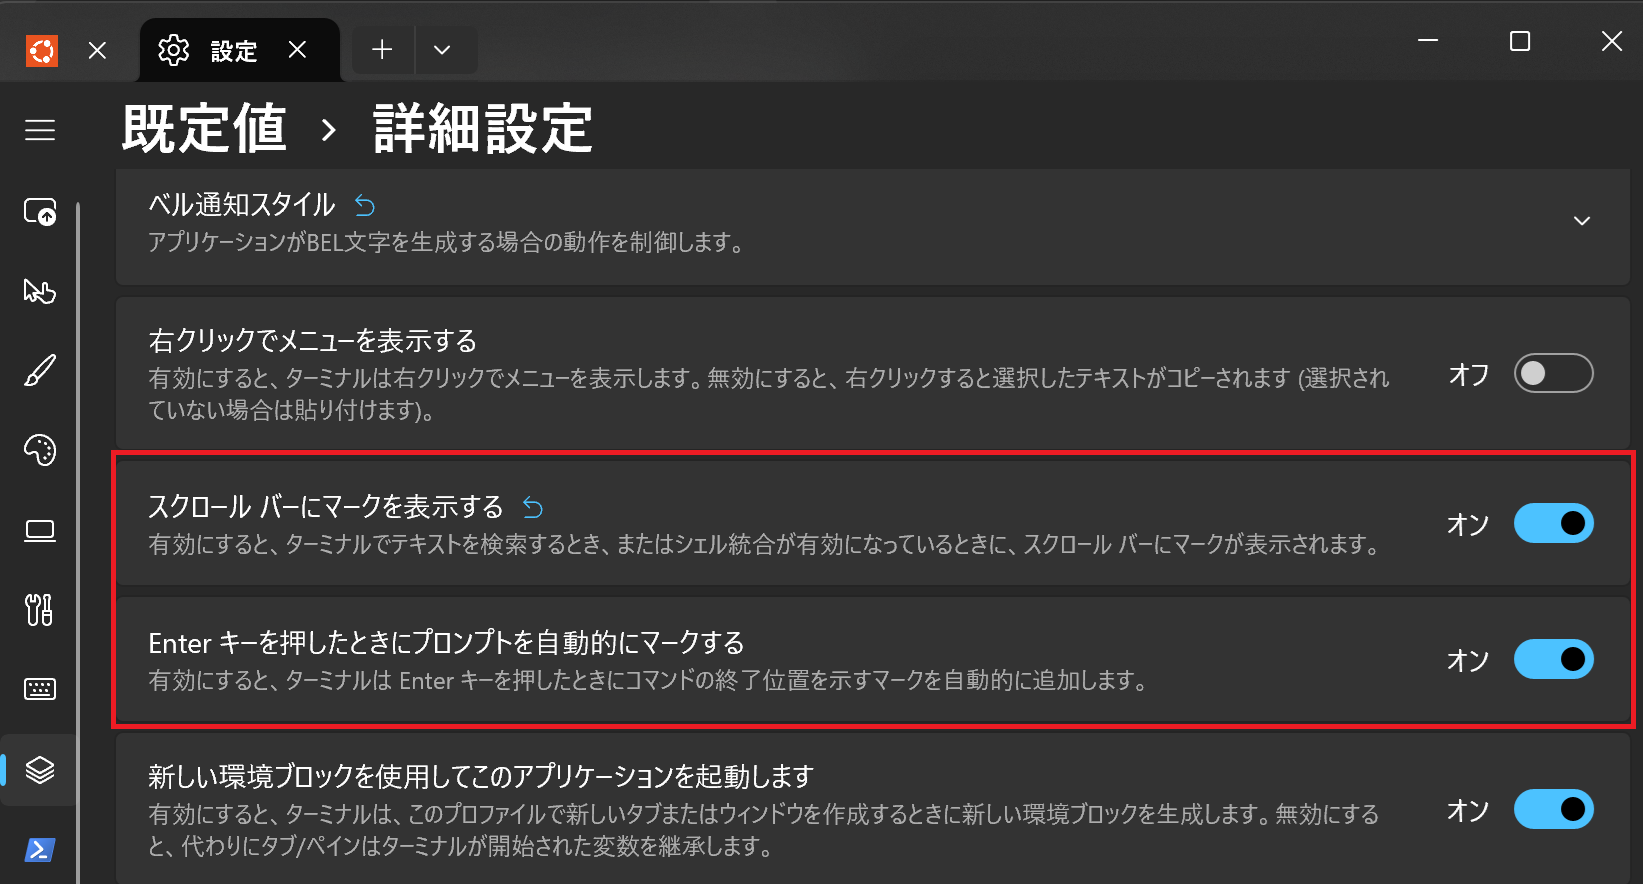
下記の設定をオンにすると、コマンド実行時にスクロールバーにマークが表示される。
下記の設定をすると、Ctrl+PageUpで前のマークへ、Ctrl+PageDownで次のマークへ移動できて便利。
設定画面でも前のマークまでスクロールするにキー設定はできる。しかし、次のマークまでスクロールするは選択できなかったため、setting.jsonを直接編集している。
    "actions":
    [
        ...
        {
            "command":
            {
                "action": "scrollToMark",
                "direction": "previous"
            },
            "id": "User.scrollToMark.prev"
        },
        {
            "command":
            {
                "action": "scrollToMark",
                "direction": "next"
            },
            "id": "User.scrollToMark.next"
        }
    ]
    ...
    "keybindings":
    [
        ...
        {
            "id": "User.scrollToMark.prev",
            "keys": "ctrl+pgup"
        },
        {
            "id": "User.scrollToMark.next",
            "keys": "ctrl+pgdn"
        }
    ]
管理者権限での実行
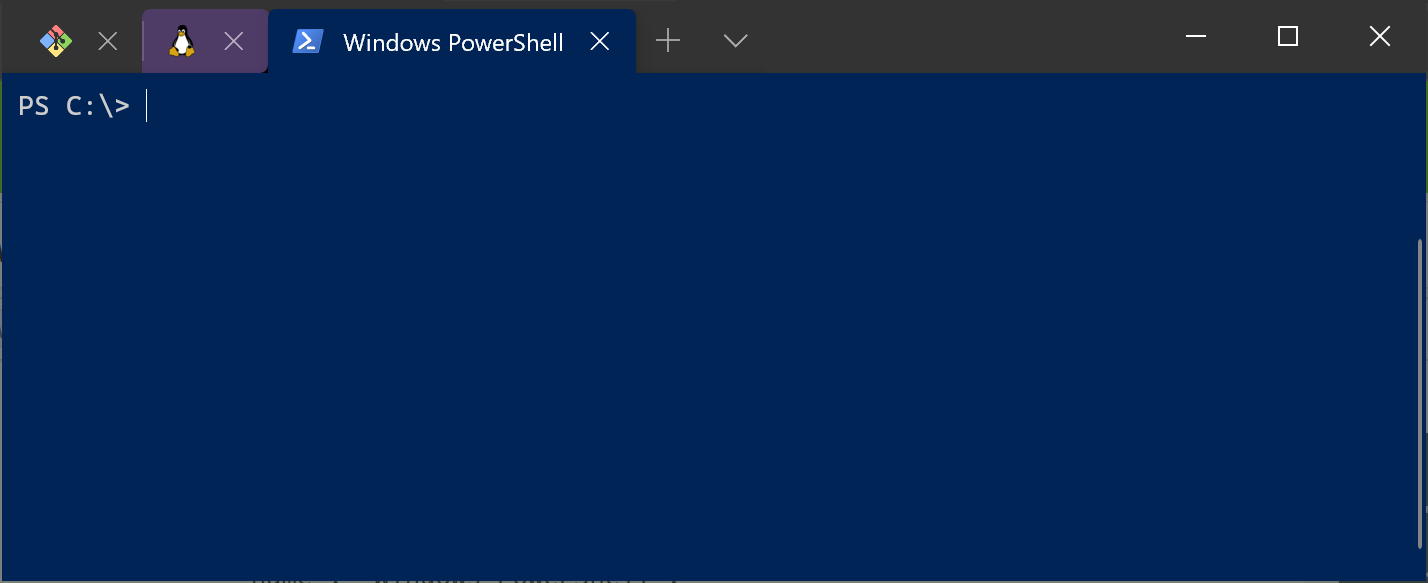
タブを開く際にCtrlキーを押しながら開くと、管理者権限で実行することが可能。管理者権限で開いた画面は、画面左上に盾のようなマークが表示される。
Shortcut Keys
覚えておくと便利かも。
| 機能 | ショートカットキー | 説明 |
|---|---|---|
| コマンドパレット | Ctrl + Shift + P | |
| 新規タブ作成 | Ctrl + Shift + T | default shellが起動 |
| タブの複製 | Ctrl + Shift + D | 現在のタブの複製 |
| タブの切り替え | Ctrl + Tab | |
| ドロップダウンメニュー表示 | Ctrl + Shift + Space | 画面上部の下矢印キーをクリックしたときに表示されるメニューを表示 |
| 検索 | Ctrl + Shift + F | |
| 画面の水平分割 | Alt + Shift + - | 分割画面はdefault shellが起動。 |
| 画面の垂直分割 | Alt + Shift + + | 分割画面はdefault shellが起動。 |
| 分割画面間の移動 | Alt + ←↑→↓ | |
| 分割画面のサイズ変更 | Alt + Shift + ←↑→↓ | |
| 全画面モード | Alt + Enter or F11 | 2度押すと元に戻る |
| Quake Mode | Win + ` | Windows Terminalが画面上からシュッと表示される。面白い機能だけど便利かというと微妙・・・ |
| 設定ファイルのオープン | Ctrl + Shift + , | settings.jsonを開く |
JSON fragment extensions
プロファイルの追加、既存プロファイル設定のアップデート、配色(schemes)設定を、JSONファイルを別途用意することで適用することができる。例えば、下記のファイルをGitBash.jsonとして%LocalAppData%\Microsoft\Windows Terminal\fragments\GitBashフォルダに配置して、Windows Terminalを起動すると、Git Bashがプロファイルに追加される。
本来は、Git Bashのインストール時に、Windows Terminalに追加をオンにするとJSONファイルが追加されるような使い方をするのだと思う(アプリ開発者向け機能)。詳細は、JSONフラグメント拡張機能を参照。
{
    "profiles": [
        {
            "name": "Git Bash",
            "commandline": "%PROGRAMFILES%/Git/bin/bash.exe -li",
            "icon": "%PROGRAMFILES%/Git/mingw64/share/git/git-for-windows.ico",
            "startingDirectory": "%USERPROFILE%",
            "backgroundImage": "%PROGRAMFILES%/Git/mingw64/share/git/git-for-windows.ico",
            "backgroundImageAlignment": "bottomRight",
            "backgroundImageOpacity": 0.5,
            "backgroundImageStretchMode": "none",
        }
    ]
}
プロンプトのカスタマイズ
Oh My Poshを使うとプロンプトがちょっと見やすく、かつ格好よくなる。チュートリアル: Oh My Posh を使用して PowerShell または WSL のカスタム プロンプトをセットアップするに設定方法が書かれているので、興味がある人は試してみては。私は、WSL Ubuntuで、下記のように設定している。
Caskaydia Cove Nerd Fontフォントのインストール
下記からCaskaydia Cove Nerd Fontフォントをダウンロードし、ダウンロードしたzipファイルを展開する。展開したCaskaydia Cove Nerd Font Complete.ttfを右クリック→インストールでインストール完了。
Windows TerminalのWSL Ubuntuプロファイル設定変更
設定画面からUbuntuのプロファイル設定のFont faceをCaskaydiaCove Nerd Fontに変更。
Oh My Poshのインストール & 設定
- Ubuntuにログイン
- 下記のコマンドを実行し、Oh My Poshをインストール
curl -s https://ohmyposh.dev/install.sh | bash -s - テーマを
$HOMEディレクトリにコピー
$HOME/.cache/oh-my-posh/themesディレクトリにテーマが多数インストールされる。自分の好きなテーマを$HOMEディレクトリにコピーする。全てのテーマはここを参照。 - .profileの最終行に下記の一行を追加
iterm2.omp.jsonは前の手順でコピーしたテーマを設定。eval "$(oh-my-posh init bash --config ~/iterm2.omp.json)"
動作確認
一度exitしWSL Ubuntuから切断。再度Windows TerminalでWSL Ubuntuに接続すると、次のキャプチャのようにちょっと素敵になる。
その他
Preview Channel
Windows Terminal Preview版をここからインストール可能。安定板と共存できるので、新し物好きな方は試してみては。
関連リンク
-
Windowsターミナルの概要
- ここを見れば一通りわかる。一度は見ておくとよい
-
Windows Command Line
- Windows Terminalの最新情報は、こちらをチェック
-
設定のカスタマイズ
- settings.jsonファイルで設定できる項目の説明。ここを見ていろいろ試してみるとよい
Windows Terminalの設定は設定画面から可能である。設定内容はsettings.jsonファイルに保存されている。このファイルを直接編集することでも設定を変更することができる。V1.7での設定画面実装前はsettings.jsonを編集して設定を行っていた。以降の内容は、昔懐かしのsettings.jsonを編集していたころの記事である。Windows Terminalを使うにあたっては全く不要の、物好きな人向けの内容である。
settings.jsonでの設定方法
settings.jsonはCtrl + Shift + ,で開くことができる。設定の詳細はこのあたりを参照してみましょう。
Global設定
全Terminal画面共通の設定。
Default Profile変更
Windows Terminal起動時に、初期設定ではPowerShellのTerminalが開く。これを自分の好きなshellを起動するように変更できる。
settings.jsonファイルの先頭付近にあるdefaultProfileに自分の好きなshellのGUIDを設定する。
例:defaultProfileをcmd.exeに変更
...
    "defaultProfile": "{61c54bbd-c2c6-5271-96e7-009a87ff44bf}",

    "profiles":
    [
        {
            // Make changes here to the powershell.exe profile
            "guid": "{61c54bbd-c2c6-5271-96e7-009a87ff44bf}",
            "name": "Windows PowerShell",
            "commandline": "powershell.exe",
            "hidden": false
        },
        {
            // Make changes here to the cmd.exe profile
            "guid": "{0caa0dad-35be-5f56-a8ff-afceeeaa6101}",
            "name": "cmd",
            "commandline": "cmd.exe",
            "hidden": false
        },
...
このdefaultProfileの値をpowershell.exeからcmd.exeのguidに変更して保存する。この後、Ctrl + Shift + Tで新規タブを開いたときや、Windows Terminalを立ち上げたときに、cmd.exeのタブが起動する。
...
    "defaultProfile": "{0caa0dad-35be-5f56-a8ff-afceeeaa6101}", <- cmd.exeのGUIDに変更

    "profiles":
    [
        {
            // Make changes here to the powershell.exe profile
            "guid": "{61c54bbd-c2c6-5271-96e7-009a87ff44bf}",
            "name": "Windows PowerShell",
            "commandline": "powershell.exe",
            "hidden": false
        },
        {
            // Make changes here to the cmd.exe profile
            "guid": "{0caa0dad-35be-5f56-a8ff-afceeeaa6101}",
            "name": "cmd",
            "commandline": "cmd.exe",
            "hidden": false
        },
...
画面関連設定
起動時の画面サイズ、画面位置を設定できる。
| プロパティ | 設定値 | 説明 |
|---|---|---|
| launchMode | maximized or default | maximizedで起動時に最大化 |
| initialPosition | x,y(数字) | 起動時の位置を指定。0,0で画面左上 |
| initialCols | x(数字) | 起動時の画面幅サイズ |
| initialRows | y(数字) | 起動時の画面高さサイズ |
{
    "$schema": "https://aka.ms/terminal-profiles-schema",

    "defaultProfile": "{c6eaf9f4-32a7-5fdc-b5cf-066e8a4b1e40}",
    "launchMode": "maximized",
...
{
    "$schema": "https://aka.ms/terminal-profiles-schema",

    "defaultProfile": "{c6eaf9f4-32a7-5fdc-b5cf-066e8a4b1e40}",
    "initialCols": 120,
    "initialRows": 30,
    "initialPosition": "0,0",
...
テキスト選択時の自動コピー
初期設定では、Terminal上のテキストを選択した際に自動でコピーされる。copyOnSelectをfalseに設定することで、Ctrl + Cを押すことで選択したテキストがコピーされるように変更できる。(私はデフォルトのまま使っていますが)
{
    "$schema": "https://aka.ms/terminal-profiles-schema",

    "defaultProfile": "{c6eaf9f4-32a7-5fdc-b5cf-066e8a4b1e40}",
    "copyOnSelect": false,
...
Dark Mode設定
最近ちょっと流行りのDark Mode。themeをdarkに設定する。デフォルトではシステム設定に従うので、システム設定をDark Modeにしているなら、あえて設定しなくてよい。
{
    "$schema": "https://aka.ms/terminal-profiles-schema",

    "defaultProfile": "{c6eaf9f4-32a7-5fdc-b5cf-066e8a4b1e40}",
    "theme": "dark",
...
Tabサイズ設定
Tabのサイズを変更できる。compactにすると、非アクティブなタブのサイズがコンパクトになる。titleLengthにすると、タブのタイトルのサイズに合わせる。
{
    "$schema": "https://aka.ms/terminal-profiles-schema",

    "defaultProfile": "{c6eaf9f4-32a7-5fdc-b5cf-066e8a4b1e40}",
    "tabWidthMode": "compact",
...
Tab Switcher設定
Alt + Tabを押した際のTab切り替え動作をTab Switcher UIに変更可能。タブの切り替え順番は現時点ではMRUのみ。将来的には、表示順で切り替えられるようにも設定できるようになる。
(一時期Tab Switcherがdefaultになったが、今は元に戻されている。)
{
    "$schema": "https://aka.ms/terminal-profiles-schema",

    "defaultProfile": "{c6eaf9f4-32a7-5fdc-b5cf-066e8a4b1e40}",
    "useTabSwitcher": true,
...
Actions (Key Bindings)設定
キーアクションに好みの動作を割り当て可能。設定できる項目はここを参照。デフォルトの設定はdefault.jsonのactions以下を参照。default.jsonはTab右横のメニューからAltを押したまま設定をクリックすることで開くことができる。
デフォルトの設定を変更したり、新しい設定を追加する場合は、settings.jsonに設定を追加する。settings.jsonにデフォルトで記載されているactionsの最後に設定したいキーバインディングを追加していく。
個人的に下記の設定をしている。検索をCtrl+F、次を検索をF3、前を検索をShift+F3、現在のシェル画面分割をAlt+Shift+-(水平分割)、Alt+Shift++(垂直分割)に割り当てている。
    "actions": [
        ・・・
        {"command": "find", "keys": "ctrl+f"},
        {"command": {"action": "findMatch", "direction": "next"}, "keys": "f3"},
        {"command": {"action": "findMatch", "direction": "prev"}, "keys": "shift+f3"},
        {"command": {"action": "splitPane", "split": "horizontal", "splitMode": "duplicate"}, "keys": "alt+shift+-"},
        {"command": {"action": "splitPane", "split": "vertical", "splitMode": "duplicate"}, "keys": "alt+shift+plus"}
    ]
Command Palette
Ctrl+Shift+Pでコマンドパレットを使うことができる。普段使わない機能のショートカットキーは覚えていられないので、そういう機能を実行するときに便利。個人的に、F1キーでコマンドパレットを実行できるように、下記の設定をしている。
{ "command": "commandPalette", "keys": "f1" }
Profile設定
Profile(シェル)ごとの設定。profiles以降の各Shellに関する設定。
Default設定
全Profile共通の設定。defaultsで設定した内容は、list以降の全Profileに適用される。共通に設定したい項目は、ここで設定するとよい。以下の例では全てのProfileのフォントの種類をCascadia Code、サイズを10に設定する。(なお、デフォルトのフォントはLigatureのないCascadia Mono。)
...
    "profiles": {
        "defaults": {
            "fontFace": "Cascadia Code",
            "fontSize": 10
        },
        "list": [
            {
                // Make changes here to the powershell.exe profile
                "guid": "{61c54bbd-c2c6-5271-96e7-009a87ff44bf}",
                "name": "Windows PowerShell",
                "commandline": "powershell.exe",
                "hidden": false
            }
         ]
     },
...
Profile追加(GUID作成方法)
list配下にProfileを追加可能。Linux Serverにsshで接続するメニューを追加することもできる。こことかここを参考にするといいかも。Git Bash等はここを参考に。
なお、追加したProfileをDefault Profileに指定するためには、GUIDを作成する必要があるが、PowershellのNew-Guidコマンドで作成可能。
PS C:\> New-Guid

Guid
----
e5942063-0a0f-45e3-ae44-e10e37337d76
Font変更
Fontの種類をfontFace、サイズをfontSizeで変更可能。プログラマー向けの等幅フォントCascadia Codeを使用可能。なお、Windows TerminalのデフォルトフォントはCascadia Monoだが、このフォントにはCoding Ligature(合字)が入っていない。Coding Ligatureって何?という方はここを見てみましょう。
...
    "profiles": {
    ...
        list: [
            {
                // Make changes here to the powershell.exe profile
                "guid": "{61c54bbd-c2c6-5271-96e7-009a87ff44bf}",
                "name": "Windows PowerShell",
                "commandline": "powershell.exe",
                "fontFace": "Cascadia Code",
                "fontSize": 10,
                "hidden": false
            },
...
Color Scheme設定
カラー設定をcolorSchemeで変更可能。設定できる値は、default.jsonを参照。default.jsonはTab右横のメニューからAltを押したままSettingsをクリックすることで開くことができる。自分でsettings.jsonに追加することも可能。好きな人はいろいろ変更してみては。
なお、tabColorでタブの色を設定できるので、backgroundと同じ値にするとシームレスな感じになっていいかも。私は面倒なので設定していないが。
...
    "profiles": {
    ...
        list: [
            {
                // Make changes here to the powershell.exe profile
                "name": "Windows PowerShell",
                "commandline": "powershell.exe",
                "tabColor": "#012456",
                "background": "#012456",
                "hidden": false
            },
...
Window透過設定
Windowの背景を透過させることができる。acrylicOpacityで初期の透過度を設定する。0~1の範囲で設定可能。Windows Terminal画面上でCtrl + Shiftを押したまま、マウスのホイールをスクロールすると動的に透過度を変更可能。
...
    "profiles": {
    ...
        list: [
            {
                // Make changes here to the powershell.exe profile
                "name": "Windows PowerShell",
                "commandline": "powershell.exe",
                "useAcrylic": true,
                "acrylicOpacity": 0.5,
                "hidden": false
            },
...


