概要
最近、graphqlを使う機会があったので、
swaggerみたいなドキュメントツール作れないかなーと思い立ち
reactを使用してhtmlを生成して、cliツールを作ってみました
作ったもの
- graphql-ui: https://github.com/wheatandcat/graphql-ui
生成したhtmlのdemo
使用package
- react
-
material-ui
- materialデザインのreactコンポーネントセット
-
styled-components
- jsxにいい感じにstyleを書くことができるpackage
-
storybook
- reactコンポーネントを単体で管理 and 確認できるツール
material-uiとstyled-componentsでサクっと画面作成
基本デザインはmaterial-ui任せで作成
material-uiのハイクオリティなUIコンポーネントを、そのまま使用
細かなcssはstyled-componentsで調整
細かなstyle変更は、styled-componentsで、サクッと調整
サクッと画面作成
code
source:https://github.com/wheatandcat/graphql-ui/blob/master/src/components/Query/Fields.js
// @flow
import React from "react"
import styled from "styled-components"
import { CardContent as MuiCardContent } from "material-ui/Card"
import MuiPaper from "material-ui/Paper"
import Table, { TableBody, TableCell, TableHead, TableRow } from "material-ui/Table"

type Type = {
  name: string,
  description: string
}

type Field = {
  name: string,
  type: Type
}

type Props = {
  description: string,
  fields: Array<Field>
}

const CardContent = styled(MuiCardContent)`
  padding: 0rem;
  font-size: 0.8rem;
`

const SubTitle = styled(MuiPaper)`
  padding: 1rem 1.6rem;
  font-weight: 600;
`

const Fields = styled.div`
  padding: 0.8rem 1.6rem;
`

export default ({ description, fields }: Props) => (
  <CardContent>
    <SubTitle elevation={1}>{description}</SubTitle>
    <Fields>
      <Table>
        <TableHead>
          <TableRow>
            <TableCell style={{ width: "3rem" }}>name</TableCell>
            <TableCell style={{ width: "3rem" }}>type</TableCell>
            <TableCell>description</TableCell>
          </TableRow>
        </TableHead>
        <TableBody>
          {fields.map(item => (
            <TableRow key={item.name}>
              <TableCell style={{ width: "3rem" }}>{item.name}</TableCell>
              <TableCell style={{ width: "3rem" }}>{item.type.name || "any"}</TableCell>
              <TableCell>{item.description}</TableCell>
            </TableRow>
          ))}
        </TableBody>
      </Table>
    </Fields>
  </CardContent>
)
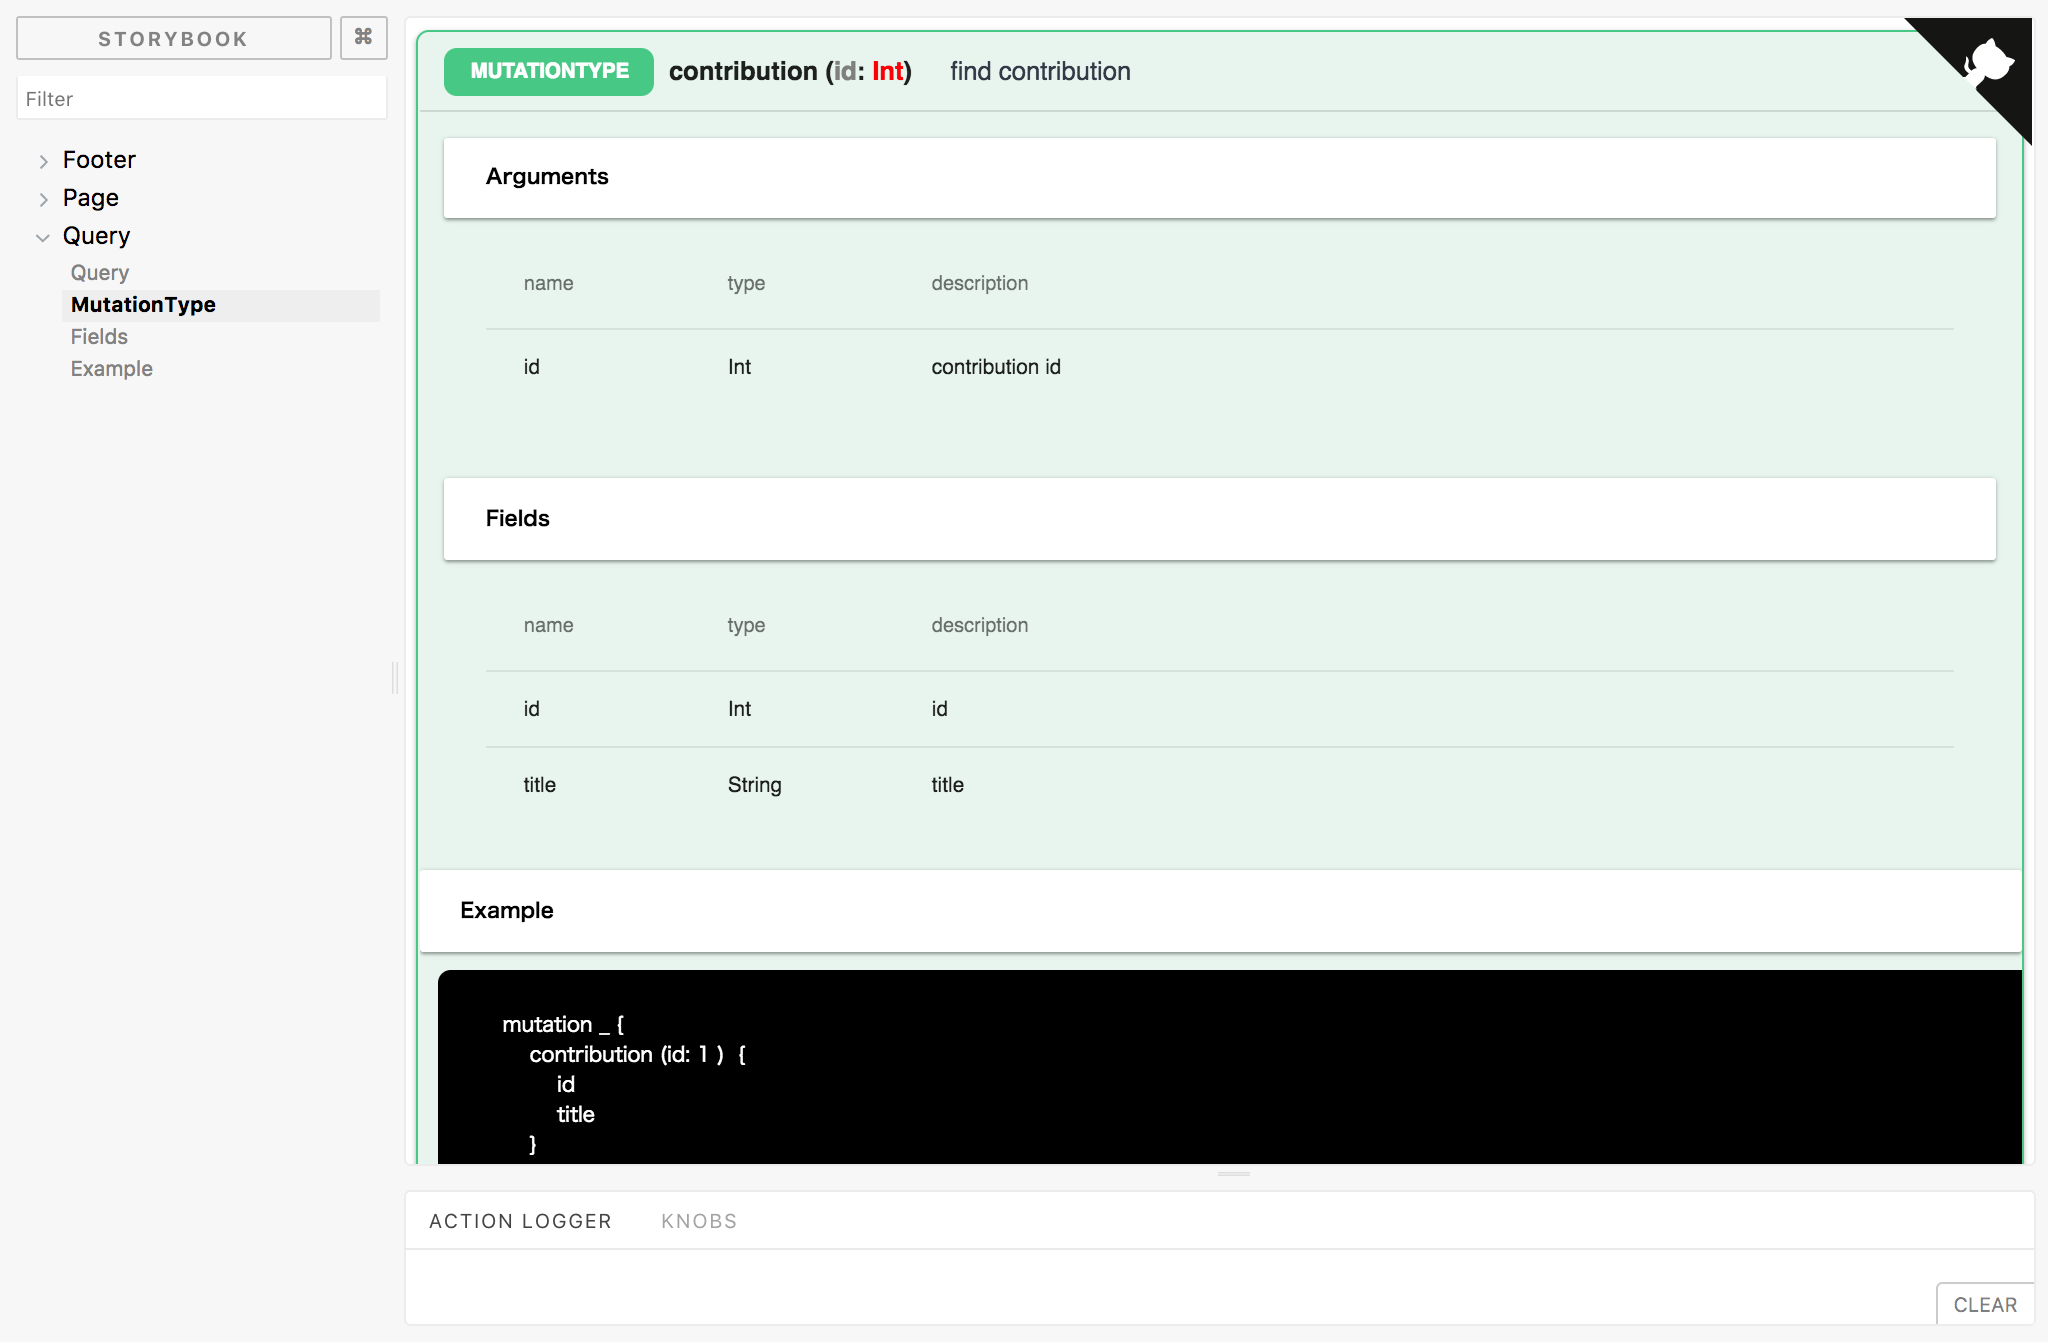
作成したコンポーネントをstorybookで確認
- 今回作成したstorybookのdemo
作成したコンポーネントをスクリプトで呼んでhtmlを生成する
code
source: https://github.com/wheatandcat/graphql-ui/blob/master/src/index.js
# !/usr/bin/env node
// @flow
import "babel-polyfill"
import React from "react"
import { writeFileSync } from "fs"
import { renderToString } from "react-dom/server"
import { SheetsRegistry } from "react-jss/lib/jss"
import { create } from "jss"
import preset from "jss-preset-default"
import JssProvider from "react-jss/lib/JssProvider"
import createGenerateClassName from "material-ui/styles/createGenerateClassName"
import { ServerStyleSheet, StyleSheetManager } from "styled-components"
import Header from "./components/Header"
import Provider from "./components/Provider"
import Page from "./components/Page"

......(省略)

  const sheet = new ServerStyleSheet()

  const jss = create(preset())

  jss.options.createGenerateClassName = createGenerateClassName

  const sheetsRegistry = new SheetsRegistry()

  const reportFileContent = await renderToString(
    <StyleSheetManager sheet={sheet.instance}>
      <JssProvider registry={sheetsRegistry} jss={jss}>
        <Provider>
          <div>
            <Header>
              <div>
                <Page
                  endpoint={endpoint}
                  queries={
                    response.data.__schema.queryType
                      ? response.data.__schema.queryType.fields || []
                      : []
                  }
                  mutations={
                    response.data.__schema.mutationType
                      ? response.data.__schema.mutationType.fields || []
                      : []
                  }
                />
              </div>
            </Header>
          </div>
        </Provider>
      </JssProvider>
    </StyleSheetManager>
  )

  const styleTags = sheet.getStyleTags()

  const css = sheetsRegistry.toString()

  await writeFileSync(
    `${outputDir}/index.html`,
    `<!DOCTYPE html>\n<style>${css}</style>${styleTags}${reportFileContent}`,
    { encoding: "utf8" }
  )

......(省略)
細かな解説
renderToStringでhtmlを取得
SSRを実装したことのある人にはお馴染みのメソッド
reactコンポーネントを渡すとレンダリングするHTML文字列を返してくれる
import { renderToString } from "react-dom/server"

const reportFileContent = await renderToString(
  <StyleSheetManager sheet={sheet.instance}>
    ......(省略)
  </StyleSheetManager>
)

// reportFileContentにはhtml文字列が挿入される
material-uiのstyleを取得
詳しくは、material-uiのserver-rendering参照
https://material-ui-next.com/guides/server-rendering/#setting-up
(1).style取得に必要な処理をimportする
import { SheetsRegistry } from "react-jss/lib/jss"
import { create } from "jss"
import preset from "jss-preset-default"
import JssProvider from "react-jss/lib/JssProvider"
import createGenerateClassName from "material-ui/styles/createGenerateClassName"
(2).material-uiの設定
  const jss = create(preset())

  jss.options.createGenerateClassName = createGenerateClassName

  const sheetsRegistry = new SheetsRegistry()
(3).(2)の設定をjsxに適用
  <JssProvider registry={sheetsRegistry} jss={jss}>
    ......(省略)
  </JssProvider>
(4).material-uiのstyleを取得して生成するhtmlに追加
  // ↓で、material-uiのstyleを文字列として取得できる
  const css = sheetsRegistry.toString()

  // 上記で取得styleをhtmlに追加する
  await writeFileSync(
    `${outputDir}/index.html`,
    `<style>${css}</style>${reportFileContent}`,
  )
styled-componentsのstyleを取得
詳しくは、styled-componentsのserver-rendering参照
https://www.styled-components.com/docs/advanced#server-side-rendering
ほぼ、先程のmaterial-uiと同じです
(1).style取得に必要な処理をimportする
import { ServerStyleSheet } from 'styled-components'
(2).styled-componentsの設定
const sheet = new ServerStyleSheet()
(3).(2)の設定をjsxに適用
  <StyleSheetManager sheet={sheet.instance}>
    ......(省略)
  </StyleSheetManager>
(4).styled-componentsのstyleを取得して生成するhtmlに追加
  // ↓で、styled-componentsのstyleを文字列として取得できる
  const styleTags = sheet.getStyleTags()

  // 上記で取得styleをhtmlに追加する
  await writeFileSync(
    `${outputDir}/index.html`,
    `${styleTags}${reportFileContent}`,
  )
cliツール作成
cliツール作成自体は、以下の記事を参考に作成させて頂きました
【参照】npm でコマンドラインツール開発事始め
https://qiita.com/takayukioda/items/a149bc2907ef77121229
完成
最終的には、npmでcliツールとして公開しました
https://www.npmjs.com/package/graphql-ui
あとがき
reactは手軽にハイクオリティなデザインを扱える + storybookの様な高性能なツールもあるので、
テンプレート的なhtml生成としての使い勝手も良いなと思った。
その他の障害
SSRで生成したreactコンポーネントは、あくまで静的なhtmlなので、動的な動作はできません。
なので、今回は生成後のhtmlに対してのjqueryコードを追加してアコーディオン等の動作を追加しています。
(正攻法かは分からないが、取り敢えず動いたからいいか・・・(^^;)
source:
https://github.com/wheatandcat/graphql-ui/blob/master/static/actions.js


