この記事はウェブクルー Advent Calendar 2023 16日目の記事です。
昨日は、@kouki_kubota さんの「関数型と単体テストの相性がとても良き」でした。
はじめに
OneloginのOIDC認証を利用し、PlayFramework(Scala)で作成したアプリケーションへのログインを行う手順です。
今回はPlayFramework用のセキュリティライブラリであるplay-pac4jを使用して実装しました。
OIDC(OpenID Connect)とは
サービス間で、利用者の同意に基づきID情報を流通するための標準仕様。
OIDCの認証フローについては下記の記事が参考になりました。
Oneloginとは
OneLogin社が提供するクラウドサービスにおけるID管理、アクセス制限などを提供するIDaaSサービス。
事前準備
- Oneloginの管理者権限のアカウントを用意する。
無ければ下記のサイトから開発者用ドメインが作成できる。(無料)
※ただし、1社(社用メールのドメイン)に対して1つしか作成できない模様。
- PlayFramework + Scalaでアプリケーションを作成し、ローカル環境で動作する状態にしておく。(
http://localhost:9000/でアクセス可能)
※今回は下記のバージョンで作成したアプリケーションを使用
・Scala:2.13.2
・PlayFramework:2.8.0
・sbt:1.3.10
Oneloginの設定
-
管理者権限のアカウントでOneloginにログインする。
-
ヘッダーの[Administration] > [Applications]タブからApplications画面に遷移し、 [Add App]ボタンクリックでアプリケーションの新規作成に進む。

-
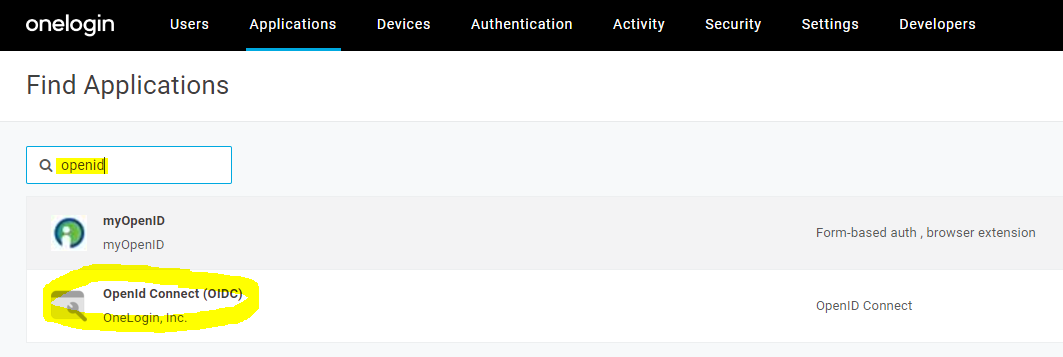
Find Applications画面の検索窓に"openid"と入力し、検索結果の[OpenId Connect(OIDC)]を選択する。
-
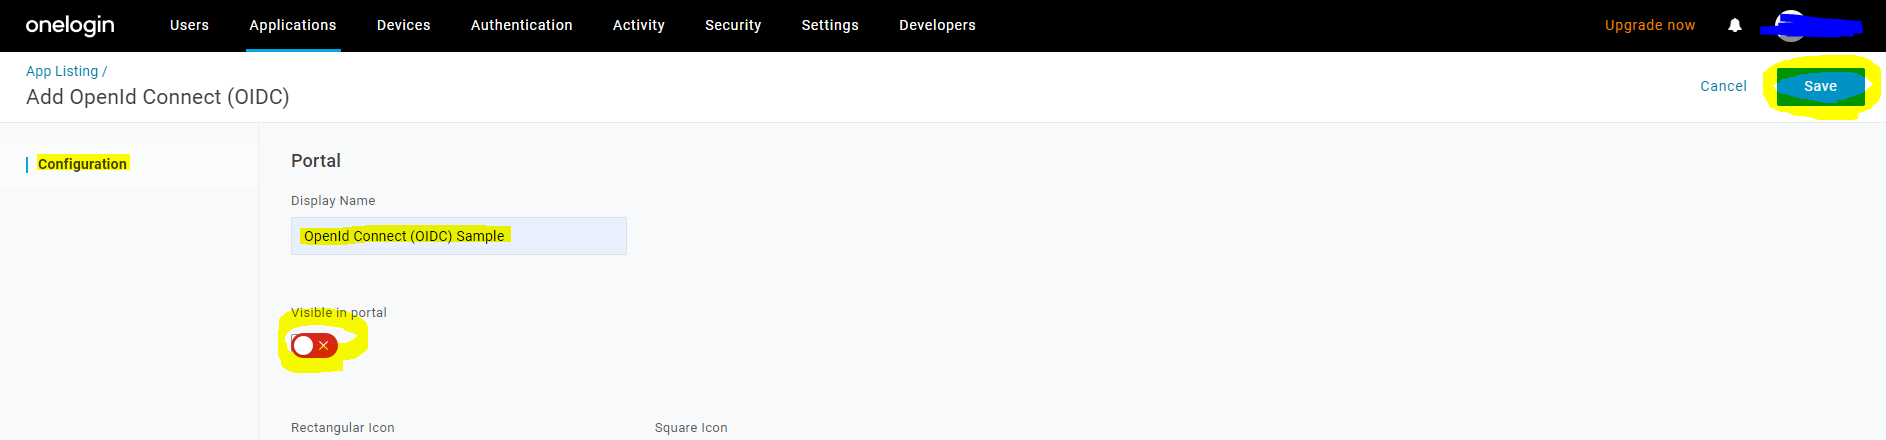
Add OpenId Connect(OIDC)画面でアプリ名(任意)を入力し、[Save]ボタンをクリックする。
※今回は、Oneloginのメニュー画面には表示しないので、[Visible in portal]のチェックは外す。
-
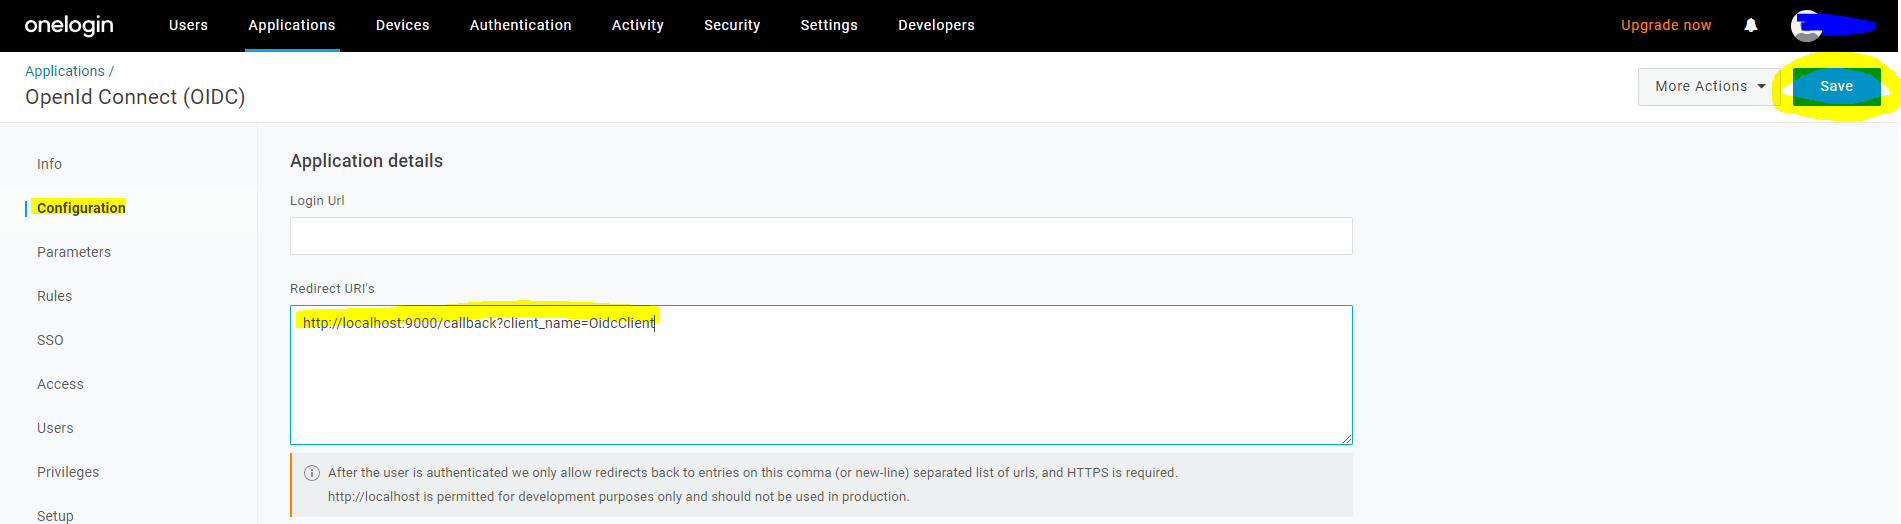
右側のメニューで[Configuration]を選択し、[Redirect URIs]にアプリケーションのコールバック用URLを入力して[Save]ボタンをクリックする。
- Redirect URIs:
http://localhost:9000/callback?client_name=OidcClient
- Redirect URIs:
-
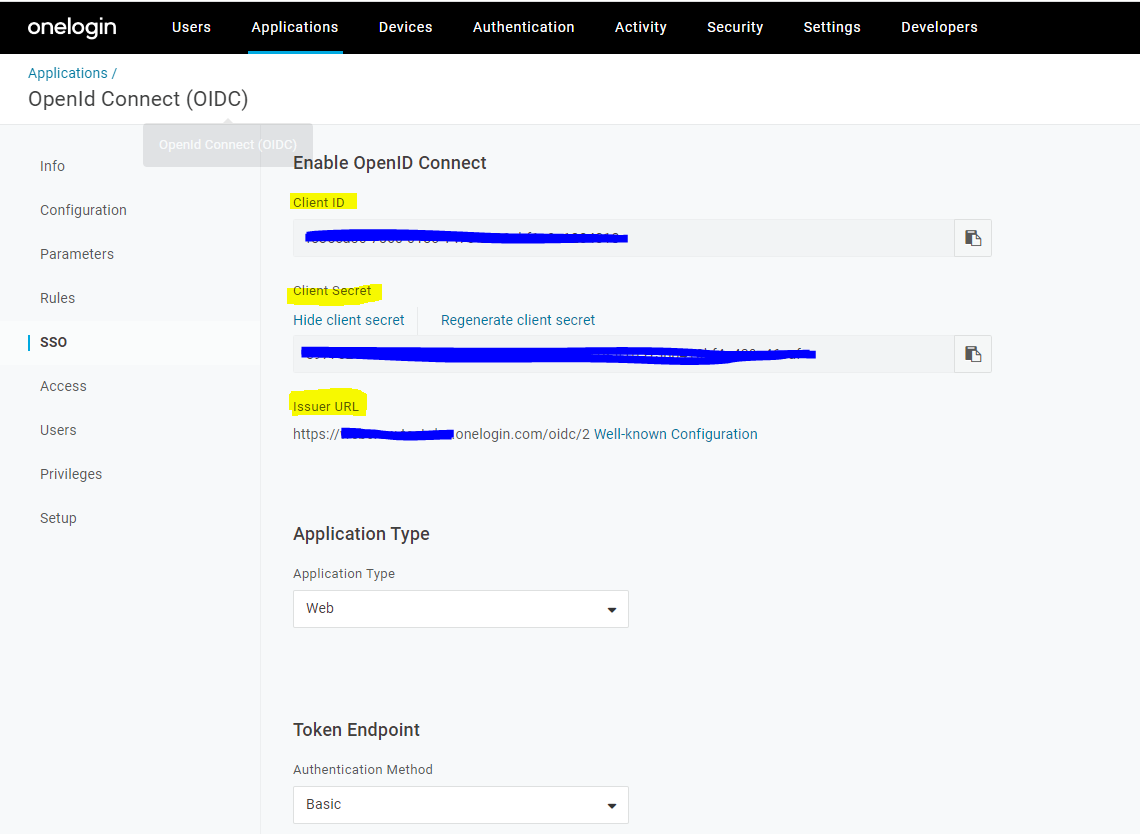
右側のメニューで[SSO]を選択し、下記の値を控えておく。
- Client ID
- Client Secret
- Issuer URL
-
アプリケーションにユーザーを追加する。
・[Users]タブを選択し、ユーザー一覧から自分のアカウントを選択する。
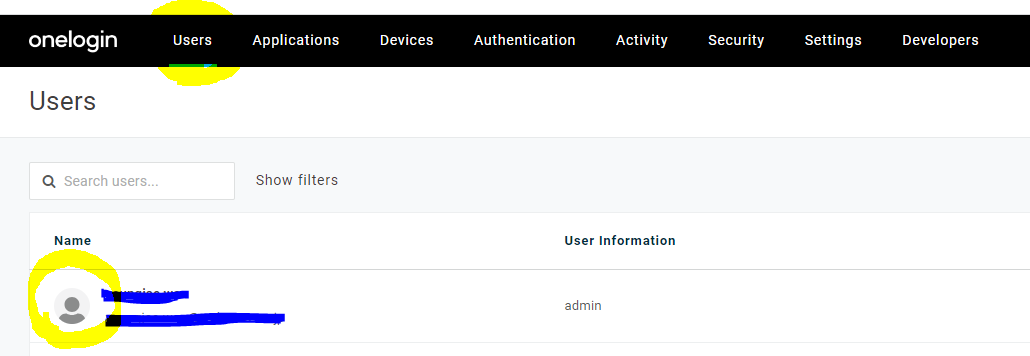
・右側のメニューで[Applications]を選択し、[+]ボタンをクリックする。

・モーダルで作成したアプリケーションを選択後[Continue]ボタンをクリック⇒次のモーダルで[Save]ボタンをクリックする。
アプリケーションの設定
-
build.sbtに
play-pac4jを追加する。
※ehcacheは後述のPlayCacheSessionStoreを使用するために必要build.sbtlibraryDependencies ++= Seq( ehcache, "org.pac4j" %% "play-pac4j" % "11.1.0-PLAY2.8", "org.pac4j" % "pac4j-oidc" % "5.7.0" excludeAll(ExclusionRule("commons-io" , "commons-io"), ExclusionRule(organization = "com.fasterxml.jackson.core")), -
routesファイルにOIDC用のURLを追加する。GET /login controllers.OidcController.login GET /oidcIndex controllers.OidcController.oidcIndex GET /callback @org.pac4j.play.CallbackController.callback(request: Request) -
application.confにOIDC用の設定値を追加する。
clientId、secret、discoveryURIに記載する値はOneloginの設定>6.で控えた値- clientId:
Client ID - secret:
Client Secret - discoveryURI:
Issuer URL
conf/application.confplay.modules.enabled += "modules.SecurityModule" baseUrl="http://localhost:9000" oneLogin { clientId="xxxxxxxxxxxxxxxxxxxxxxxxxxxxxxxxxxxxxxxxxx" secret="xxxxxxxxxxxxxxxxxxxxxxxxxxxxxxxxxxxxxxxxxx" discoveryURI="https://xxxxxxxx.onelogin.com/oidc/2/.well-known/openid-configuration" } - clientId:
-
SecurityModuleを作成する。app/models/SecurityModule.scalaclass SecurityModule(environment: Environment, configuration: Configuration) extends AbstractModule { override def configure(): Unit = { bind(classOf[SessionStore]).to(classOf[PlayCacheSessionStore]) bind(classOf[SecurityComponents]).to(classOf[DefaultSecurityComponents]) // callback val callbackController = new CallbackController() callbackController.setDefaultUrl("/") // default url after sign out bind(classOf[CallbackController]).toInstance(callbackController) } @Provides def provideOidcClient: OidcClient = { val clientId = configuration.get[String]("oneLogin.clientId") val secret = configuration.get[String]("oneLogin.secret") val discoveryURI = configuration.get[String]("oneLogin.discoveryURI") val oidcConfiguration = new OidcConfiguration() oidcConfiguration.setClientId(clientId) oidcConfiguration.setSecret(secret) oidcConfiguration.setDiscoveryURI(discoveryURI) val oidcClient = new OidcClient(oidcConfiguration) oidcClient } @Provides def provideConfig(oidcClient: OidcClient): Config = { val baseUrl = configuration.get[String]("baseUrl") val clients = new Clients(baseUrl + "/callback", oidcClient) val config = new Config(clients) config } } } -
controllerを作成する。
app/controllers/OidcController.scalaclass OidcController @Inject()(val controllerComponents: SecurityComponents, implicit val pac4jTemplateHelper: Pac4jScalaTemplateHelper[UserProfile]) extends Security[UserProfile] { def login() = Action { request => Ok(views.html.login()) } def oidcIndex() = Secure("OidcClient") { implicit request => // profilesからユーザー情報を取得する val username = profiles.apply(0).getAttribute("preferred_username") Ok(views.html.oidcIndex(username.toString)) } } -
viewを作成する。
app/views/login.scala.html@() <h1>ログイン</h1> <a href="@routes.OidcController.oidcIndex">Oneloginでログイン</a>app/views/oidcIndex.scala.html@(userName: String) <h1>ログインしました!</h1> <h4>@userName</h4>
動作確認
-
Onloginでログインしておく。
-
ブラウザで
http://localhost:9000/loginにアクセスする。

-
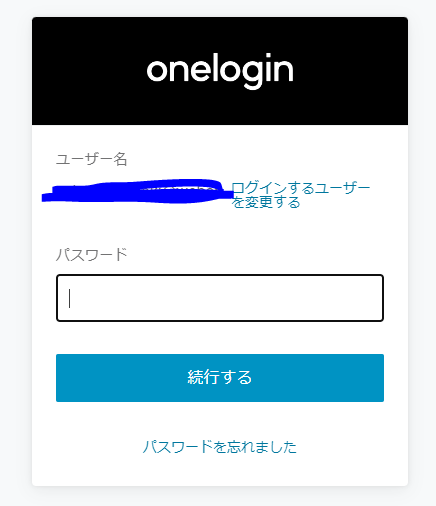
[Oneloginでログイン]リンクをクリックすると、
OIDC認証が走り、成功すると1.でログインしたユーザー名が表示される!

※Oneloginでログインしていない状態で2.をやると、Oneloginのログイン画面にリダイレクトされ、ログインが成功すると3.の画面にリダイレクトされる。
おわりに
今回はログイン機能のみ実装しましたが、pac4jを使えば認証エラー時の処理やログアウト機能についても簡単に実装出来そうです。
明日は、@Hideto-Kiyoshima-wc さんの投稿になります。