目的
Ambariを使ってHDP2.6のインストールをしました。テスト用のため基本デフォルトで進めています。
そのときのメモを残しています。
以下を参照しました。
環境
以下の環境で実施しています。
サーバ4台
CentOS 7.2
Ambari 2.5
HDP 2.6
手順
事前準備
yum Update
全てのホストでyum updateを実施します。
[root@hdp01 ~]# yum update -y
[root@hdp01 ~]# reboot
パスワード無しアクセスの設定
Ambari-Serverで実施します。
[root@hdp01 ~]# ssh-keygen
Generating public/private rsa key pair.
Enter file in which to save the key (/root/.ssh/id_rsa):
Created directory '/root/.ssh'.
Enter passphrase (empty for no passphrase):
Enter same passphrase again:
Your identification has been saved in /root/.ssh/id_rsa.
Your public key has been saved in /root/.ssh/id_rsa.pub.
The key fingerprint is:
9e:e9:00:8b:5b:93:91:bc:98:97:ab:d1:f3:e0:c6:e7 root@hdp01.nosbizlab.local
The key's randomart image is:
+--[ RSA 2048]----+
|                 |
|                 |
|                 |
|   . .           |
|    =   S        |
|   = B . o       |
|  =.% . +        |
|   *o*.o         |
|  ooooE .        |
+-----------------+
[root@hdp01 ~]#
Ambari-ServerからHDPのクラスターとなる複数のターゲットホストへコピーします。
[root@hdp01 ~]# scp .ssh/id_rsa 10.44.62.47:/root/
[root@hdp01 ~]# scp .ssh/id_rsa.pub 10.44.62.47:/root/
HDPのクラスターとなる複数のターゲットホストで実施します。
[root@hdp02 ~]# ssh-keygen
Generating public/private rsa key pair.
Enter file in which to save the key (/root/.ssh/id_rsa):
Created directory '/root/.ssh'.
Enter passphrase (empty for no passphrase):
Enter same passphrase again:
Your identification has been saved in /root/.ssh/id_rsa.
Your public key has been saved in /root/.ssh/id_rsa.pub.
The key fingerprint is:
36:8f:aa:ec:9d:4c:71:4d:11:aa:09:1b:09:0e:a3:5c root@hdp02.nosbizlab.local
The key's randomart image is:
+--[ RSA 2048]----+
|o .E      o.     |
|o+.. .   . .     |
|... +   . .      |
|     + o o       |
|    . + S .      |
|       + +       |
|      . . .      |
|   . + o         |
|   .+.=          |
+-----------------+
[root@hdp02 ~]# cat id_rsa.pub >> .ssh/authorized_keys
[root@hdp02 ~]# chmod 700 ~/.ssh
[root@hdp02 ~]# chmod 600 ~/.ssh/authorized_keys
Ambari-Serverからターゲットホストへパスワード無しsshアクセスができることを確認します。
[root@hdp01 ~]# ssh 10.44.62.45
Last login: Thu Jun  8 10:08:48 2017 from 10.44.62.44
[root@hdp02 ~]#
NTPインストール
NTPをインストールしてサービスをスタートさせます。
[root@hdp01 ~]# yum install -y ntp
[root@hdp01 ~]# systemctl enabled ntpd
[root@hdp01 ~]# systemctl start ntpd
hostsの作成
名前解決ができるようhostsに設定を行います。
[root@hdp01 ~]# cat /etc/hosts
127.0.0.1   localhost localhost.localdomain localhost4 localhost4.localdomain4
::1         localhost localhost.localdomain localhost6 localhost6.localdomain6
[root@hdp01 ~]# vi /etc/hosts
[root@hdp01 ~]# cat /etc/hosts
127.0.0.1   localhost localhost.localdomain localhost4 localhost4.localdomain4
::1         localhost localhost.localdomain localhost6 localhost6.localdomain6

10.44.62.44 hdp01.xxxxxxxxx.local hdp01
10.44.62.45 hdp02.xxxxxxxxx.local hdp02
10.44.62.46 hdp03.xxxxxxxxx.local hdp03
10.44.62.47 hdp04.xxxxxxxxx.local hdp04

[root@hdp01 ~]#
Full hostnameが正しく設定されていることを確認します。
[root@hdp01 ~]# hostname -f
hdp01.xxxxxxxxx.local
[root@hdp01 ~]#
hostsファイルをその他のターゲットホストにコピーします。
[root@hdp01 ~]# scp /etc/hosts hdp02:/etc/hosts
The authenticity of host 'hdp02 (10.44.62.45)' can't be established.
ECDSA key fingerprint is 81:5b:e2:29:bc:fa:ab:5d:24:80:d8:7f:55:4e:8a:79.
Are you sure you want to continue connecting (yes/no)? yes
Warning: Permanently added 'hdp02' (ECDSA) to the list of known hosts.
hosts                                                                                                             100%  320     0.3KB/s   00:00
[root@hdp01 ~]#
全てのホストでnetworkファイルの設定をします。
[root@hdp01 ~]# cat /etc/sysconfig/network
# Created by anaconda
[root@hdp01 ~]# vi /etc/sysconfig/network
[root@hdp01 ~]# cat /etc/sysconfig/network
# Created by anaconda
NETWORKING=yes
HOSTNAME=hdp01.nosbizlab.local
[root@hdp01 ~]#
全てのホストでfirewalldをstopします。
[root@hdp01 ~]# systemctl disable firewalld
[root@hdp01 ~]# service firewalld stop
全てのホストでSELinuxを停止します。
[root@hdp01 ~]# setenforce 0
[root@hdp01 ~]# cat /etc/selinux/config

# This file controls the state of SELinux on the system.
# SELINUX= can take one of these three values:
#     enforcing - SELinux security policy is enforced.
#     permissive - SELinux prints warnings instead of enforcing.
#     disabled - No SELinux policy is loaded.
SELINUX=enforcing
# SELINUXTYPE= can take one of three two values:
#     targeted - Targeted processes are protected,
#     minimum - Modification of targeted policy. Only selected processes are protected.
#     mls - Multi Level Security protection.
SELINUXTYPE=targeted


[root@hdp01 ~]# vi /etc/selinux/config
[root@hdp01 ~]# cat /etc/selinux/config

# This file controls the state of SELinux on the system.
# SELINUX= can take one of these three values:
#     enforcing - SELinux security policy is enforced.
#     permissive - SELinux prints warnings instead of enforcing.
#     disabled - No SELinux policy is loaded.
SELINUX=disabled
# SELINUXTYPE= can take one of three two values:
#     targeted - Targeted processes are protected,
#     minimum - Modification of targeted policy. Only selected processes are protected.
#     mls - Multi Level Security protection.
SELINUXTYPE=targeted


[root@hdp01 ~]#
[root@hdp01 ~]# reboot
[root@hdp01 ~]# umask
0022
[root@hdp01 ~]#
[root@hdp01 ~]# wget -nv http://public-repo-1.hortonworks.com/ambari/centos6/2.x/updates/2.5.1.0/ambari.repo -O /etc/yum.repos.d/ambari.repo
[root@hdp01 ~]#
[root@hdp01 ~]# wget -nv http://public-repo-1.hortonworks.com/HDP/centos7/2.x/updates/2.6.1.0/hdp.repo -O /etc/yum.repos.d/hdp.repo
[root@hdp01 ~]#
Ambariインストール
Ambariインストール
Ambari-ServerとなるホストにAmbariをインストールします。
[root@hdp01 ~]# yum install ambari-server
読み込んだプラグイン:fastestmirror, langpacks
HDP-2.6.1.0                                                                                                                  | 2.9 kB  00:00:00
HDP-UTILS-1.1.0.21                                                                                                           | 2.9 kB  00:00:00
ambari-2.5.1.0                                                                                                               | 2.9 kB  00:00:00
(1/3): HDP-2.6.1.0/primary_db                                                                                                |  77 kB  00:00:00
(2/3): HDP-UTILS-1.1.0.21/primary_db                                                                                         |  38 kB  00:00:00
(3/3): ambari-2.5.1.0/primary_db                                                                                             | 8.6 kB  00:00:00
Loading mirror speeds from cached hostfile
 * base: ftp.iij.ad.jp
 * extras: ftp.iij.ad.jp
 * updates: ftp.iij.ad.jp
依存性の解決をしています
--> トランザクションの確認を実行しています。
---> パッケージ ambari-server.x86_64 0:2.5.1.0-159 を インストール
--> 依存性の処理をしています: postgresql-server >= 8.1 のパッケージ: ambari-server-2.5.1.0-159.x86_64
--> トランザクションの確認を実行しています。
---> パッケージ postgresql-server.x86_64 0:9.2.18-1.el7 を インストール
--> 依存性の処理をしています: postgresql-libs(x86-64) = 9.2.18-1.el7 のパッケージ: postgresql-server-9.2.18-1.el7.x86_64
--> 依存性の処理をしています: postgresql(x86-64) = 9.2.18-1.el7 のパッケージ: postgresql-server-9.2.18-1.el7.x86_64
--> 依存性の処理をしています: libpq.so.5()(64bit) のパッケージ: postgresql-server-9.2.18-1.el7.x86_64
--> トランザクションの確認を実行しています。
---> パッケージ postgresql.x86_64 0:9.2.18-1.el7 を インストール
---> パッケージ postgresql-libs.x86_64 0:9.2.18-1.el7 を インストール
--> 依存性解決を終了しました。

依存性を解決しました

====================================================================================================================================================
 Package                                 アーキテクチャー             バージョン                         リポジトリー                          容量
====================================================================================================================================================
インストール中:
 ambari-server                           x86_64                       2.5.1.0-159                        ambari-2.5.1.0                       664 M
依存性関連でのインストールをします:
 postgresql                              x86_64                       9.2.18-1.el7                       base                                 3.0 M
 postgresql-libs                         x86_64                       9.2.18-1.el7                       base                                 232 k
 postgresql-server                       x86_64                       9.2.18-1.el7                       base                                 3.8 M

トランザクションの要約
====================================================================================================================================================
インストール  1 パッケージ (+3 個の依存関係のパッケージ)

総ダウンロード容量: 671 M
インストール容量: 755 M
Is this ok [y/d/N]: y
Downloading packages:
(1/4): postgresql-9.2.18-1.el7.x86_64.rpm                                                                                    | 3.0 MB  00:00:00
(2/4): postgresql-libs-9.2.18-1.el7.x86_64.rpm                                                                               | 232 kB  00:00:02
(3/4): postgresql-server-9.2.18-1.el7.x86_64.rpm                                                                             | 3.8 MB  00:00:03
warning: /var/cache/yum/x86_64/7/ambari-2.5.1.0/packages/ambari-server-2.5.1.0-159.x86_64.rpm: Header V4 RSA/SHA1 Signature, key ID 07513cad: NOKEY
ambari-server-2.5.1.0-159.x86_64.rpm の公開鍵がインストールされていません
(4/4): ambari-server-2.5.1.0-159.x86_64.rpm                                                                                  | 664 MB  00:10:37
----------------------------------------------------------------------------------------------------------------------------------------------------
合計                                                                                                                1.1 MB/s | 671 MB  00:10:37
http://public-repo-1.hortonworks.com/ambari/centos6/2.x/updates/2.5.1.0/RPM-GPG-KEY/RPM-GPG-KEY-Jenkins から鍵を取得中です。
Importing GPG key 0x07513CAD:
 Userid     : "Jenkins (HDP Builds) <jenkin@hortonworks.com>"
 Fingerprint: df52 ed4f 7a3a 5882 c099 4c66 b973 3a7a 0751 3cad
 From       : http://public-repo-1.hortonworks.com/ambari/centos6/2.x/updates/2.5.1.0/RPM-GPG-KEY/RPM-GPG-KEY-Jenkins
上記の処理を行います。よろしいでしょうか? [y/N]y
Running transaction check
Running transaction test
Transaction test succeeded
Running transaction
  インストール中          : postgresql-libs-9.2.18-1.el7.x86_64                                                                                 1/4
  インストール中          : postgresql-9.2.18-1.el7.x86_64                                                                                      2/4
  インストール中          : postgresql-server-9.2.18-1.el7.x86_64                                                                               3/4
  インストール中          : ambari-server-2.5.1.0-159.x86_64                                                                                    4/4
  検証中                  : ambari-server-2.5.1.0-159.x86_64                                                                                    1/4
  検証中                  : postgresql-libs-9.2.18-1.el7.x86_64                                                                                 2/4
  検証中                  : postgresql-server-9.2.18-1.el7.x86_64                                                                               3/4
  検証中                  : postgresql-9.2.18-1.el7.x86_64                                                                                      4/4

インストール:
  ambari-server.x86_64 0:2.5.1.0-159

依存性関連をインストールしました:
  postgresql.x86_64 0:9.2.18-1.el7             postgresql-libs.x86_64 0:9.2.18-1.el7             postgresql-server.x86_64 0:9.2.18-1.el7

完了しました!
[root@hdp01 ~]#
Ambariセットアップ
Ambari-Serverのセットアップをします。
[root@hdp01 ~]# ambari-server setup
Using python  /usr/bin/python
Setup ambari-server
Checking SELinux...
SELinux status is 'disabled'
Customize user account for ambari-server daemon [y/n] (n)?
Adjusting ambari-server permissions and ownership...
Checking firewall status...
Checking JDK...
[1] Oracle JDK 1.8 + Java Cryptography Extension (JCE) Policy Files 8
[2] Oracle JDK 1.7 + Java Cryptography Extension (JCE) Policy Files 7
[3] Custom JDK
==============================================================================
Enter choice (1):
To download the Oracle JDK and the Java Cryptography Extension (JCE) Policy Files you must accept the license terms found at http://www.oracle.com/technetwork/java/javase/terms/license/index.html and not accepting will cancel the Ambari Server setup and you must install the JDK and JCE files manually.
Do you accept the Oracle Binary Code License Agreement [y/n] (y)?
Downloading JDK from http://public-repo-1.hortonworks.com/ARTIFACTS/jdk-8u112-linux-x64.tar.gz to /var/lib/ambari-server/resources/jdk-8u112-linux-x64.tar.gz
jdk-8u112-linux-x64.tar.gz... 100% (174.7 MB of 174.7 MB)
Successfully downloaded JDK distribution to /var/lib/ambari-server/resources/jdk-8u112-linux-x64.tar.gz
Installing JDK to /usr/jdk64/
Successfully installed JDK to /usr/jdk64/
Downloading JCE Policy archive from http://public-repo-1.hortonworks.com/ARTIFACTS/jce_policy-8.zip to /var/lib/ambari-server/resources/jce_policy-8.zip

Successfully downloaded JCE Policy archive to /var/lib/ambari-server/resources/jce_policy-8.zip
Installing JCE policy...
Completing setup...
Configuring database...
Enter advanced database configuration [y/n] (n)?
Configuring database...
Default properties detected. Using built-in database.
Configuring ambari database...
Checking PostgreSQL...
Running initdb: This may take up to a minute.
Initializing database ... OK


About to start PostgreSQL
Configuring local database...
Configuring PostgreSQL...
Restarting PostgreSQL
Creating schema and user...
done.
Creating tables...
done.
Extracting system views...
ambari-admin-2.5.1.0.159.jar
...........
Adjusting ambari-server permissions and ownership...
Ambari Server 'setup' completed successfully.
[root@hdp01 ~]#
Ambariスタート
Ambari-Serverをスタートさせます。
[root@hdp01 ~]# ambari-server start
Using python  /usr/bin/python
Starting ambari-server
Ambari Server running with administrator privileges.
Organizing resource files at /var/lib/ambari-server/resources...
Ambari database consistency check started...
Server PID at: /var/run/ambari-server/ambari-server.pid
Server out at: /var/log/ambari-server/ambari-server.out
Server log at: /var/log/ambari-server/ambari-server.log
Waiting for server start........................
Server started listening on 8080

DB configs consistency check: no errors and warnings were found.
Ambari Server 'start' completed successfully.
[root@hdp01 ~]#
HDPインストール
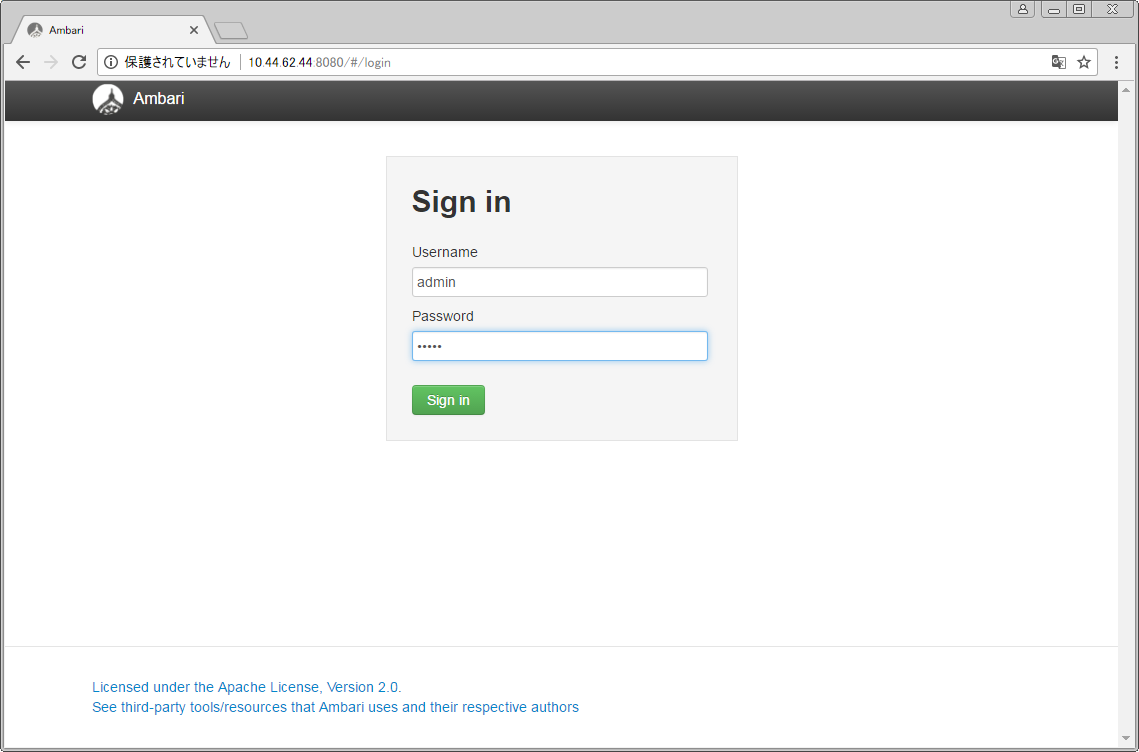
admin/adminでログインします。
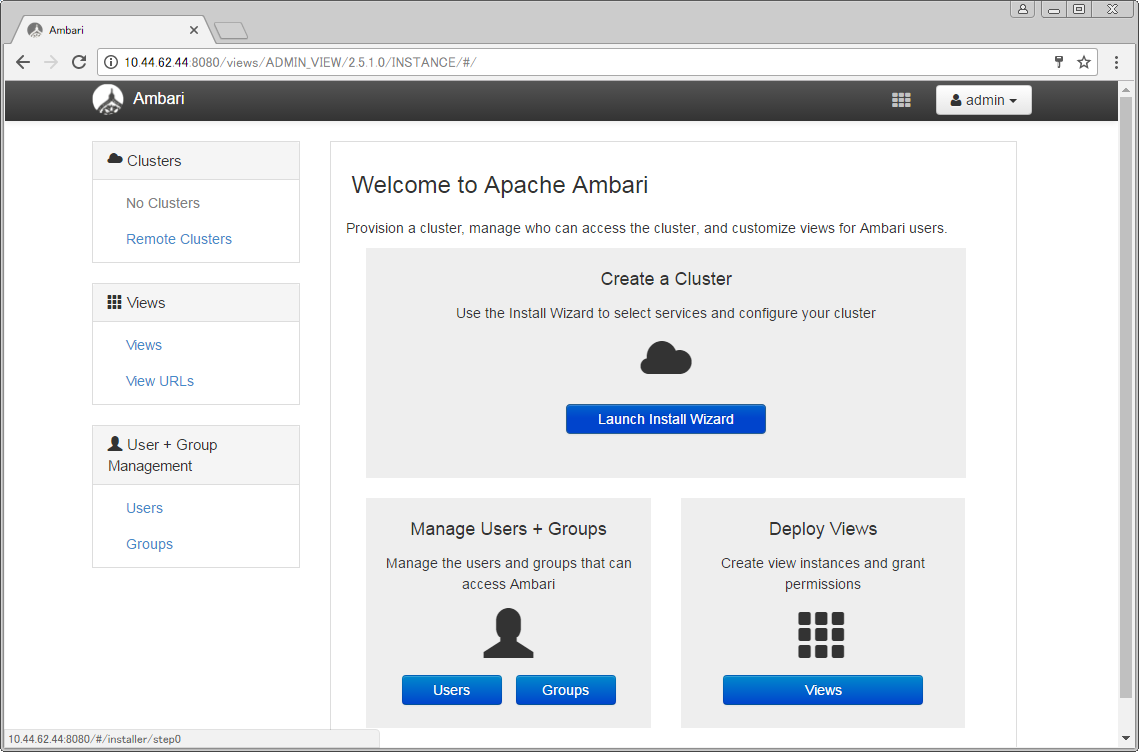
Launch Install Wizardをクリックします。
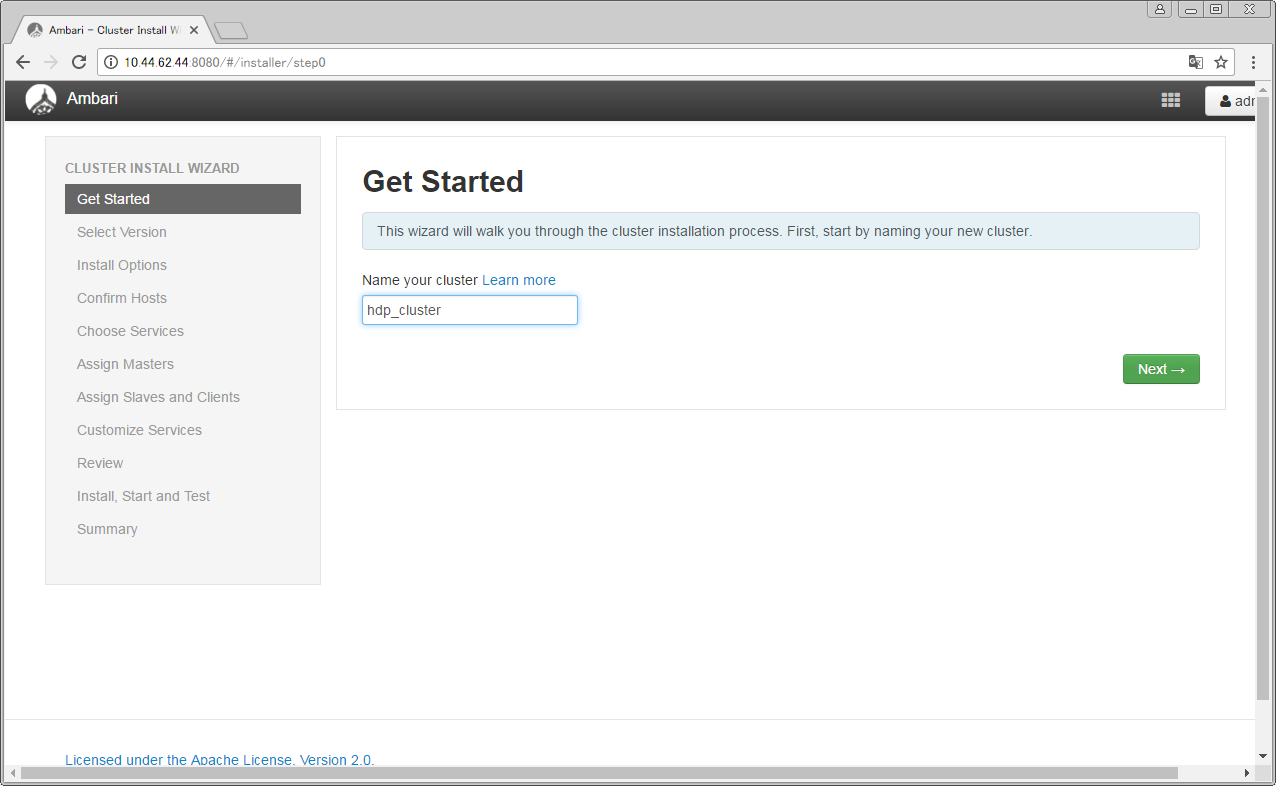
クラスター名をつけてNextをクリックします。
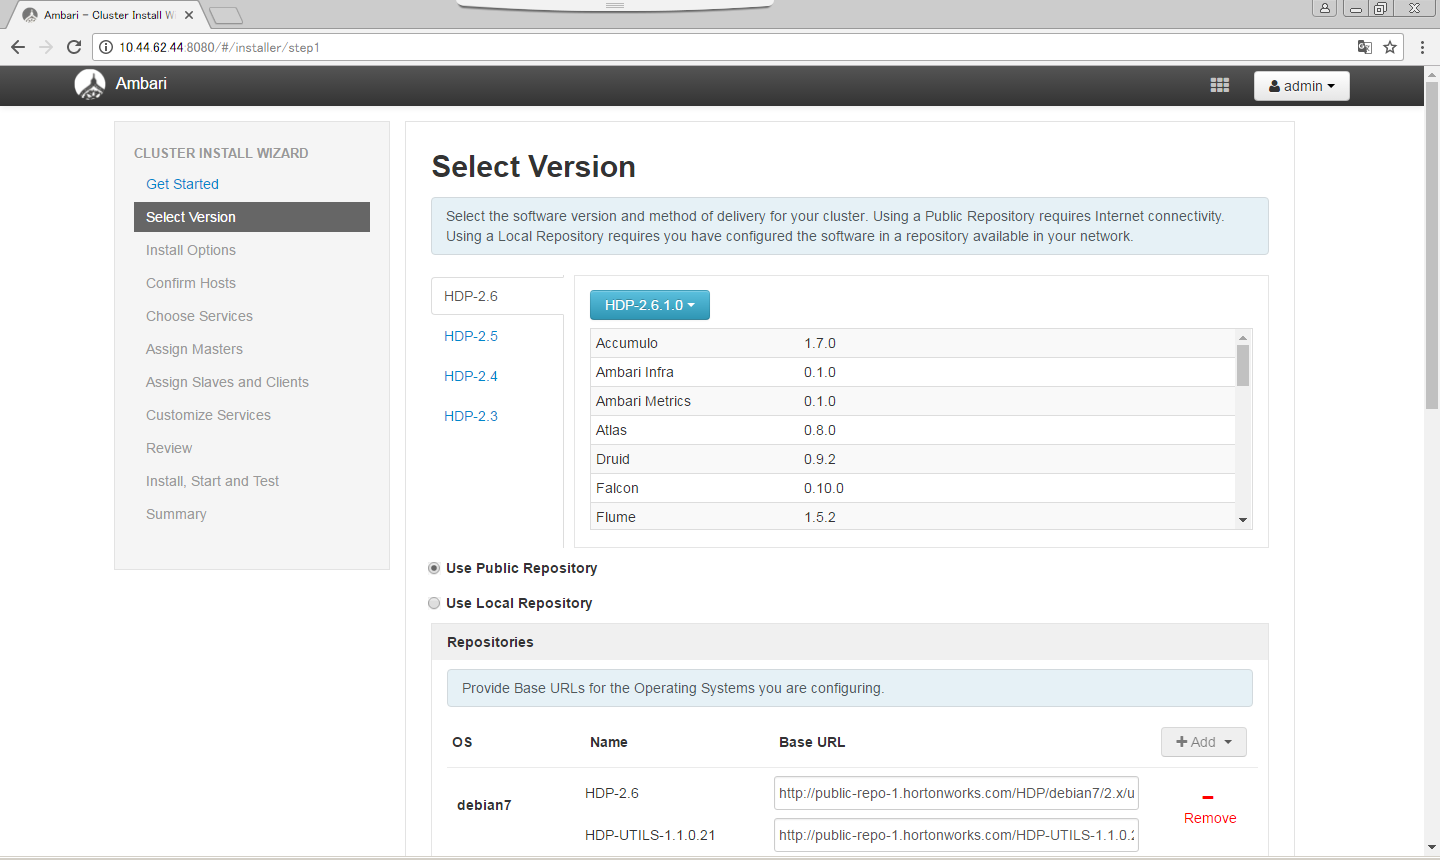
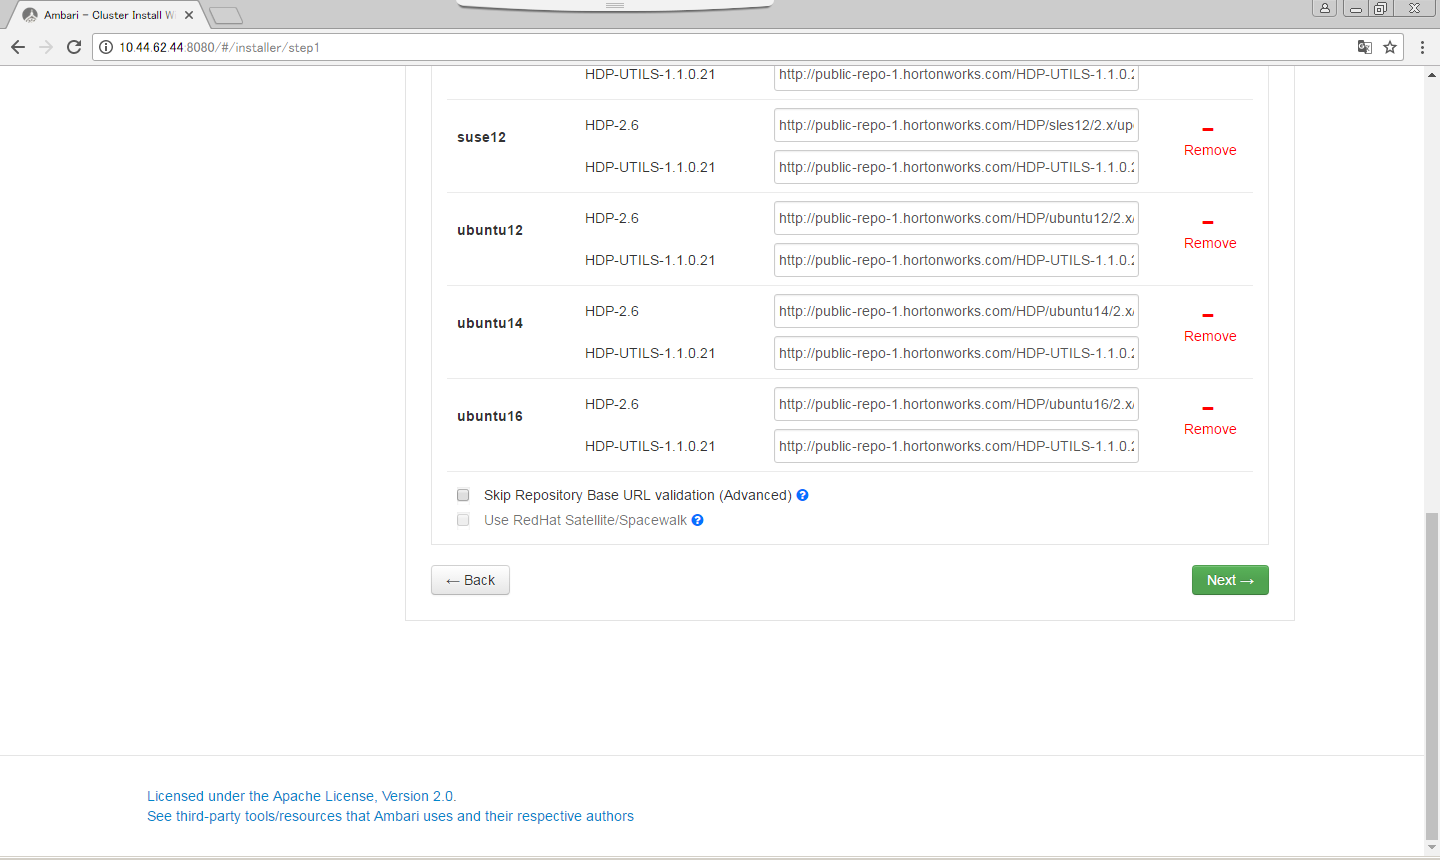
デフォルトのままNextをクリックします。
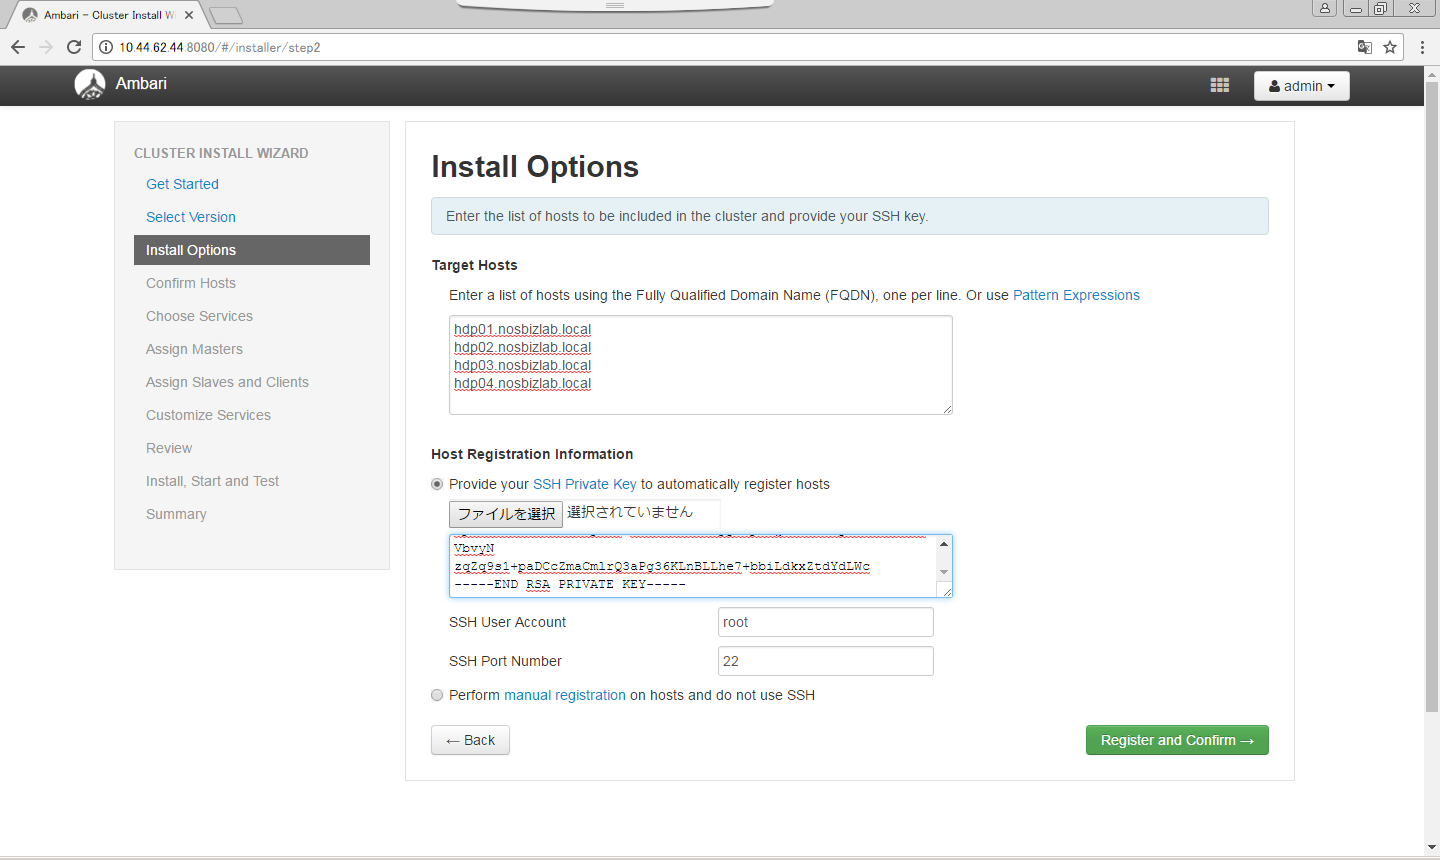
ターゲットホスト名と、Ambari-ServerのPrivate SSH Keyを入力し、Register and Confirmをクリックします。
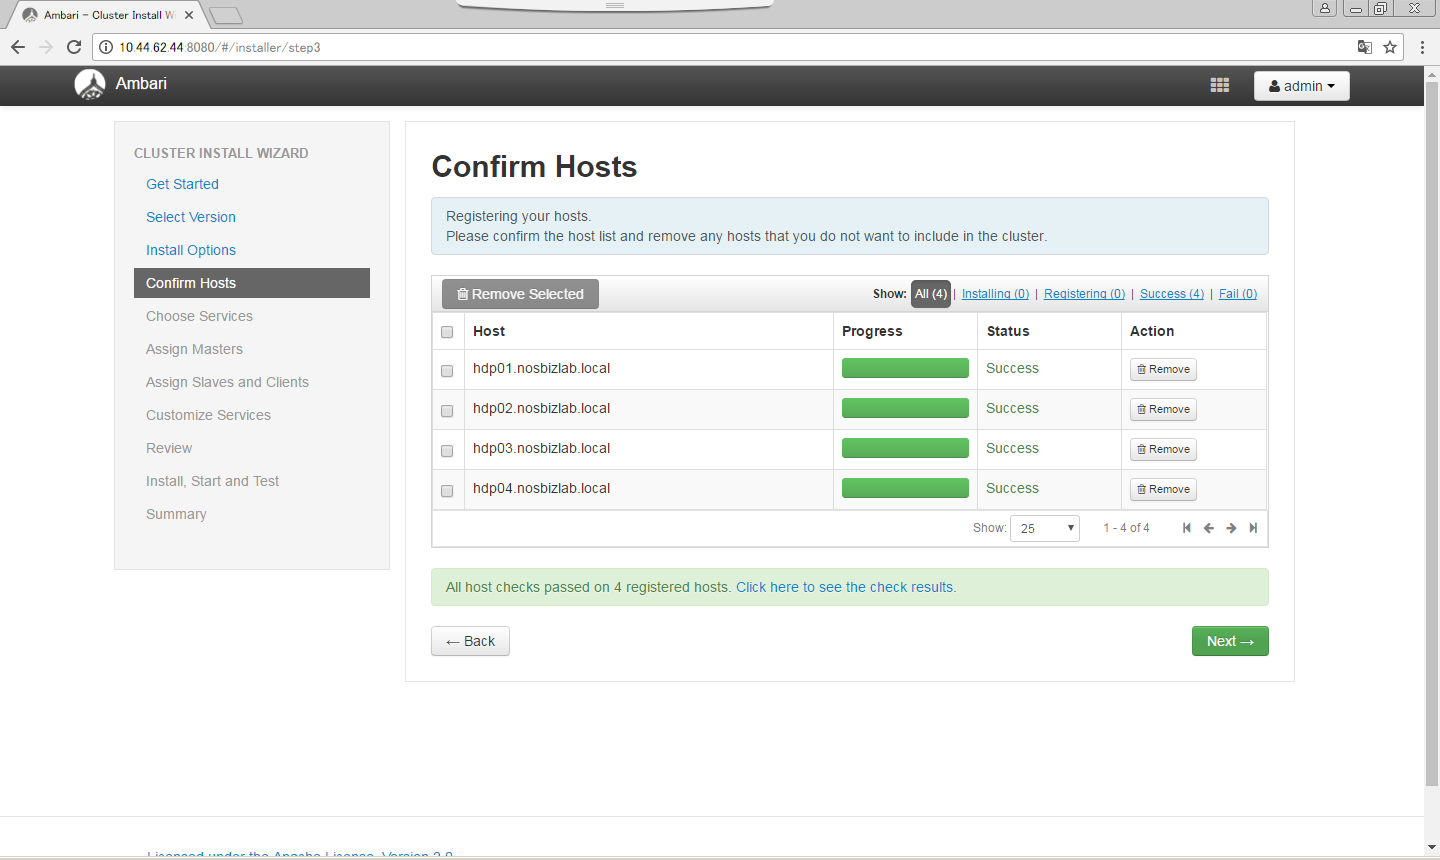
Nextをクリックします。
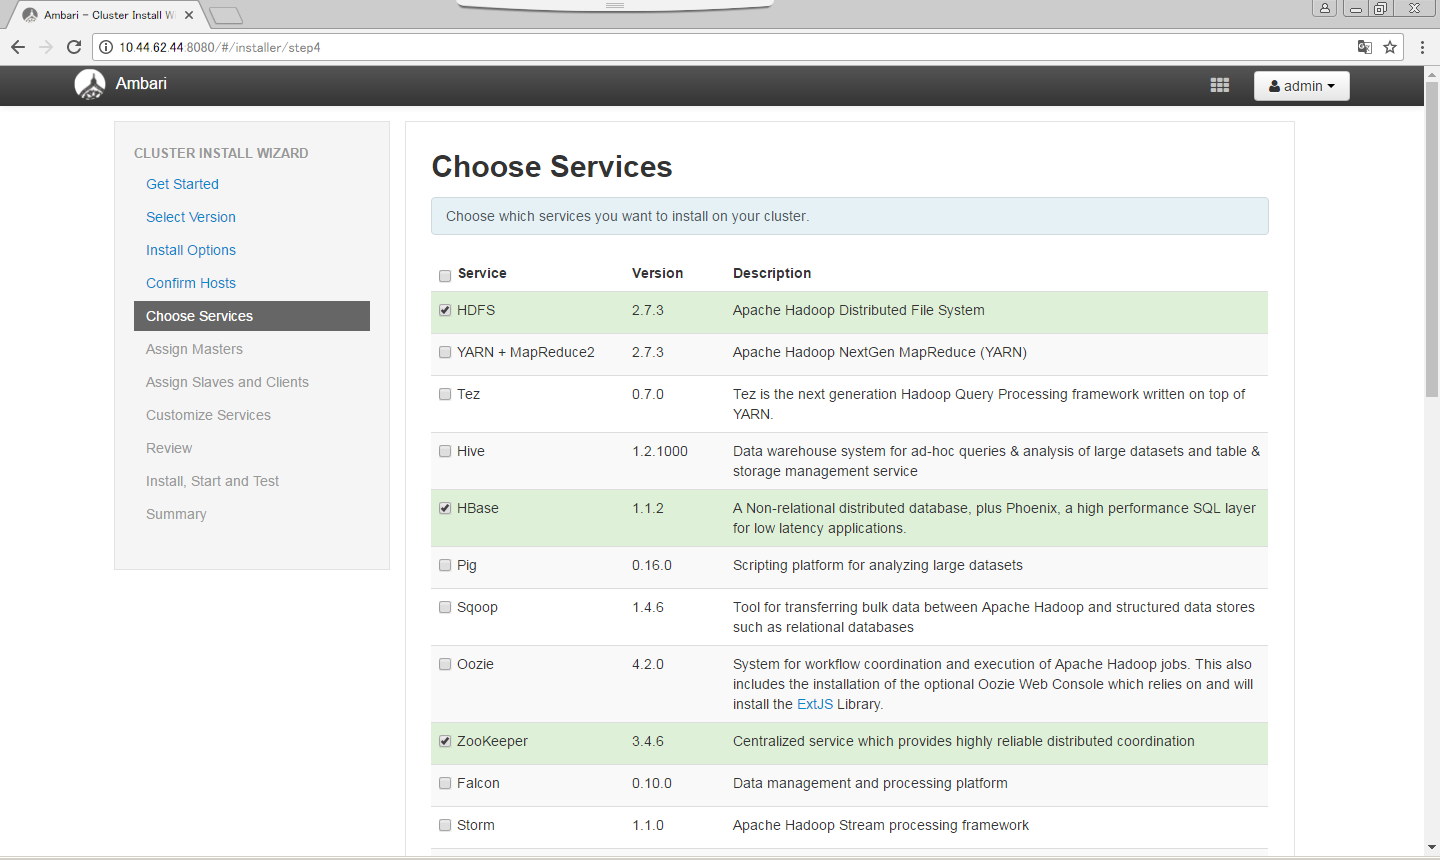
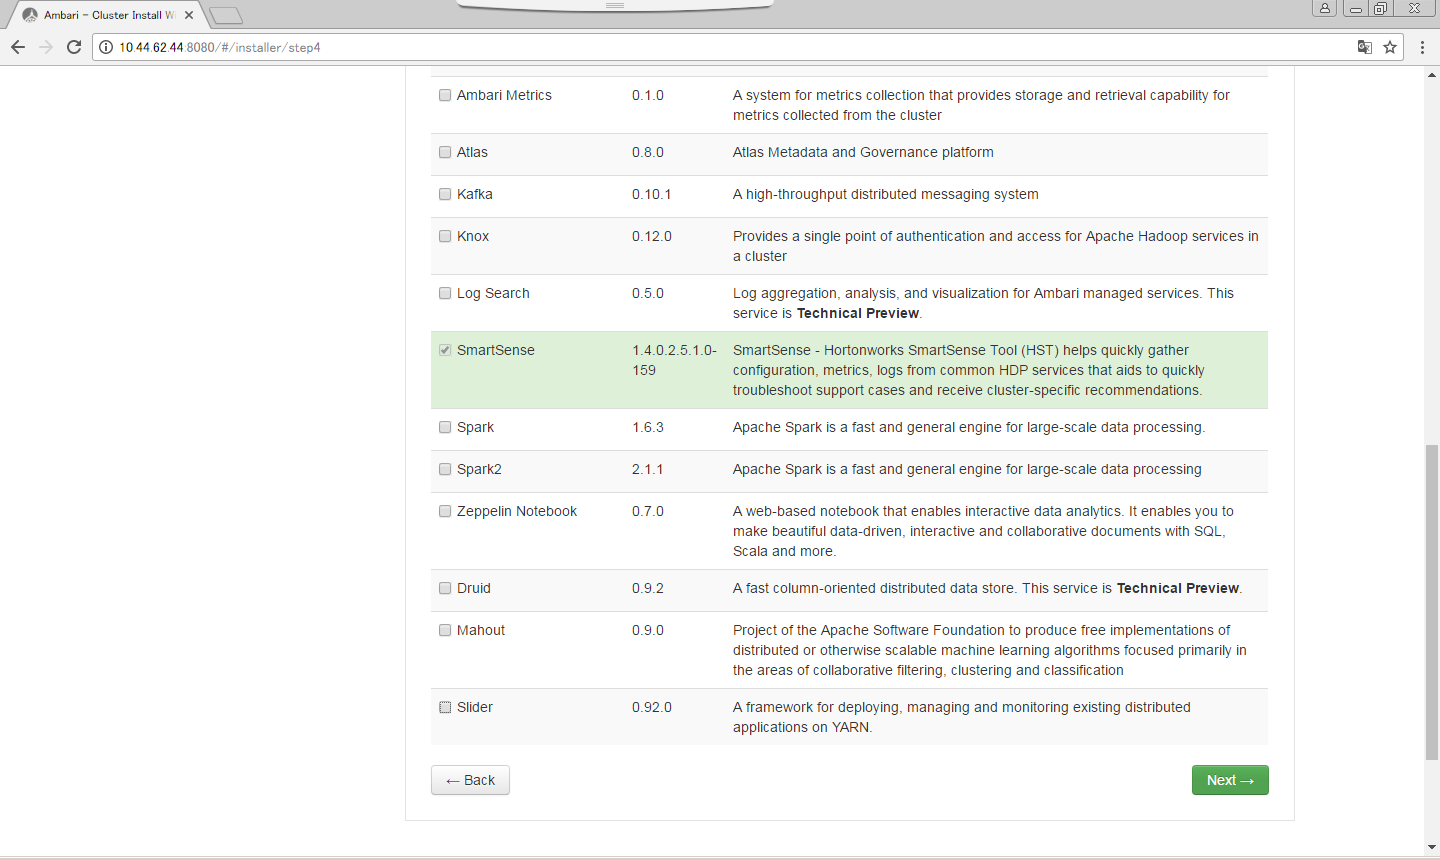
必要なサービスを選択して、Nextをクリックします。
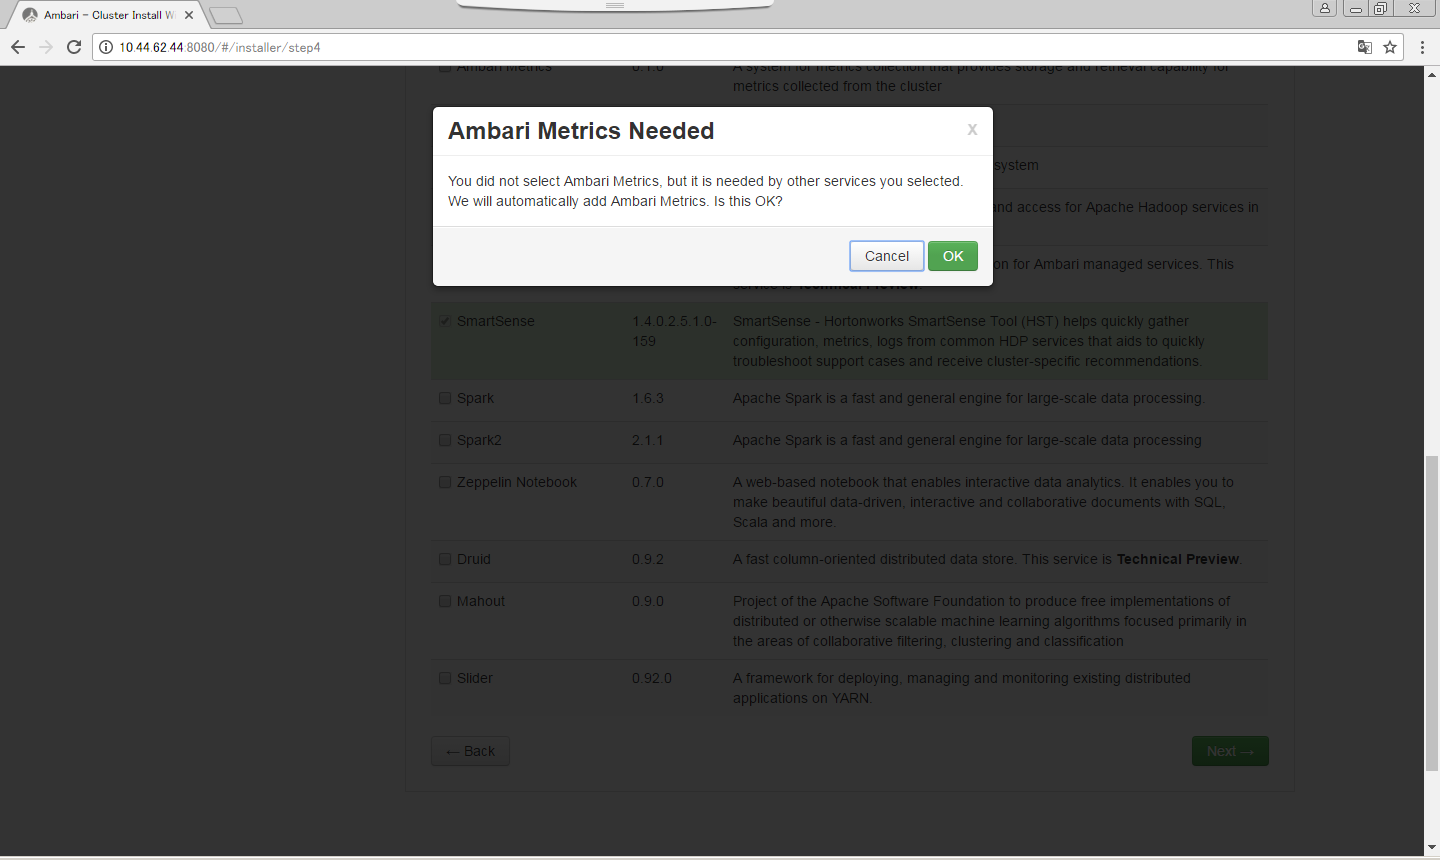
OKをクリックします。
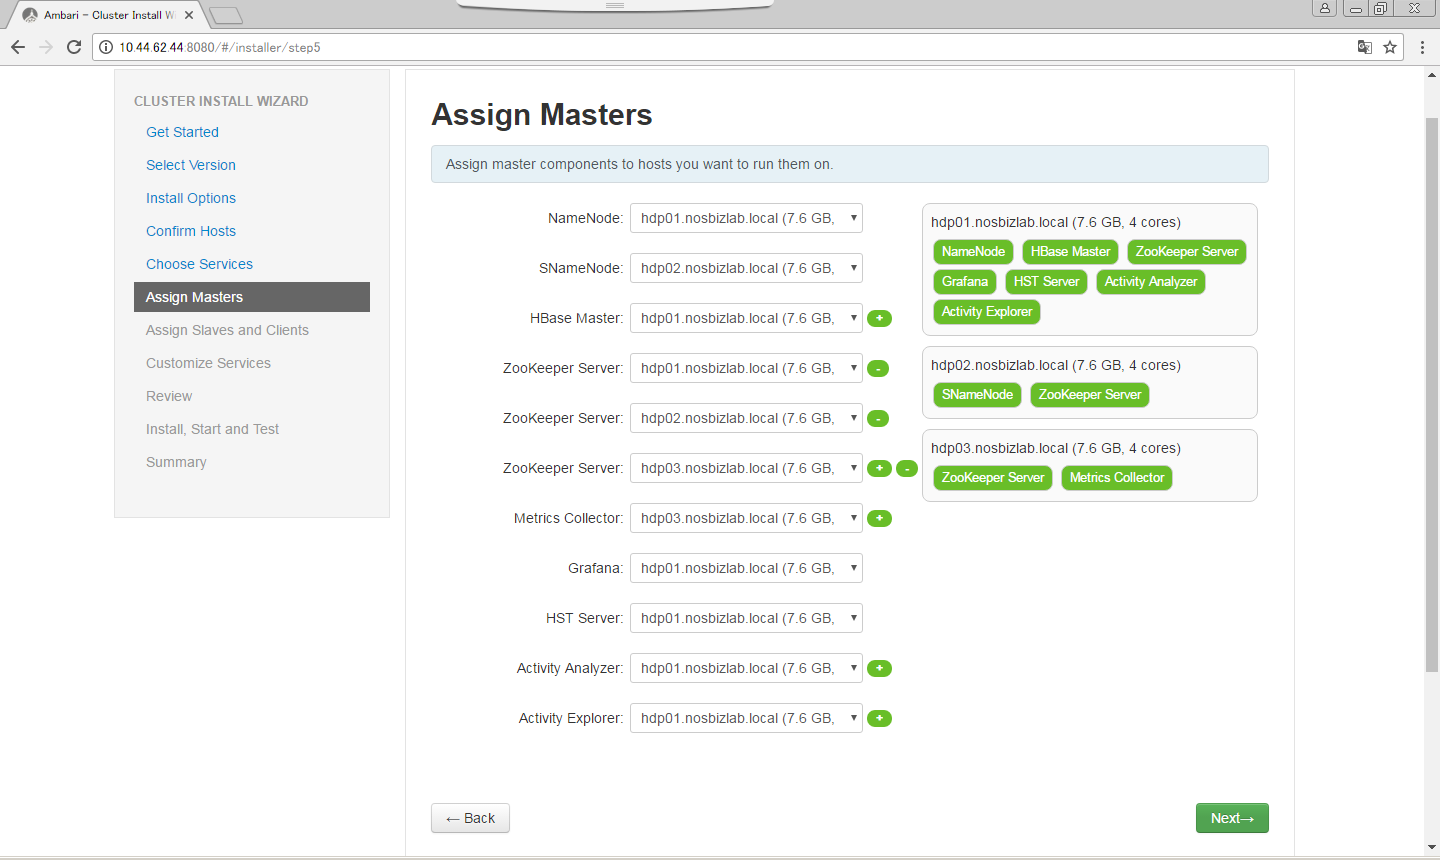
Nextをクリックします。
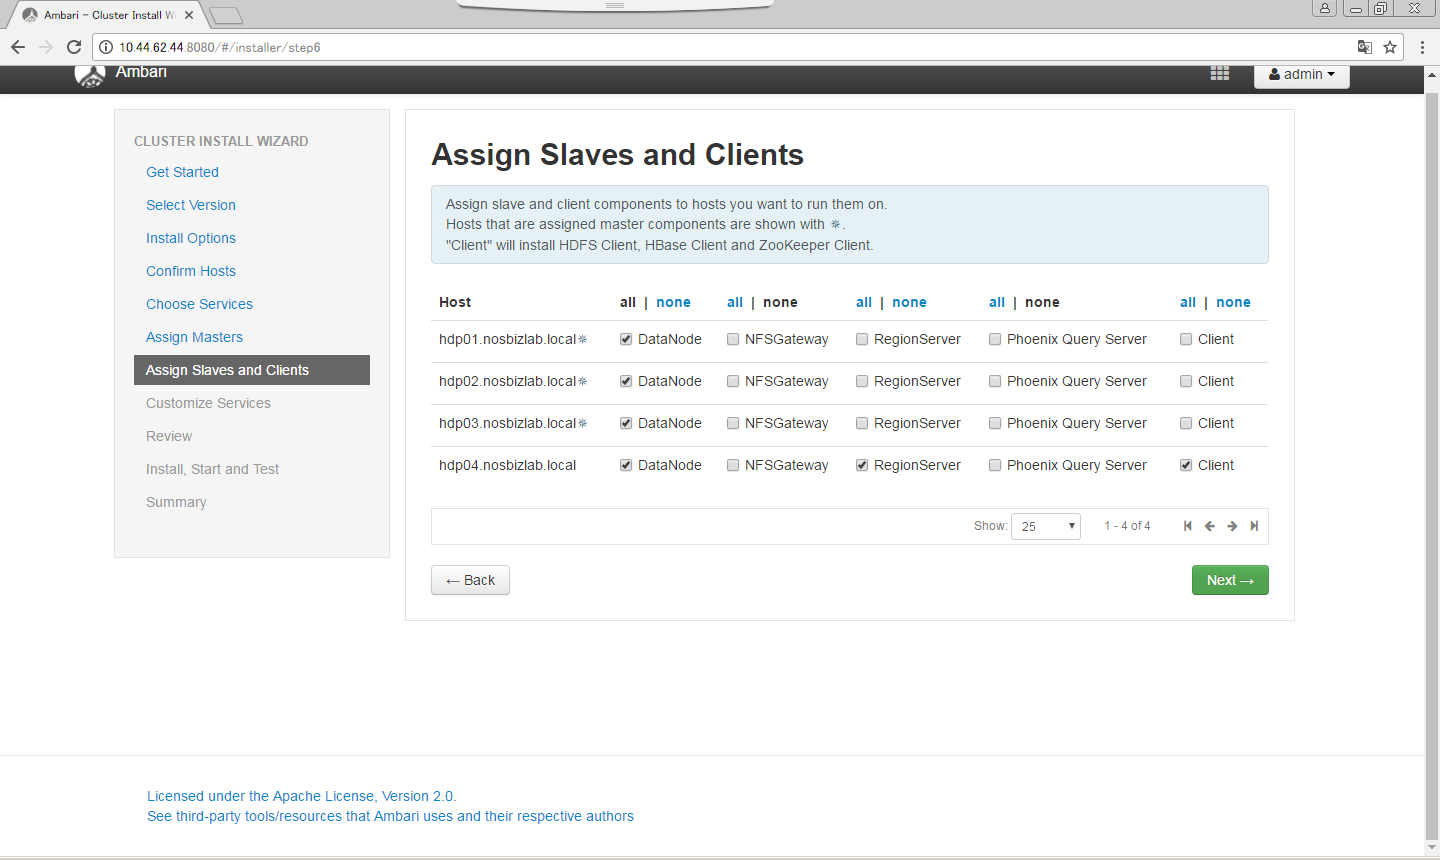
DateNodeのみ全てにチェックを入れてNextをクリックします。
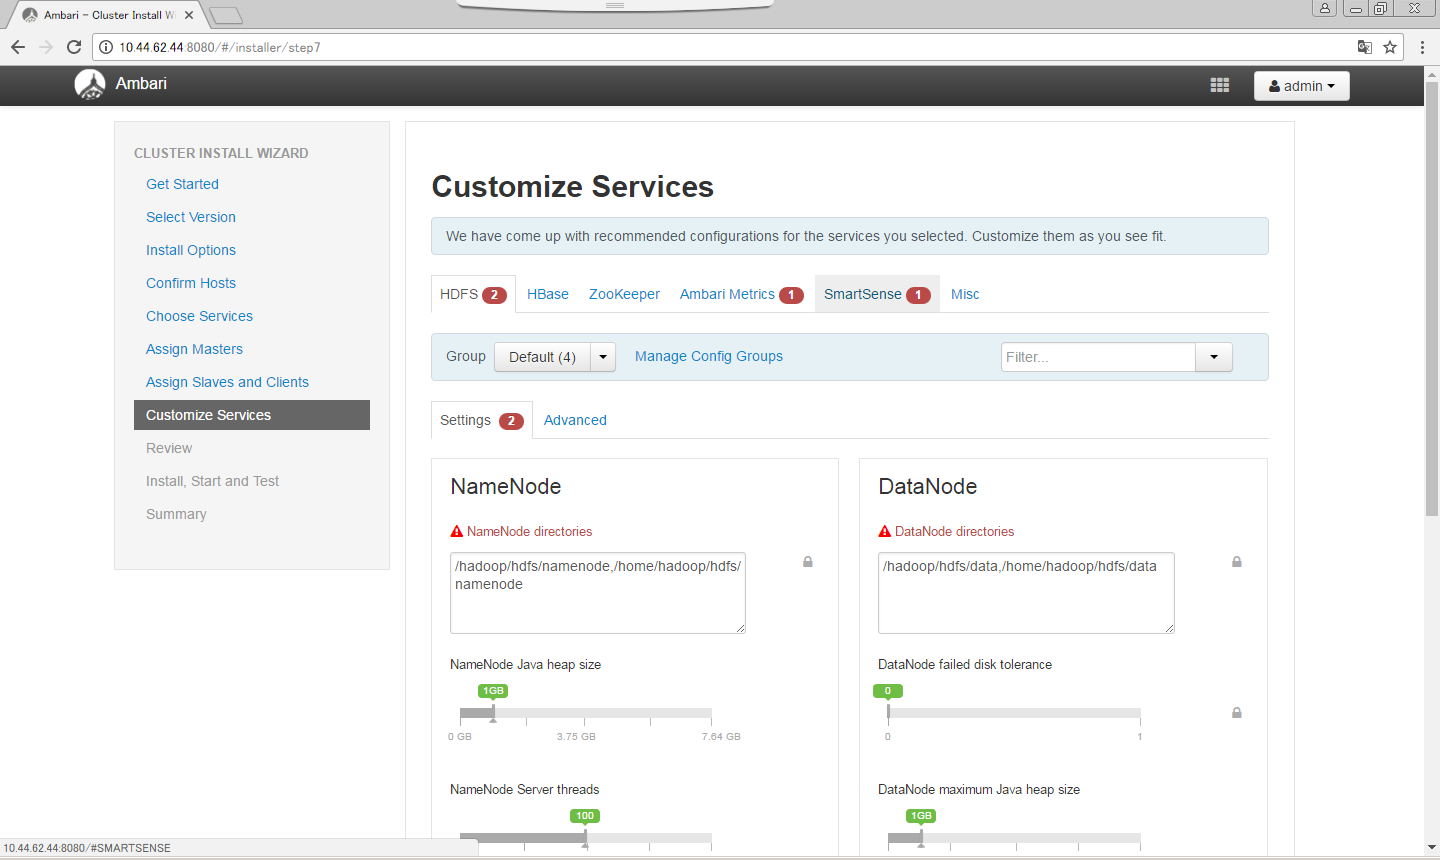
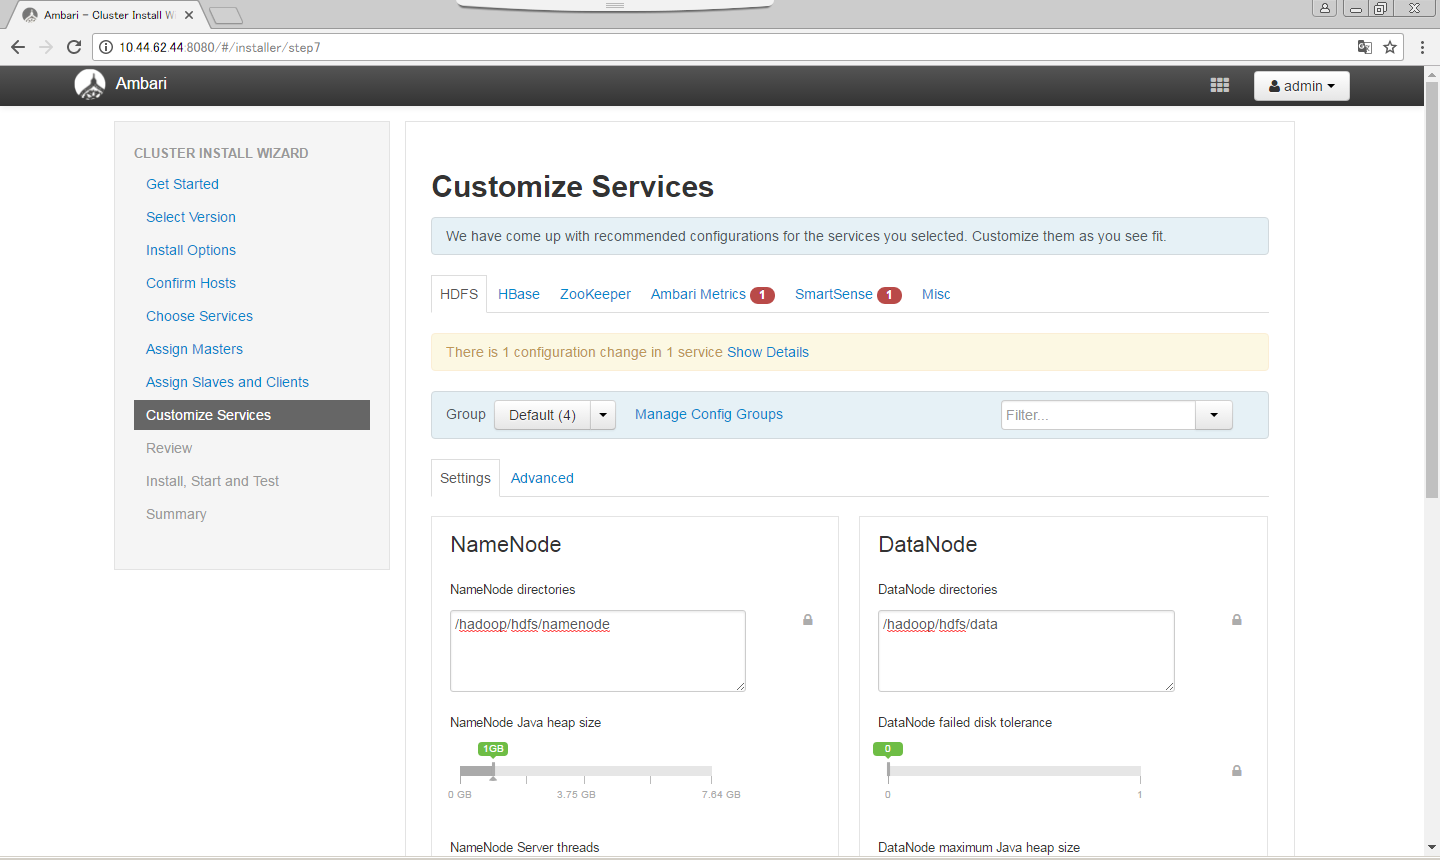
Alertが出ているNameNodeとDataNodeの設定を修正します。
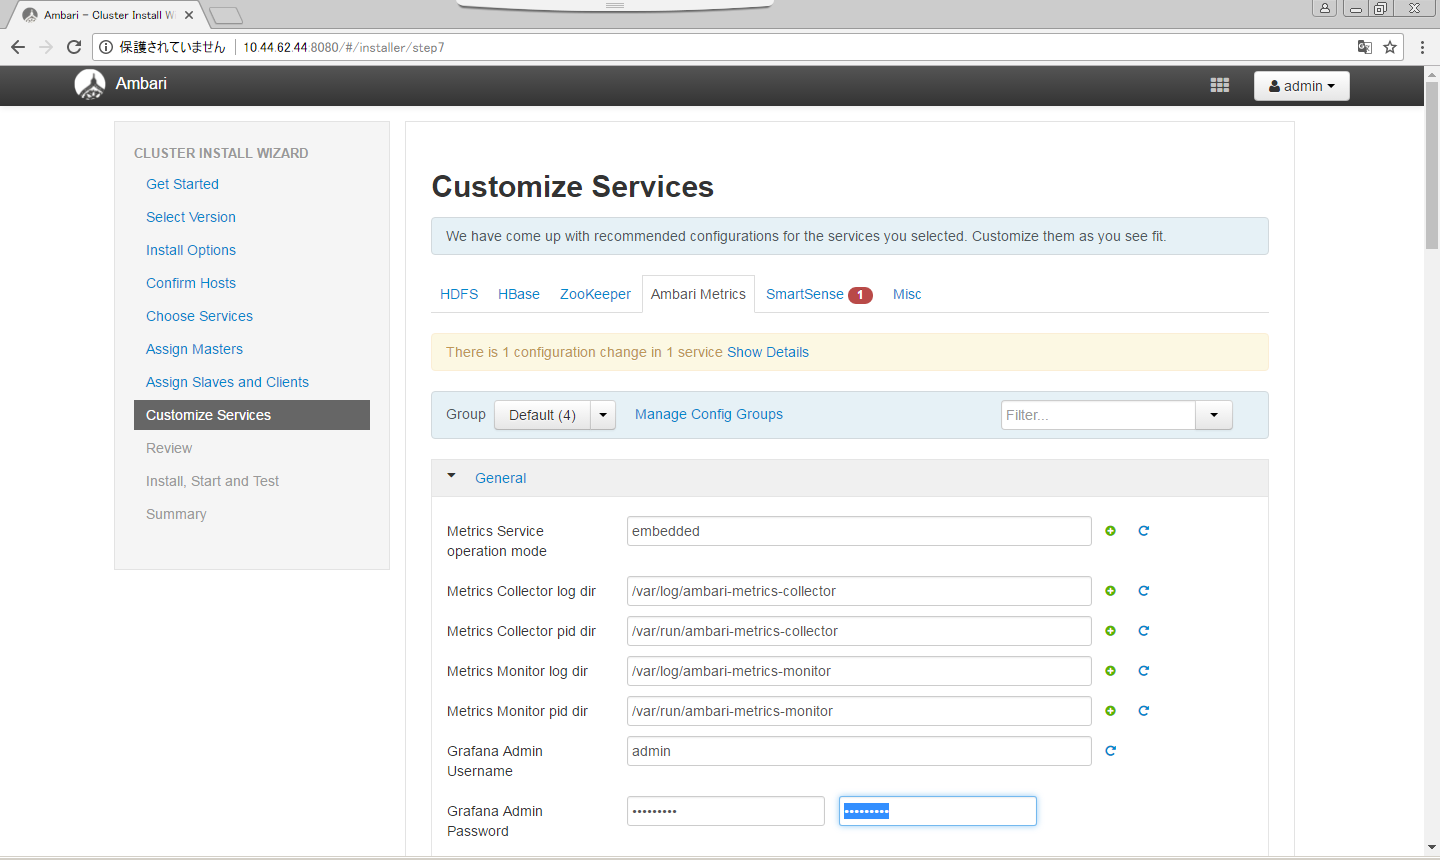
Alertが出ているAmbari Metricのパスワードを入力します。
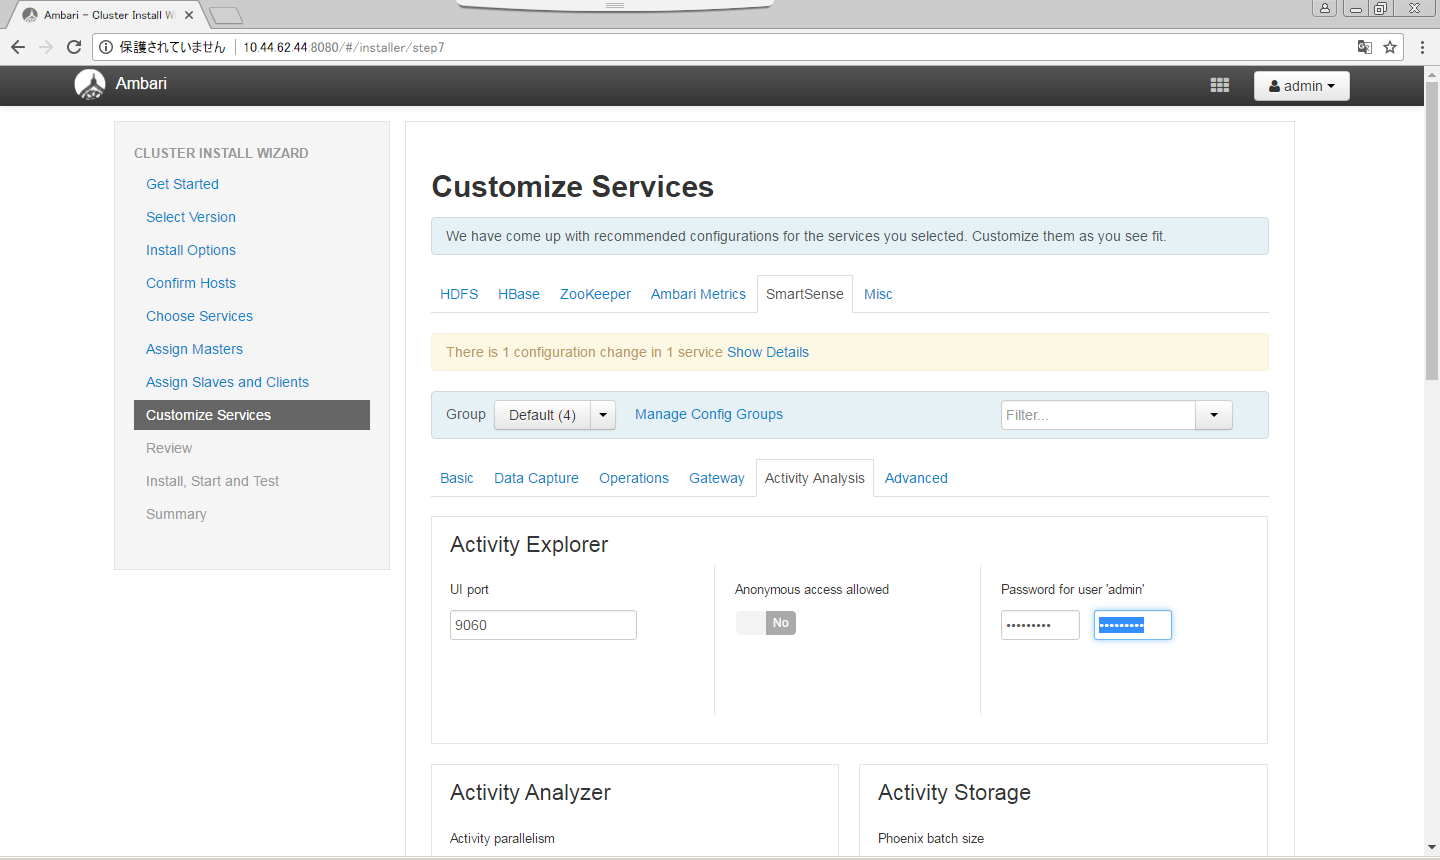
SmartSenseのパスワードを入力します。
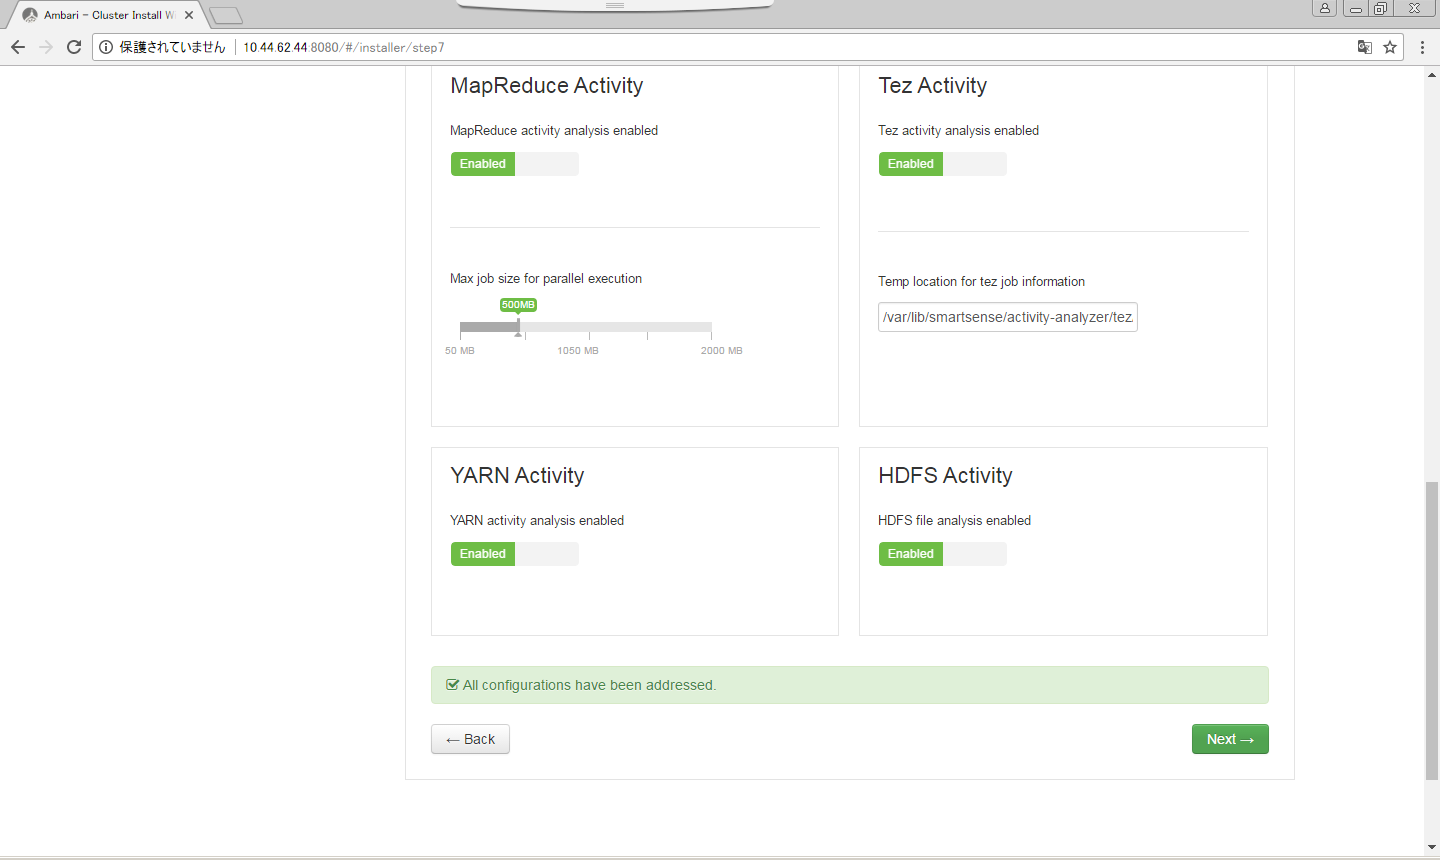
Nextをクリックします。
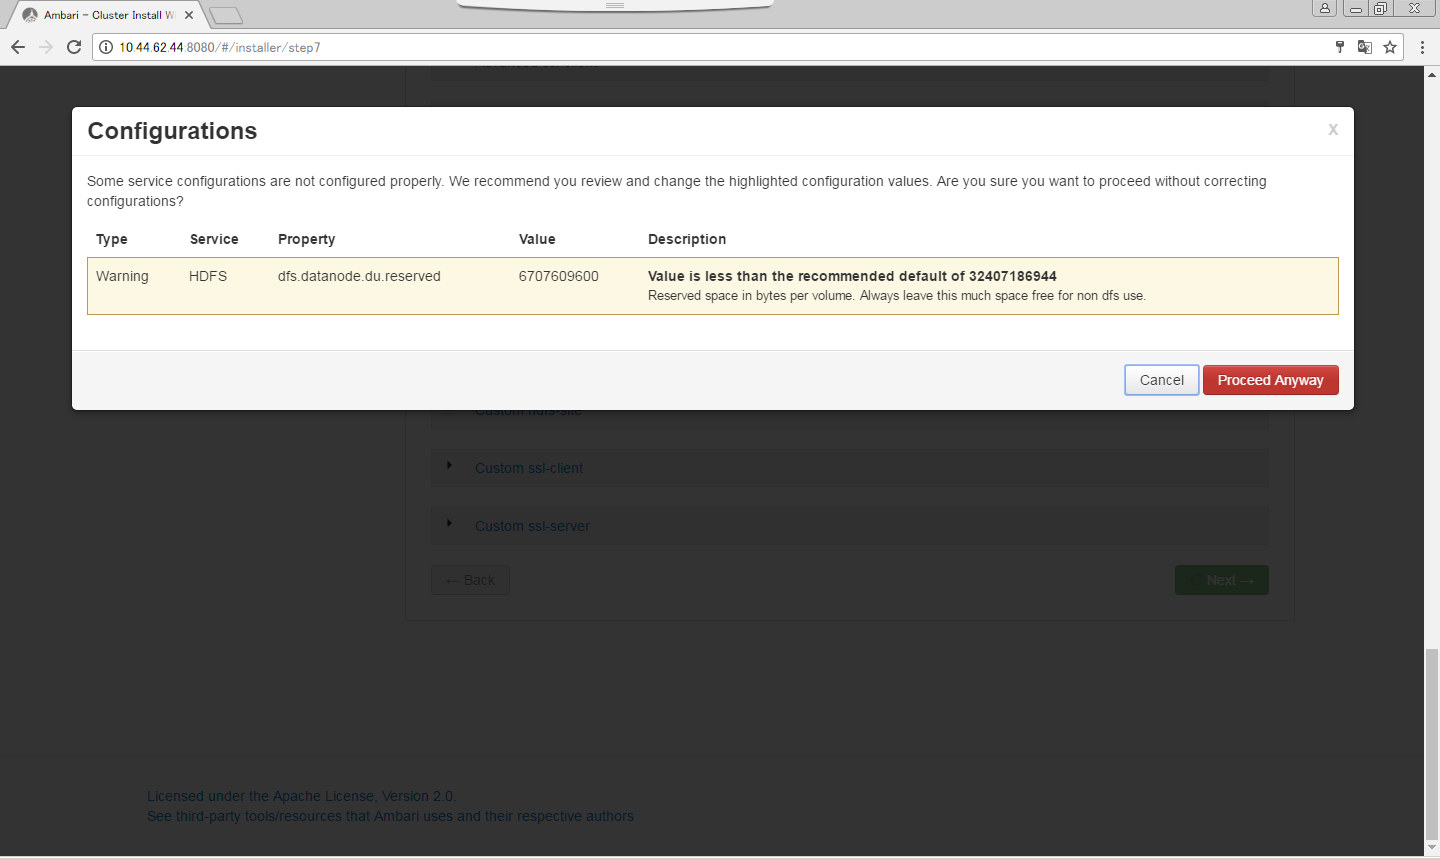
Proceed Anywayをクリックします。
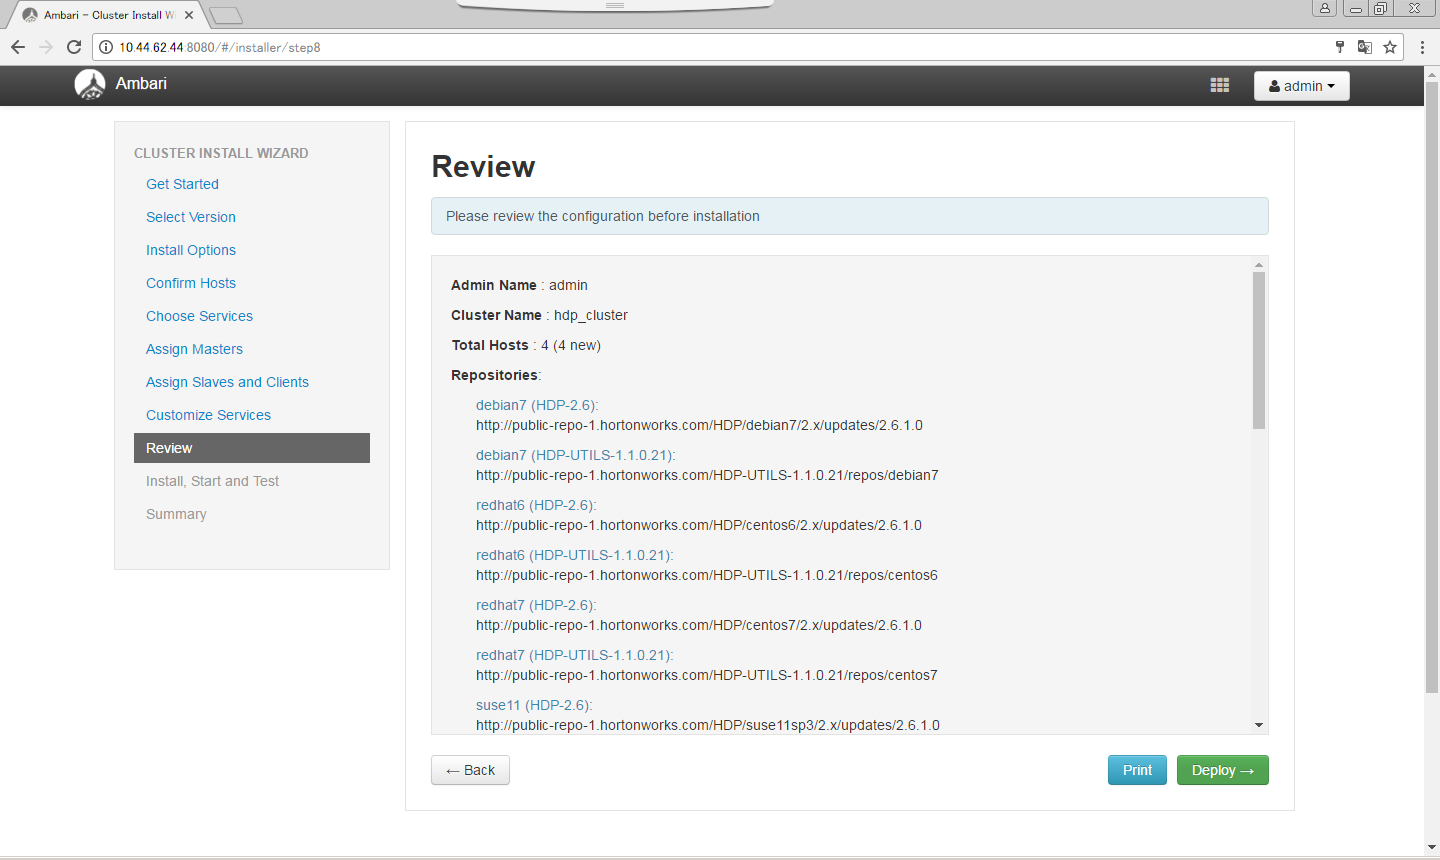
Deployをクリックします。
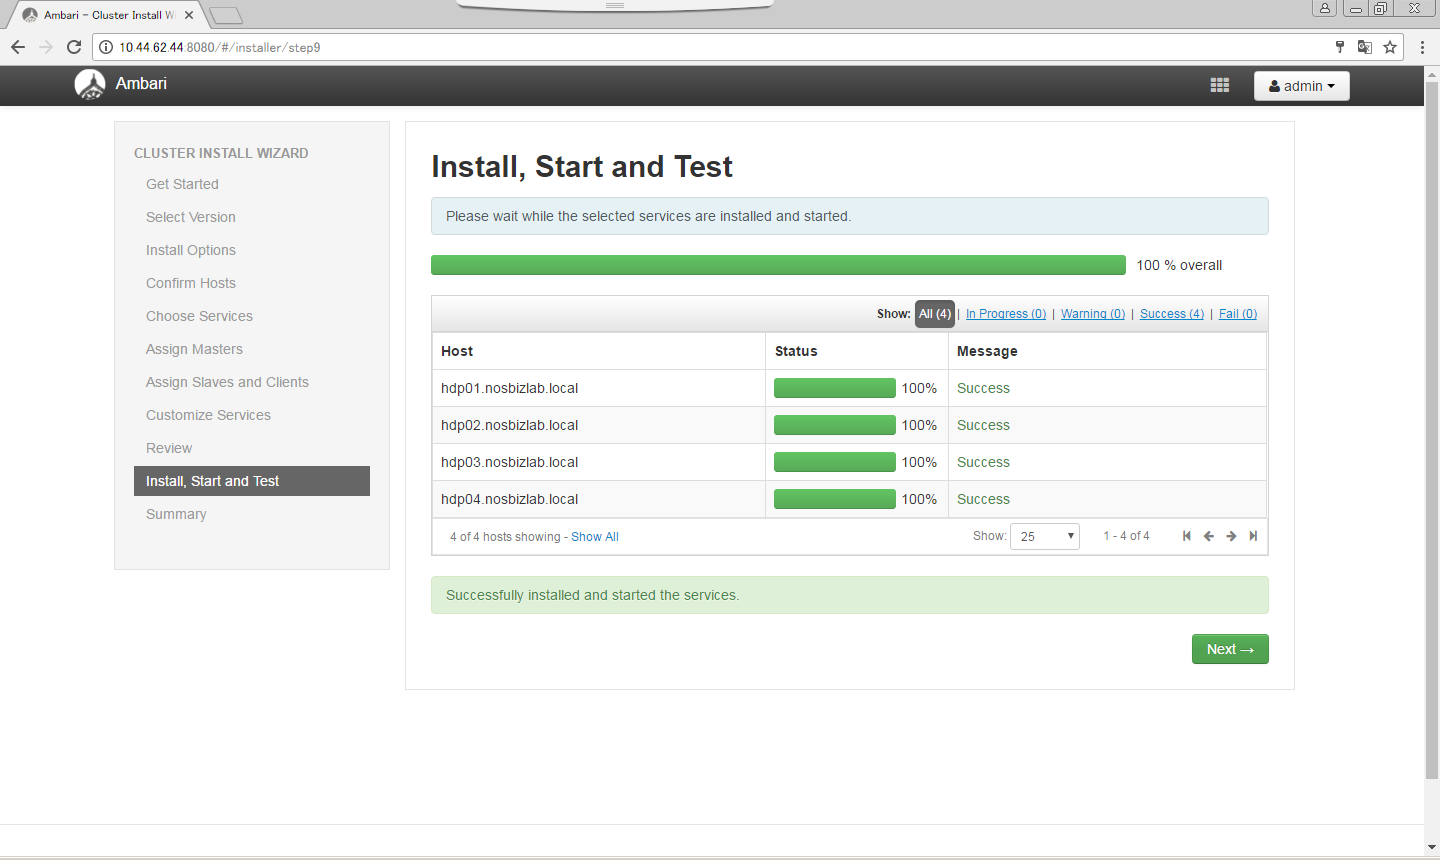
Nextをクリックします。
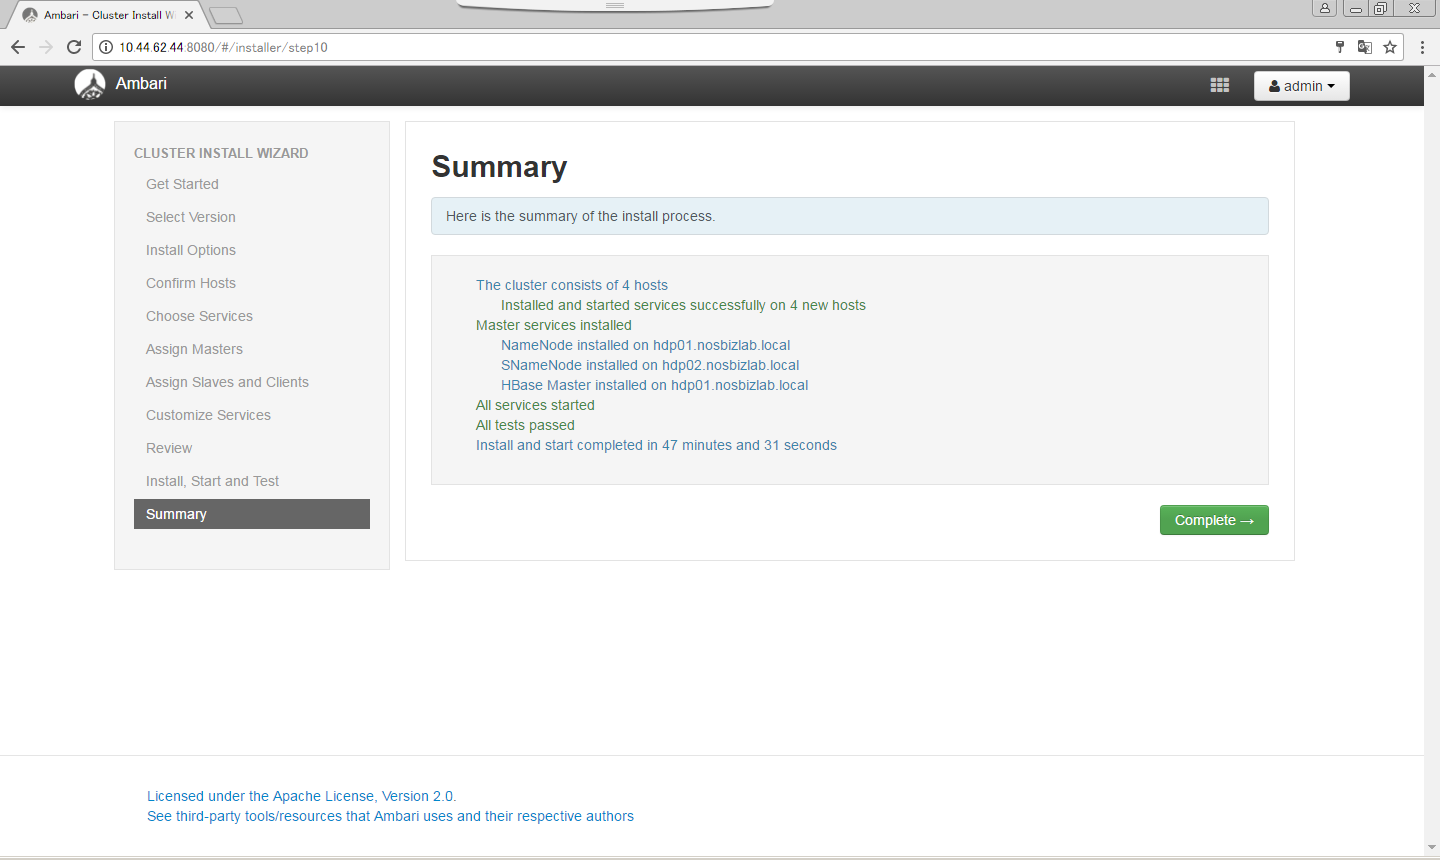
Completeをクリックします。
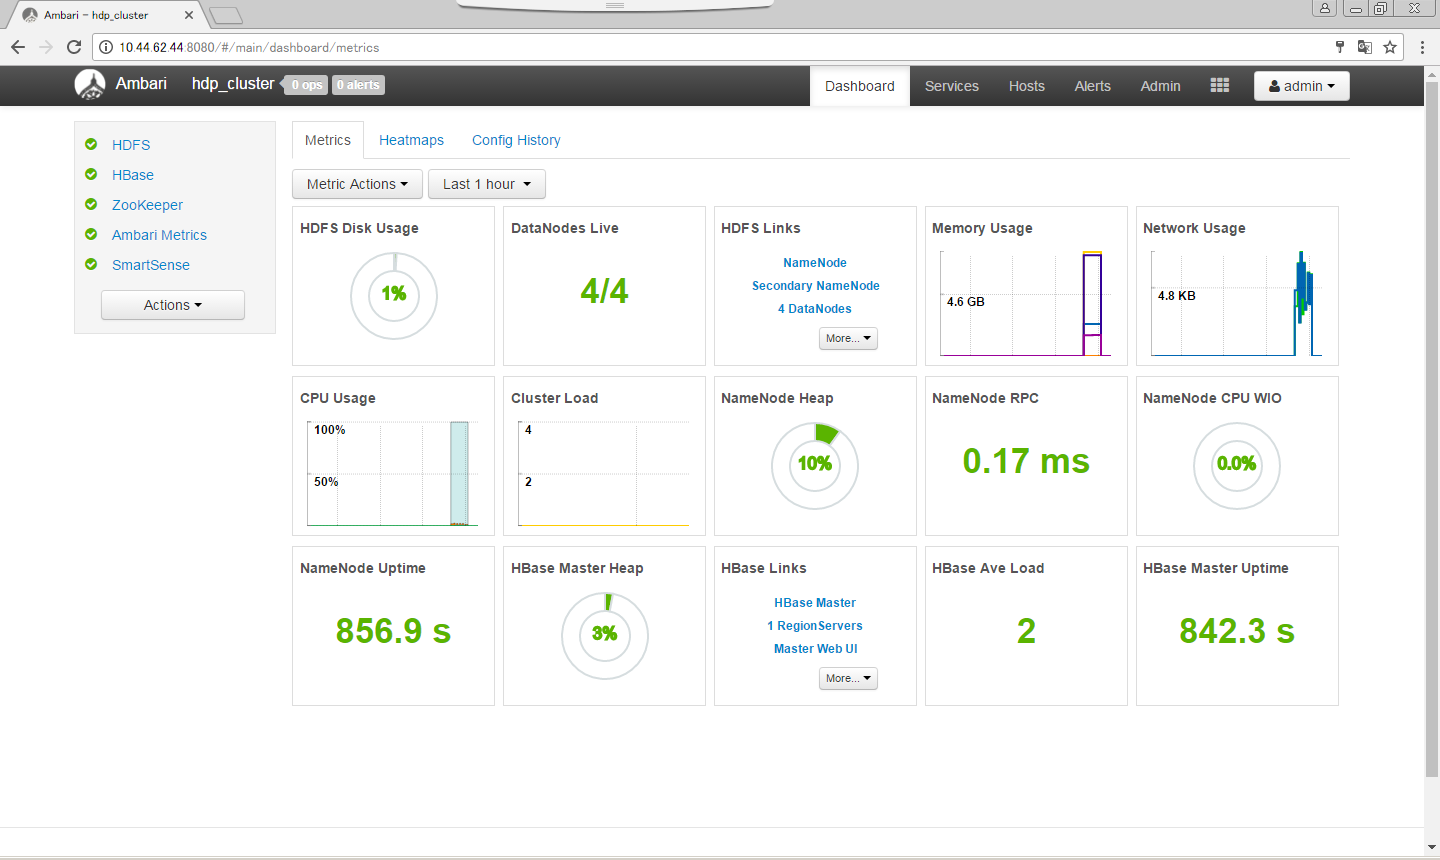
HDPのインストールが完了しました!
