はじめに
difyを自宅で作ってみたかったので記念のメモ。
正直、公式サイトの指示に従ってつくっただけなので学びはゼロです。
超簡単でした
Docker Desktopをインストールする
にあるので、DLして実行したらOK。
dify をデプロイする
に従う。
ローカルPCからpowershell起動して
difyを保管しておきたい適当なフォルダへ移動させてからdiryをダウンロード。
自分の場合はC:\Users\user\Documents\github\へ移動してそこでgit cloneしました。
C:\Users\user\Documents\github\
git clone https://github.com/langgenius/dify.git
docker-composeを実行して起動を待つ
cd dify/docker
cp .env.example .env
docker compose up -d
数十分ほど待ったら完成
起動してるかどうか確認
別のpowershell立ち上げて、コンテナ動いてるか見てみる
cd C:\Users\user\Documents\github\dify/docker
docker compose ps
difyにアクセスする
PC上でWebブラウザ起動して以下のURL実行
http://localhost
ログイン画面が出たら成功
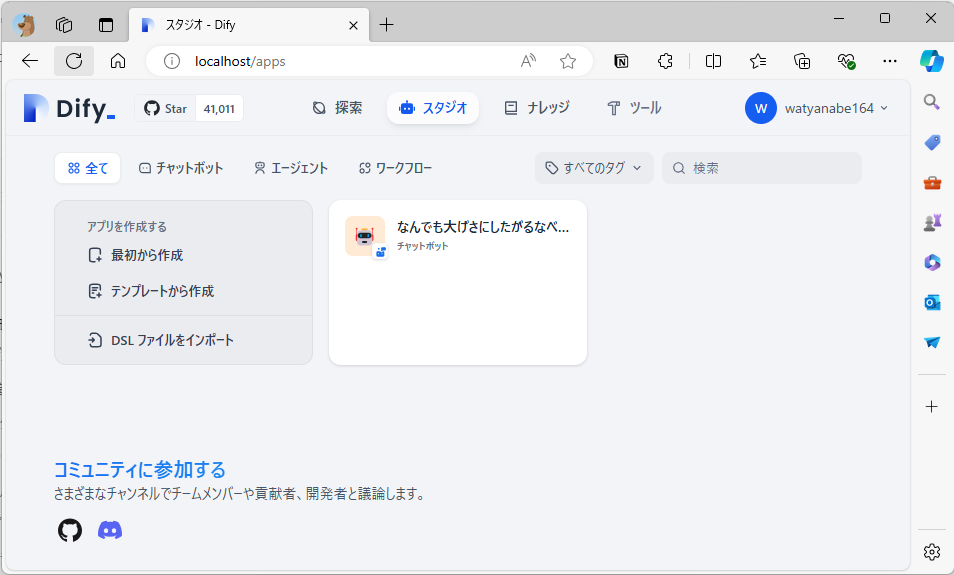
アカウント登録してログインしたら、TOP画面が現れるので後は自由に作ってみたらOK。

ただし、ローカルのDifyはあらかじめ使えるAIプロバイダは無いので
各自でAPI Keyを入手するなどして自分なりに設定をしてやる必要があるので注意。

そこ以外はただのDifyなんでご自由にどうぞ。
終わりに
AIアプリを作ろうと思ったら、別途でOpenAIからAPI Keyを取得したり何かと準備は必要だけども
自宅でAIアプリを作ることができたのが成果でした。
これができるってことはdocker-composeが動くところであれば
どこでも立ち上げられるから簡単ですね

