この記事の内容
Node.jsを各OSにインストールする方法と簡単な使い方を紹介します。
0. Node.jsとは
Node.jsは、JavaScriptでサーバーサイドのアプリを作るためのプラットフォームです。
Apache・Nginx・Flask等のようにサーバー機能が備わっています。
1. Node.jsのインストール
Node.jsをインストールする方法は以下の2通りがあります。
Windows、Mac、GUI操作できるLinuxにインストールする場合は ▶︎ ①
Linuxコマンドでインストールする場合は ▶︎ ②
の方法でインストールします。
- ① Node.jsの公式サイトから
- ② ターミナルのコマンドから
① Node.jsの公式サイトから
以下のNode.jsの公式サイトにアクセスすると、アクセスしたOS環境に適したパッケージを
インストールするボタンが表示されるので、クリックしてダウンロードします。
ダウンロードしたファイルを実行して、画面に従ってインストールを完了します。
② ターミナルのコマンドから(AWS EC2)
AWS EC2 に Node.jsを導入する方法がAWS公式から案内されています。
EC2にNode.js導入する方法
1. ノードバージョンマネージャー (nvm) をインストール
curl -o- https://raw.githubusercontent.com/nvm-sh/nvm/v0.39.3/install.sh | bash
2. nvm を有効化
~/.nvm/nvm.sh
3. Node.jsバージョン16.xをインストール
nvm install 16
4. 使用可能なNode.jsバージョンを確認
nvm list
5. Node.jsを有効化(セッション終了まで有効)
nvm use v16.20.0
6. Node.js,npmが使えることを確認
node -v
npm -v
ログアウトした場合、以降は5~6の手順で再度Node.jsを利用できます
その他、Linuxにコマンドでインストールする場合、ディストリビューション(Redhat系、Debian系など)によってコマンドが異なるので、詳しくは公式ガイドをご覧ください
2. Node.js で Hello World
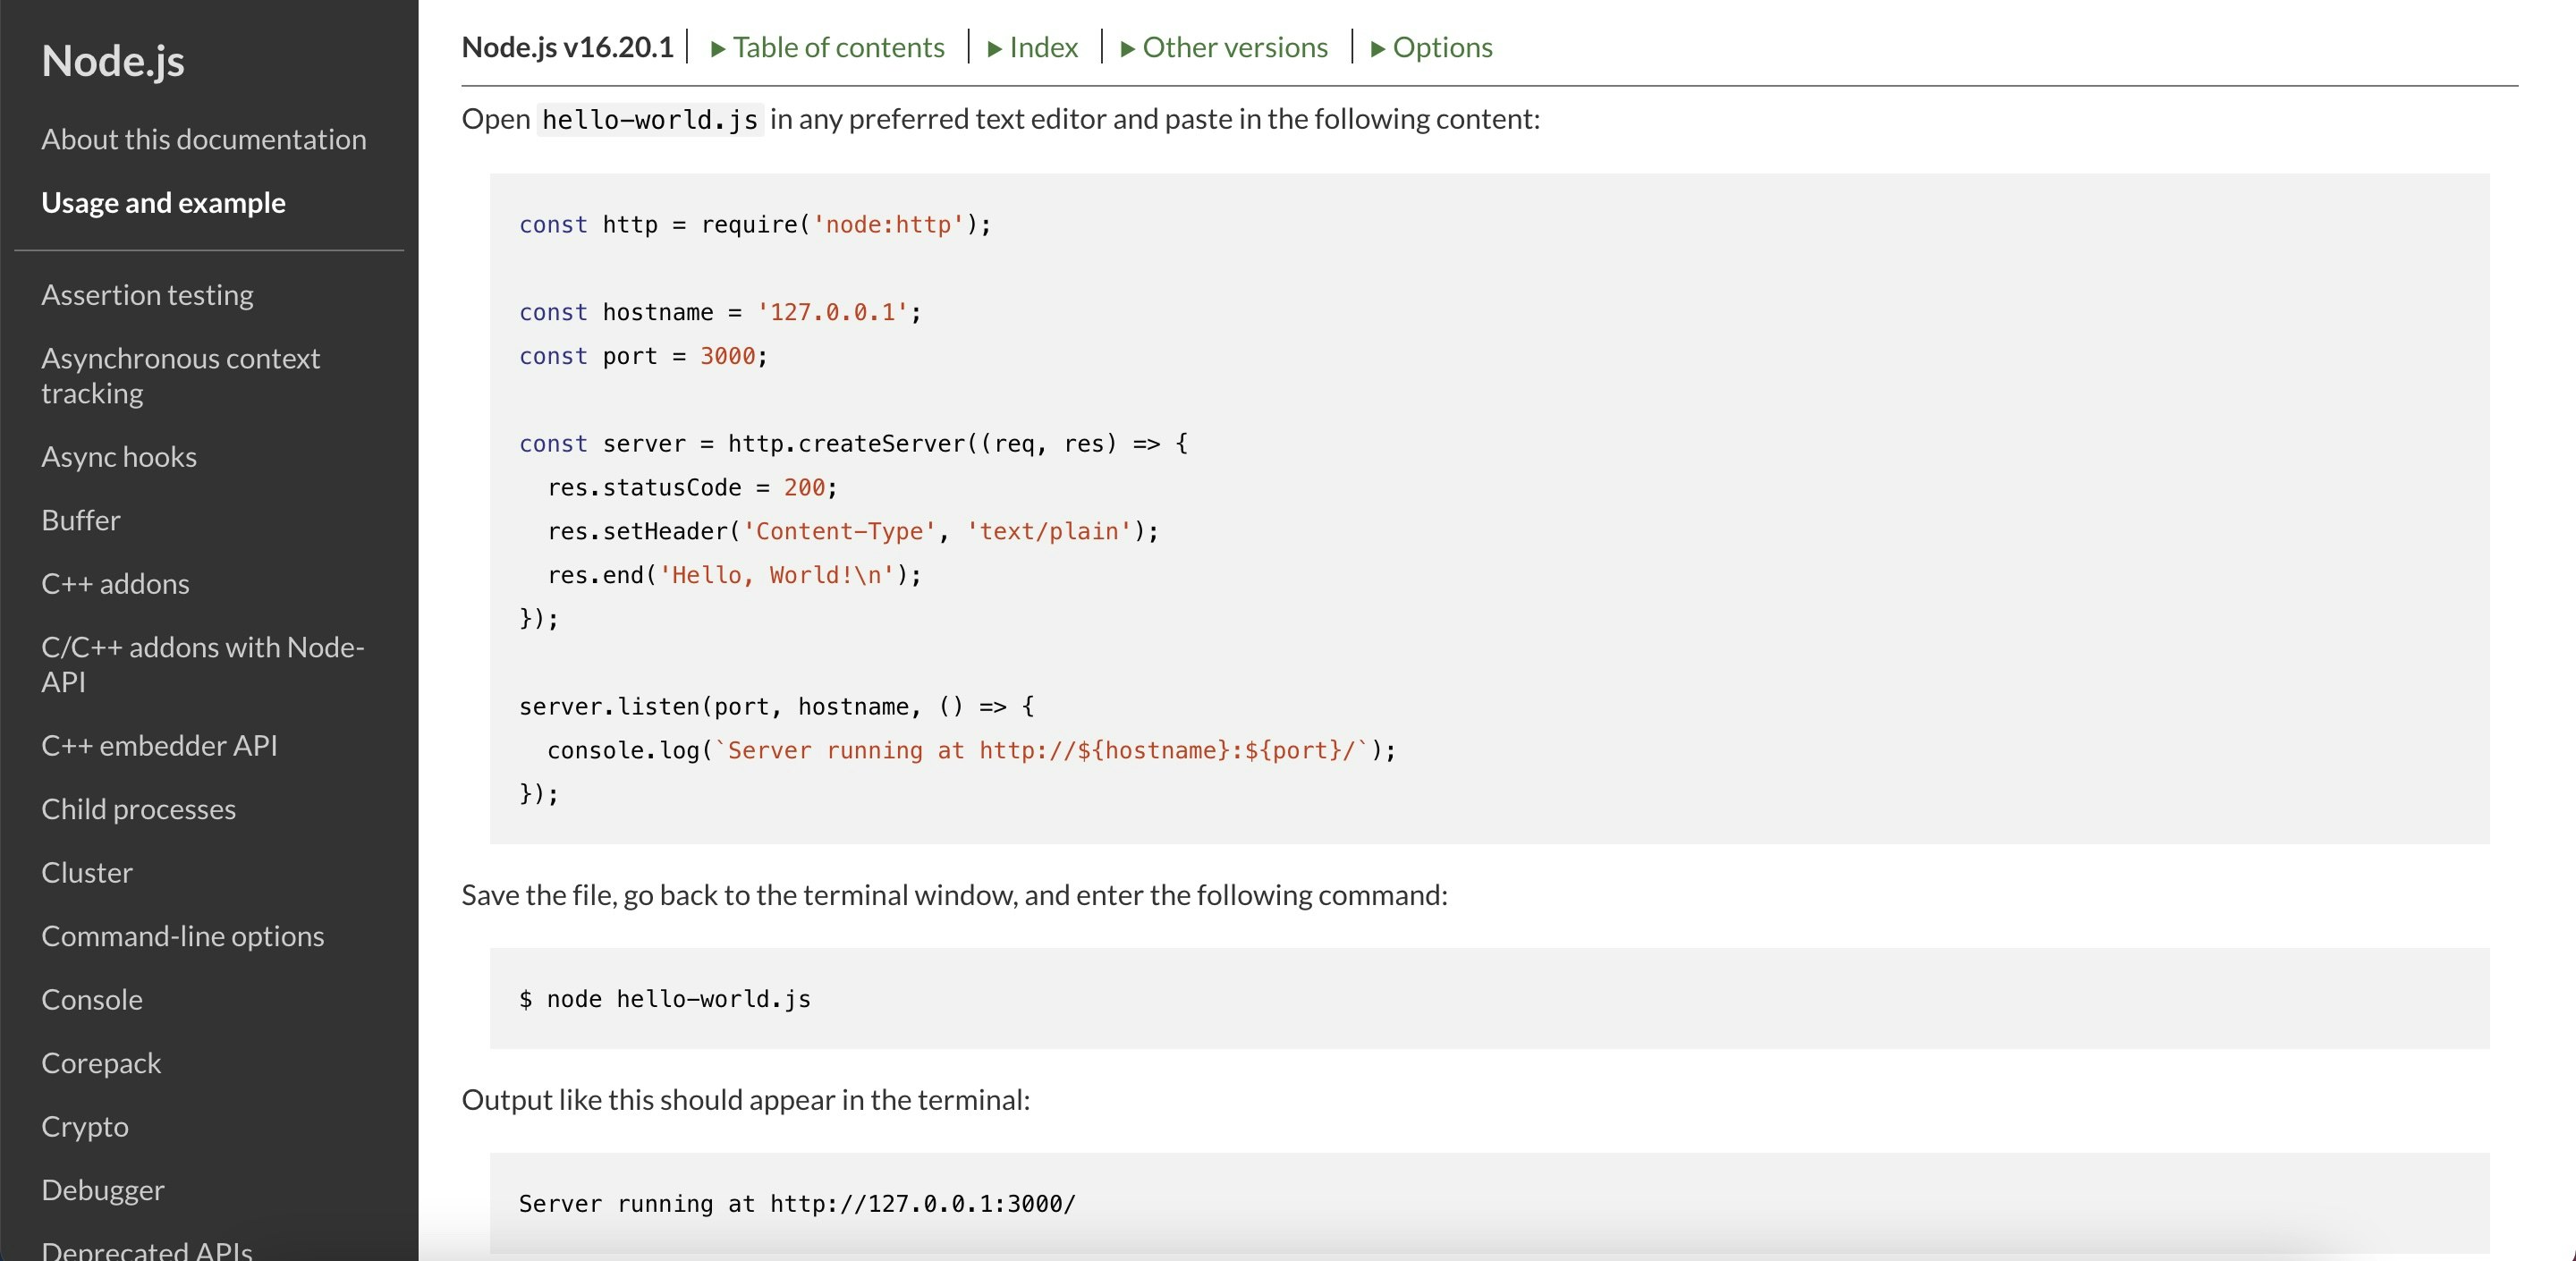
公式ドキュメントにある Usage and example に沿って、Webページに Hello World を表示する方法を紹介します。
ここでは AWS EC2 で使用可能なバージョンの v16.20.1 のガイドで記載します。
異なるバージョンではコードが若干違う場合があるので、以下から環境にあったバージョンのドキュメントごご参照ください。
v18.x → https://nodejs.org/dist/latest-v18.x/docs/api/synopsis.html
v16.x → https://nodejs.org/dist/latest-v16.x/docs/api/synopsis.html
1. Node.jsのバージョンを確認
node -v
→ バージョン番号が表示されたら正しくインストールされています。
2. hello-world.jsファイルを作成
任意のディレクトリに任意のJSファイル(例:hello-world.js)を作成します
.
└─ hello-world.js
公式ドキュメントの通りコードを貼り付けます。
const http = require('node:http');

const hostname = '127.0.0.1';
const port = 3000;

const server = http.createServer((req, res) => {
  res.statusCode = 200;
  res.setHeader('Content-Type', 'text/plain');
  res.end('Hello, World!\n');
});

server.listen(port, hostname, () => {
  console.log(`Server running at http://${hostname}:${port}/`);
});
4. hello-world.jsを実行
ターミナルから以下のようにnode ファイル名.jsコマンドを実行すると、サーバーが起動されます。
node hello-world.js
5. http://127.0.0.1:3000/にブラウザアクセス
Hello, World! と書かれたページが表示されれば成功です。
3. ルーティングとHTMLファイルの表示
- URLによって異なるページを表示するためには、ルーティングを行うコードを記述します。(node1.js)
- HTMLファイルの内容を表示することも可能です。(node2.js)
以下のようなフォルダ構成を前提にコードを紹介します。
.
├─ node1.js
├─ node2.js
└─ index.html
3-1. URLによって異なる表示をするルーティング
const http = require("node:http");

const hostname = "127.0.0.1";
const port = 3001;

const server = http.createServer((req, res) => {
  if (req.url === "/") {
    res.statusCode = 200;
    res.setHeader("Content-Type", "text/plain");
    res.end("Hello, World! root\n");
  } else if (req.url === "/test") {
    res.statusCode = 200;
    res.setHeader("Content-Type", "text/plain");
    res.end("Hello, World! root/test\n");
  } else {
    res.statusCode = 400;
    res.setHeader("Content-Type", "text/plain");
    res.end("404 Not Found\n");
  }
});

server.listen(port, hostname, () => {
  console.log(`Server running at http://${hostname}:${port}/`);
});
http://127.0.0.1:3001/ → Hello, World! root
http://127.0.0.1:3001/test → Hello, World! root/test
http://127.0.0.1:3001/その他 → 404 Not Found
Node.jsだけでルーティングを行うには、if文を使用して、アクセスされてパス(URL)によって表示す内容を場合分けする方法しかありません。
もっと効率的にルーティングを行うためには、Expressのようなフレームワークをインポートして使用します。
3-2. HTMLファイルの内容を表示
const http = require("node:http");
const fs = require("fs");

const hostname = "127.0.0.1";
const port = 3002;

const server = http.createServer((req, res) => {
  fs.readFile("index.html", (err, data) => {
    if (err) {
      res.statusCode = 500;
      res.setHeader("Content-Type", "text/plain");
      res.end("Internal Server Error\n");
    } else {
      res.statusCode = 200;
      res.setHeader("Content-Type", "text/html");
      res.end(data);
    }
  });
});

server.listen(port, hostname, () => {
  console.log(`Server running at http://${hostname}:${port}/`);
});
http://127.0.0.1:3002/ → index.html の内容が表示
URL毎に、用意したファイル(HTML, PHP, JS など)の内容を表示するには、上記の方法を組み合わせて実現できます
まとめ
Node.js の基本的な使用方法を紹介しました。
以下のCodeSandboxで、本記事のコードを実際に編集しながら確認できます。

