2
3

Delete article

Deleted articles cannot be recovered.

Draft of this article would be also deleted.

Are you sure you want to delete this article?

More than 5 years have passed since last update.

Debug中にUIImageViewの画像を差し替える方法

Last updated at Posted at 2019-02-07

きっかけ

サーバーから取得した画像のサイズが可変である場合に、UIImageViewのサイズも可変となる。
可変なUIImageViewによって、レイアウト崩れなどないか確認したかった。

今までの方法だと、画像を差し替えてビルドし直しての繰り返し。
何度もビルドし直すのは効率が悪いし、他にいい方法があるはず。
再ビルドなしで、画像を差し替える方法があるはず。

環境

  • Xcode10.0
  • Swift4.2

方法

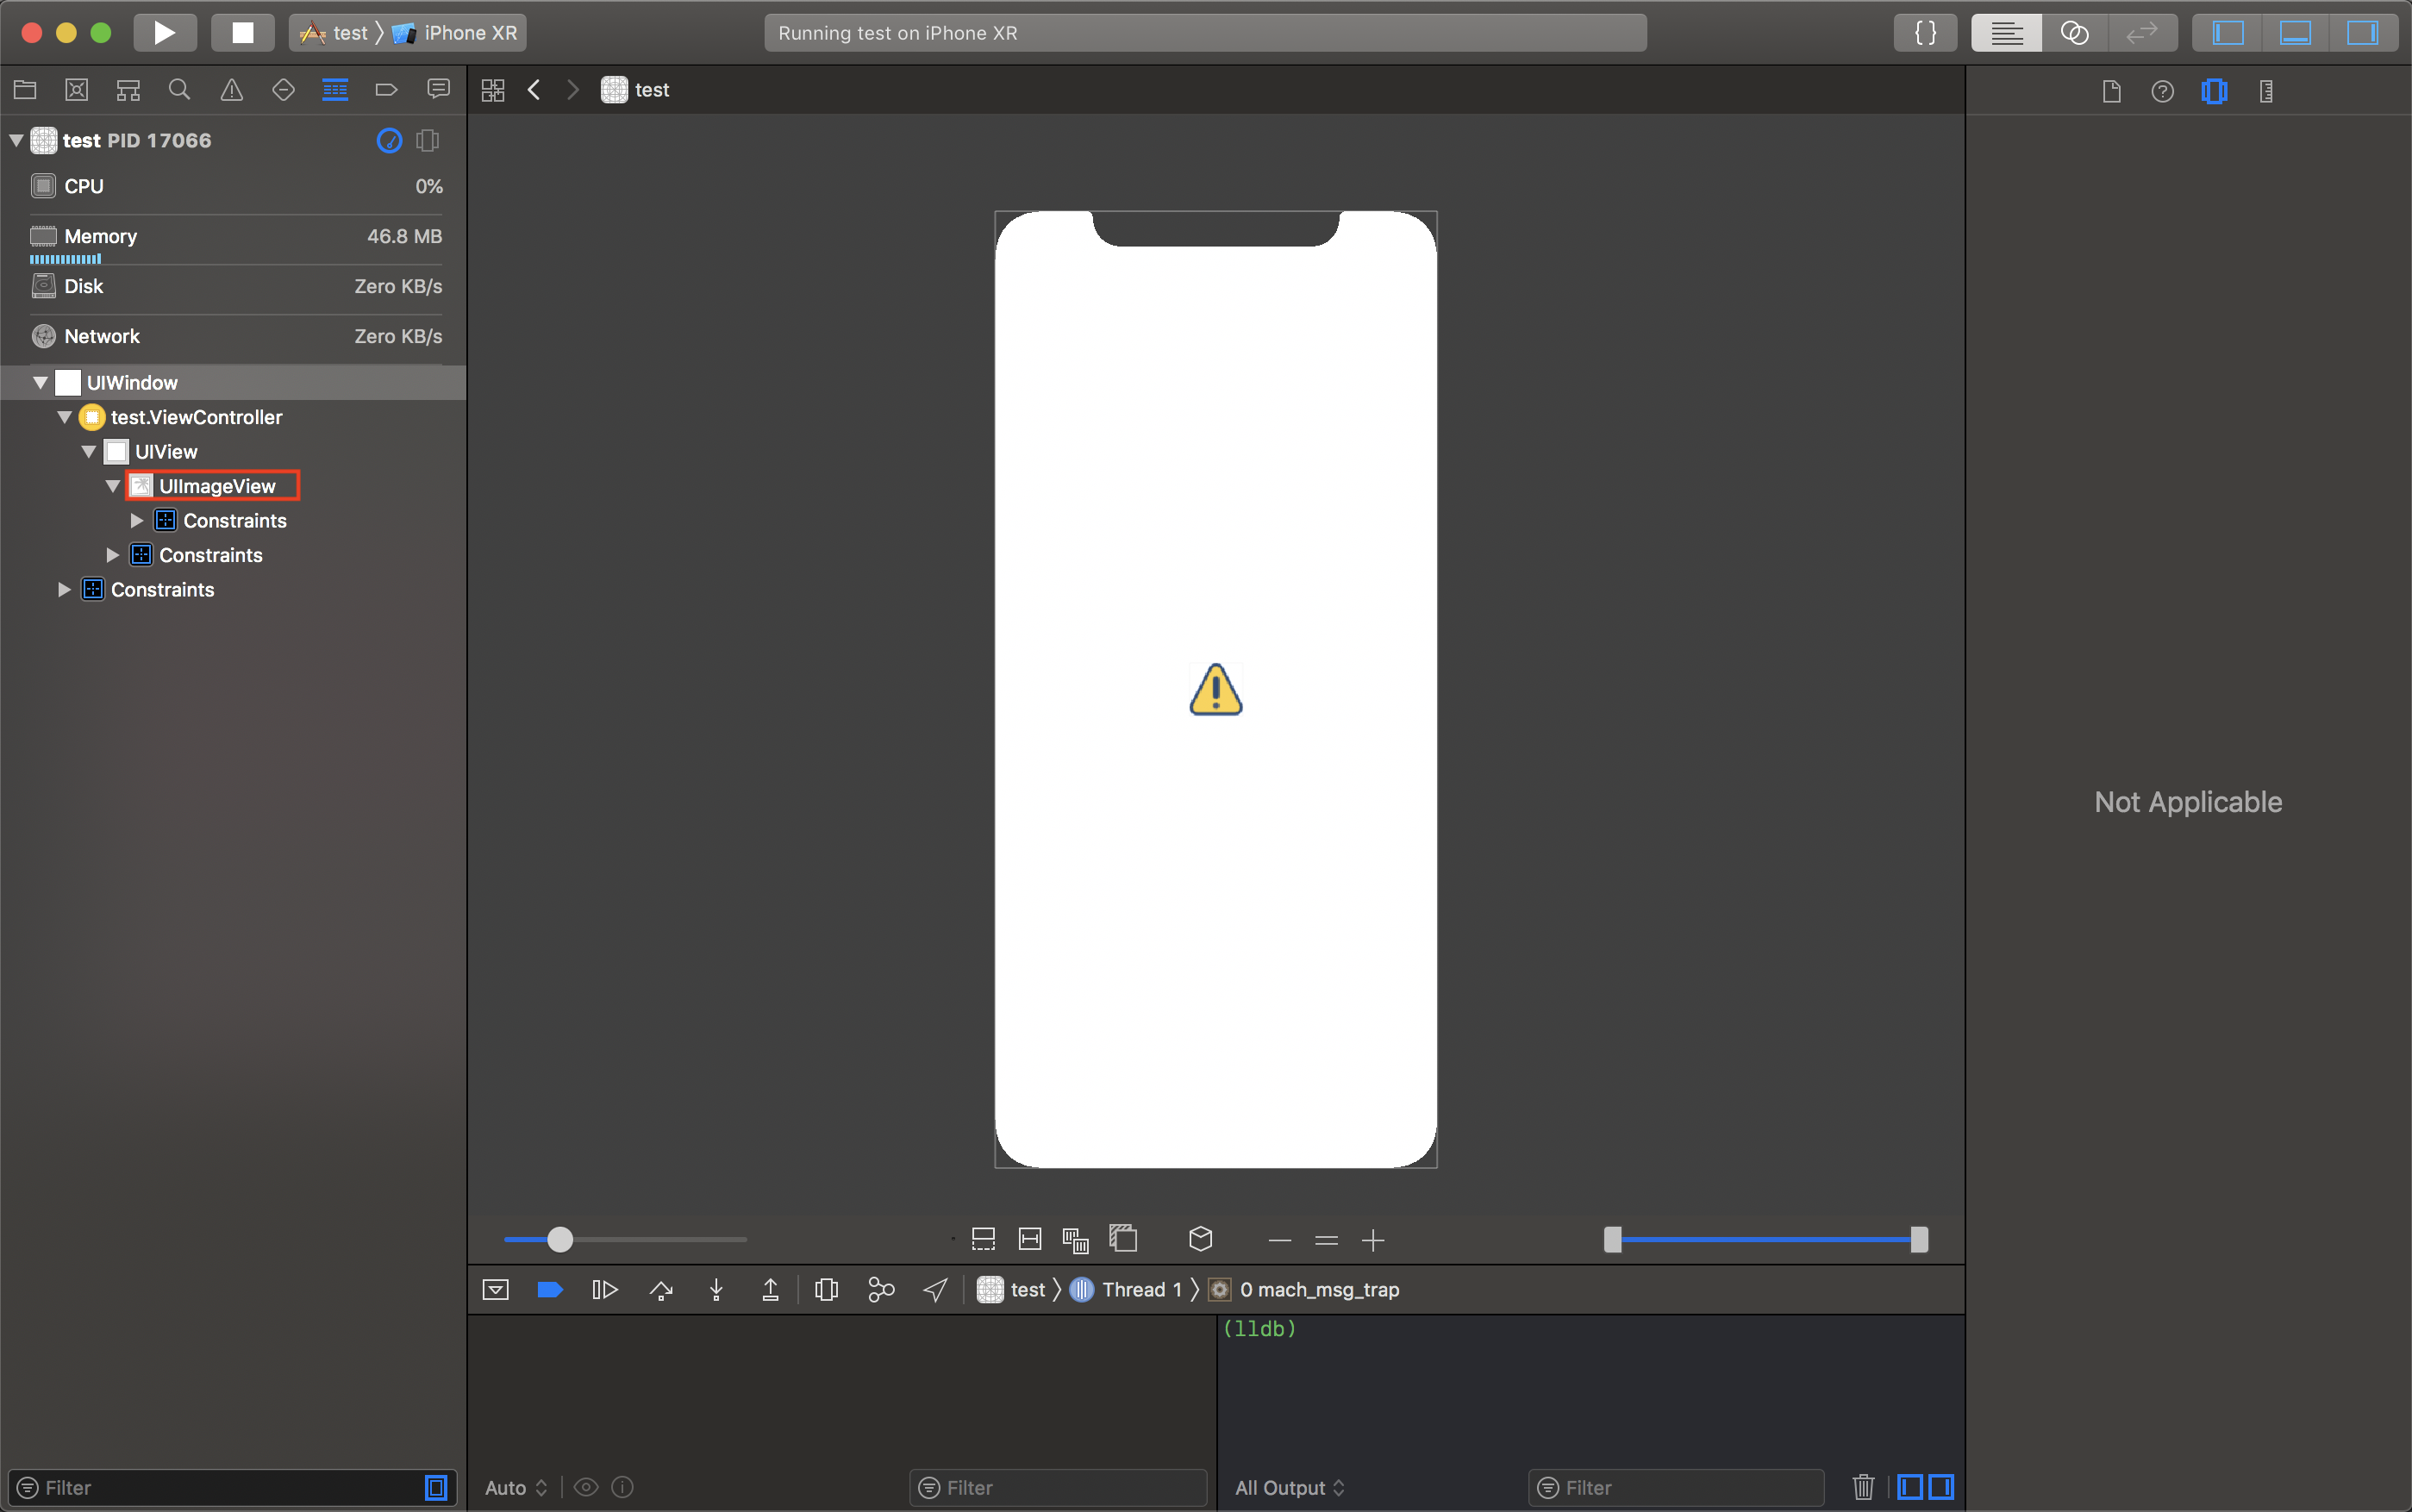
変更したい画像を持つ画面で、XcodeのDebug View Hierarchyを実行。
スクリーンショット 2019-02-07 13.53.17.png

Xcodeの左ペインから差し替えたいUIImageViewを選択。
スクリーンショット 2019-02-07 14.07.12.png

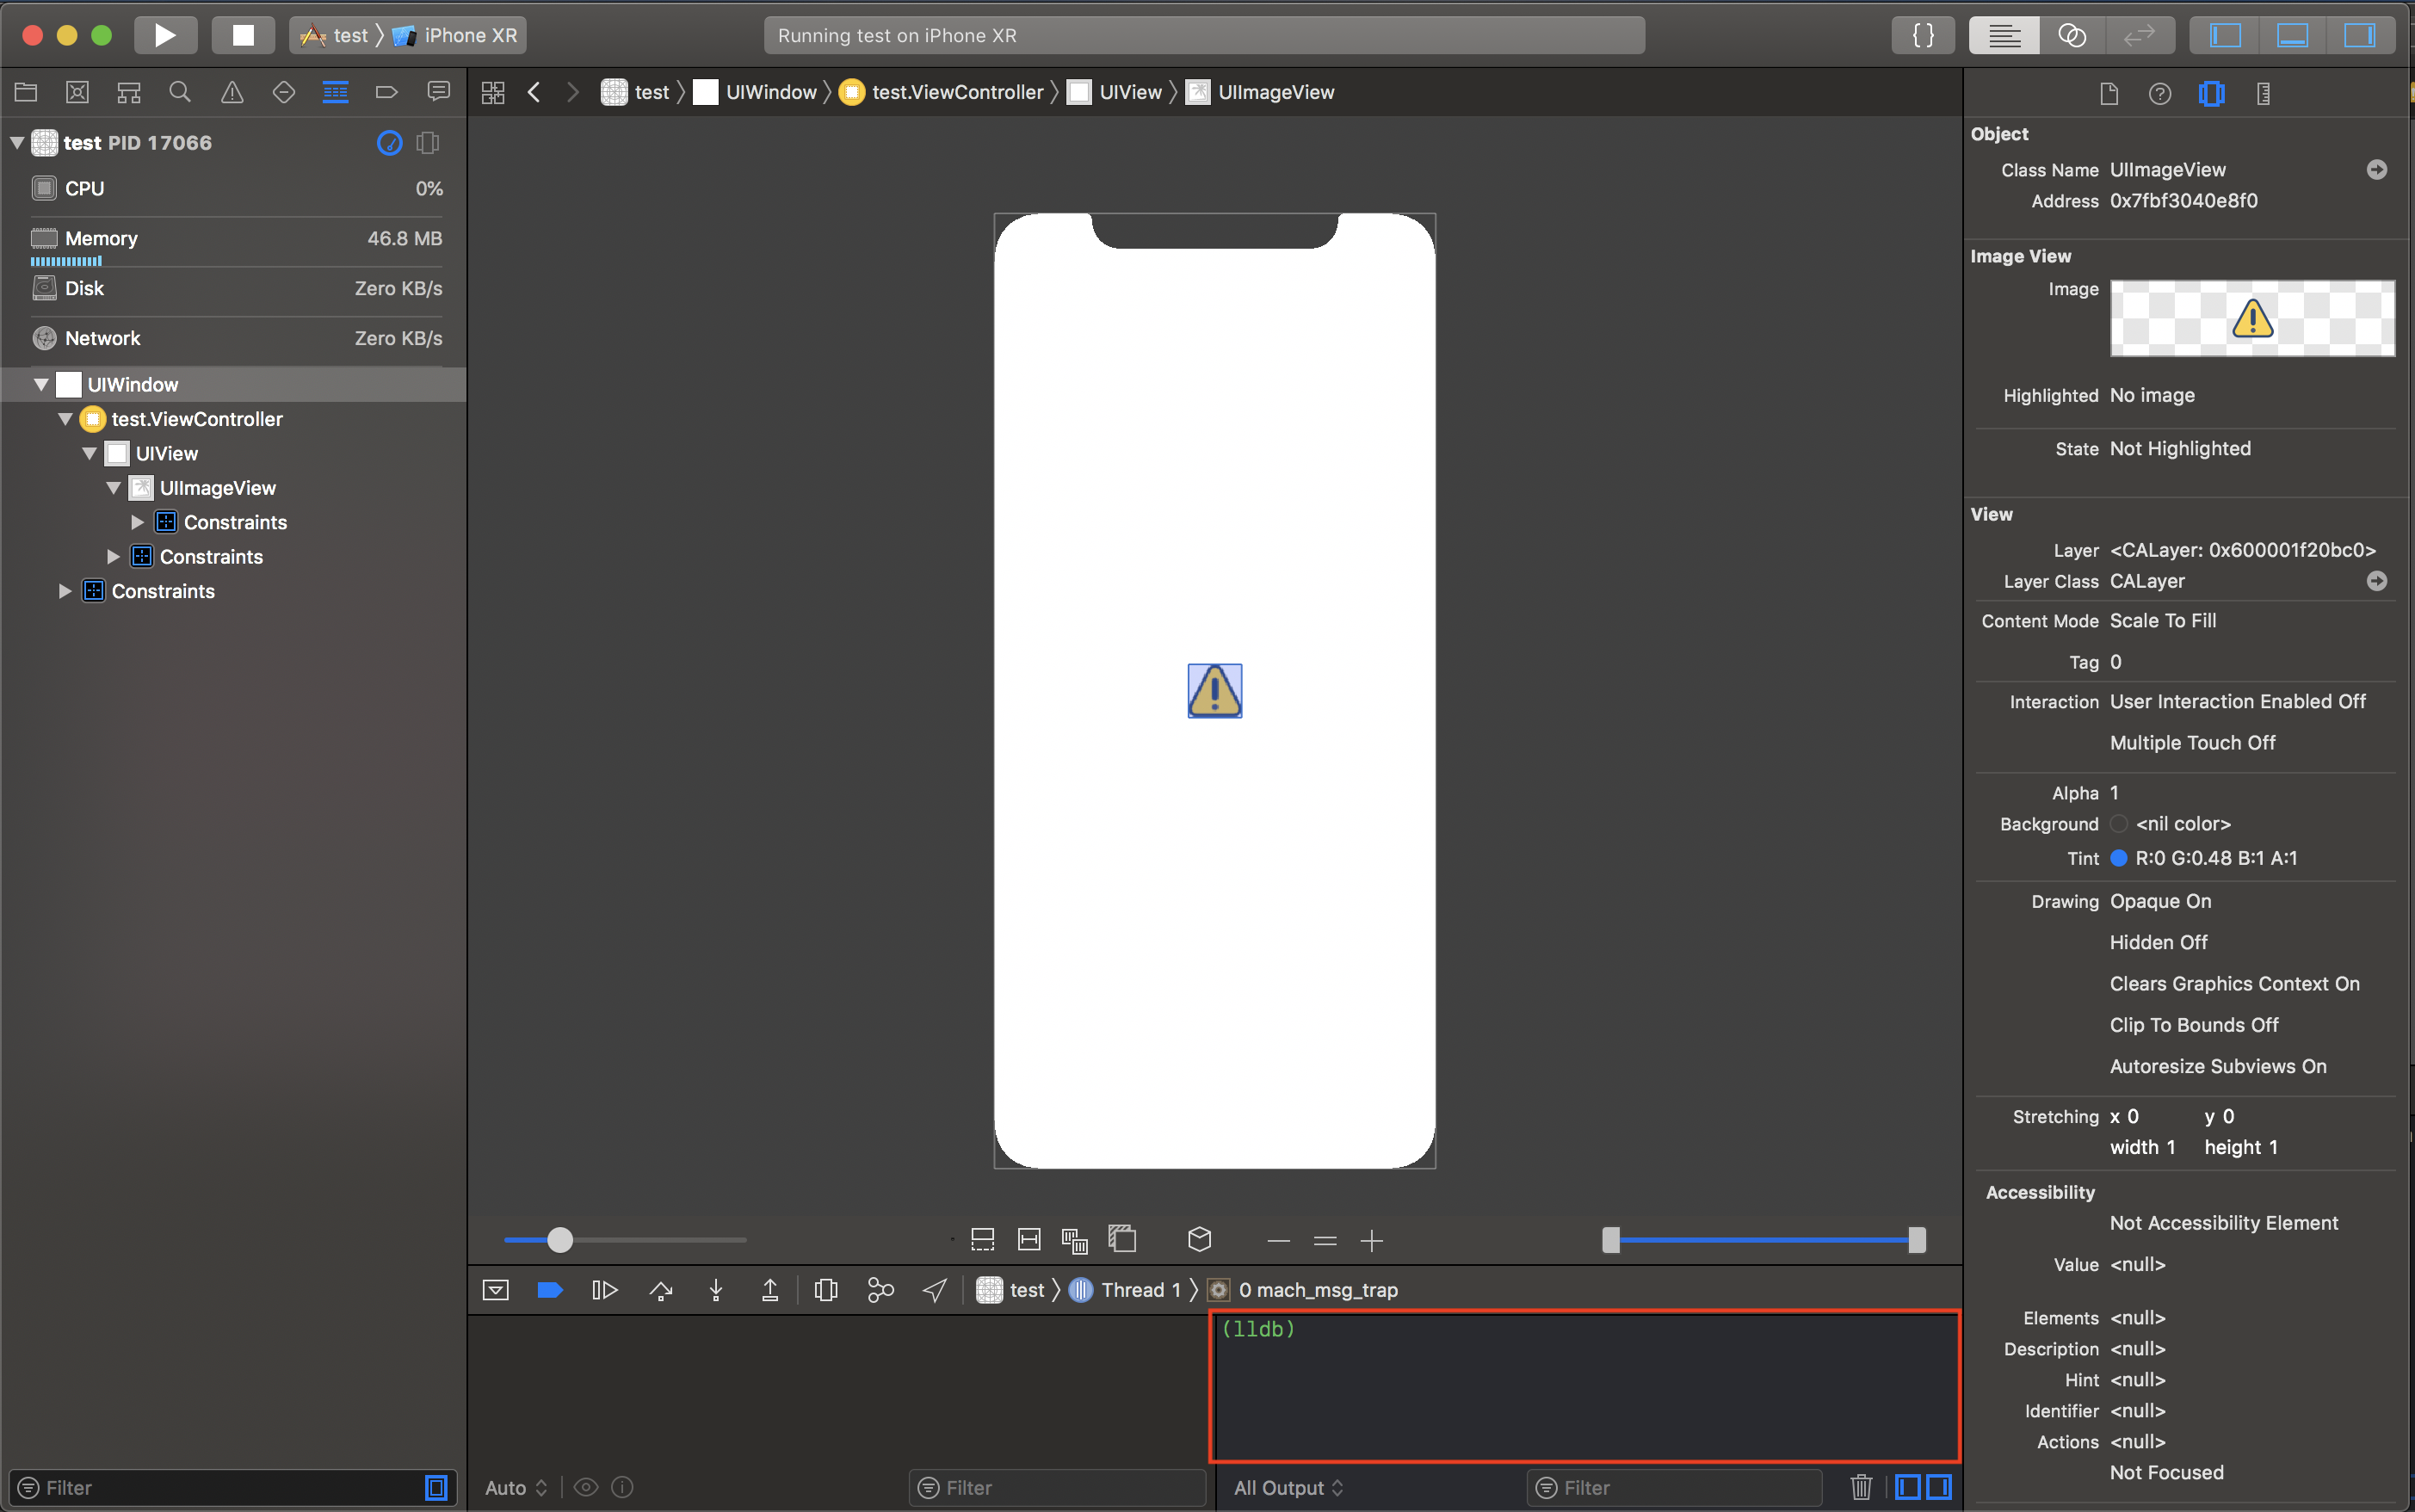
右下のデバッグコンソールにて、UIKitをimportする。
スクリーンショット 2019-02-07 14.13.33.png

(lldb) expr -l Swift -- import UIKit

さらに、右ペインに表示されているAddressを使って、UIImageViewを取得する。
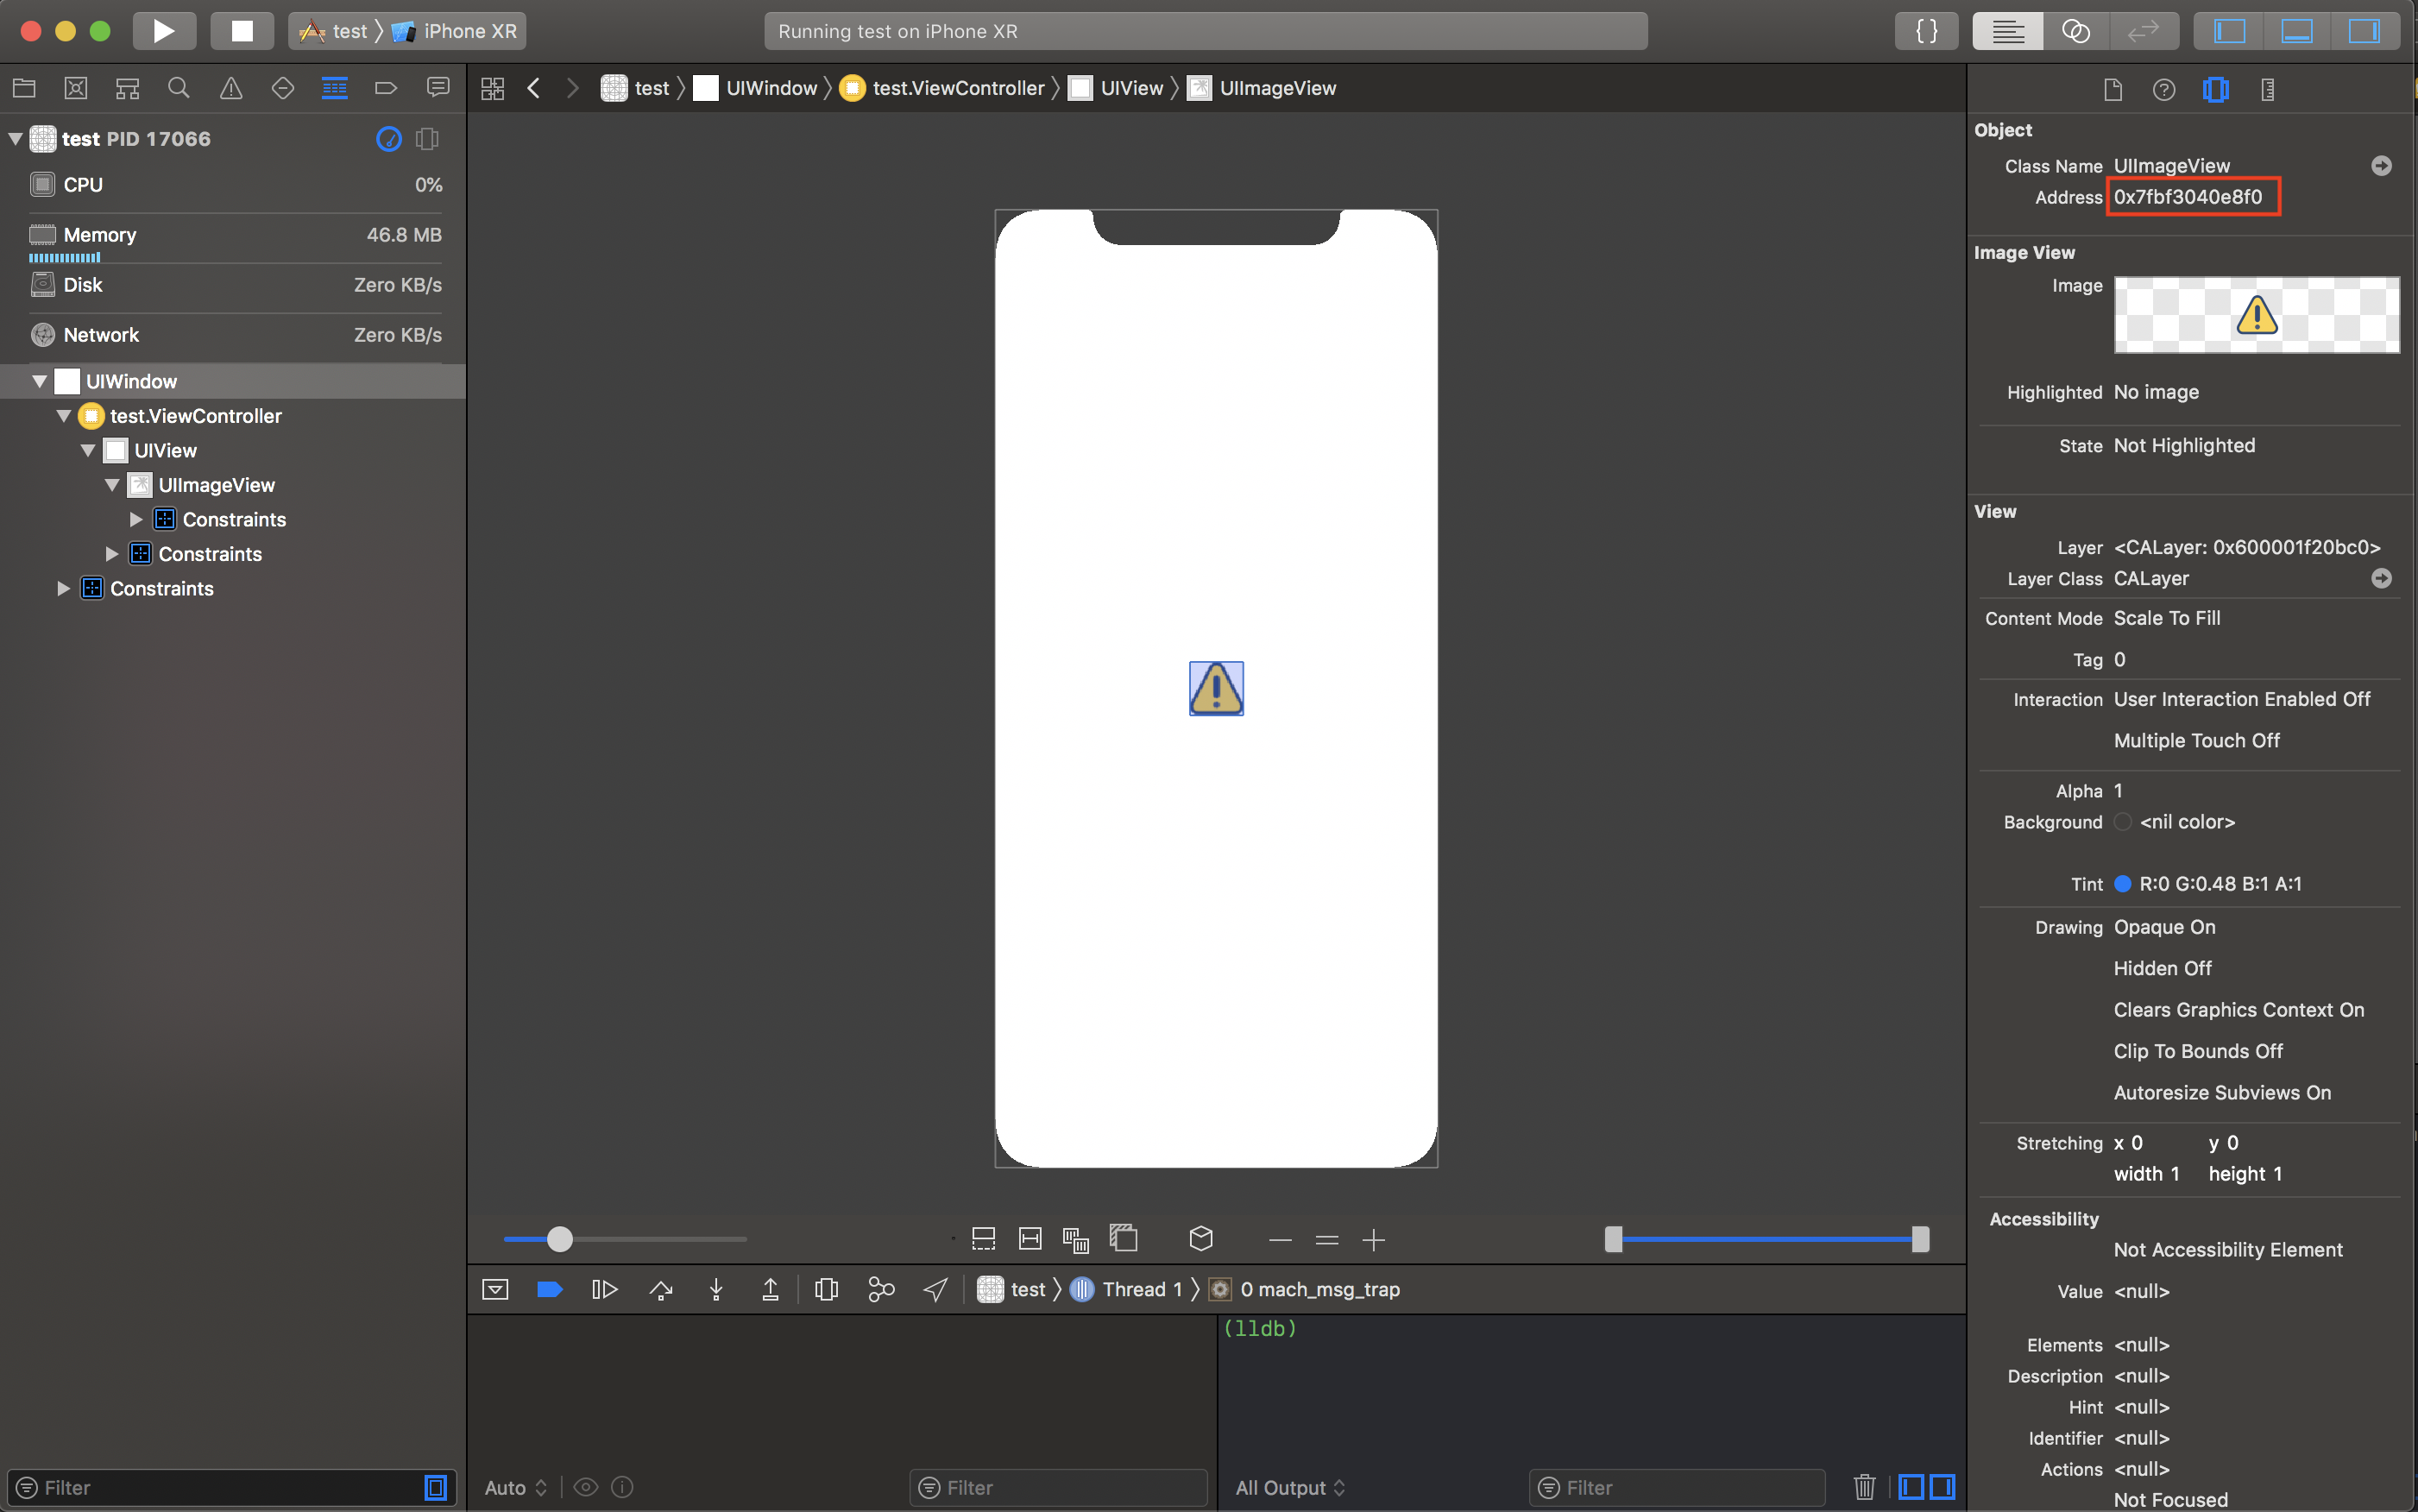
スクリーンショット 2019-02-07 14.00.57_1.png

(lldb) expr -l Swift -- let $imageView = unsafeBitCast(0x7df67c50, to: UIImageView.self)

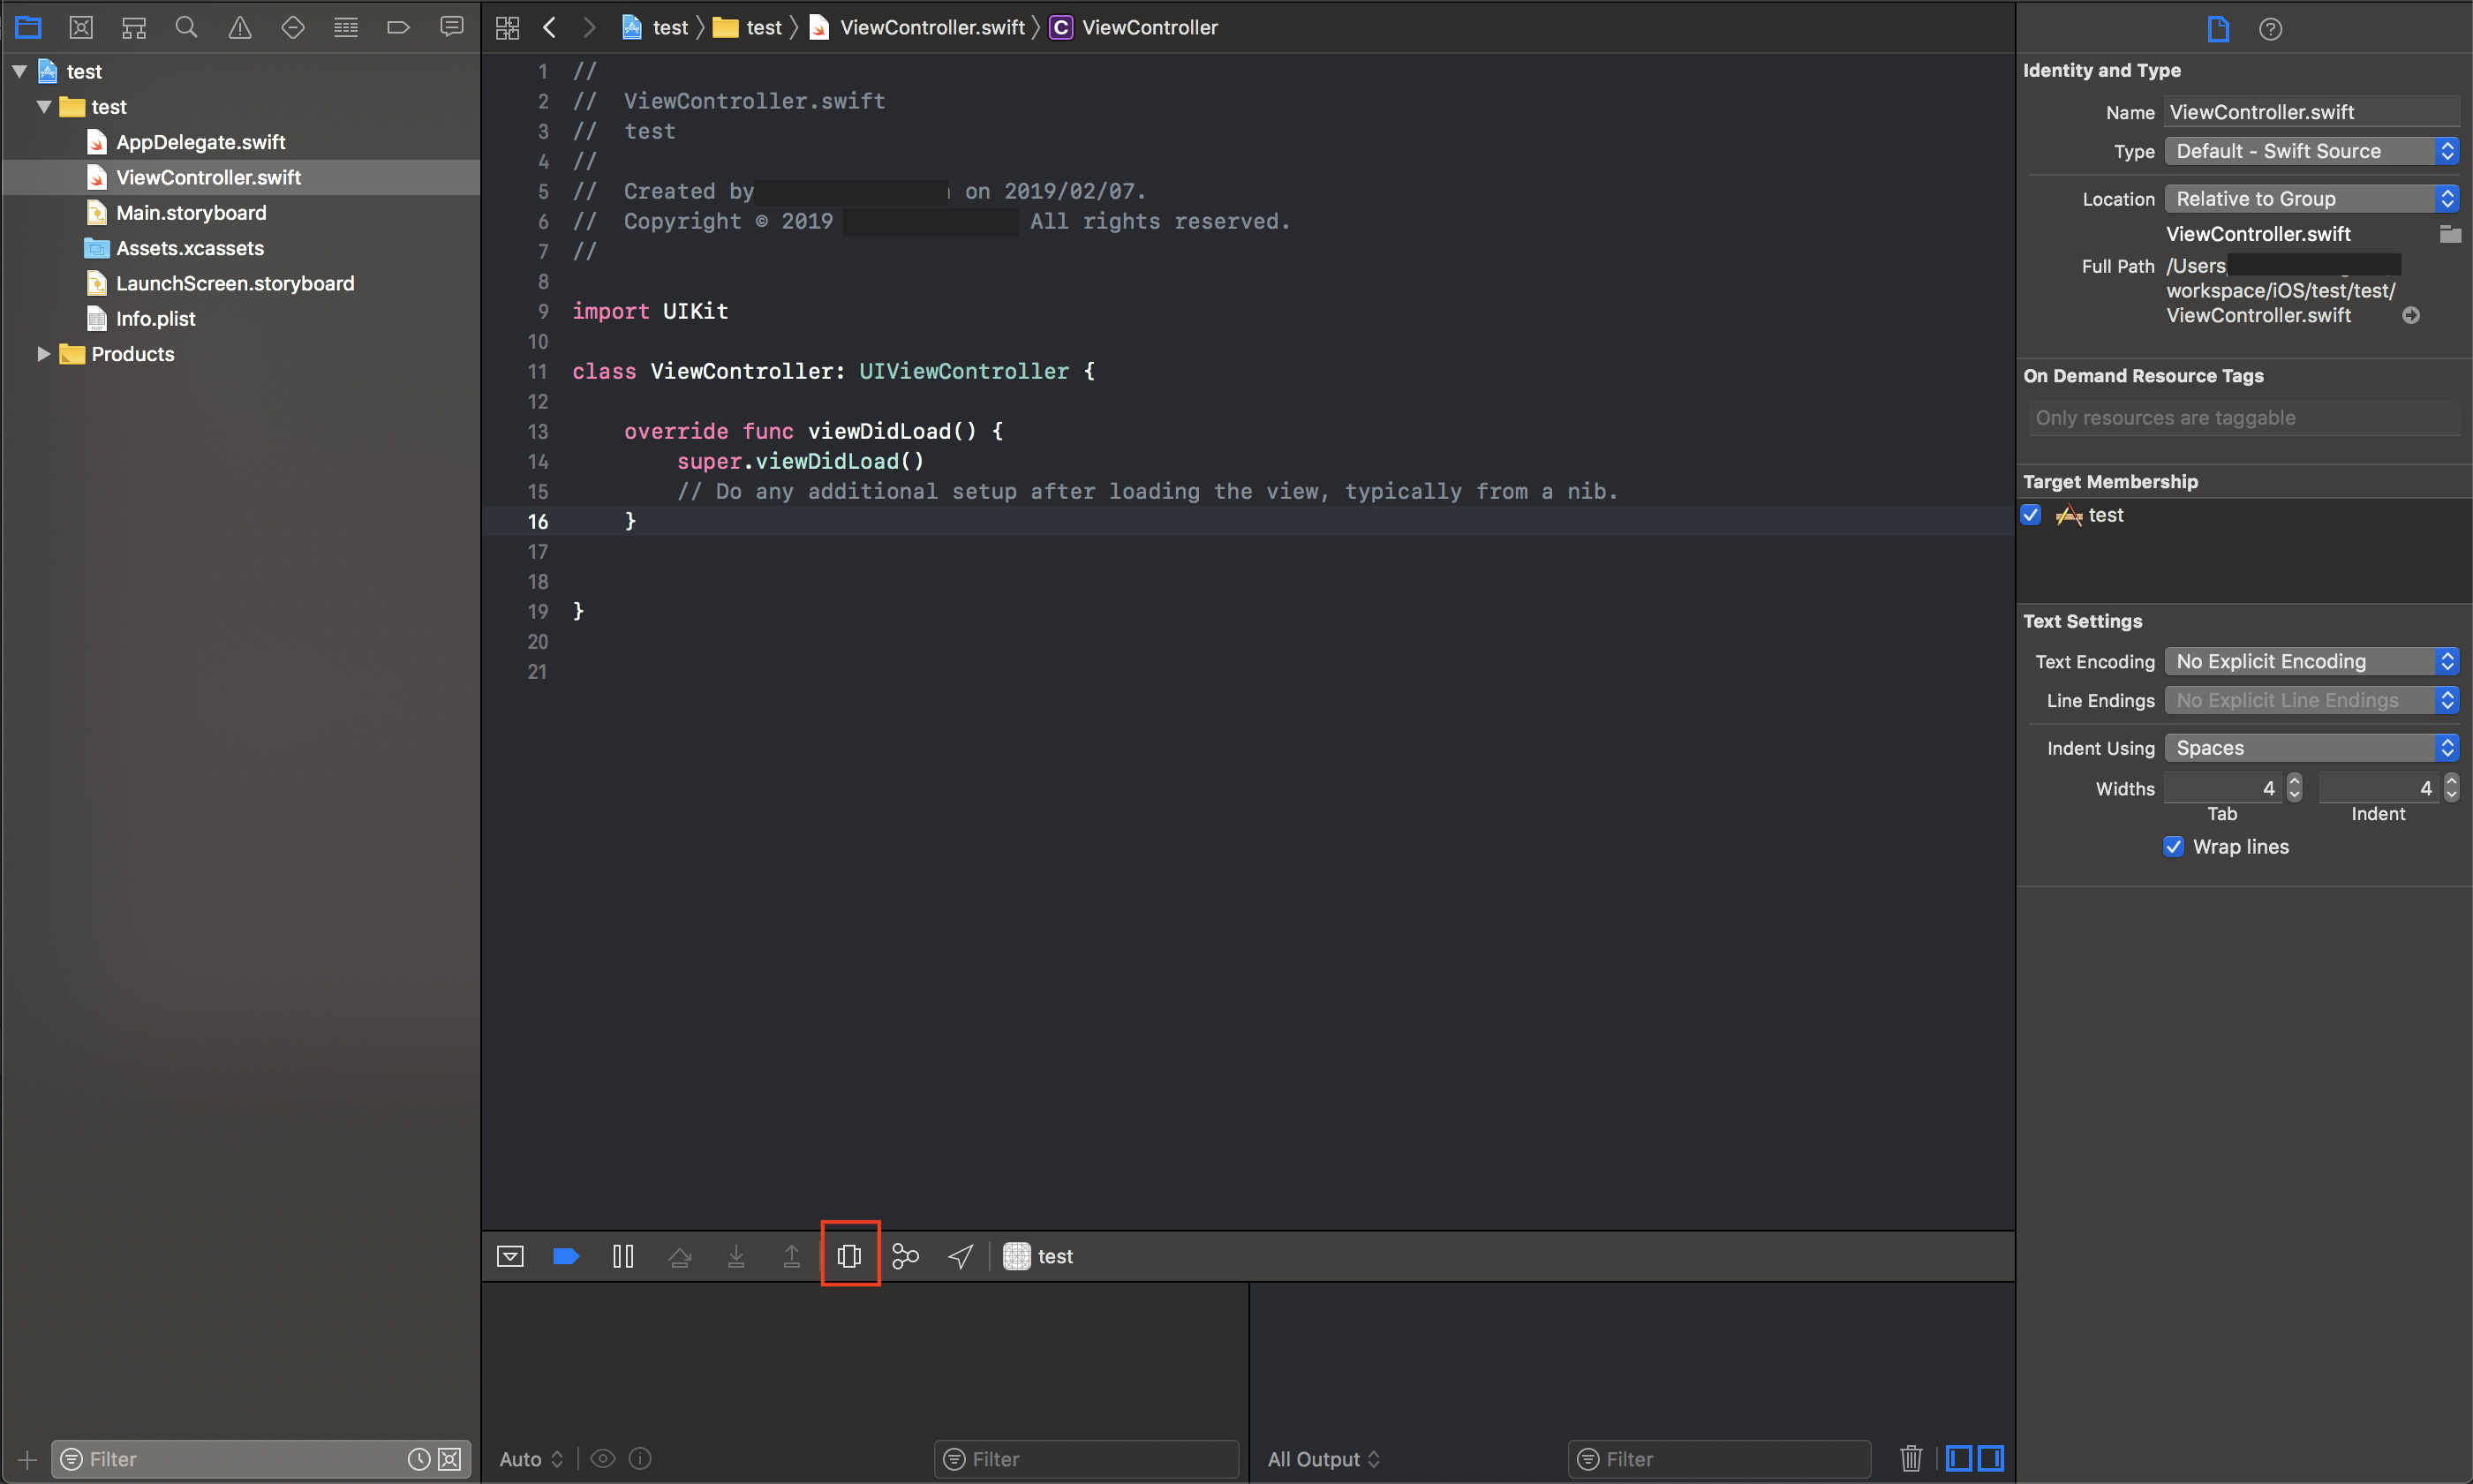
最後に取得できたUIImageViewのimageプロパティに新しいUIImageを入れる。

(lldb) expr -l Swift -- $imageView.image = UIImage(named: "ic_warning")

参考

2
3
0

Register as a new user and use Qiita more conveniently

  1. You get articles that match your needs
  2. You can efficiently read back useful information
  3. You can use dark theme
What you can do with signing up
2
3

Delete article

Deleted articles cannot be recovered.

Draft of this article would be also deleted.

Are you sure you want to delete this article?