Android で文字列を装飾したい場合、XML ファイルで文字列を定義する際にいくつかの HTML タグがサポートされています。
例えば以下のように設定してみます。
<resources>
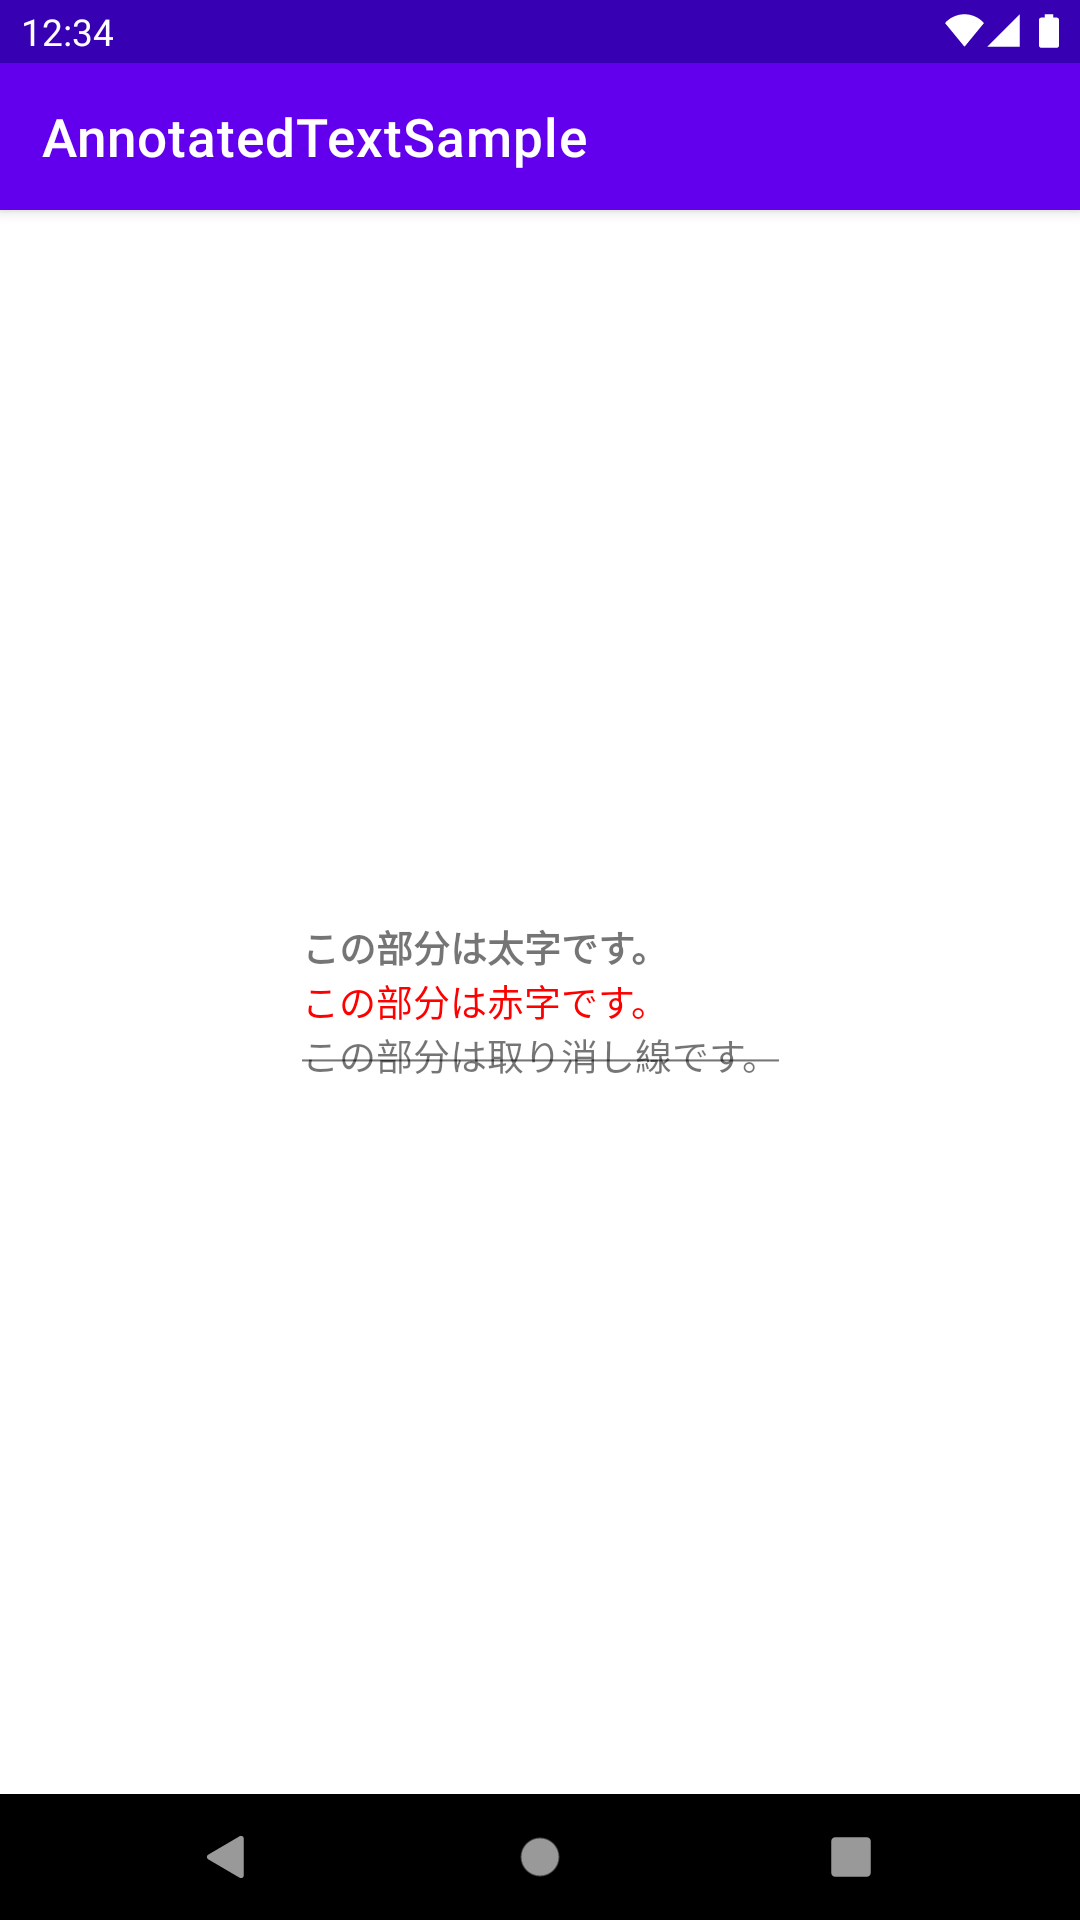
<string name="annotated_text"><b>この部分は太字です。</b>\n<font color="#ff0000">この部分は赤字です。</font>\n<strike>この部分は取り消し線です。</strike></string>
</resources>
<TextView
    android:layout_width="wrap_content"
    android:layout_height="wrap_content"
    android:text="@string/annotated_text" />
すると、以下のように文字列が装飾されて表示されるようになります。
サポートされている HTML タグは StringBlock を見ると、以下の種類があります。
<b><i><u><tt><big><small><sup><sub><strike><li><marquee>-
<font>-
height、size、fgcolor、color、bgcolor、faceの属性が使用可能(HTML でサポートされている属性にカスタムの属性が追加されている模様)
-
-
<a>-
href属性が使用可能
-
<annotation>
これらのタグだけでもある程度使えそうですが、例えば画像を表示する ImageSpan のような装飾を行いたい場合には、上記でサポートされているタグだけでは行えません。
しかし、上記のサポートされているタグの中の最後にある <annotation> タグを使うと、開発者がカスタムでスパンの設定を行うことができるので、任意の装飾を行うことができるようになります。
以下ではこの <annotation> タグを使った文字列の装飾の手順を紹介します。
今回のサンプルプロジェクトは こちら で公開しています。
サンプル例
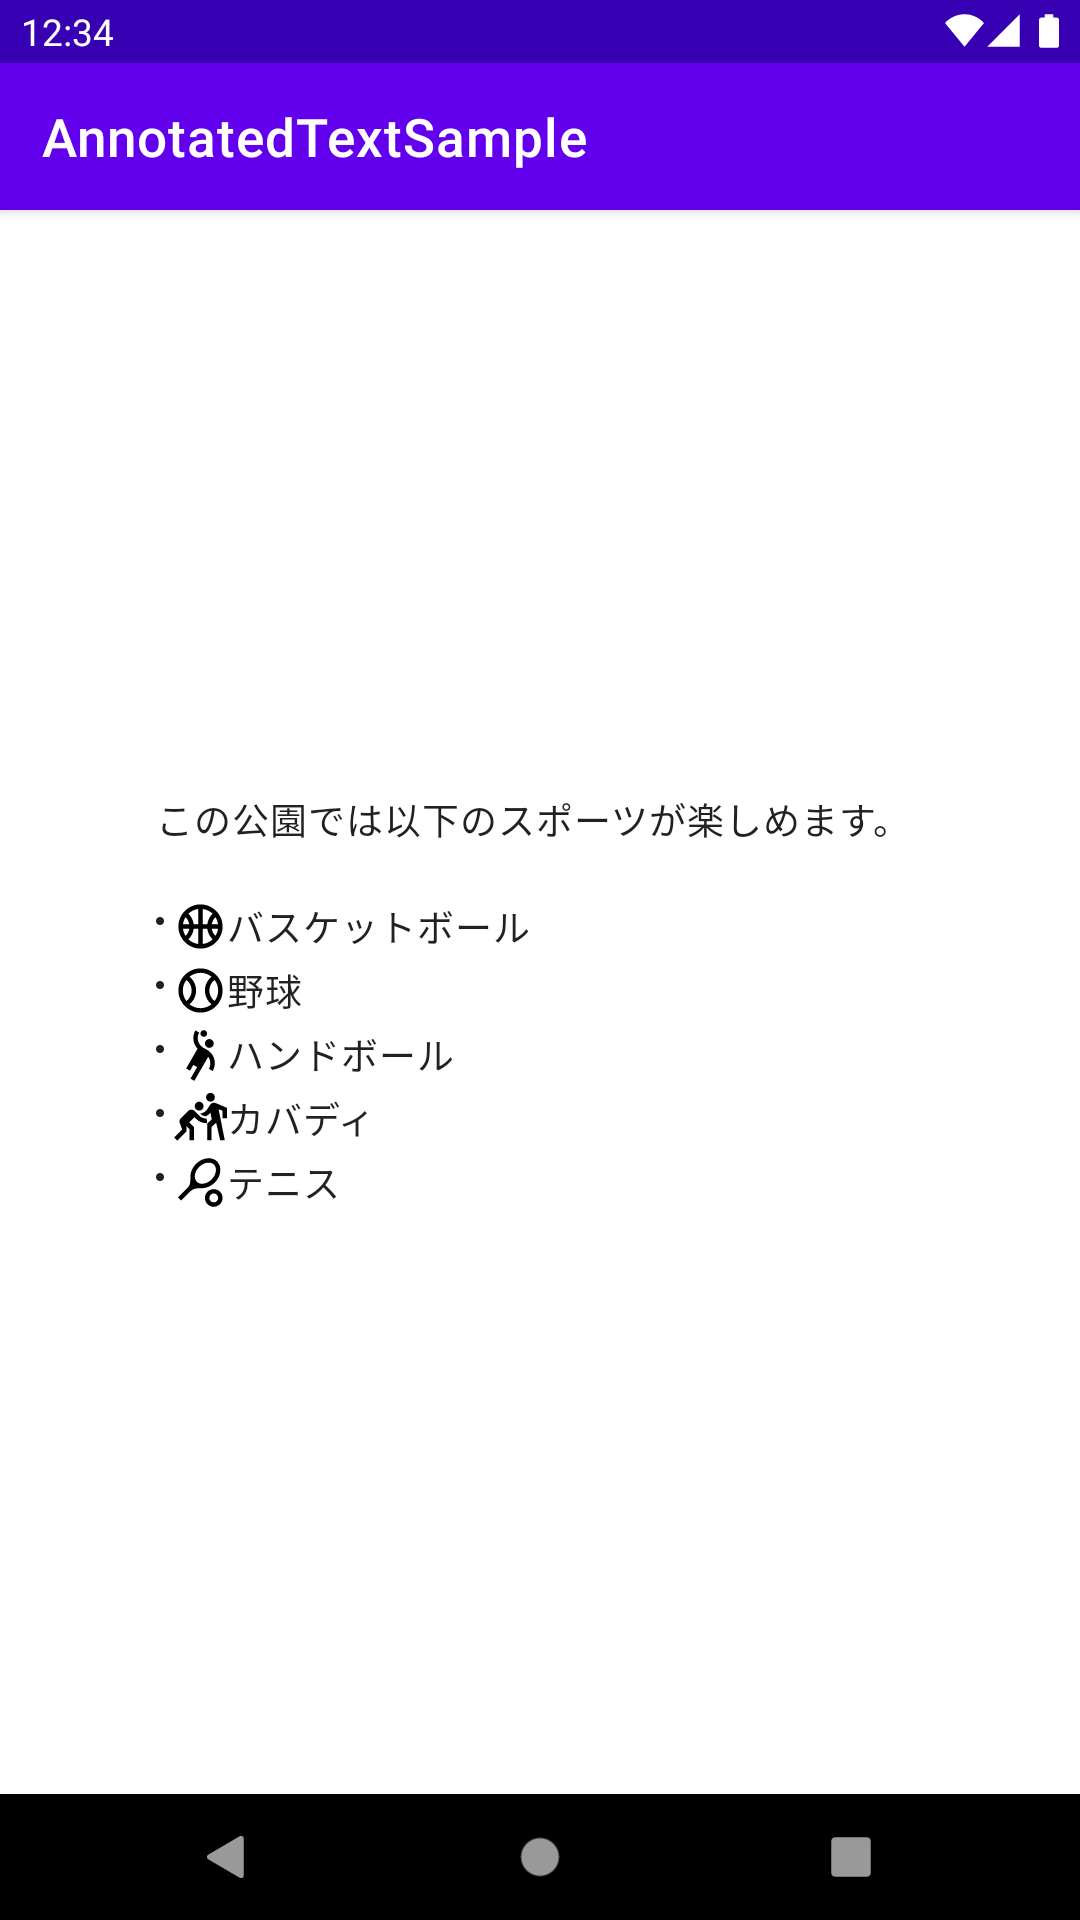
以下のキャプチャでは、画像を表示している部分を <annotation> タグで設定しています。
<annotation> タグを使って、このような表示を行うための設定を見ていきます。
annotation タグを設定する
まずは以下の例のように、strings.xml などで定義している文字列に対し、装飾したい文字列の位置に <annotation> タグを設定します。
<resources>
    <string name="annotated_text">この公園では以下のスポーツが楽しめます。\n\n<li><annotation image="sports_basketball"> </annotation>バスケットボール</li>\n<li><annotation image="sports_baseball"> </annotation>野球</li>\n<li><annotation image="sports_handball"> </annotation>ハンドボール</li>\n<li><annotation image="sports_kabaddi"> </annotation>カバディ</li>\n<li><annotation image="sports_tennis"> </annotation>テニス</li></string>
</resources>
annotation タグの属性とその値については、開発者が好きに決める形で設定します。
上記の例の場合だと image="sports_basketball" のように設定しています。
後述しますが、ここで設定した属性とその値はプログラムから参照する形になります。
プログラムで装飾する
以下のようなメソッドを定義し、xml から取得した文字列に対して装飾を行います。
fun setAnnotatedText(textView: TextView, @StringRes textResId: Int) {
    val context = textView.context
    val annotatedText = context.getText(textResId) as SpannedString
    val annotations = annotatedText.getSpans<Annotation>(0, annotatedText.length)
    val spannableString = SpannableString(annotatedText)
    annotations.forEach {
        when (it.key) {
            "image" -> {
                val resId = context.resources.getIdentifier(it.value, "drawable", context.packageName)
                if (resId != 0) {
                    spannableString.setSpan(
                        ImageSpan(context, resId),
                        annotatedText.getSpanStart(it),
                        annotatedText.getSpanEnd(it),
                        Spannable.SPAN_EXCLUSIVE_EXCLUSIVE
                    )
                }
            }
        }
    }

    textView.text = spannableString
}
メソッドの先頭で Context#getText メソッドを使って SpannedString として文字列を取得しています。
strings.xml の文字列定義で <annotation> タグを設定した箇所は Annotation というスパンが設定されているので、Spanned#getSpans() メソッドで設定されている全ての Annotation スパンを配列として取得します。
Annotation スパンには getKey() と getValue() メソッドがあり、これによって <annotation> タグで設定した属性が取得できます。
属性は image="sports_basketball" などのように設定しているので、getKey() メソッドでは image が getValue() メソッドでは sports_basketball が文字列として取得できます。
image="xxx" の xxx の部分は drawable のリソースファイル名を指定しており、あらかじめ配置しておいた drawable リソースの ID を Resources#getIdentifier() メソッドを使って取得し ImageSpan を適用するように処理しています。
この例では ImageSpan を設定するのみですが、<annotation> タグには任意の属性を設定できるので、他にも開発者が自由に設定を追加することが可能になります。
おまけ ~ DataBinding で設定できるようにする
複数の TextView に対して文字列装飾を行うことがある場合は、DataBinding で設定できるようにしておくと便利かもしれません。
先ほどのメソッドに @BindingAdapter を設定します。
@BindingAdapter("annotatedText")
fun setAnnotatedText(textView: TextView, @StringRes textResId: Int) {
    ...
XML ファイルで以下のように annotatedText を指定します。
<?xml version="1.0" encoding="utf-8"?>
<layout xmlns:android="http://schemas.android.com/apk/res/android"
    xmlns:app="http://schemas.android.com/apk/res-auto"
    xmlns:tools="http://schemas.android.com/tools">

    <data>
        <variable
            name="annotatedTextResId"
            type="int" />
    </data>

    <...>

        <TextView
            ...
            app:annotatedText="@{annotatedTextResId}"
            ... />

    </...>
</layout>
最後に XML ファイルに記述した変数 annotatedTextResId をコードから設定します。
val binding = ActivityMainBinding.inflate(layoutInflater)
binding.annotatedTextResId = R.string.annotated_text
詳細は サンプルプロジェクト を参考にしてみてください。