はじめに
アプリ開発を行なっていく中で、TextEditorの高さを改行数に応じて最大5行まで自動調整させる方法を学んだので、備忘録として内容をまとめます。
この記事では、簡単なサンプルアプリを元に解説します。
環境
【Xcode】16.2
【iOS】18.2
【macOS】Sequoia 15.3.1
サンプルアプリのイメージ

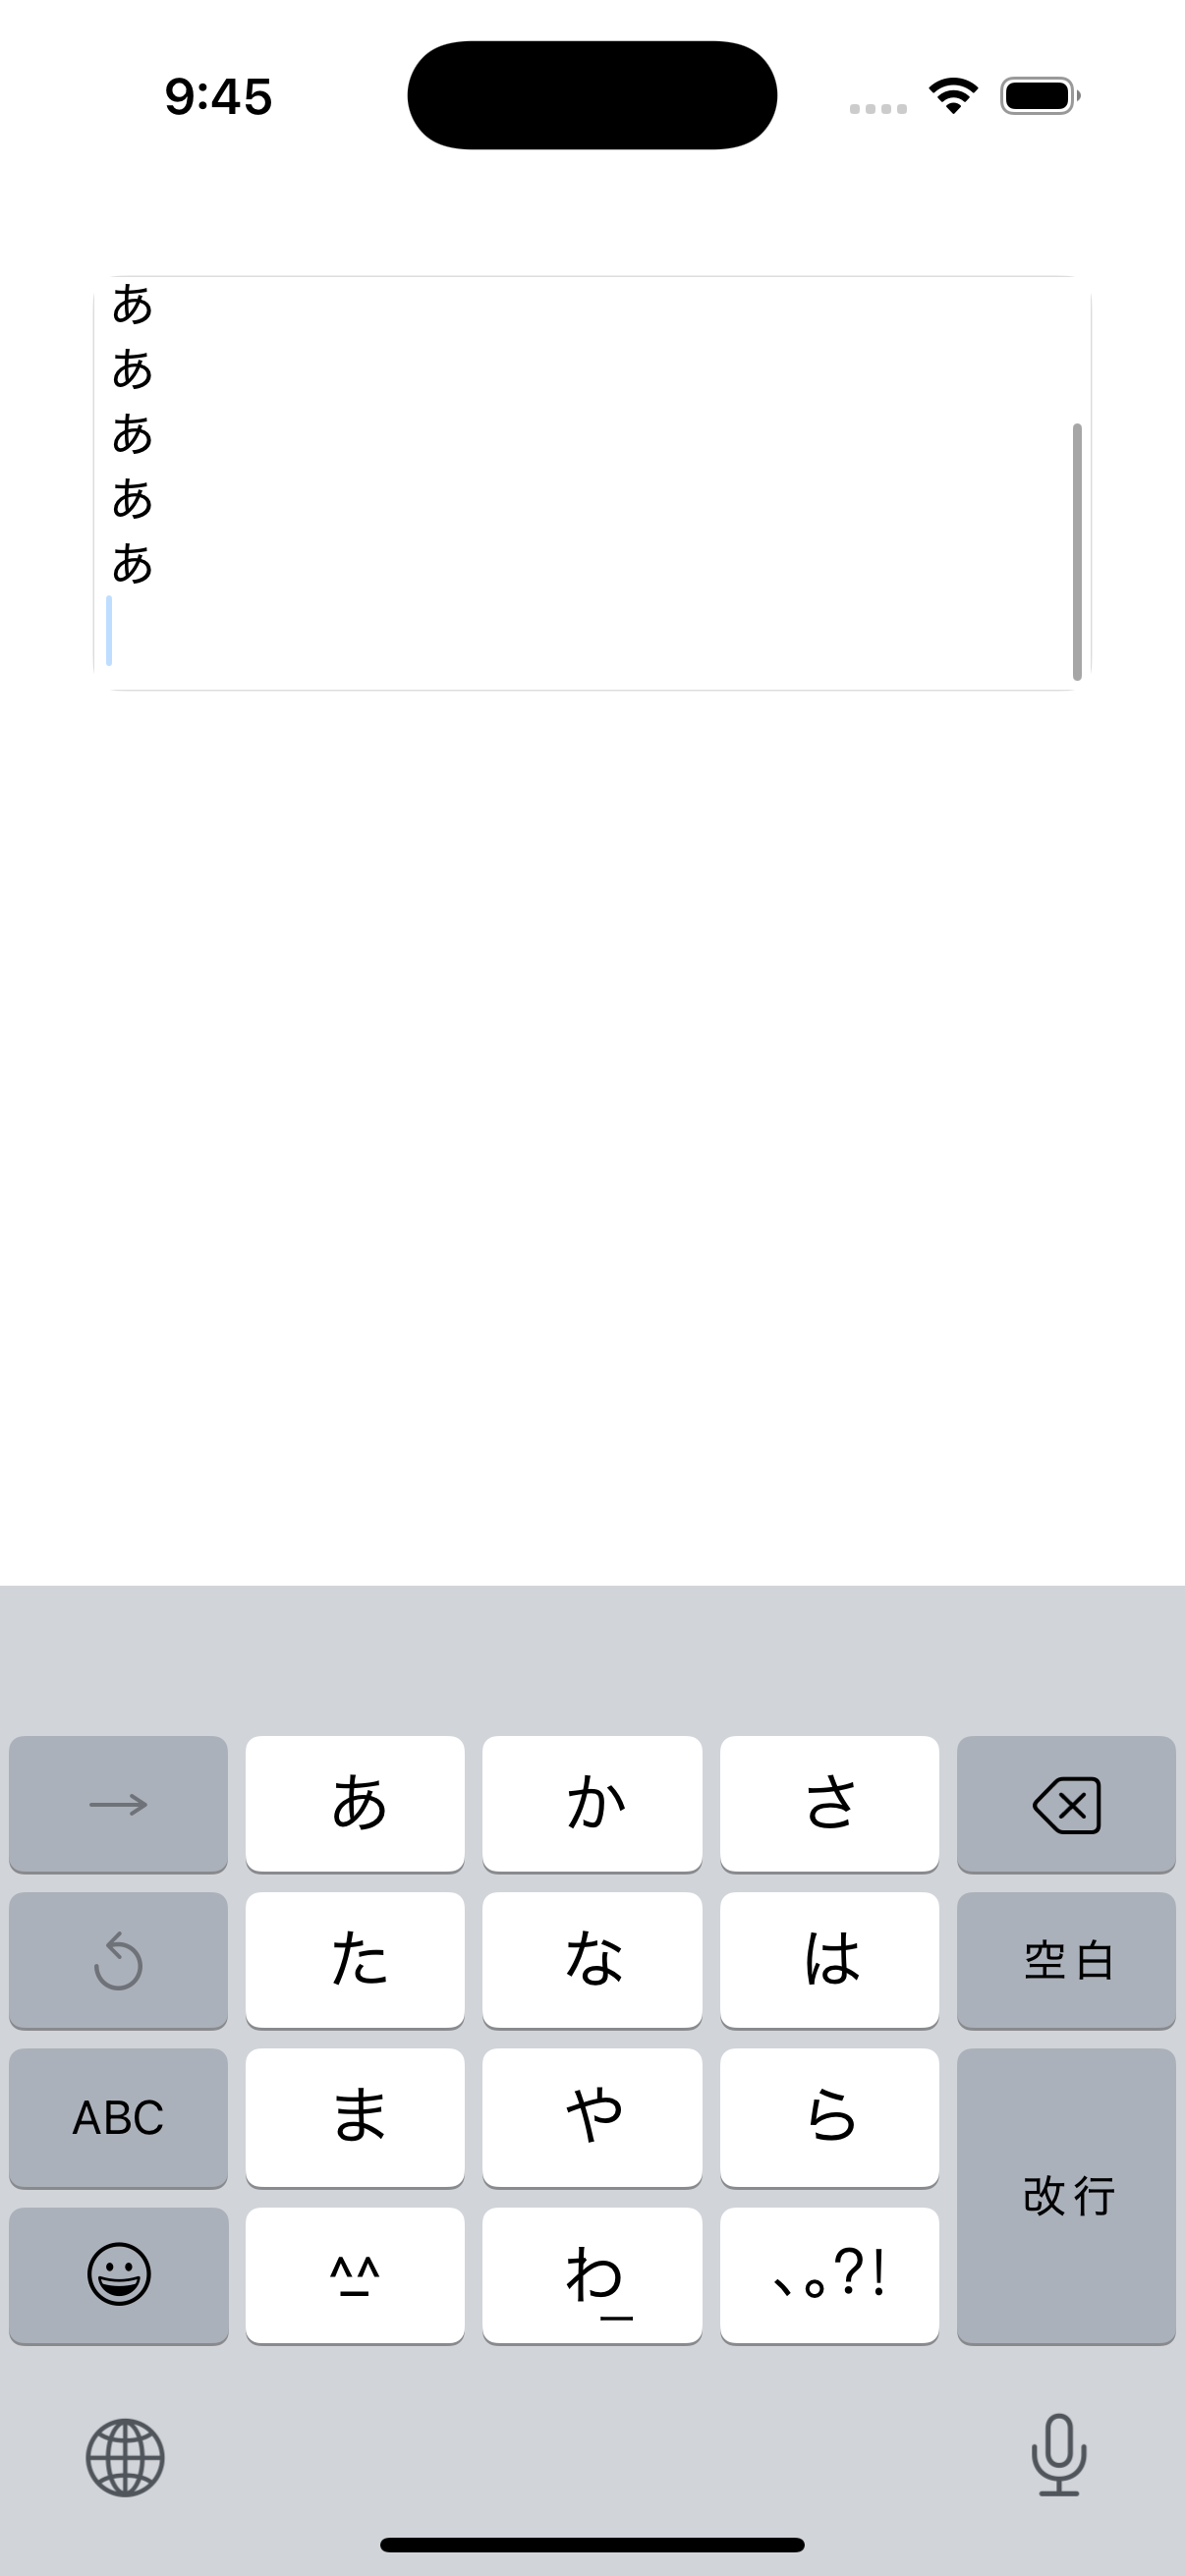
- 最初は1行分の高さ
- 改行に応じて最大5行まで広がる
- 6行目以降はスクロール可能
1. AutoGrowingTextEditorViewの実装
TextEditorの高さを動的に変更するために、入力中のテキストを行数に分解し、最大5行まで高さを調整する処理を書きます。
import SwiftUI

struct AutoGrowingTextEditorView: View {
    @Binding var text: String
    @State private var height: CGFloat = 40

    var body: some View {
        TextEditor(text: $text)
            .frame(height: height)
            .background(RoundedRectangle(cornerRadius: 8).stroke(Color.gray.opacity(0.3)))
            .onChange(of: text) {
                adjustHeight()
            }
    }

    private func adjustHeight() {
        let baseHeight: CGFloat = 40   // 1行分の高さ
        let lineHeight: CGFloat = 25   // 改行1回ごとの追加分
        let maxLines: CGFloat = 5
        let lines = min(CGFloat(text.components(separatedBy: .newlines).count), maxLines)
        height = baseHeight + (lines - 1) * lineHeight
    }
}
2. ContentViewで使ってみる
import SwiftUI

struct ContentView: View {
    @State private var text = ""

    var body: some View {
        VStack {
            AutoGrowingTextEditorView(text: $text)
                .padding()
            Spacer()
        }
        .padding()
    }
}
まとめ
TextEditorはデフォルトだと1行しか表示されないため、今回の機能を実装することで、複数行入力する場合に高さが自動的に広がって入力しやすいUIになると思います。
チャットアプリやメモアプリなど、ユーザーのテキスト入力がある場面で活用できるかと思います。