今までWiMax2を使ってたんですが、聞いて分かるように速度制限だったり、そもそも遅かったり、インフラの勉強がてら自宅の環境いじるのが出来なかったりと色々不便だったのでau光を契約しました。
アパートでしたが新築で共有回線も無いので管理会社に問い合わせて許可を取り、戸建てプランで契約したんですが、うっかり無線LANオプションに申し込み忘れてしまいました。
これでは有線でしか接続できない!3DプリンタやAmaz○nFireTVがインターネットに繋がりません。
RaspberryPi 「待たせたな」
茶番はここまでにして早速RaspberryPiを無線AP化していきます。
環境は以下の通り
| 機種 | OS | SD |
|---|---|---|
| RaspberryPi Model 3 B | Raspbian Stretch Lite(2018-11-13) | SP 32GB |
早速やって行きます。
なお、作る上でここの記事とかオススメです
あとはTCP/IP本とか
環境構築
公式サイトからRaspbianのLite版のzipをダウンロードします。
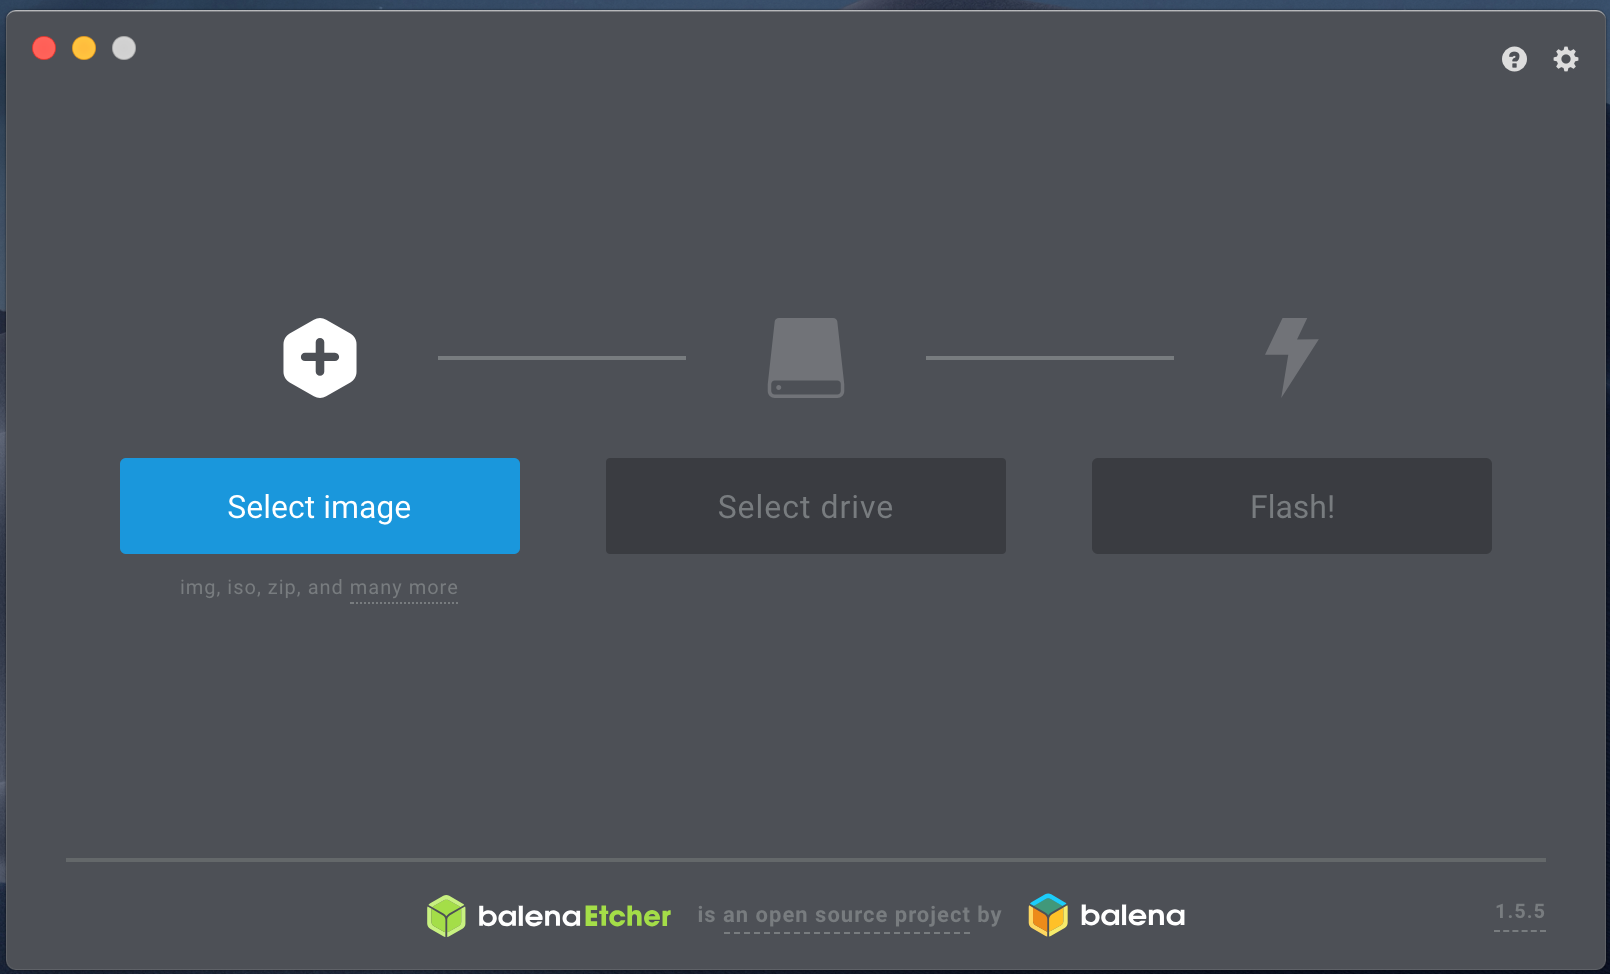
SDカードに書き込むのはEtcherを使いました。
SDに書き込みが完了したらSSHの設定をします。Lite版なので。
一度MacからSDカードを抜き、再度差し込みます。
Terminalを開いて、以下のコマンドを実行。
$ touch /Volumes/boot/ssh
今回RaspberryPiは有線で繋いでますが、無線でやる場合以下の手順を踏んでください。
$ vi /Volumes/boot/wpa_supplicant.conf
以下を追加
country=JP
ctrl_interface=DIR=/var/run/wpa_supplicant GROUP=netdev
update_config=1
network={
    ssid="YOUR_SSID"
    psk="YOUR_PASSWORD"
}
見て分かるように、YOUR_SSIDにはRaspberryPiを接続するSSID、
YOUR_PASSWORDはそこのパスワードを入力します。
ここまで来たら、SDカードを取り出しRaspberryPiに挿入。
電源を入れて少し待ってからSSHで接続します。
基本的に、RaspberryPiの初期ユーザーはpiで、パスワードはraspberryです。
また、LAN内であればraspberrypi.localで名前解決出来ます。
$ ssh pi@raspberrypi.local
ソフトウェアのインストール
sshしたら、必要なソフトウェアをインストールします。
以下の順でコマンドを実行。
$ sudo apt-get update
$ sudo apt-get upgrade
$ sudo apt-get install dnsmasq hostapd
dnsmasqとhostapdのインストールが終わったら、これらのサービスを終了させます。
$ sudo systemctl stop dnsmasq
$ sudo systemctl stop hostapd
dhcpの設定
次に設定ファイルを編集していきます。
まずはdhcpの設定。
$ sudo vi /etc/dhcpcd.conf
Shift + Gで最後の行まで飛び、以下を追加します。
interface wlan0
static ip_address=192.168.100.1/24
今回は自宅用なので192...で設定します。ただ、ここは好きなもので構わないです。
ESC押して:xで保存して終了しましょう。
ではdhcpを再起動させます。
$ sudo service dhcpcd restart
dnsmasqの設定
お次はdnsmasqの設定です。
dhcpと同じく/etc/の中にあるんですが、こちらのファイルすごい長いのでコピー取って新しく追加します。必要なのは2行だけですので。
$ sudo mv /etc/dnsmasq.conf /etc/dnsmasq.conf.old
$ sudo vi /etc/dnsmasq.conf
以下の2行を追加します。
interface=wlan0
dhcp-range=192.168.100.2,192.168.100.40,255.255.255.0,24h
dhcp-rangeの設定は、dhcpの時に設定したアドレスと照らし合わせて記入してください。
同じくESC :xで保存して終了。
hostapdの設定
次はhostapdです。ここで自作ルーターのSSIDやパスワードを設定していきます。
まずは設定ファイルを開きましょう。
$ sudo vi /etc/hostapd/hostapd.conf
私の環境ではこのファイルは無かったので新規作成されました。
開いたら以下を追加。
interface=wlan0
driver=nl80211
ssid=YOUR_SSID
hw_mode=g
channel=6
wmm_enabled=0
macaddr_acl=0
auth_algs=1
wpa=2
wpa_key_mgmt=WPA-PSK
rsn_pairwise=CCMP
wpa_passphrase=YOUR_PASSWORD
書き換える部分はYOUR_SSIDとYOUR_PASSWORDです。お好きなものを入力しましょう。ただしパスワードは8~64文字で。
また、全ての設定が完了し、接続する時に繋がりにくいと感じた場合channelの値を変更してみてください。
保存して終了したら、この設定ファイルを読むようにhostapdの動作ファイルを書き換えます。
$ sudo vi /etc/default/hostapd
開くと以下のように表示されるはずです。
# Defaults for hostapd initscript
#
# See /usr/share/doc/hostapd/README.Debian for information about alternative
# methods of managing hostapd.
#
# Uncomment and set DAEMON_CONF to the absolute path of a hostapd configuration
# file and hostapd will be started during system boot. An example configuration
# file can be found at /usr/share/doc/hostapd/examples/hostapd.conf.gz
#
# DAEMON_CONF=""

# Additional daemon options to be appended to hostapd command:-
#       -d   show more debug messages (-dd for even more)
#       -K   include key data in debug messages
#       -t   include timestamps in some debug messages
#
# Note that -B (daemon mode) and -P (pidfile) options are automatically
# configured by the init.d script and must not be added to DAEMON_OPTS.
#
# DAEMON_OPTS=""
ここの#DAEMON_CONF=""をDAEMON_CONF="/etc/hostapd/hostapd.conf"と書き換えましょう。
viでの操作ですと、#にカーソルをあわせ、xで消去、2個目の"にカーソルをあわせiでインサートモードに入り、編集後、保存して終了。
deleteキーや、インサートモード時にカーソルキー移動しようとすると、別のキー入力として解釈されるので、慣れない人はnanoでも使ってください。
ここまで来たら、dnsmasqとhostapdを起動しましょう。
$ sudo systemctl start hostapd
$ sudo systemctl start dnsmasq
Failed to start hostapd.service: Unit hostapd.service is masked.
もし、hostapdを起動させようとした時、上記エラーが出た場合、以下の手順でコマンドを実行してください。
$ sudo systemctl unmask hostapd
$ sudo systemctl enable hostapd
$ sudo systemctl start hostapd
IP転送
残り少しです。IP転送の設定をします。
$ sudo vi /etc/sysctl.conf
長めですが多分30行目前半あたりに#net.ipv4.ip_forward=1とあるはずなので、#にカーソルをあわせ、xキーを押し、コメントを外して保存終了。
マスカレード
最後の項目です。IPマスカレードの設定をします。
下記コマンドを実行してください。
$ sudo iptables -t nat -A POSTROUTING -o eth0 -j MASQUERADE
私の環境だと、ここで
iptables v1.6.0: can't initialize iptables table `nat': Table does not exist (do you need to insmod?)
Perhaps iptables or your kernel needs to be upgraded.
とエラーを吐かれました。解決は下の方に書いてます。エラーが出てない人はこのまま進んでいきましょう。
$ sudo sh -c iptables-save > /etc/iptables.ipv4.nat
を実行し、以下のファイルを開きます。
$ sudo vi /etc/rc.local
一番下にexit 0とあるので、その上に以下の行を追加します。
iptables-restore < /etc/iptables.ipv4.nat
追加したら保存して終了。
これで自作ルーターの設定は終わりです。お疲れ様でした。最後にRaspberryPiを再起動しましょう。
$ sudo reboot
しばらくすると、先程hostapdで設定したSSIDが見えるようになってますので、設定したパスワードで繋いでみましょう。
以下が私の環境です。
自作ルーター完了 pic.twitter.com/Q9l4Fai3Zl
— にし (@cidr_cuckooo) 2019年3月24日
iptables v1.6.0: can't initialize iptables table...とエラーが出る
上記の場合、以下の手順で解決できます。
$ sudo modprobe ip_tables
を実行後、
$ sudo echo 'ip_tables' >> /etc/modules
の後に、再度
$ sudo iptables -t nat -A POSTROUTING -o eth0 -j MASQUERADE
sudo modprobe ip_tablesでもエラーが、、、
私の環境だと、更に以下のエラーが出ました。
modprobe: ERROR: ../libkmod/libkmod.c:586 kmod_search_moddep() could not open moddep file '/lib/modules/4.14.79-v7+/modules.dep.bin'
modprobe: FATAL: Module ip_tables not found in directory /lib/modules/4.14.79-v7+
この場合、以下の順でコマンドを実行していってください。
$ sudo apt update
$ sudo apt upgrade
$ sudo reboot
$ sudo modprobe ip_tables
これで解決出来ました。
Permission denied
sudoをつけてるのにアクセス拒否される場合は、
$ sudo su
の後に再度実行してみてください。