はじめに
前回の記事を見てくださった方、そしていいね・ストックをしてくださった方々、ありがとうございます!
いつの間にかqiitaのトレンド3位になっていました♪(2022/09/24 時点)
この勢いに乗っかって、今回はWhisperを見つけた時にやりたいと思っていた「動画の字幕を自動生成する」を試してみたいと思います。
[参考文献]
公式サイト:https://openai.com/blog/whisper
論文 :https://cdn.openai.com/papers/whisper.pdf
Github :https://github.com/openai/whisper
他の記事
前回の記事
やりたいこと
Youtubeにアップロードする動画の字幕を自動生成したい!
Youtubeで動画を作成するときの作業として、テロップ作りや字幕生成があります。
premire proやvrewなどのソフトを使って文字起こしをすることがありますが、日本語だと精度が低い時がありますよね。
そんなときに使えるなと思ったのが、Whisperを使った文字起こしです。
これを実現するために参考にした文献を紹介します。
Whisperはmp3やwavだけでなく、mp4から直接文字起こしをすることが可能なので、今回はmp4のデータを用いて字幕作成に挑戦しようと思います!
実装
事前準備
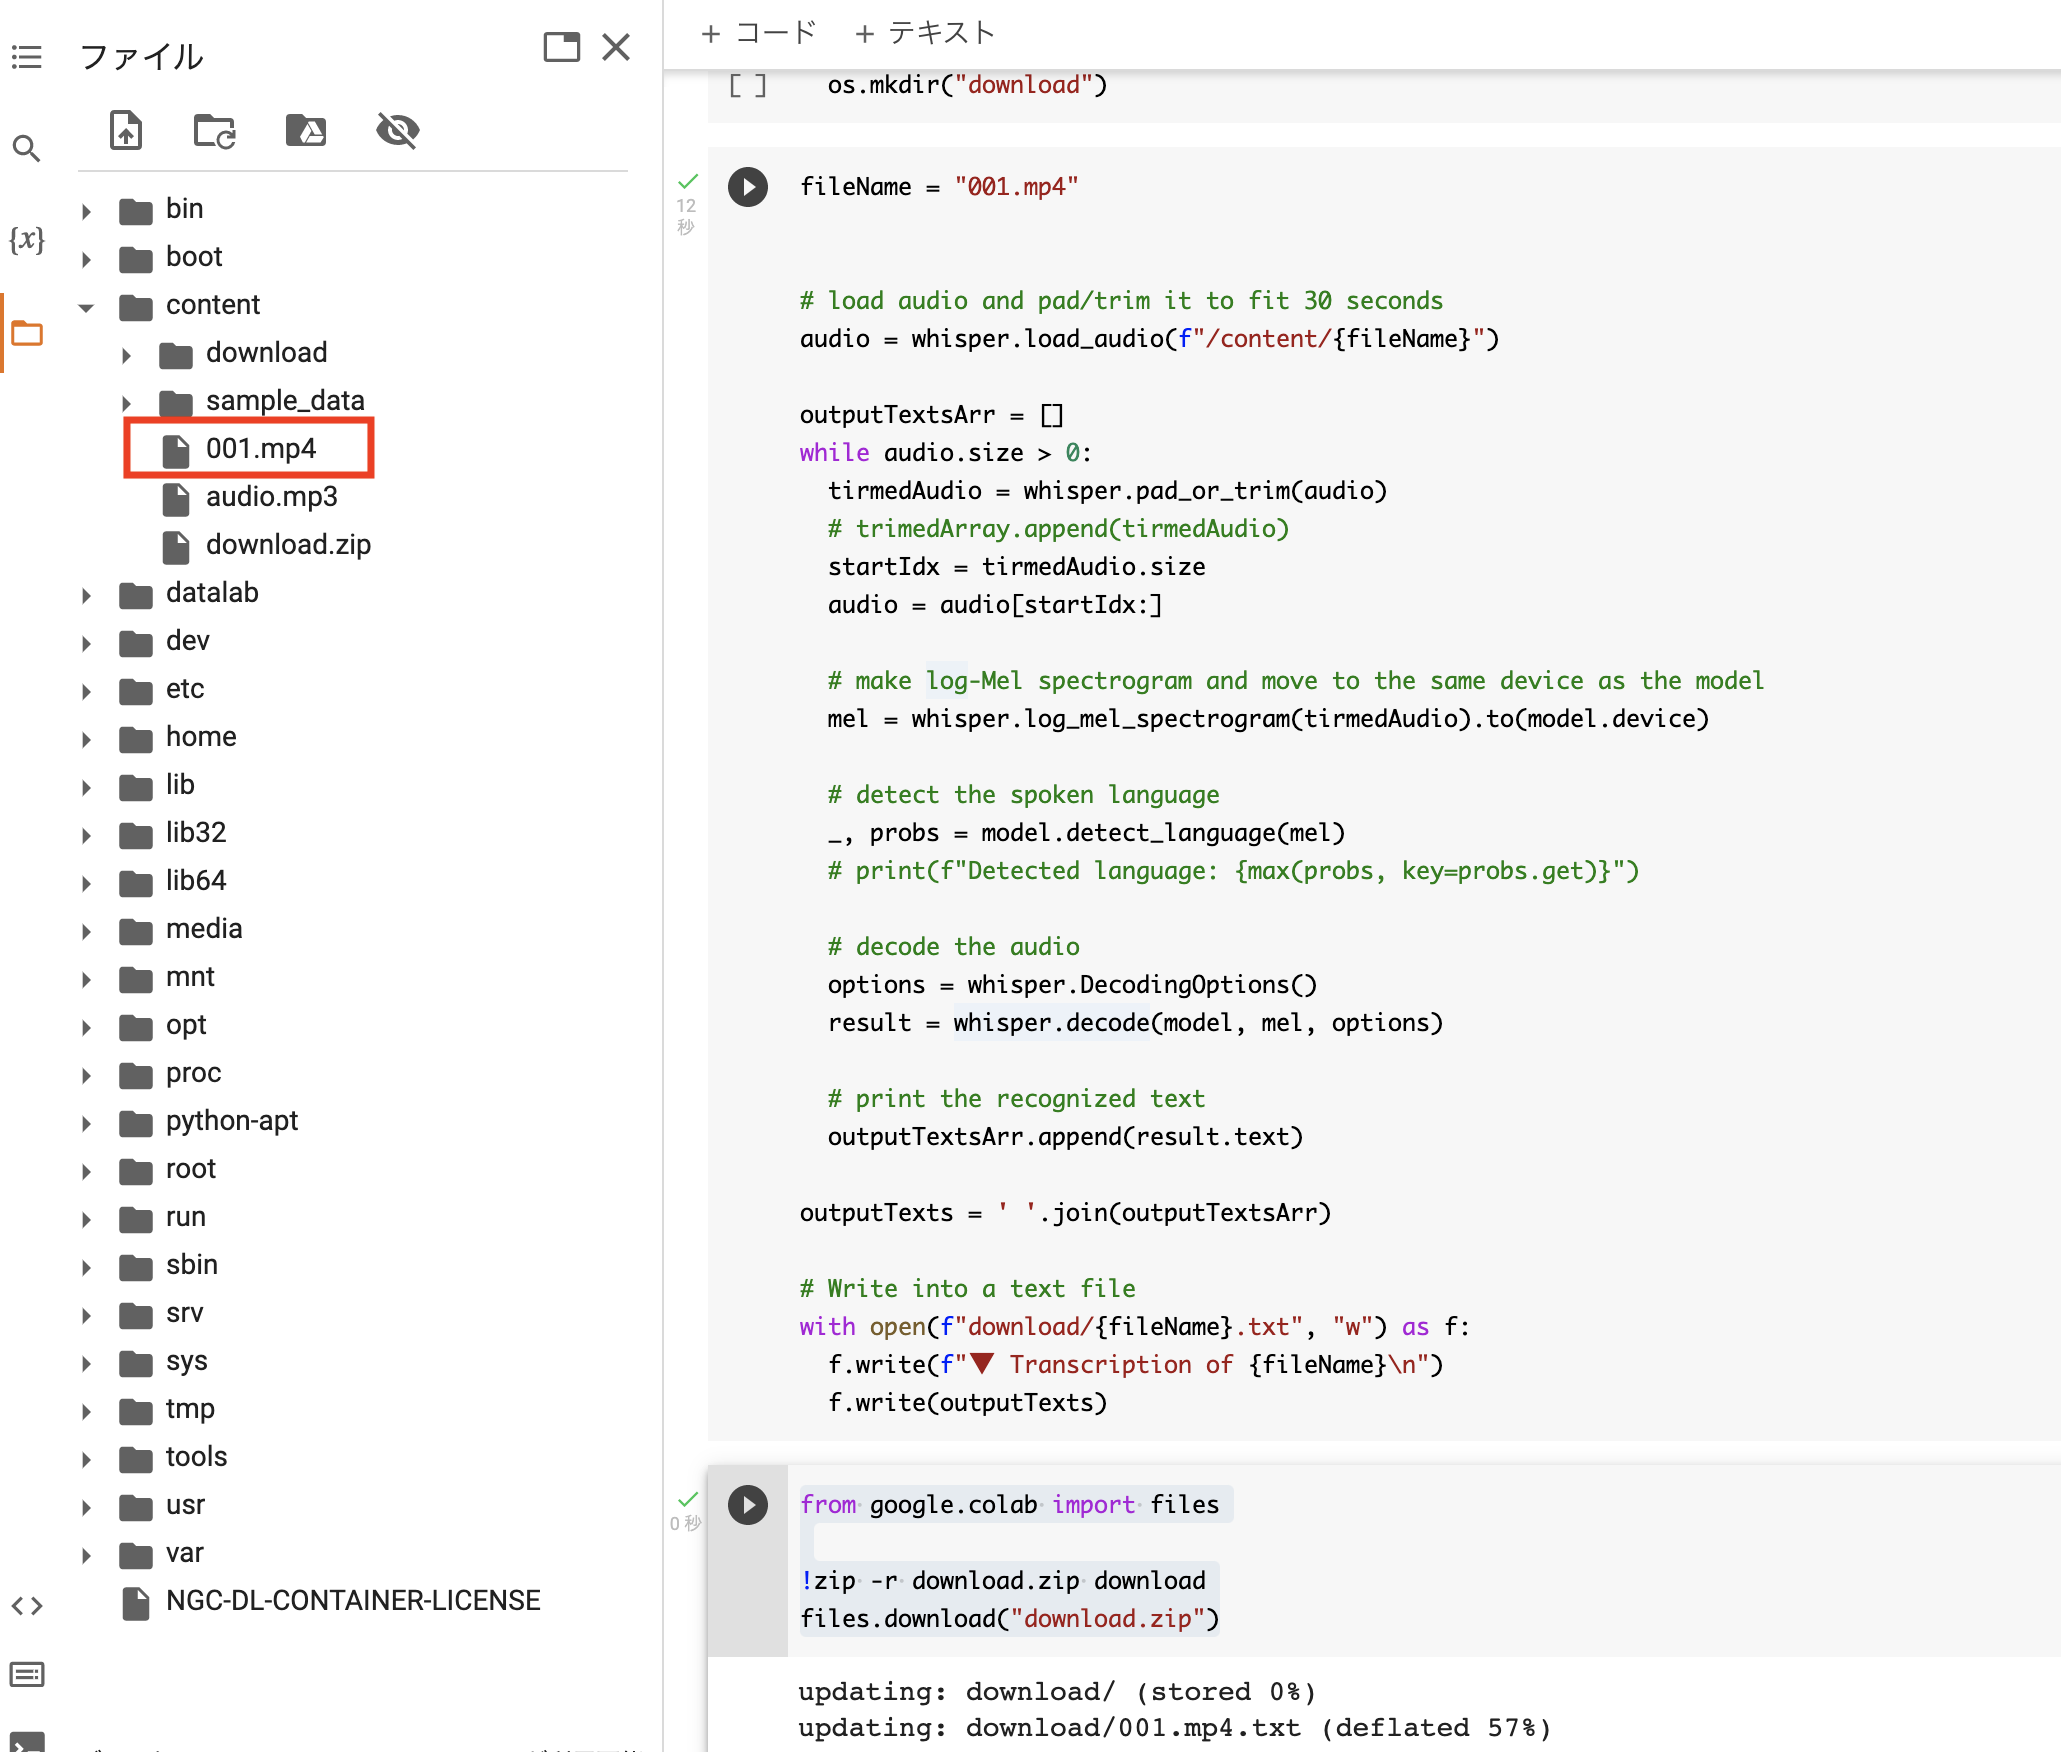
今回は001.mp4という2分32秒の動画ファイルをcontentフォルダの下にアップロードしました!
また、前回と同じようにwhisperのbaseモデルを設定します。ランタイムのタイプはGPUに設定しています。
# ! pip install git+https://github.com/openai/whisper.git

import whisper
model = whisper.load_model("base")
続いて、字幕を書き込むテキストファイルをフォルダに保存するために、downloadというフォルダを作成しておきます。
import os

# Add directory into content folder
checkDownLoadFolder = os.path.exists("download")
if not checkDownLoadFolder:
  os.mkdir("download")
音声認識
今回用意した音声データを全て文字起こしする簡易的なロジックがこちらです。
fileName = "001.mp4"

# load audio and pad/trim it to fit 30 seconds
audio = whisper.load_audio(f"/content/{fileName}")

outputTextsArr = []
while audio.size > 0:
  tirmedAudio = whisper.pad_or_trim(audio)
  # trimedArray.append(tirmedAudio)
  startIdx = tirmedAudio.size
  audio = audio[startIdx:]

  # make log-Mel spectrogram and move to the same device as the model
  mel = whisper.log_mel_spectrogram(tirmedAudio).to(model.device)

  # detect the spoken language
  _, probs = model.detect_language(mel)
  # print(f"Detected language: {max(probs, key=probs.get)}")

  # decode the audio
  options = whisper.DecodingOptions()
  result = whisper.decode(model, mel, options)

  # print the recognized text
  outputTextsArr.append(result.text)

outputTexts = ' '.join(outputTextsArr)
print(outputTexts)

# Write into a text file
with open(f"download/{fileName}.txt", "w") as f:
  f.write(f"▼ Transcription of {fileName}\n")
  f.write(outputTexts)
これにより、30秒区切りで全ての文字起こしをすることが可能になりました。
さらに、指定したファイル名(fileName = "001.mp4")でdownloadフォルダに書き出すことができました。
from google.colab import files

!zip -r download.zip download
files.download("download.zip")
最後にzipファイルとしてダウンロードすれば完了です。動画の音声を文字起こししたtxtファイルを取得することができます。
結果
今回サンプルデータとして、某人狼好きなYouTuberのアーカイブの一部を使用させていただきました。
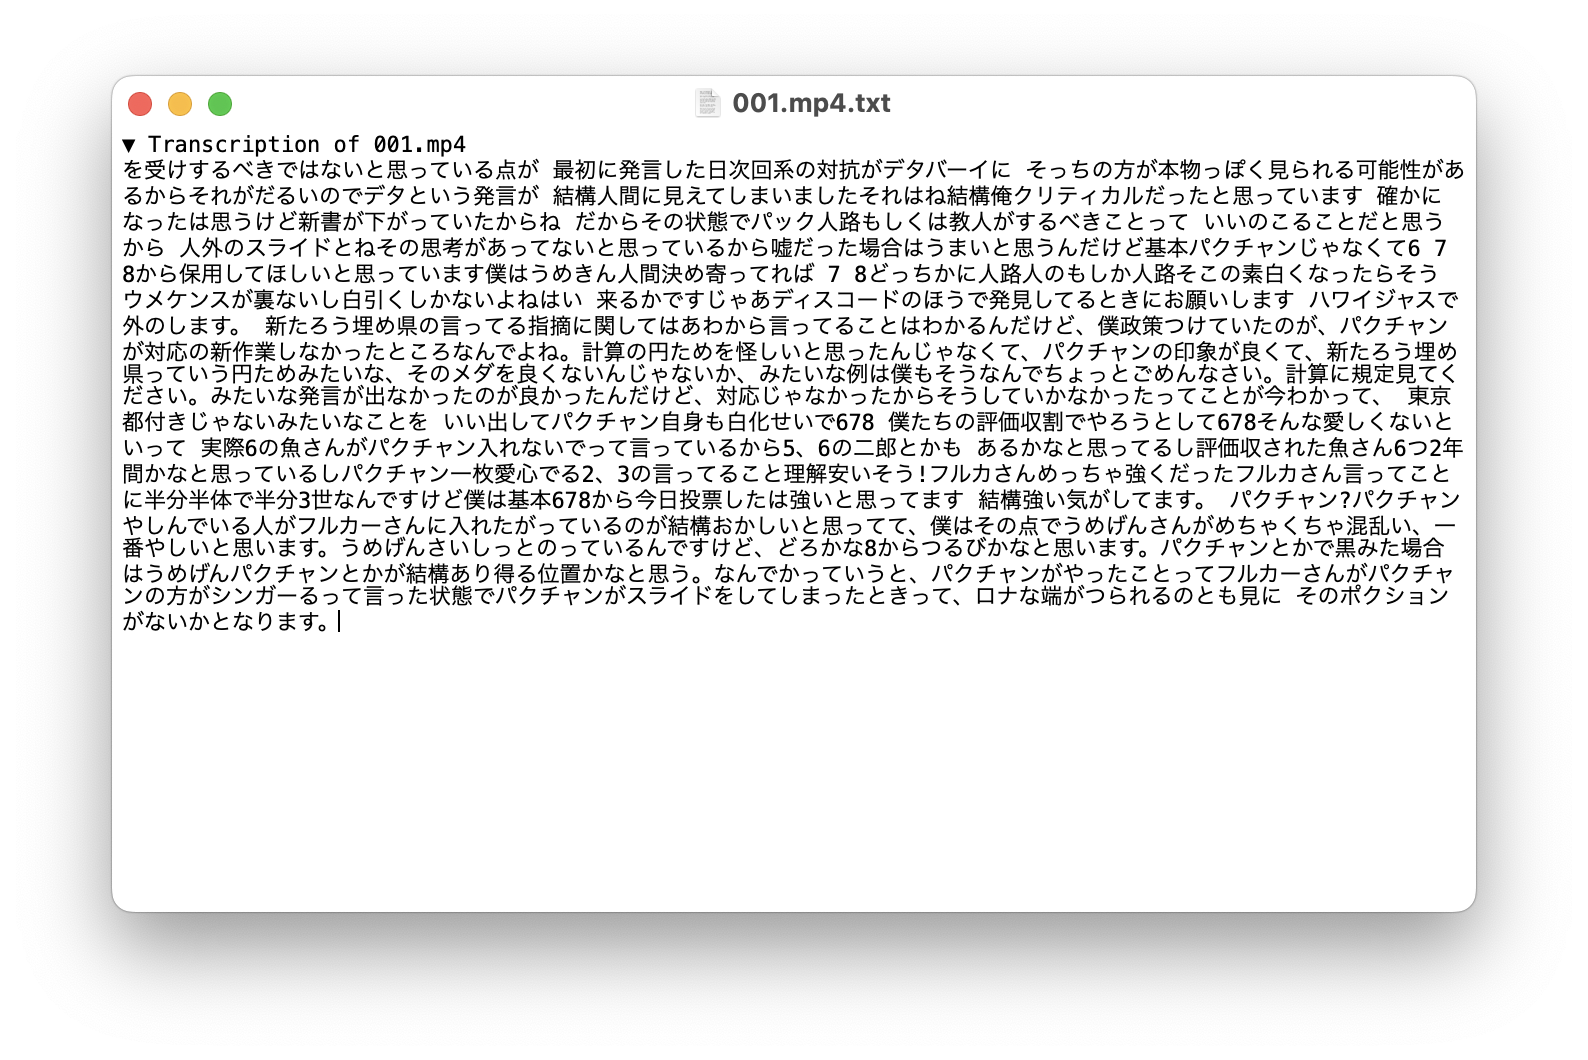
あとはこちらのデータをYouTube Studioの字幕に入力すれば完了ですね!YouTuberの名前や専門用語、さらに話すスピードによっては適切に文字起こしすることが難しいですが、これまで30秒区切りでしかできなかった文字起こしを動画ファイルから直接フルで文字起こしできるのは画期的ですね!
それではまた、次回の記事で会いましょう!