はじめに
前回の記事を見てくださった方、そしていいね・ストックをしてくださった方々、ありがとうございます!
まさか1日で1000viewsを超えるとは思っていなかったので、とても嬉しいです!🎉
今回の記事は前回の続きとなりますので、まだご覧になっていない方は、ぜひ前回の記事も見てください!
他の記事
前回の記事
Whisperについて
2022/09/22にOpenAIが音声認識モデルWhisperを発表しました.Whisperは人間レベルのロバスト性と音声認識の精度を持ったニューラルネットワークであり,オープンソース化されているので誰でも利用可能です!
[参考文献]
公式サイト:https://openai.com/blog/whisper
論文 :https://cdn.openai.com/papers/whisper.pdf
Github :https://github.com/openai/whisper
Gradioを使ったアプリケーションの作成
Gradioとは、機械学習モデルのデモをWebアプリで簡単に作成できるpythonライブラリです。公式サイトでは、スケッチの自動識別や質疑応答を行う機械学習モデルのデモが用意されているため、一度サイトに飛んで試してみてください!
公式サイト:https://gradio.app/
基本的な使い方
Google Colab上でgradioをインストールします。
!pip install gradio
以下のコードを実行します。
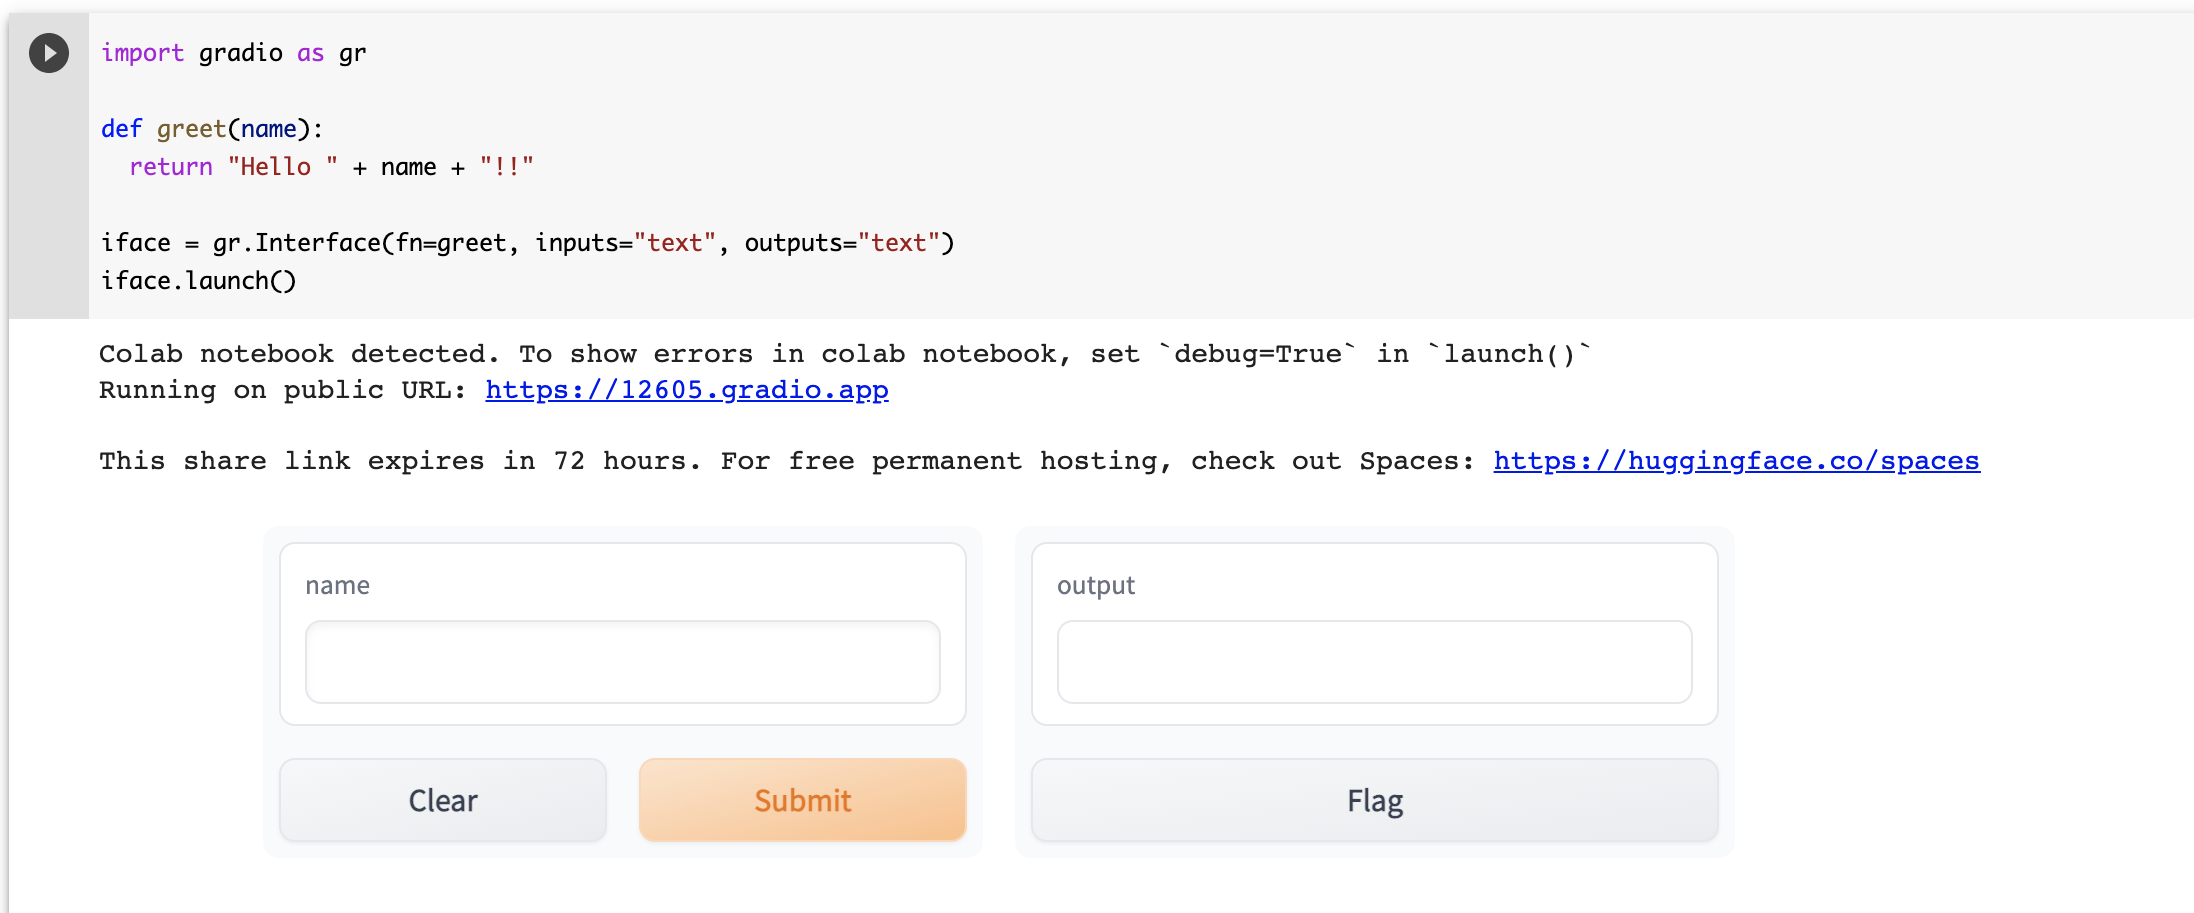
import gradio as gr

def greet(name):
  return "Hello " + name + "!!"

iface = gr.Interface(fn=greet, inputs="text", outputs="text")
iface.launch()
すると、デモアプリが起動しました。72時間以内であれば、下記のリンクからアクセスすることが可能です。このようにpublic URLが生成されるので、一般の方々に公開することができます。
WhisperとGradioを使った音声認識アプリの作成
それでは実際にWhisperを使った音声認識アプリを作ってみましょう!
まず、前回の記事を参考にしながら、Whisperのモデルを作成していきます。(ランタイプはGPUと設定し、モデルにbaseを選択しました)
import whisper
import gradio as gr

model = whisper.load_model("base")
続いて、Gradioで構築するアプリのmain functionを定義します。前回「001.mp3」という音源データの格納先を指定した箇所を、inputという変数に置き換えます。
def speechRecognitionModel(input):

    # load audio and pad/trim it to fit 30 seconds
    audio = whisper.load_audio(input)
    audio = whisper.pad_or_trim(audio)

    # make log-Mel spectrogram and move to the same device as the model
    mel = whisper.log_mel_spectrogram(audio).to(model.device)

    # detect the spoken language
    _, probs = model.detect_language(mel)
    print(f"Detected language: {max(probs, key=probs.get)}")

    # decode the audio
    options = whisper.DecodingOptions()
    result = whisper.decode(model, mel, options)

    # return the recognized text
    return result.text
そしてgradleでデモを開始するために、以下のコードを実行します。
gr.Interface(
    title = 'Whisper Speech Recognition Model',
    fn=speechRecognitionModel,
    inputs=[
        gr.inputs.Audio(source="microphone", type="filepath")
    ],
    outputs=[
        "textbox"
    ],
    live=True).launch()
実行した結果がこちらです。こちらも72時間有効なURLを貼りましたので、音声認識を実感してみてください!

天気予報の原稿を読んで、音声認識してみた
今回チャレンジするのはこちらの文章です。
そして、Whisper Speech Recognition Modelで認識した結果がこちらです。
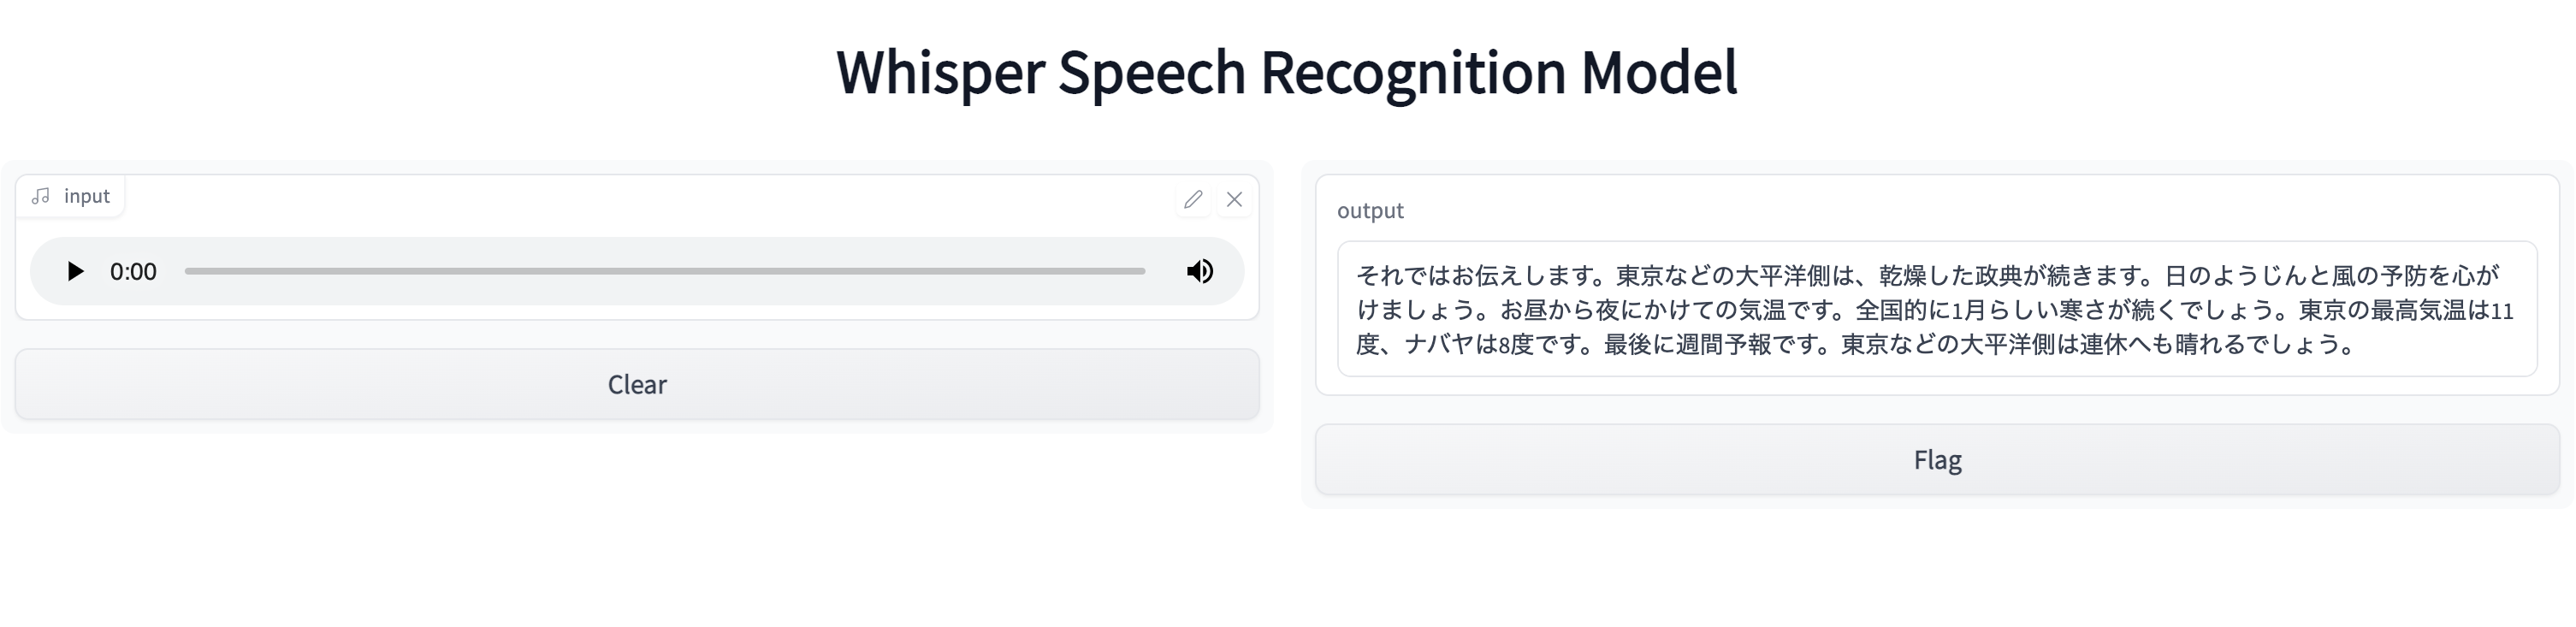
認識が難しかった単語は、「晴天」「用心」ですね。「名古屋」を「ナバヤ」と読んでしまったのは、こちらの発音ミスでしょう笑
以上、WhisperとGradioを使った音声認識アプリの作成でした!手軽に試せるので、ぜひ自分の手でGoogle Colabを動かしてみてください!
次回の記事