これは「Notch #madewithnotch Advent Calendar 2019」3日目の記事です。
動機
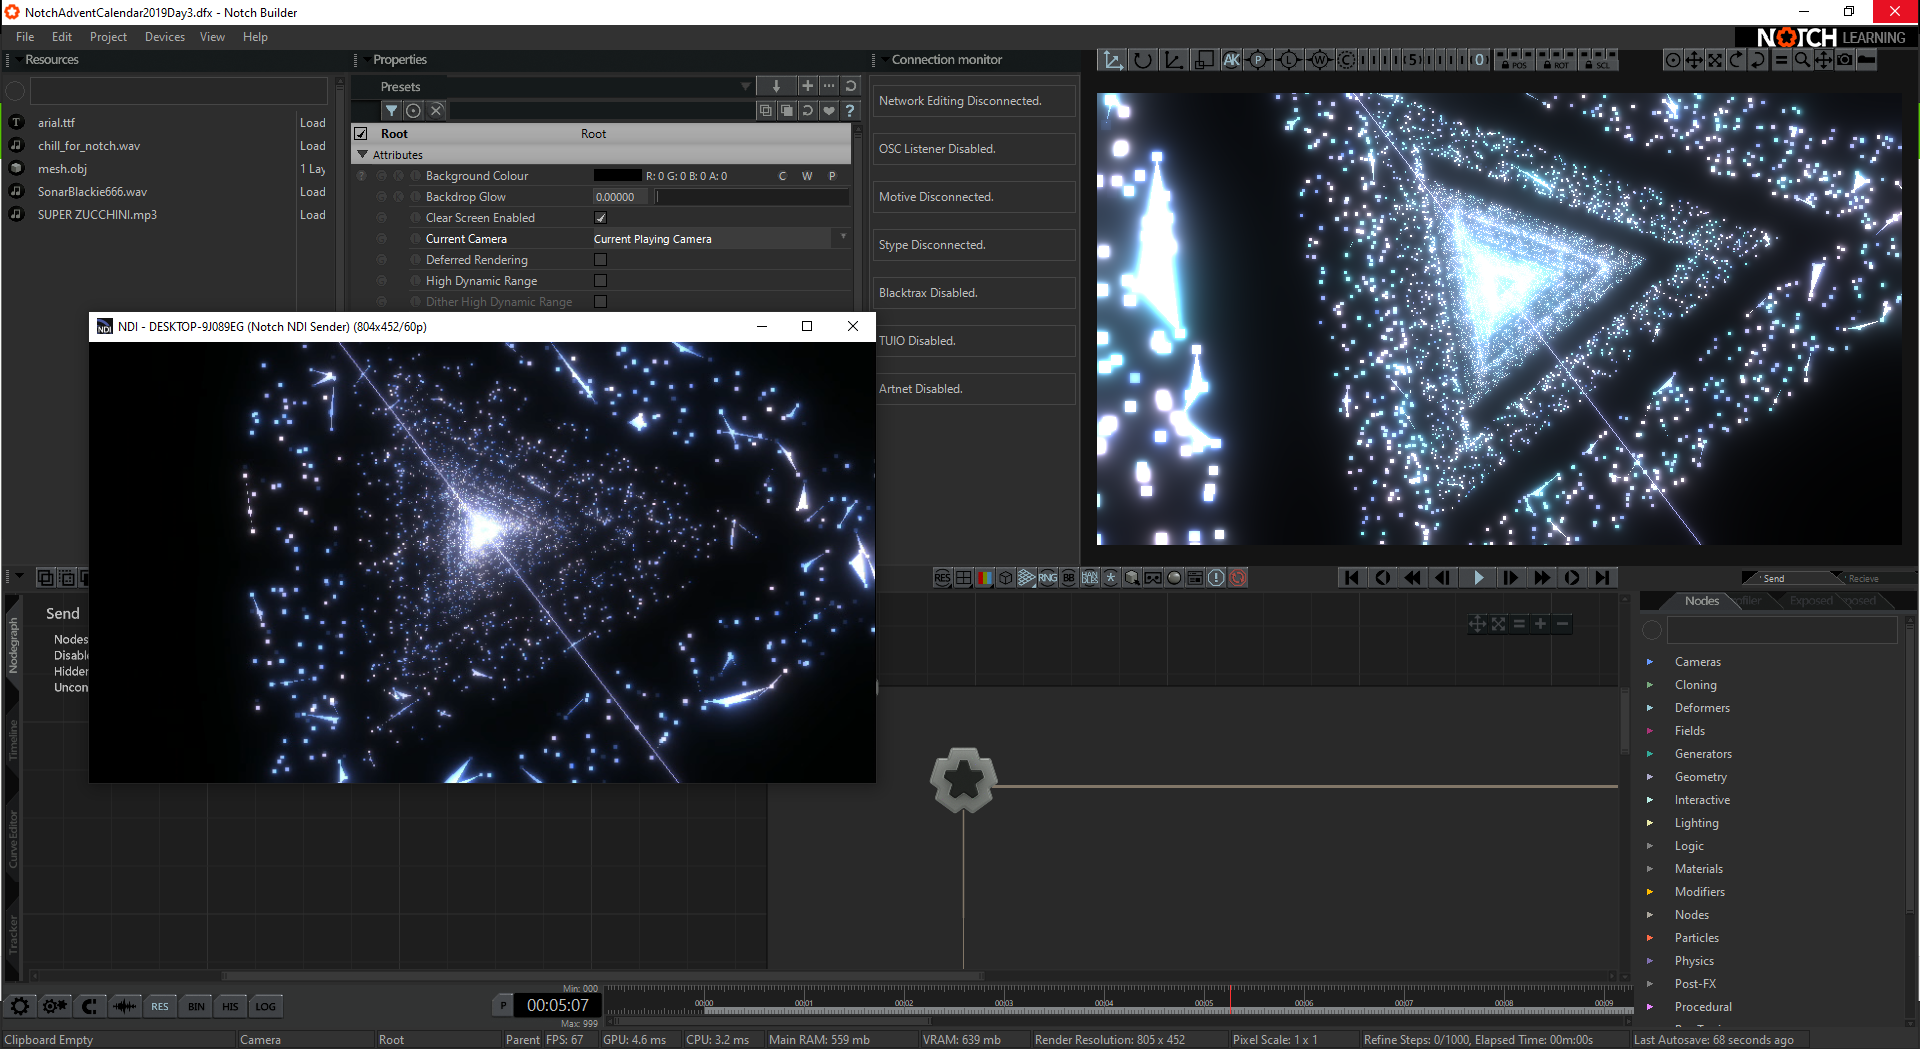
1年ほど前にNotchからNDIの出力結果をTwitterに投稿したが1年ぶりにNotchを立ち上げたらやり方を忘れていたので結果だけでなく過程もかこうと思いました。ついでにNDIの入力方法も調べたのでその結果です。初めてQiitaに記事を書くので見にくいところ等々多数ありそうです。次第に慣れていきたいです。
ちなみに1年前
https://twitter.com/katsuya_tsukui/status/1085227860699209729?s=20
あとNDIについては
https://rental.pandastudio.tv/blog/ndi/
とかに書いてあるのでここでは特に触れません。
使用ソフト
▼Notch(PLEライセンス)
https://www.notch.one/support/downloads_area/
▼Newtek NDI Tools
https://ndi.tv/tools/
▼TouchDesigner(コマーシャルライセンス)
https://derivative.ca/product
入力
1.テストソースの作成
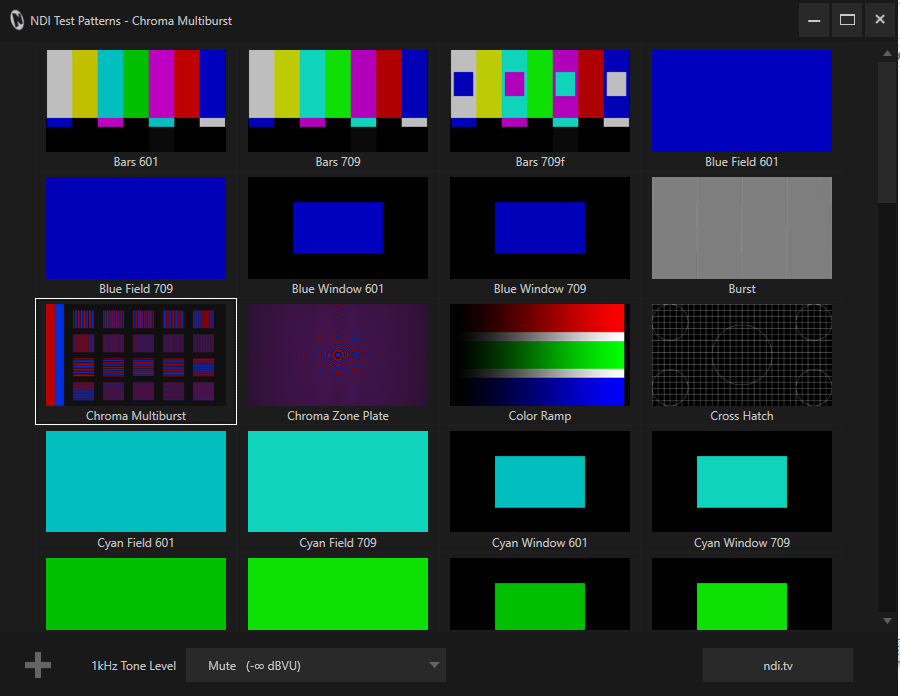
Newtek NDI Toolsの中にある、Test Patternsを起動しソースを選択。
2.Notch下準備
メニューバーで
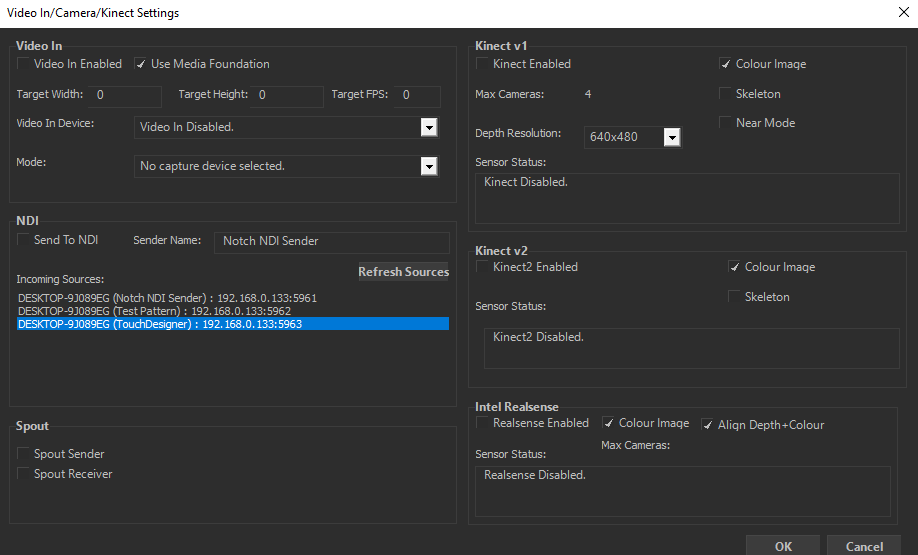
Devices→VideoIn/Camera/Kinect Settings
NDIの項目があるのでIncoming Sources欄で信号が来てることを確認。
※表示されてない場合Refresh Soucesをクリック
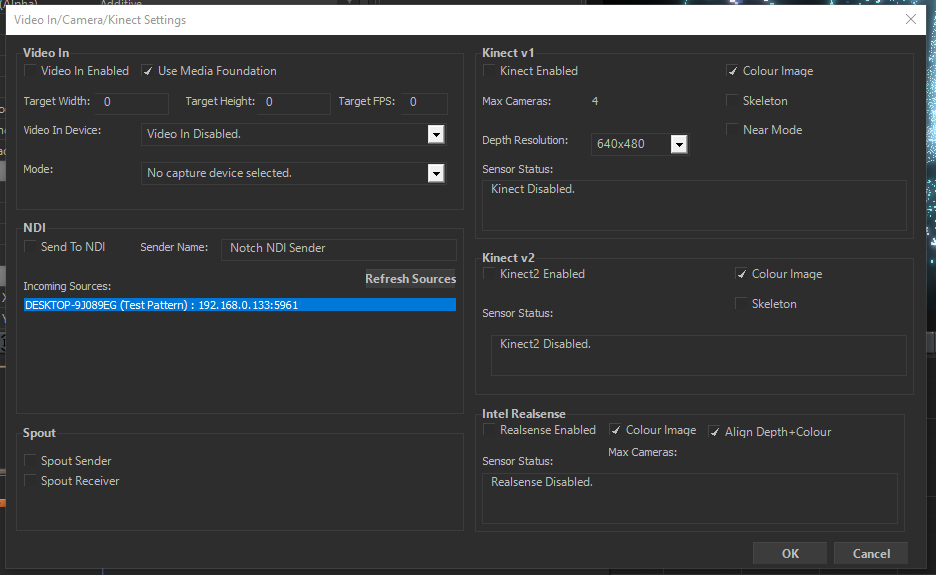
3.ノード配置
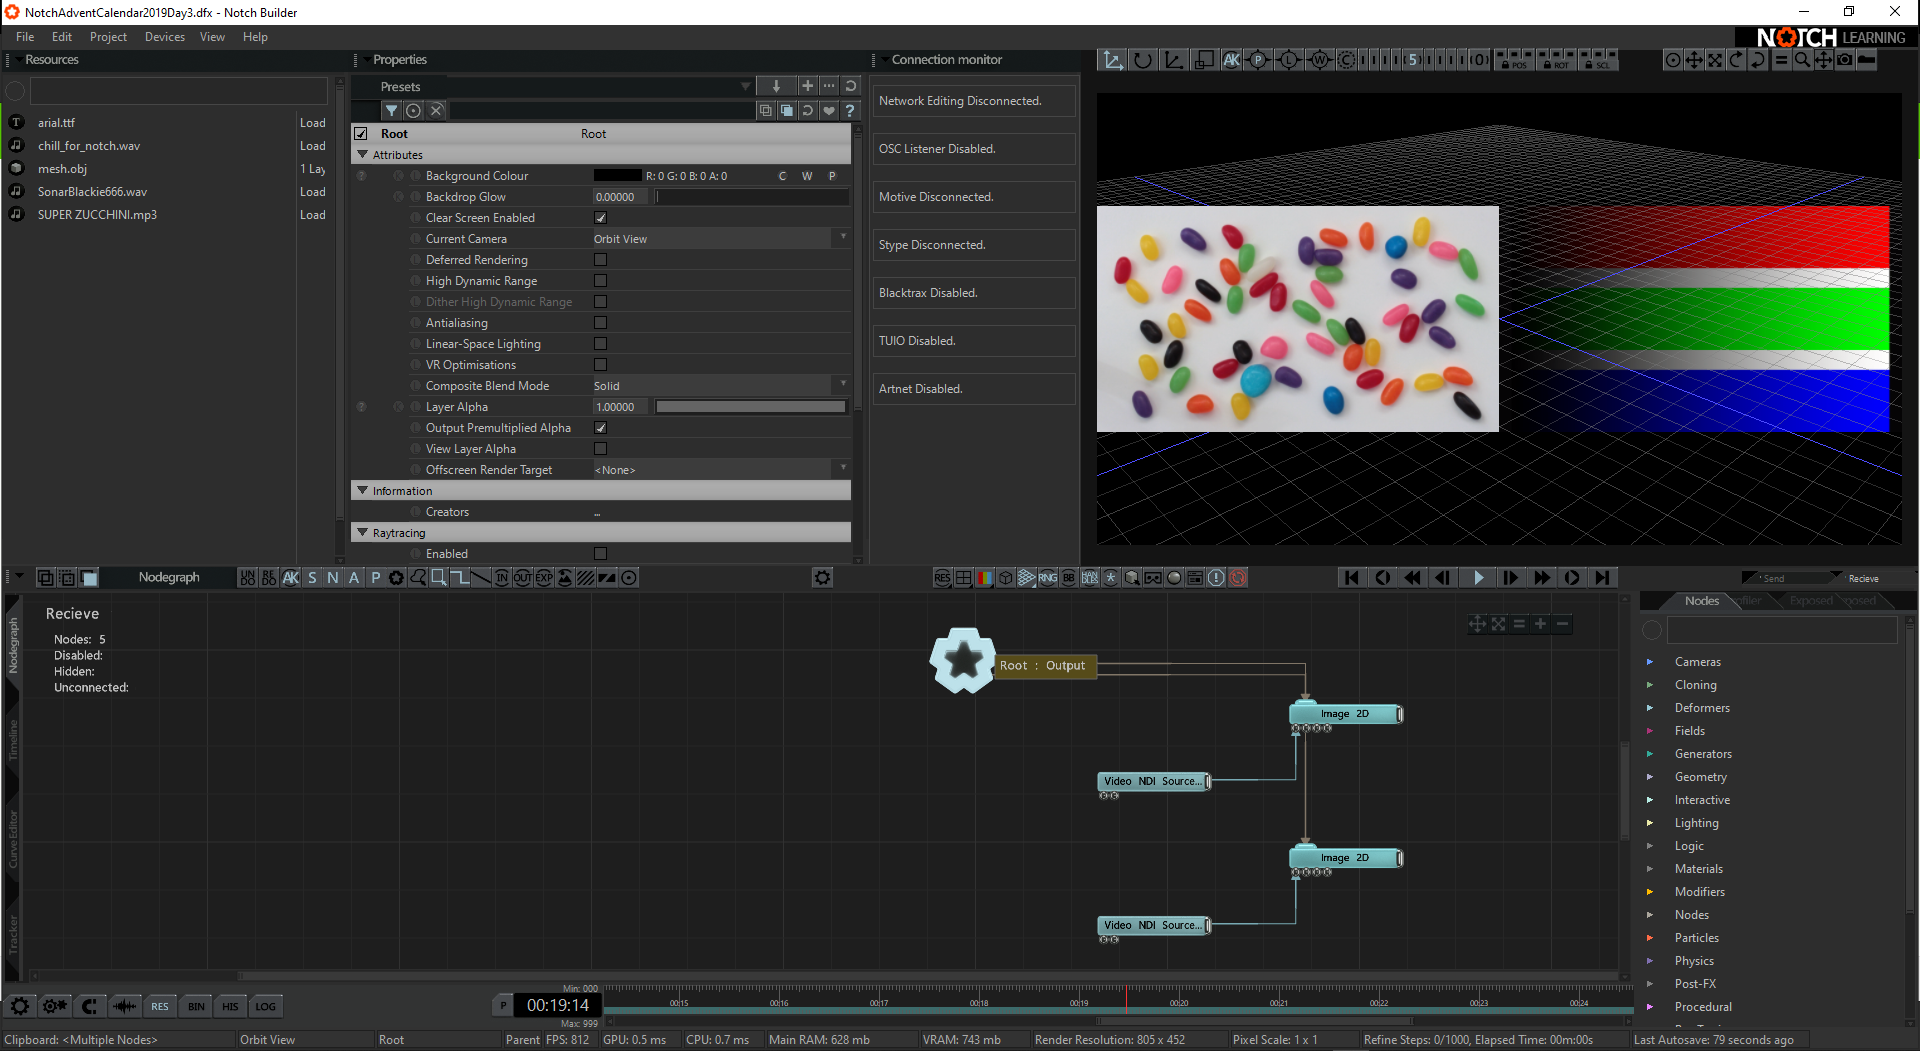
Video NDI Sourceノード/Image2Dノードを配置して、Video NDI Sourceノードのプロパティ→NDI Sourceで選択。もしくはNDISourceName/NDISourceIPに手打ちする。
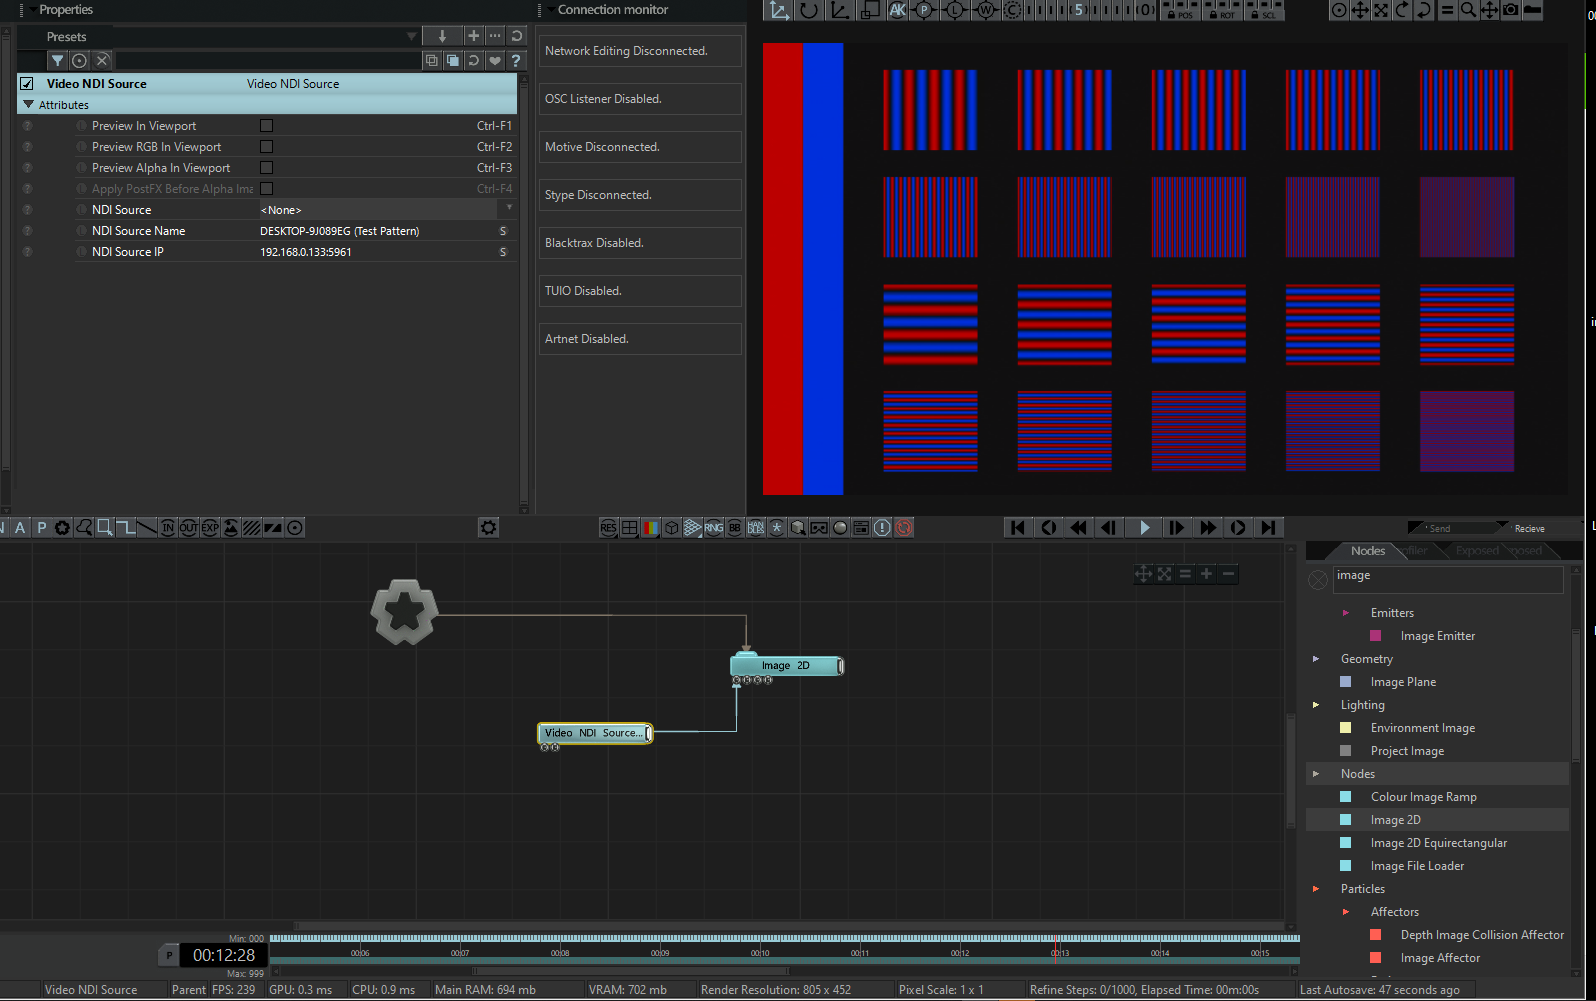
おしまい
出力
1.NDIプレビュー環境作成
Newtek NDI Toolsの中にある、Studio Monitorを起動。
※ちなみにこの時StudioMonitorを起動しようとしたら「throw regopenkeyex(candidatekey) in copyestimatedsize()」というエラーが発生しダイアログが全く進まなくなった。
https://forum.cockos.com/showthread.php?t=225465
上URLに従ってYamaha Steinberg USB Driverを再インストールしたら問題なく起動したので一応メモとして。
2.Notch
メニューバーで
Devices→VideoIn/Camera/Kinect Settings
NDIの項目があるのでSend To NDIにチェック。Sender Nameはお好みで。
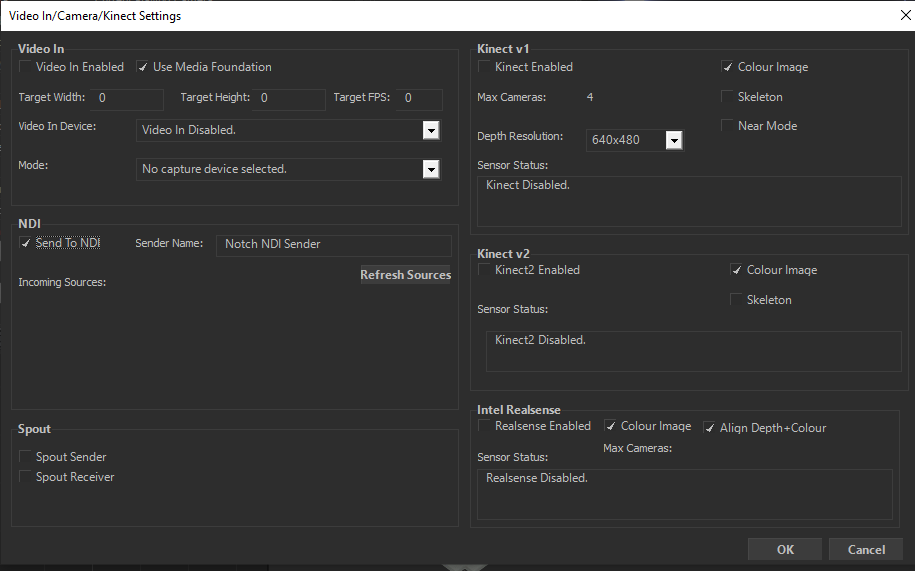
3.Studio Monitor
Studio Monitor左上にメニューボタンのようなものがあり、クリックしていくと先ほどのSender Nameのものがあるので選択
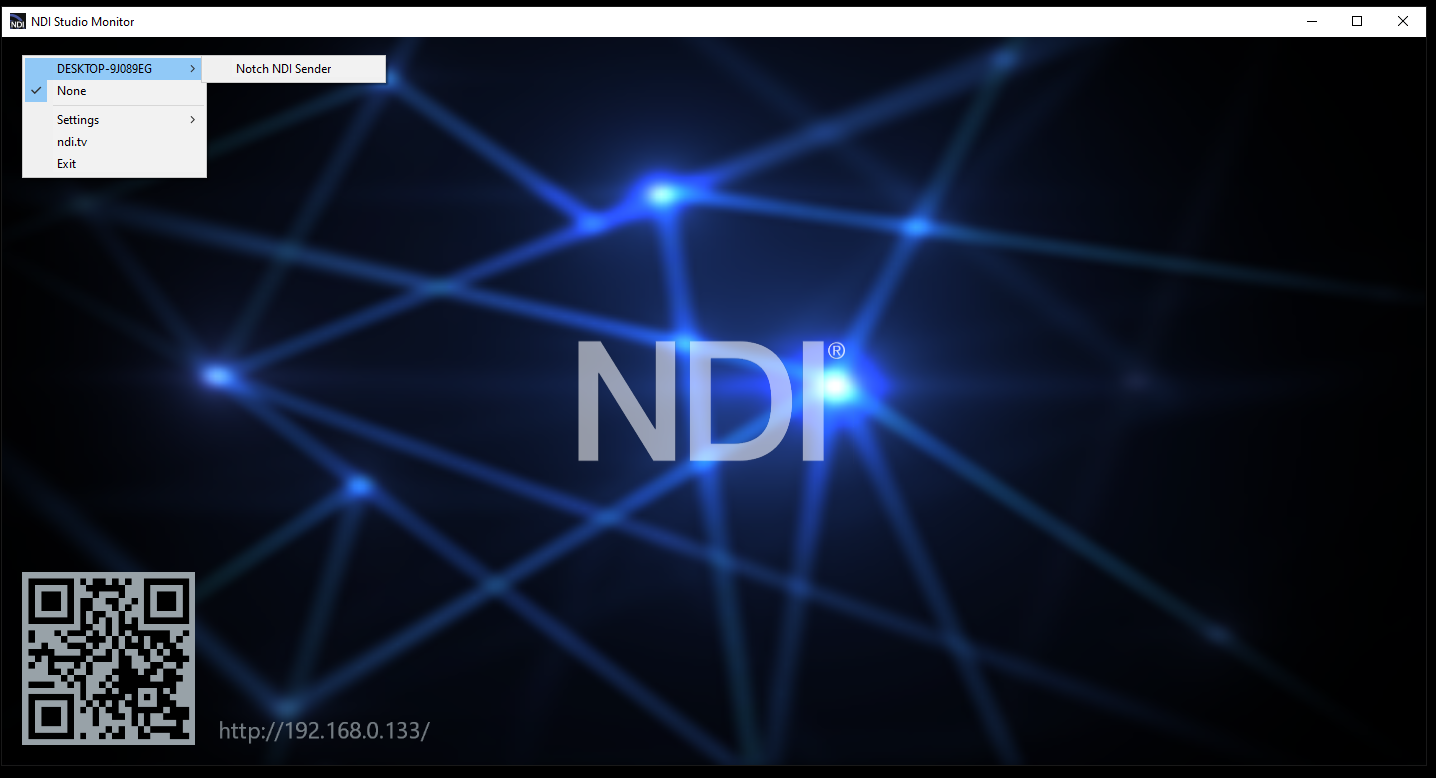
おしまい。
ここまででNDIの入出力ができるようになった。
じゃあ複数入力できんのか
ライブ現場での使用を想定しているNotchなのだからもちろんできるはず。
カメラからの画をNDIで受けてエフェクトかけたりするだろう。
1.テストソースの作成
Newtek NDI Toolsの中にある、Test Patternsを起動しソースを選択。
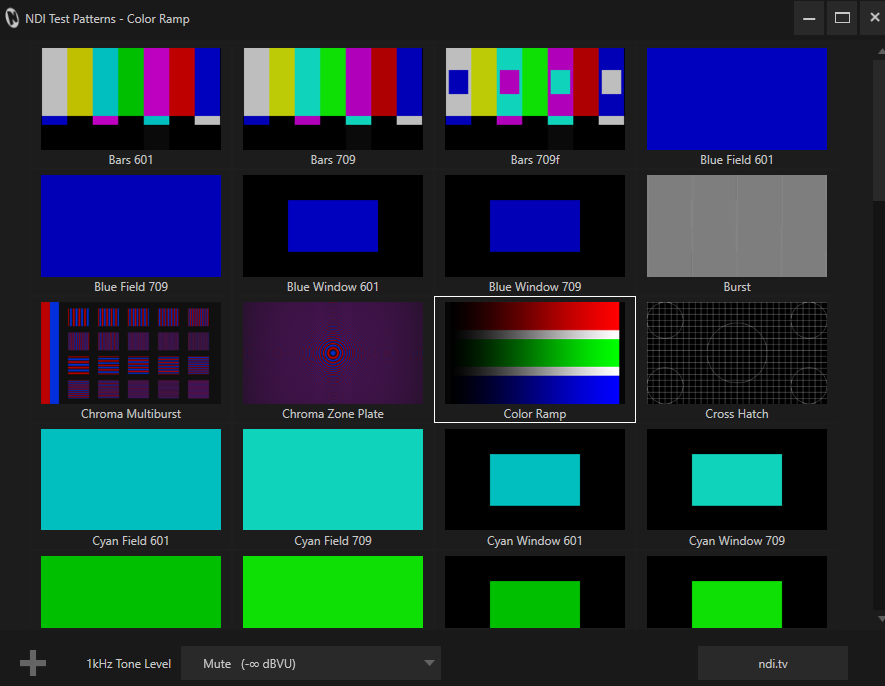
TouchDesignerでNDI Out TOPを作成。
※NDI Out TOPの作成にはコマーシャル版以上のライセンスが必要だったはずです
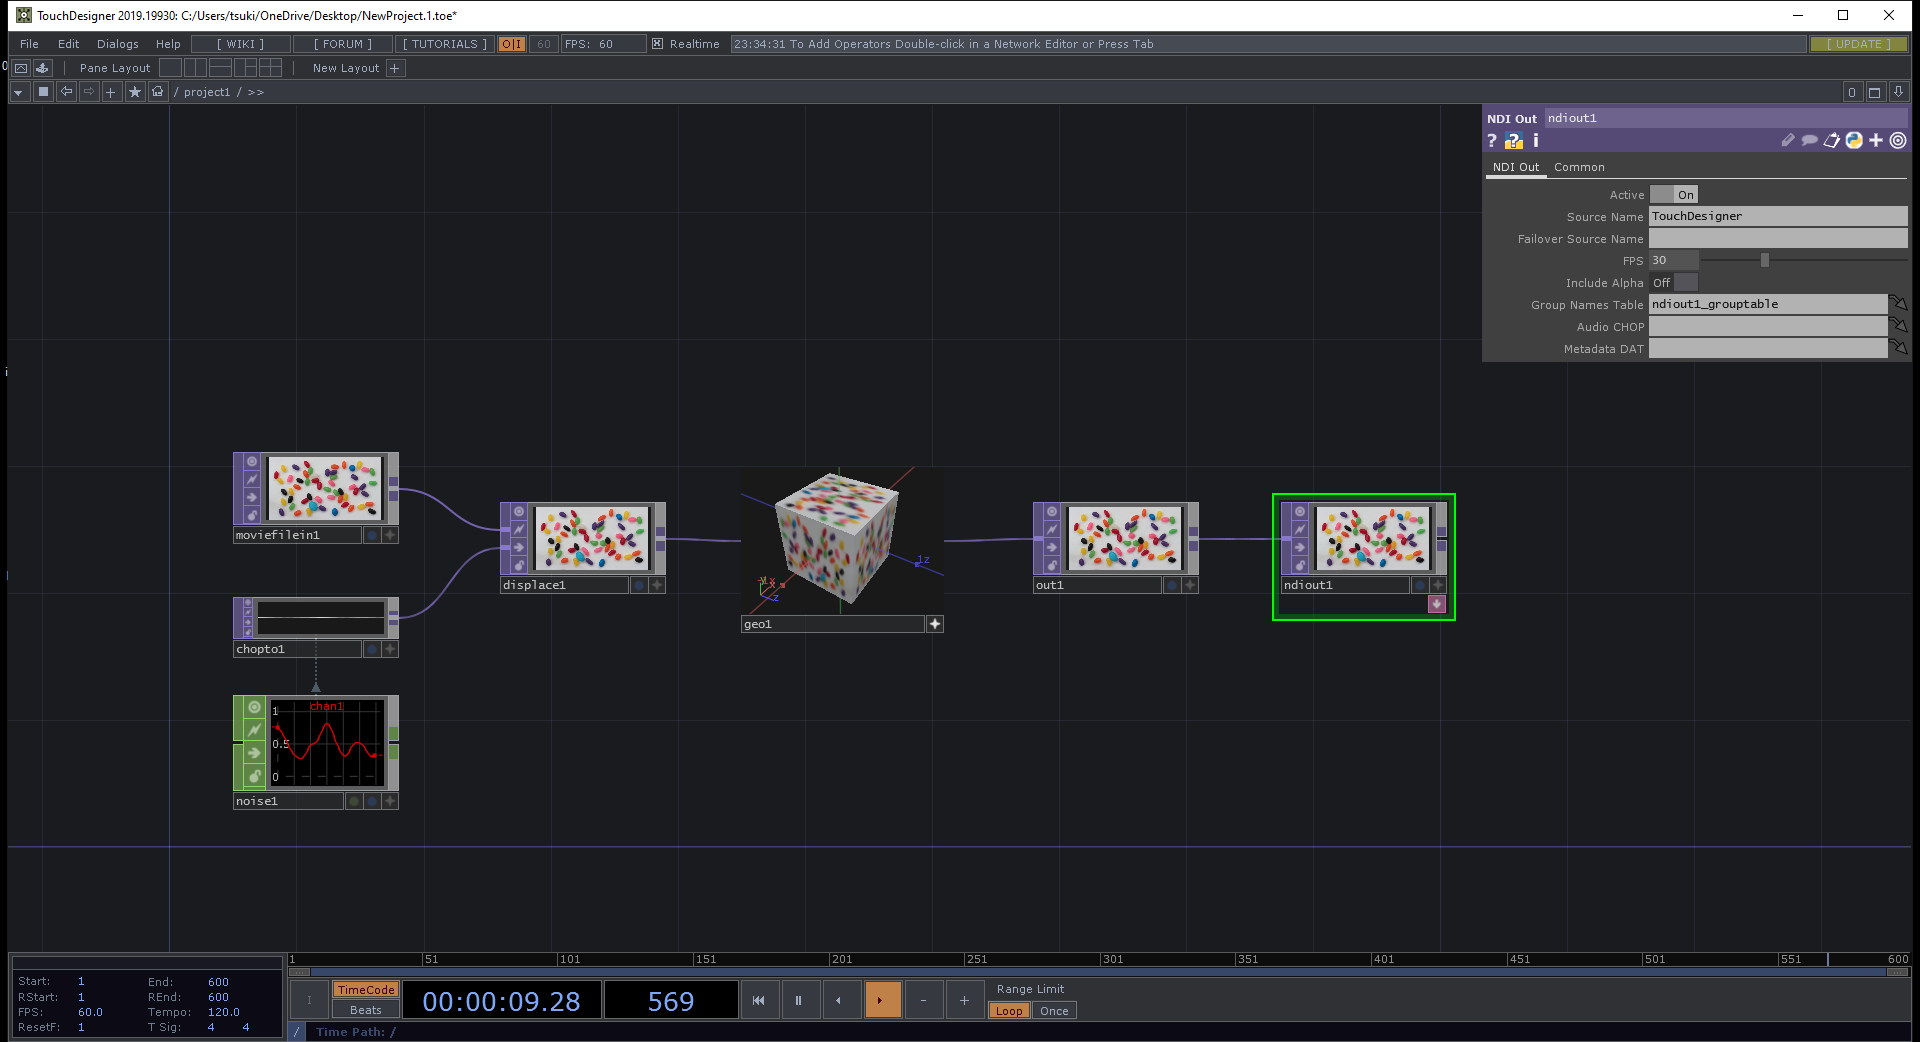
2.Notchの入力を確認
3.ノード配置
Video NDI Sourceノード/Image2Dノードを2つずつ配置して、Video NDI Sourceノードのプロパティ→NDI Sourceで選択。
そりゃできるか。
おしまい。
