Nuxt.jsのWebアプリへGoogle Maps APIを利用して地図を表示したりピンを立てたり情報画面を表示したりする
はじめに
前回の記事で作成したNuxt.jsのWebアプリにGoogle Mapのような地図を表示します。
コンテンツ
Google Cloud Platform で Maps JavaScript API のキーを生成する
まずは、WebアプリにGoogle Mapのような地図を表示できるようにするために、Google Cloud PlatformでMaps JavaScriptなる機能を有効化し、それを呼び出すためのキーを生成します。
Google Cloud Platform のアカウントが無ければ作成し、既存のプロジェクトもしくは新しいプロジェクトを作成します。
ここではsample-map-webappというプロジェクトを作成して進めます。

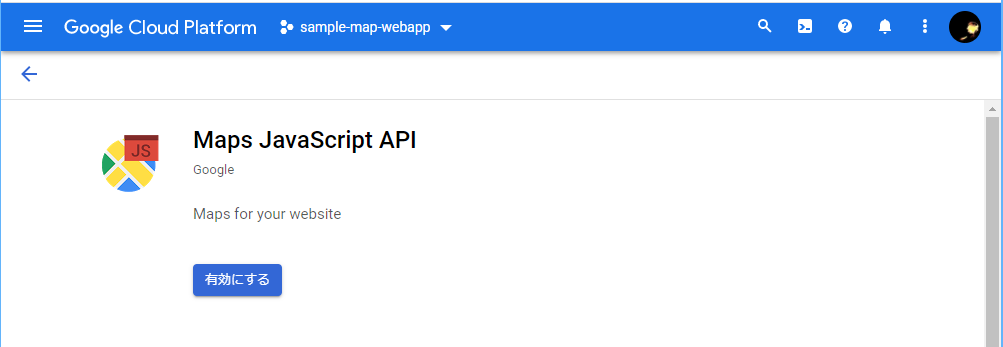
プロジェクトを作成したら、
ダッシュボード > APIとサービス > APIとサービスの有効化
からMaps JavaScript APIを探し、有効にします。
Maps JavaScript APIを有効にしたら、次はアクセスキーを生成します。
ダッシュボード > APIとサービス > 認証情報 > +認証情報を作成 > APIキー
で、作成できます。
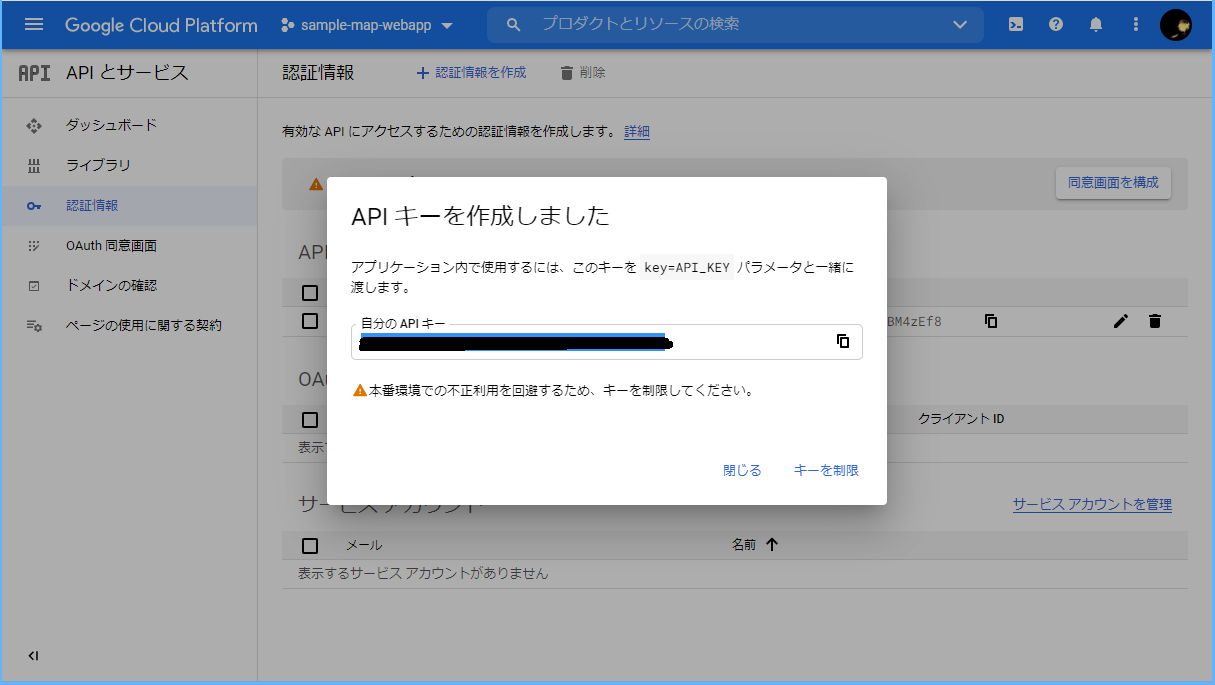
「キーを制限」ボタンを押下すると「API キーの制限と名前変更」画面へ遷移します。
ここでキーに名前を付けたり、呼び出し元の制限を設定できたりします。ノーガードは良くないと思いますので設定しておきましょう。
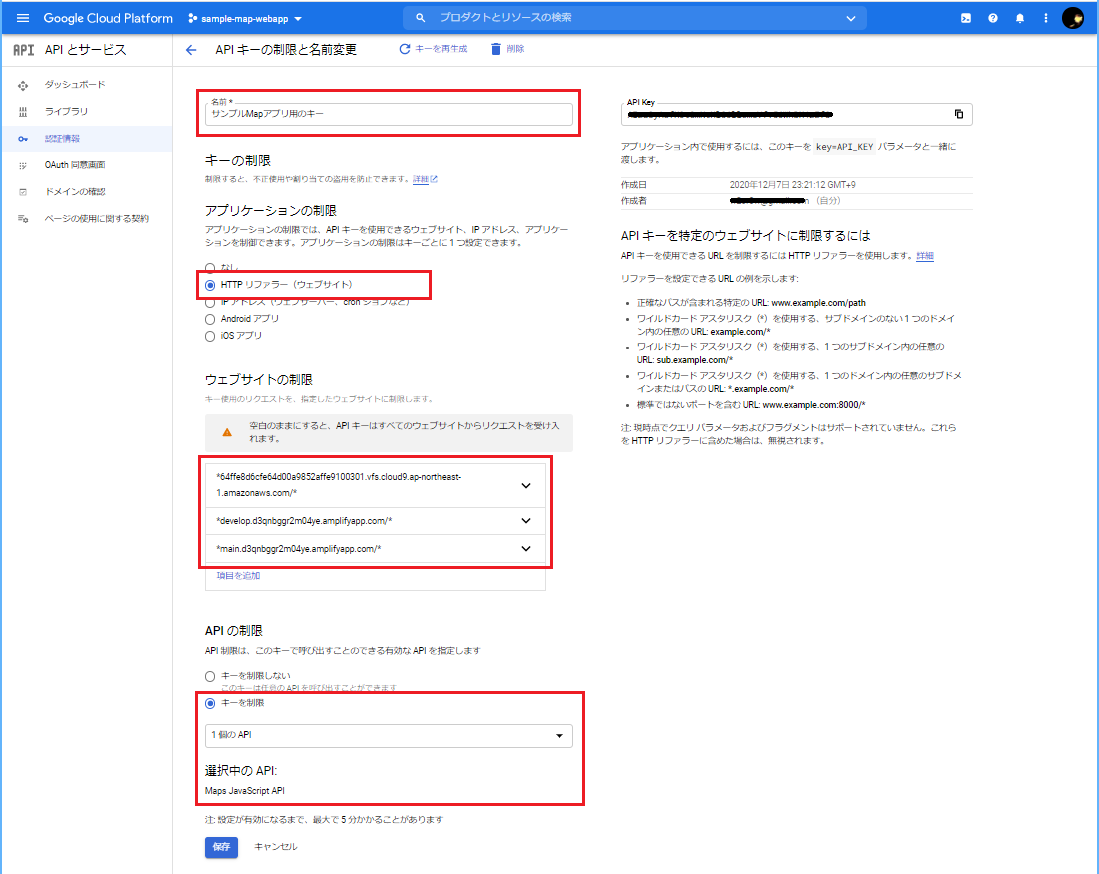
「アプリケーションの制限」ではHTTPリファラー(ウェブサイト)を選択し、「ウェブサイトの制限」ではデバッグ環境やホストする開発環境や本番環境のアドレス前後*で囲った文字列を設定しておきましょう。
「APIの制限」では一覧からMaps JavaScript APIだけを選択しておきます。
これでこのキーは、自身の環境からしかアクセスできませんし、また、Maps JavaScript APIにしか効かなくなります。
料金
GCPのMaps JavaScript APIですが、完全無料で使いたい放題、というわけではありません。
毎月約2万円($200)分の無料枠があるのでこじんまり利用するぶんには課金されることはないと思いますが、たびたび利用状況を確認するのが良いと思います。
2020/12/09現在、1,000リクエストあたり$7ということでした。
最新の情報はこちらから参照してください。

Nuxt.jsのWebアプリで Google Maps JavaScript API を利用する
Webアプリ側を改修してゆきます。
vue2-google-maps をインストールする
Webアプリへvue2-google-mapsというライブラリをインストールします。
プロジェクトルート(sample-map-webapp)ディレクトリ内でyarn add vue2-google-mapsコマンドを打ちましょう。
$ yarn add vue2-google-maps
yarn add v1.22.10
[1/4] Resolving packages...
 :
[2/4] Fetching packages...
 :
[3/4] Linking dependencies...
 :
[4/4] Building fresh packages...
success Saved lockfile.
success Saved 4 new dependencies.
info Direct dependencies
└─ vue2-google-maps@0.10.7
info All dependencies
├─ babel-runtime@6.26.0
├─ marker-clusterer-plus@2.1.4
├─ regenerator-runtime@0.11.1
└─ vue2-google-maps@0.10.7
Done in 10.99s.
plugins/vue2-google-maps.jsファイルを作成し、以下の内容を記載します。
keyのところには先ほど取得したAPIキーを設定してください。
import Vue from 'vue'
import * as VueGoogleMaps from '~/node_modules/vue2-google-maps'

Vue.use(VueGoogleMaps, {
  load: {
    key: 'xxxxxxxxxxxxxxxxxxxxxxxxxxxxxxxxxxxxxxx',
    libraries: 'places',
  },
})
nuxt.config.jsのplugins: [],とbuild: {}の2ヵ所を以下のように編集します。
 :
  // Plugins to run before rendering page (https://go.nuxtjs.dev/config-plugins)
  plugins: [
    { src: '~/plugins/vue2-google-maps.js' }
  ],
 :
  // Build Configuration (https://go.nuxtjs.dev/config-build)
  build: {
    /*
     ** You can extend webpack config here
     */
    extend(config, ctx) {},
    vendor: ['vue2-google-maps'],
    transpile: [/^vue2-google-maps($|\/)/]
  }
pages/index.vueへ以下のようにGmapMapを埋め込みます。
<template>
  <v-row justify="center" align="center">
    <v-col cols="12" sm="8" md="6">
      <div class="text-center">
        <logo />
        <vuetify-logo />
      </div>
      <v-card>
        <GmapMap
          map-type-id="roadmap"
          :center="maplocation"
          :zoom="zoom"
          :style="styleMap"
          :options="mapOptions"
        >
        </GmapMap>
      </v-card>
    </v-col>
  </v-row>
</template>

<script>
import Logo from '~/components/Logo.vue'
import VuetifyLogo from '~/components/VuetifyLogo.vue'

export default {
  components: {
    Logo,
    VuetifyLogo,
  },
  data() {
    return {
      maplocation: { lng: 0, lat: 0 },
      zoom: 4,
      styleMap: {
        width: '100%',
        height: '400px',
      },
      mapOptions: {
        streetViewControl: false,
        styles: [],
      },
    }
  },
}
</script>
はい、でました。
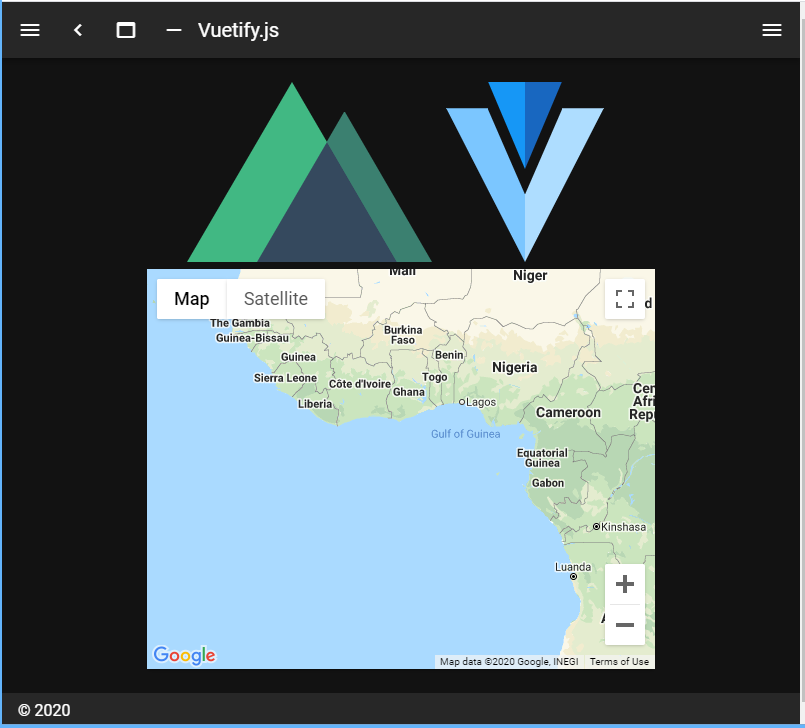
Nuxt.jsのWebアプリでGoogle Mapを表示させることに成功しましたね。
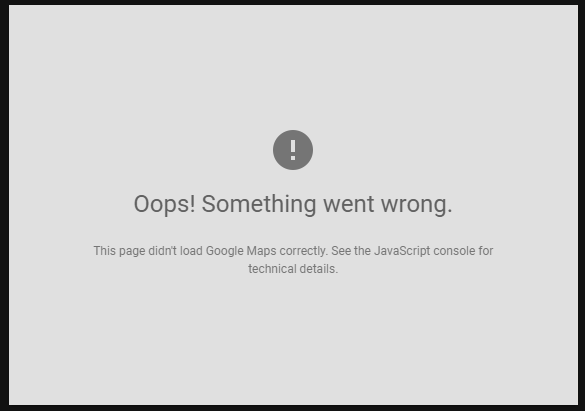
なおplugins/vue2-google-maps.jsに指定したキーが間違っていたり、キーの認証設定が適切ではなかった場合、地図が以下のような表示になります。
今いる場所を表示する
先ほどのサンプルは{ lng: 0, lat: 0 }つまり緯度0°、経度0°の場所を表示していましたが、今いる場所を表示するようにしましょう。
変数maplocationに値を入れてあげればいいわけですが、とりあえず以下のようにしてあげます。
<script>
 :
  data() {
    return {
      maplocation: { lat: 0, lng: 0 },
      zoom: 8,
      styleMap: {
        width: '100%',
        height: '400px',
      },
      mapOptions: {
        streetViewControl: false,
        styles: [],
      },
    }
  },
  async mounted() {
    const currentPosTmp = await this.getCurrentPosition()
    const currentPos = {
      lat: currentPosTmp.coords.latitude,
      lng: currentPosTmp.coords.longitude,
    }
    this.maplocation = currentPos
  },
  methods: {
    getCurrentPosition() {
      return new Promise(function (resolve, reject) {
        navigator.geolocation.getCurrentPosition(resolve, reject)
      })
    },
  },
}
</script>
この時、最初に以下のような許可を求めてくるので、許可してあげてください。
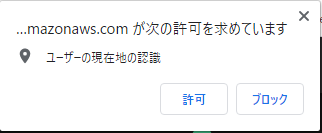
すると、ほら。
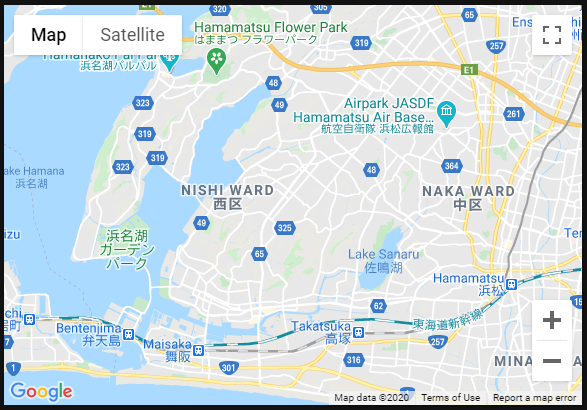
Mapにピンを立てる
Mapにピンを立てるのはこんな感じです。
<template>
 :
        <GmapMap
          map-type-id="roadmap"
          :center="maplocation"
          :zoom="zoom"
          :style="styleMap"
          :options="mapOptions"
        >
          <GmapMarker
            v-for="(m, index) in markers"
            :key="index"
            :title="m.title"
            :position="m.position"
            :clickable="true"
            :draggable="false"
            :icon="m.pinicon"
            @click="onClickMarker(index, m)"
          />
        </GmapMap>
</template>
 :
<script>
 :
  data() {
 :
      markers: [
        {
          title: '佐鳴湖',
          position: { lat: 34.7054595, lng: 137.6852776 },
        },
        {
          title: '浜名湖ガーデンパーク',
          position: { lat: 34.7140247, lng: 137.6032967 },
        },
      ],
 :
  },
 :
</script>
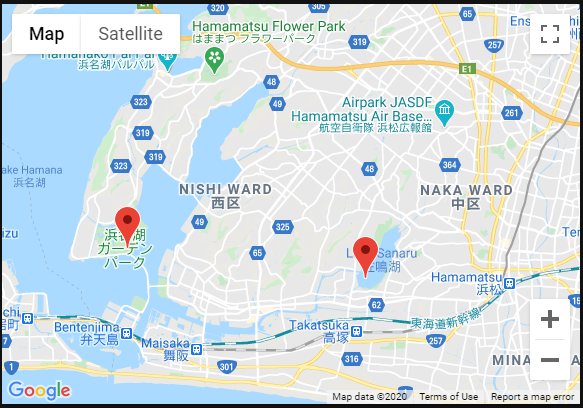
佐鳴湖と浜名湖ガーデンパークにピンが立ちました。
ピンをクリックしたら情報画面を表示する
こんな感じです。
<template>
 :
        <GmapMap
          ref="gmp"
          map-type-id="roadmap"
          :center="maplocation"
          :zoom="zoom"
          :style="styleMap"
          :options="mapOptions"
        >
          <GmapMarker
            v-for="(m, index) in markers"
            :key="index"
            :title="m.title"
            :position="m.position"
            :clickable="true"
            :draggable="false"
            @click="onClickMarker(index, m)"
          />
          <GmapInfoWindow
            :options="infoOptions"
            :position="infoWindowPos"
            :opened="infoWinOpen"
            @closeclick="infoWinOpen = false"
          >
            <p style="color: #000">
              {{ marker.title }}
            </p>
          </GmapInfoWindow>
        </GmapMap>
</template>
<script>
 :
  data() {
 :
      infoOptions: {
        minWidth: 200,
        pixelOffset: {
          width: 0,
          height: -35,
        },
      },
      infoWindowPos: null,
      infoWinOpen: false,
      marker: {},
      markers: [
        {
          title: '佐鳴湖',
          position: { lat: 34.7054595, lng: 137.6852776 },
        },
        {
          title: '浜名湖ガーデンパーク',
          position: { lat: 34.7140247, lng: 137.6032967 },
        },
      ],
    }
  },
 :
  methods: {
    getCurrentPosition() {
      return new Promise(function (resolve, reject) {
        navigator.geolocation.getCurrentPosition(resolve, reject)
      })
    },
    onClickMarker(index, marker) {
      this.$refs.gmp.panTo(marker.position)
      this.infoWindowPos = marker.position
      this.marker = marker
      this.infoWinOpen = true
    },
  },
}
</script>
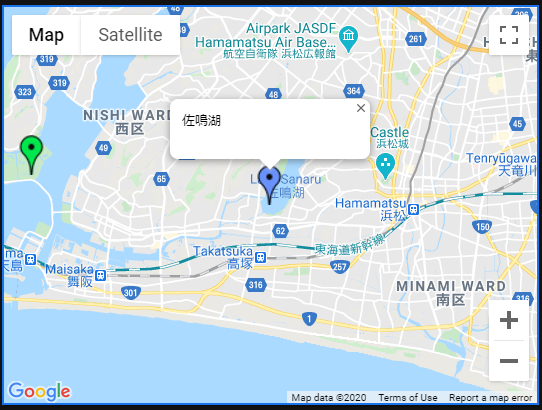
シンプルですが、情報画面が表示されました。

ピンアイコン(マーカー)を変える
ピンアイコンをデフォルトの赤いものから変えてみます。画像はGoogleがいくつか用意しているものを利用します。
 http://maps.google.co.jp/mapfiles/ms/icons/blue-dot.png
 http://maps.google.co.jp/mapfiles/ms/icons/green-dot.png
このピンアイコンの画像ファイルは./static/img/の中に保存します。
そしてGmapMarkerのiconにその画像リソースを設定するだけです。マーカーそれぞれに個別の画像を設定することもできます。
<template>
 :
          <GmapMarker
            v-for="(m, index) in markers"
            :key="index"
            :title="m.title"
            :position="m.position"
            :clickable="true"
            :draggable="false"
            :icon="m.pinicon"
            @click="onClickMarker(index, m)"
          />
 :
</template>
<script>
 :
      markers: [
        {
          title: '佐鳴湖',
          position: { lat: 34.7054595, lng: 137.6852776 },
          pinicon: {
            url: '/img/blue-dot.png',
            scaledSize: { width: 40, height: 40, f: 'px', b: 'px' },
          },
        },
        {
          title: '浜名湖ガーデンパーク',
          position: { lat: 34.7140247, lng: 137.6032967 },
          pinicon: {
            url: '/img/green-dot.png',
            scaledSize: { width: 40, height: 40, f: 'px', b: 'px' },
          },
        },
      ],
 :
</script>
はい、アイコンが変わりましたね。
あとがき
特に後半、全然ちゃんと説明できていない気もするのですが、、とりあえずプロジェクト全体のコードはここに置いておきます。
Google Mapの表示内容を調整したり、情報画面の見た目をカスタマイズしたり、、
そういった話題はまたいつか別記事にということで。
あと、浜名湖と佐鳴湖はとても良いところなので、あわせて覚えておいてください!