iOS環境からのFirebaseのRemote Configを利用する方法です。
言語はSwiftです。
この記事はFirebaseのガイド参考しました。
Firebaseのプロジェクト生成
Firebaseのプロジェクト生成にはアプリバンドルidが要るため、まずXcodeから練習用シングルビューアプリのプロジェクトを生成してから進めます。
アプリプロジェクトが作られたらFirebaseのプロジェクトを生成します。
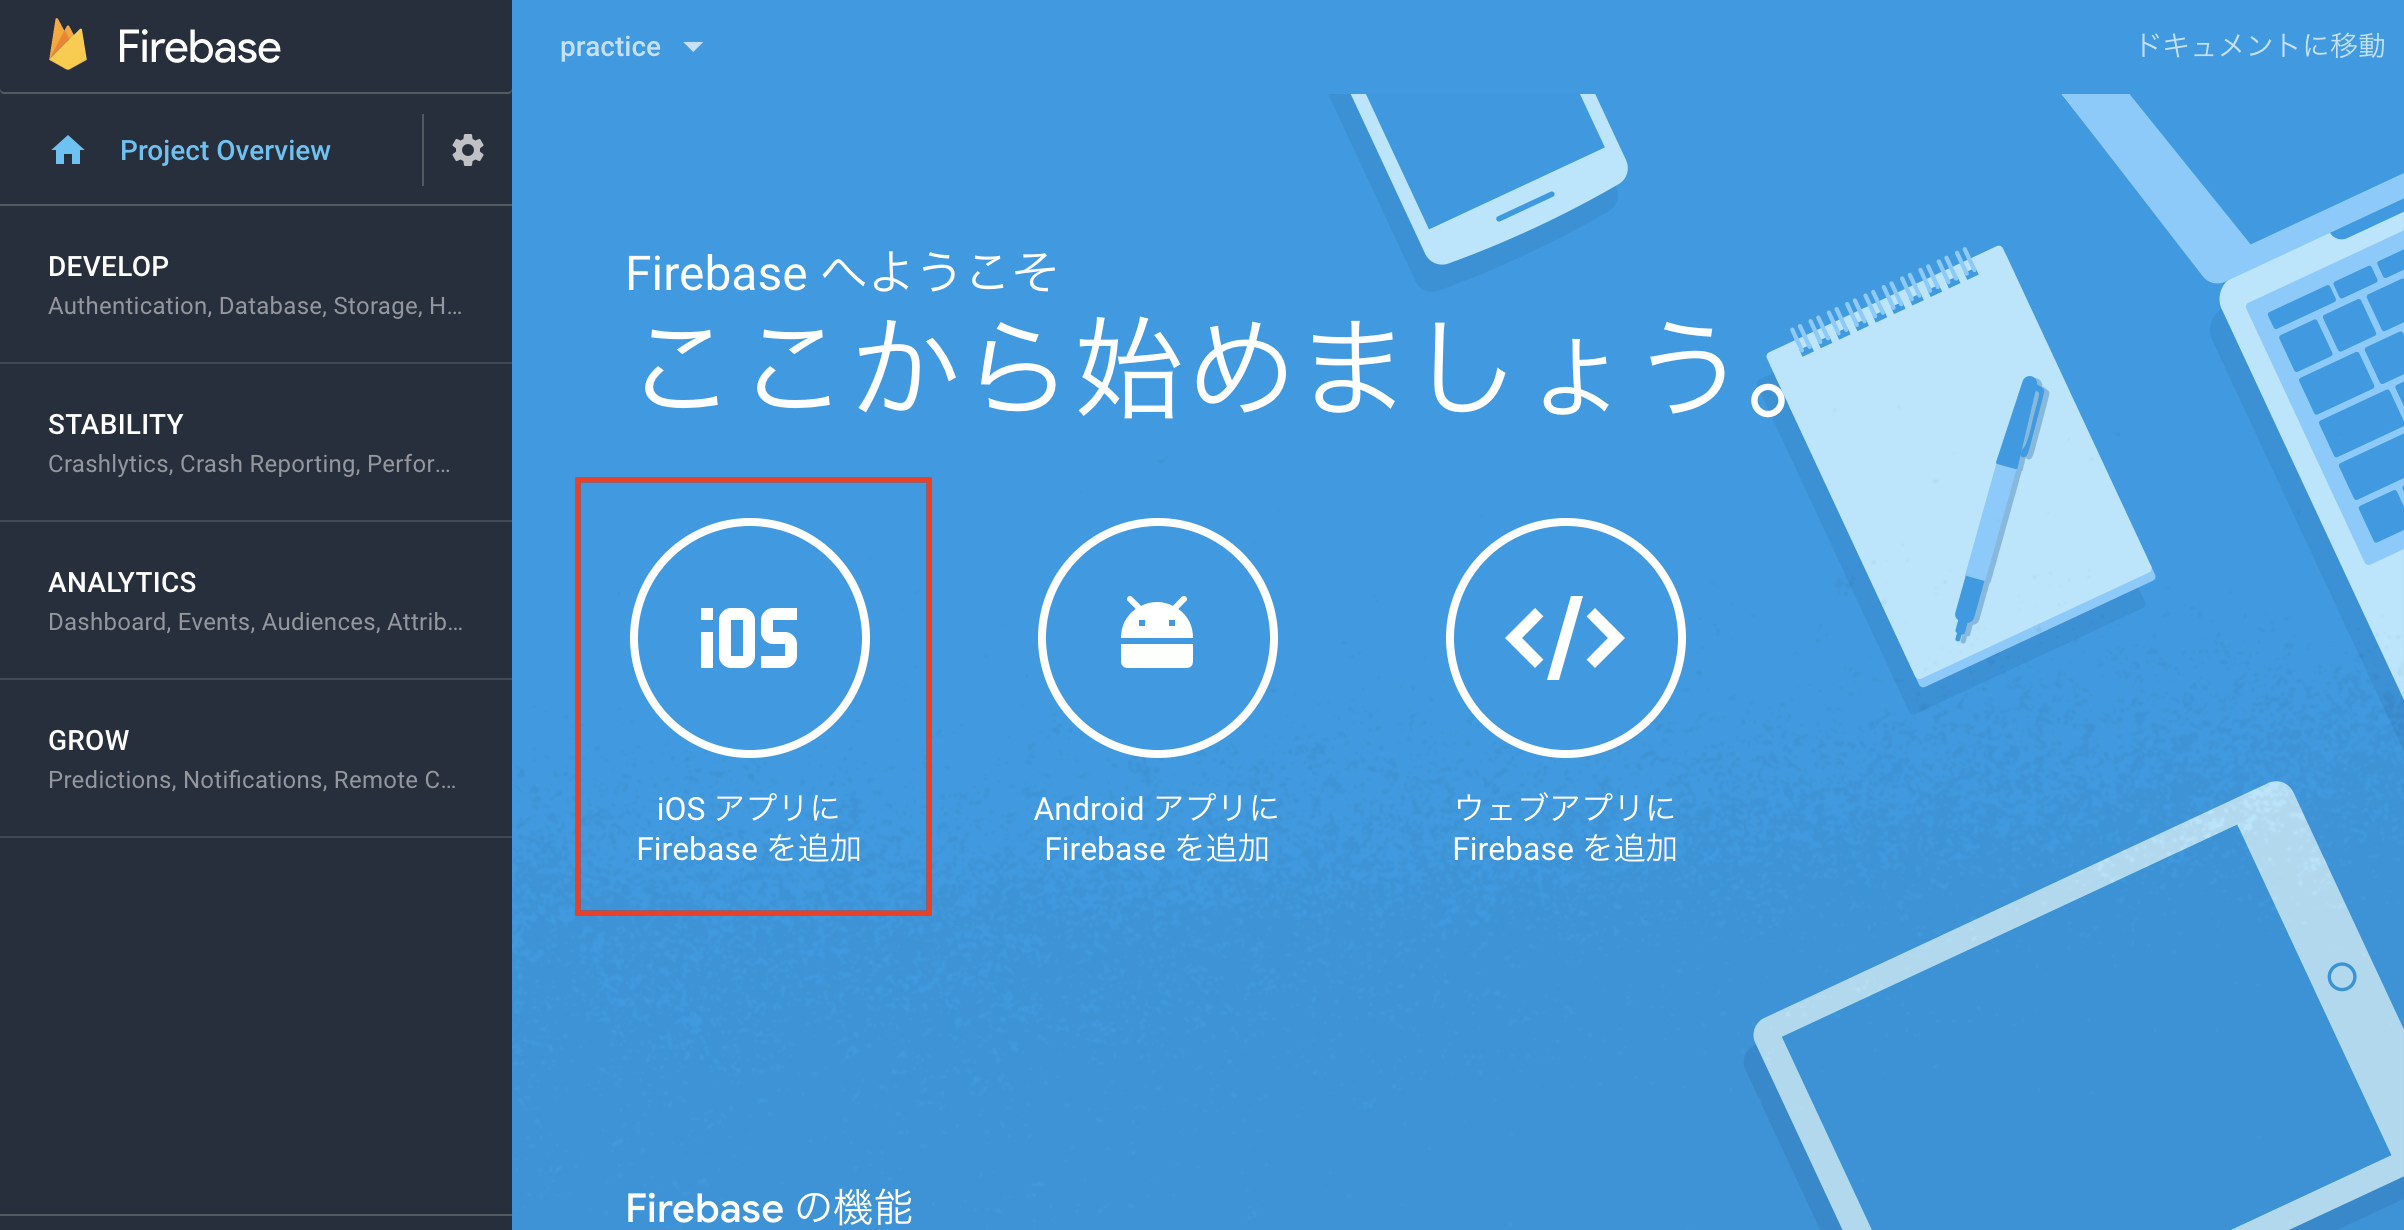
この記事はiOS環境からFirebaseを利用する方法に対する内容なのでiOSを選択します。
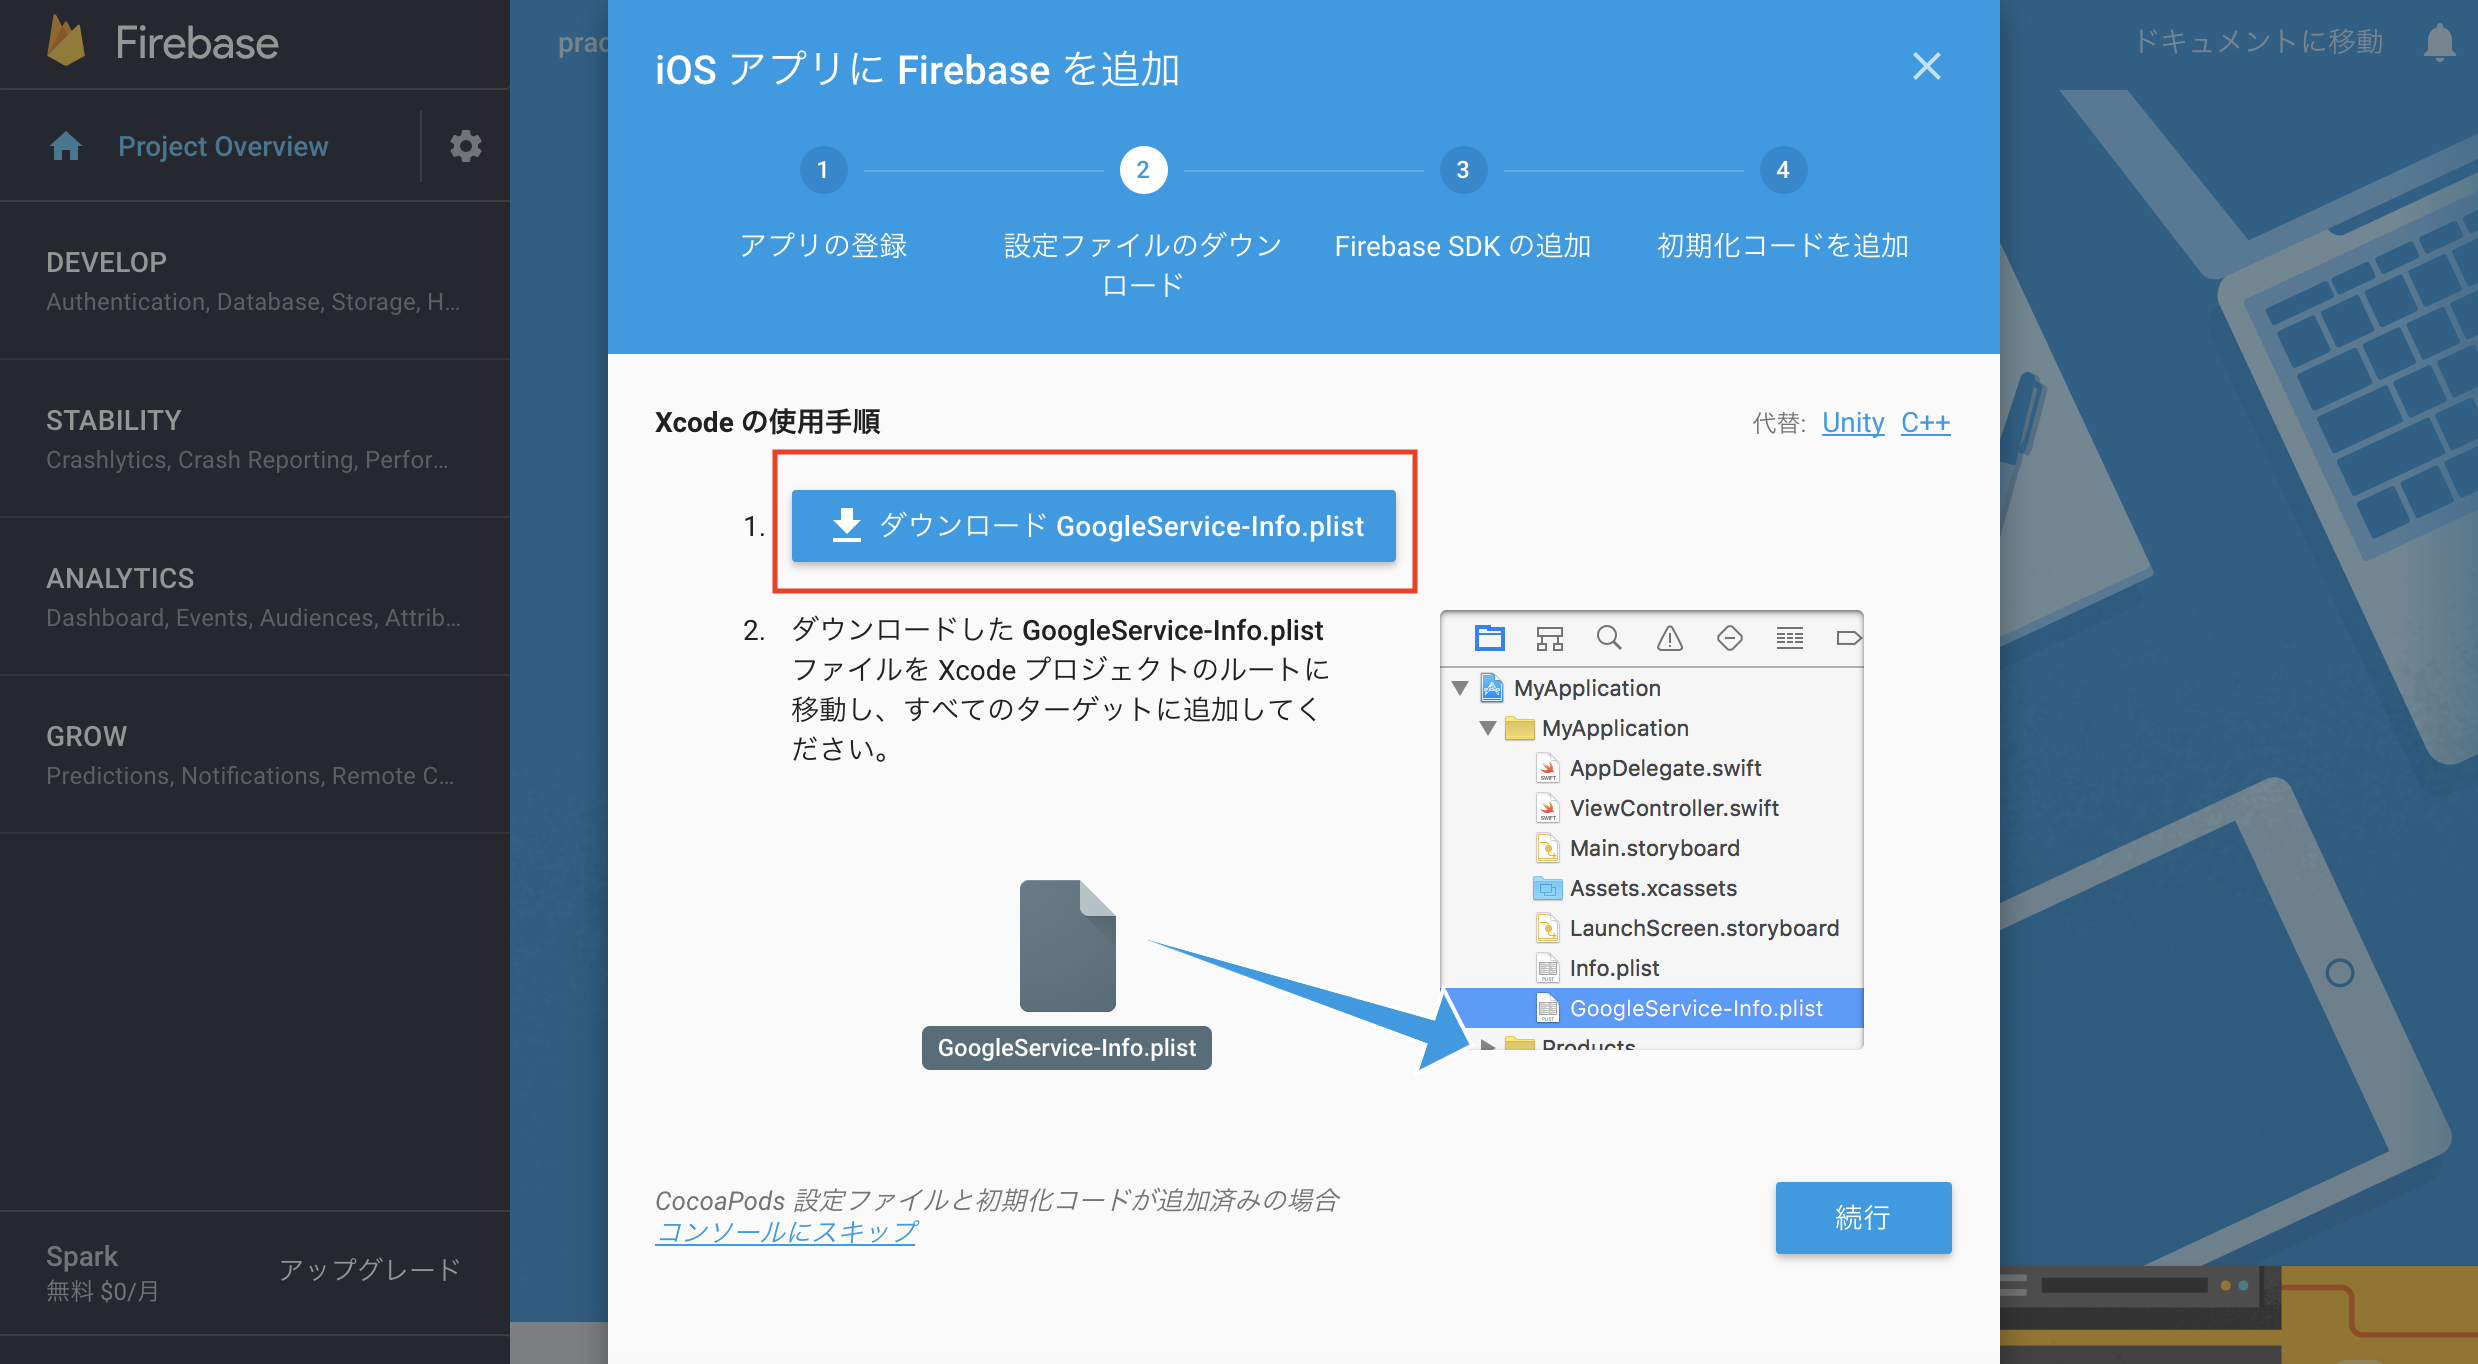
次へ進み設定ファイルをダウンロードします。案内通りにアプリのプロジェクトのルートに移動します。
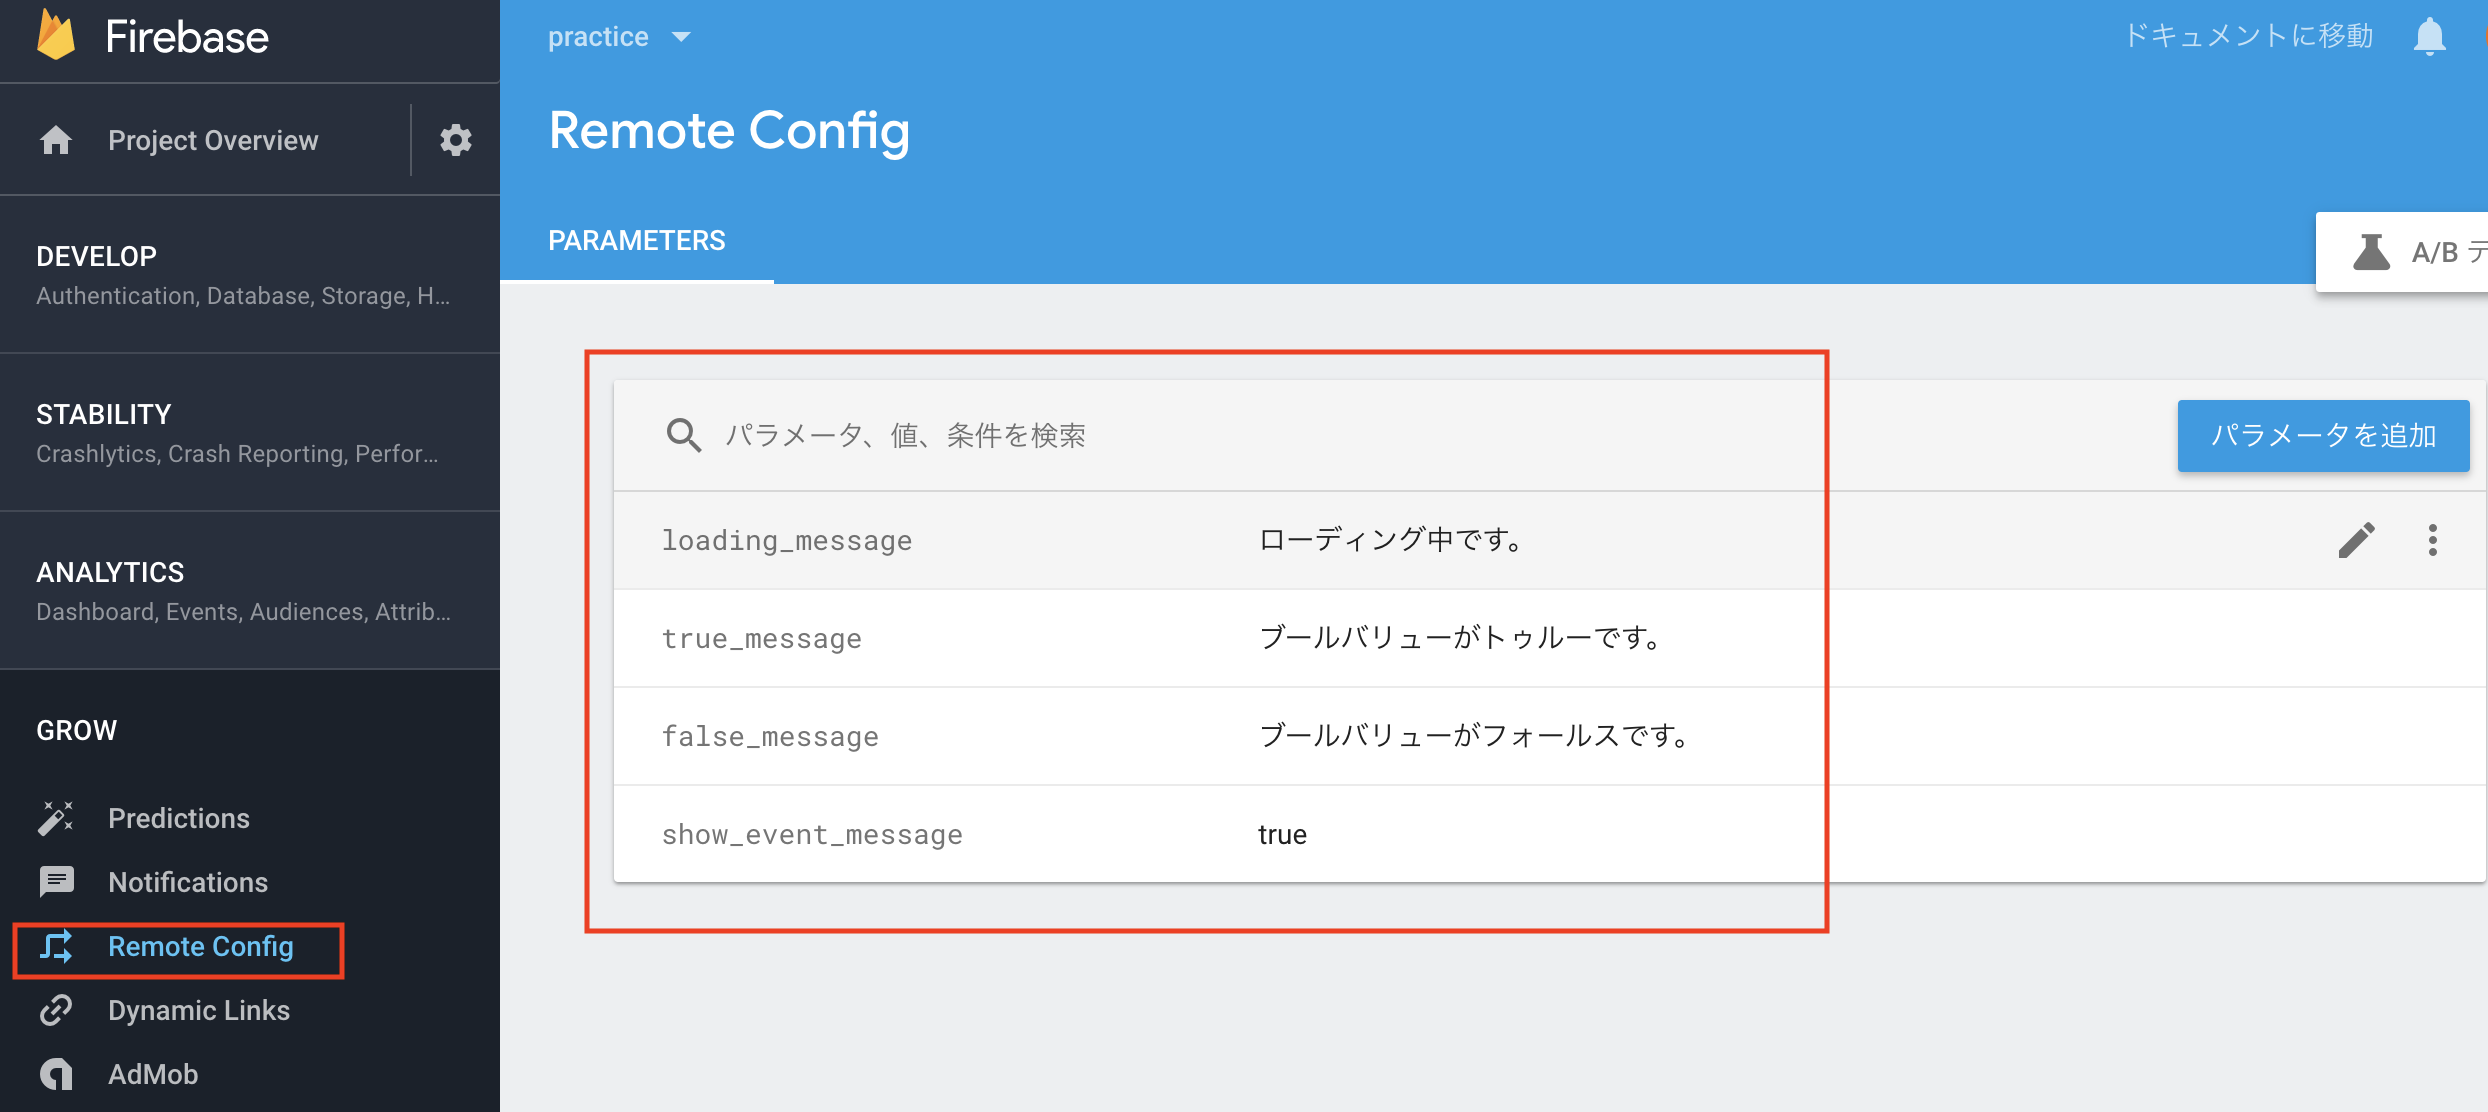
Remote Configに移動してパラメータのキー値を追加します。
loading_message    : Remote Configがフェッチされる前に表示されるメッセージです。
true_message       : show_event_messageがtrueの時のメッセージです。
false_message      : show_event_messageがfalseの時のメッセージです。
show_event_message : イベント状況を作動するかを決定するブールバリューです。
これでFirebaseの事前準備が終わりました。
アプリブロジェクトにFirebaseを実装
- Podfileファイルに次の項目を追加します。
pod 'Firebase/RemoteConfig'
-
pod installを実行します。 - 設置された
.xcworkspaceを実行し、GoogleService-Info.plistを入れます。
Firebaseをインポートして,
application:didFinishLaunchingWithOptions: メソッドにFirebaseApp公有インスタントを構成します。
import Firebase

func application(_ application: UIApplication, didFinishLaunchingWithOptions launchOptions: [UIApplicationLaunchOptionsKey: Any]?) -> Bool {
        // Override point for customization after application launch.
        FirebaseApp.configure()

        return true
    }
画面からRemote Configのパラメータを確認できるように簡単なラベルとボタンを追加します。
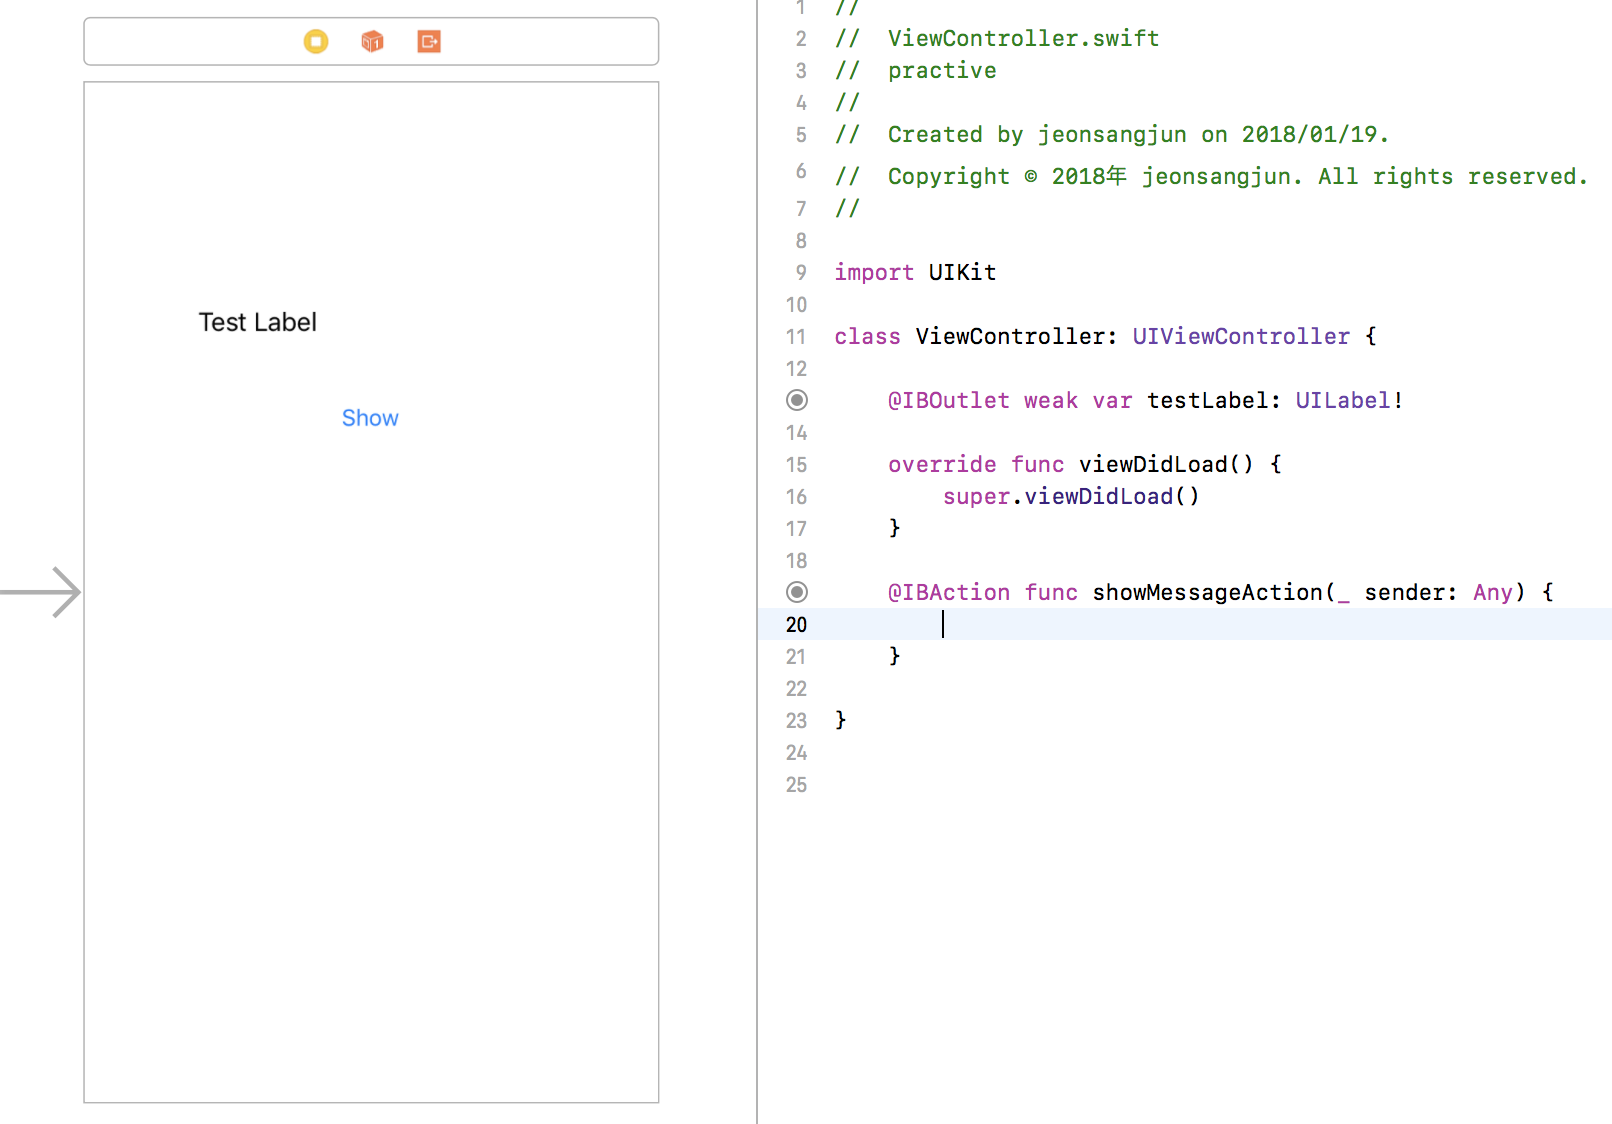
そしてViewContorllerにRemote Configを実装しましょう。
//
//  ViewController.swift
//  practive
//
//  Created by jeonsangjun on 2018/01/19.
//  Copyright © 2018年 jeonsangjun. All rights reserved.
//

import UIKit
import Firebase

class ViewController: UIViewController {

    var remoteConfig: RemoteConfig!
    let loadingMessageConfigKey = "loading_message"
    let trueMessageConfigKey = "true_message"
    let falseMessageConfigKey = "false_message"
    let showEventMessageConfigKey = "show_event_message"

    @IBOutlet weak var testLabel: UILabel!

    override func viewDidLoad() {
        super.viewDidLoad()

        remoteConfig = RemoteConfig.remoteConfig()
        // 随時更新されるリモートの値をすぐ確認できるようにディベロッパーモーとに設定する。
        let remoteConfigSettings = RemoteConfigSettings(developerModeEnabled: true)
        remoteConfig.configSettings = remoteConfigSettings!

        fetchConfig()
    }


    @IBAction func showMessageAction(_ sender: Any) {
        fetchConfig()
    }

    func fetchConfig() {
        // フェッチが終わる前まで表示されるメッセージ
        testLabel.text = remoteConfig[loadingMessageConfigKey].stringValue

        // ディベロッパーモードの時、expirationDurationを0にして随時更新できるようにする。
        let expirationDuration = remoteConfig.configSettings.isDeveloperModeEnabled ? 0 : 3600
        remoteConfig.fetch(withExpirationDuration: TimeInterval(expirationDuration)) { (status, error) -> Void in
            if status == .success {
                print("Config fetched!")
                self.remoteConfig.activateFetched()
            } else {
                print("Config not fetched")
                print("Error: \(error?.localizedDescription ?? "No error available.")")
            }
            self.setDisplayLabel()
        }
    }

    func setDisplayLabel() {
        // show_event_messageがtrueの場合
        if remoteConfig[showEventMessageConfigKey].boolValue {
            testLabel.text = remoteConfig[trueMessageConfigKey].stringValue
        // show_event_messageがfalseの場合
        } else {
            testLabel.text = remoteConfig[falseMessageConfigKey].stringValue
        }
    }

}
シミュレーターを実行します。
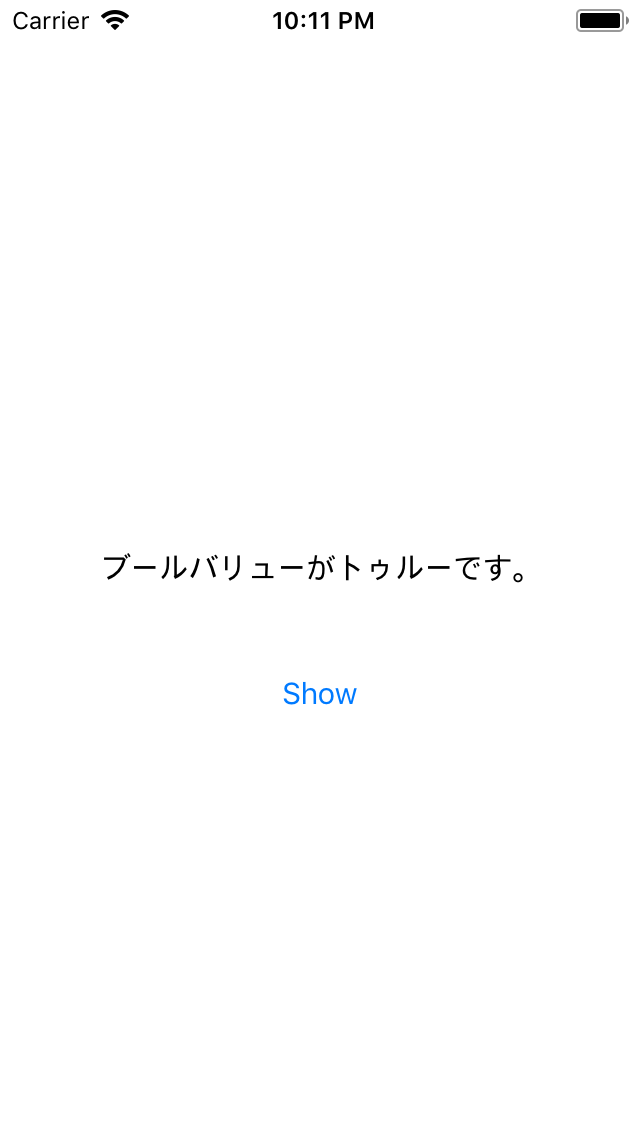
show_event_messageがtrueなのでtrue_messageが表示されます。
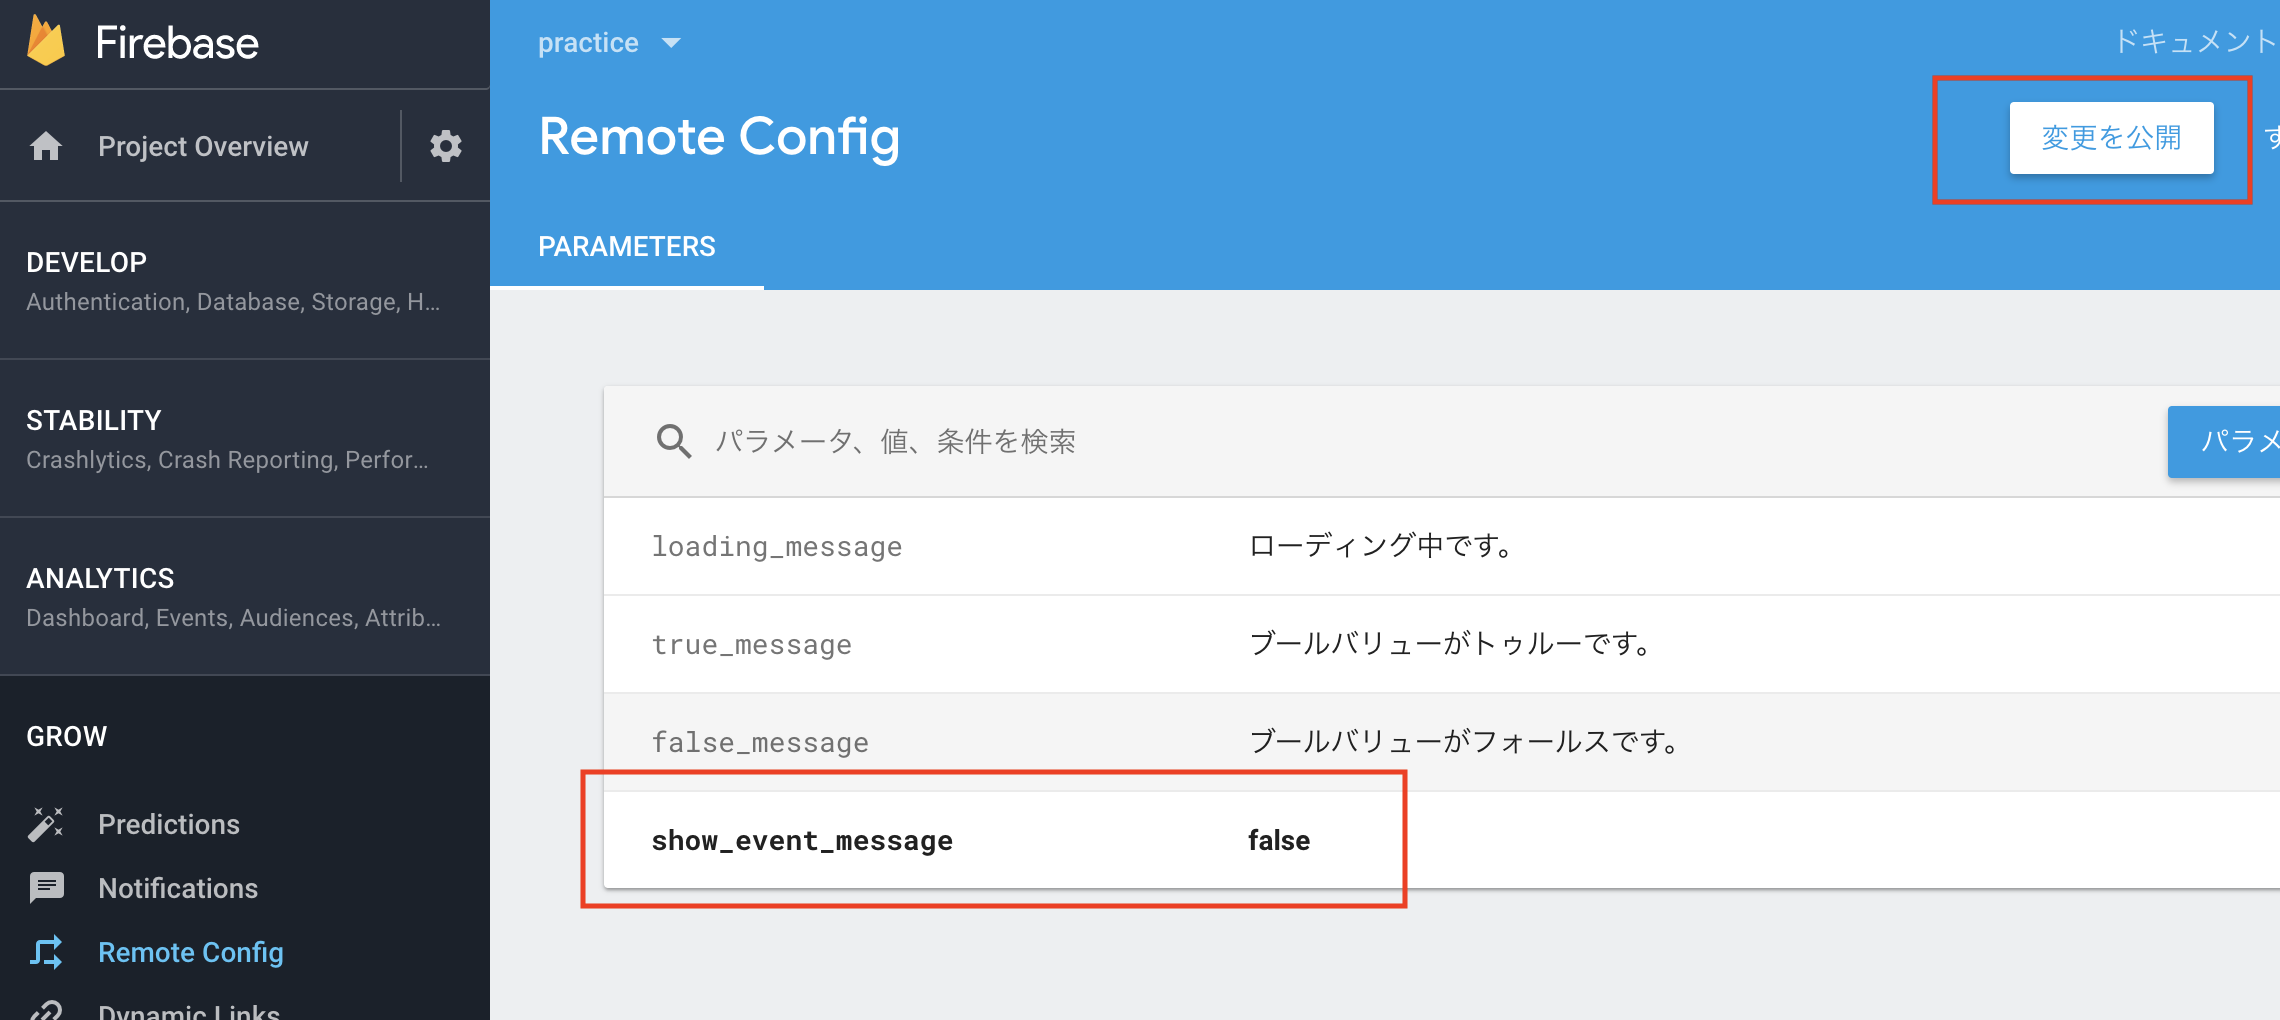
シミュレーターはそのままにしてまたFirebaseのRemote Configに移動します。
show_event_messageをフォルトに変更して変更を公開を押します。
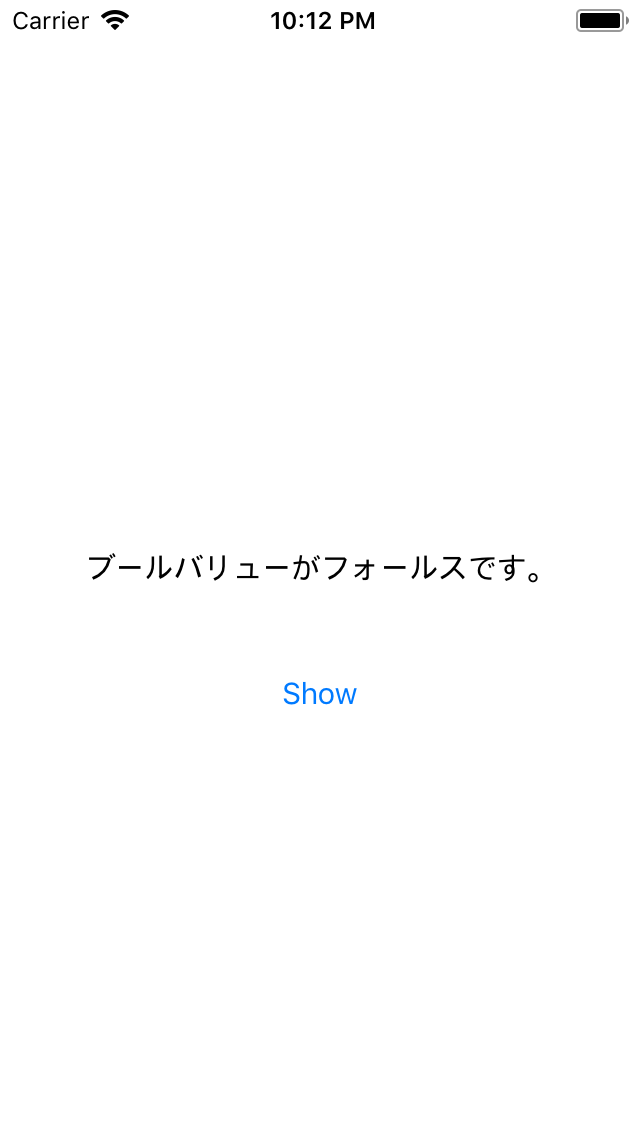
そしてシミュレーターに戻ってShowボタンをタップすると、
loading_messageが少し表示されてからfalse_messageに変わって表示されます。