はじめに
とりあえずCentos6で何か作りたかっただけ。
wordpressってオワコンなのだろうか。
あまり詳しく知らないので作ってみる。
前提
iptables,selinux,yum設定済みのCentos6サーバが作ってある前提。
php7.3リポジトリインストール
現在(2024/04)のwordpressはphp7以上が必要。
もちろんCentOS6は古いのでphp7.3を入れる。
併せて必要なepelリポジトリも一緒インストールしておく。
rpm -Uvh http://archives.fedoraproject.org/pub/archive/epel/6/x86_64/epel-release-6-8.noarch.rpm
rpm -ivh http://rpms.famillecollet.com/enterprise/remi-release-6.rpm
必要パッケージインストール
必要なリポジトリは揃ったので必要なパッケージをインストールする。
yum install -y --enablerepo=remi,remi-php73 httpd mysql-server php php-mysql php-mbstring
mysql起動
一旦インストールしたmysqlを起動しておく。
起動しておかないとmysqlの設定ができない。
chkconfig mysqld on
service mysqld start
mysql設定
mysqlコマンドでmysqlに接続した後wordpressのDBとアクセス権を作成する。
mysql
create database wordpress;
grant all privileges on wordpress.* to wordpress@localhost identified by 'wordpress';
flush privileges;
quit
wordpressダウンロード
準備が整ったのでwordpressをダウンロードする。
cd /var/www/html/
curl -LO http://ja.wordpress.org/latest-ja.tar.gz
wordpress展開
ダウンロードしたwordpressを展開しておく。
tar xzf latest-ja.tar.gz
wp-config.php作成
wp-config-sample.phpを使用してwp-config.phpを作成する。
cd wordpress/
cp -ip wp-config-sample.php wp-config.php
wp-config.php編集
wp-config.phpに先ほど作成したmysqlの情報を反映する。
DB_NAME
DB_USER
DB_PASSWOR
の設定値を「wordpress」に変更する
vi wp-config.php
// ** Database settings - You can get this info from your web host ** //
/** The name of the database for WordPress */
define( 'DB_NAME', 'wordpress' );

/** Database username */
define( 'DB_USER', 'wordpress' );

/** Database password */
define( 'DB_PASSWORD', 'wordpress' );

/** Database hostname */
define( 'DB_HOST', 'localhost' );
オーナー権限変更
apacheユーザで/var/www/html/wordpressが参照できるよう
オーナーを変更しておく。
chown -R apache:apache /var/www/html/wordpress
apache側設定
wordpressをapache側で見られるように設定する。
初期状態で/etc/httpd/conf.d/wordpress.confはないので新規作成となる。
vi /etc/httpd/conf.d/wordpress.conf
<Directory /var/www/html/wordpress>
  AllowOverride All
</Directory>
apache設定
これは他の方法でもいい。
ただ今回はwordpress以外の用途がないのでDocumentRootを変更する。
(/DocumentRootで検索するといいかも)
vi /etc/httpd/conf/httpd.conf
DocumentRoot "/var/www/html/wordpress"
apache起動
サーバを再起動しても起動するようchkconfigも含めて
apacheサービスを起動する。
chkconfig httpd on
service httpd start
画面確認
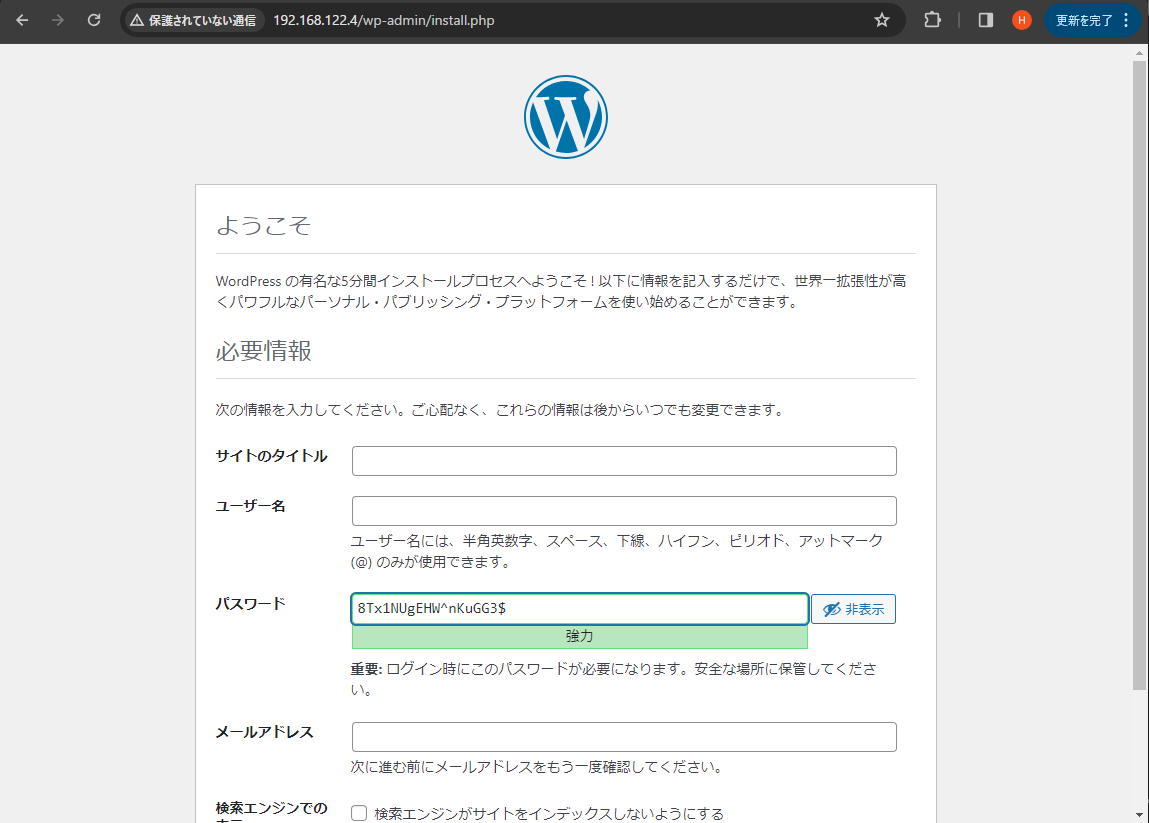
なんでもいいのでブラウザに「http://[サーバのIPアドレス]/」といれて画面がでればOK
せっかくなので初期設定してページいくつかつくって遊んでみよう。

あとがき
むしゃくしゃしてやったいまは反省しているシリーズ。
CentOS6は比較的記事が残っている印象。
wordpressはなんだかんだ触ったことがないのでこれを機に触ってみる予定。
(私たちはwordpressなくてもWebいくらでも作れるので)
次はCentOS7で何か作る。