はじめに
prometheusの永続化ストレージを提供するthanosだが、ちょくちょくネット上で見かけるもののEC2やオンプレの記事はみたことがないので書いておく。
prometheusやthanosの各要素を個別に詳しく解説している記事は他にあるので、ここでは少なくともこうすればEC2でも動くという手順を簡潔に記載する。
(リンク張っていいのかわからなかったので気になる方は「thanos」で検索してみてください)
prometheus
RPMインストール
手順を簡略化する為、packagecloudのRPMを使用してインストールする。
curl -s https://packagecloud.io/install/repositories/prometheus-rpm/release/script.rpm.sh | sudo bash
yum install prometheus2-2.25.2-1.el8.x86_64
yum install node_exporter-1.1.2-1.el8.x86_64
コンフィグ作成
# my global config
global:
  scrape_interval:     60s # Set the scrape interval to every 15 seconds. Default is every 1 minute.
  evaluation_interval: 60s # Evaluate rules every 15 seconds. The default is every 1 minute.
  # scrape_timeout is set to the global default (10s).

  external_labels:
    cluster: prometheus

# Alertmanager configuration
alerting:
  alertmanagers:
  - static_configs:
    - targets:
      # - alertmanager:9093

# Load rules once and periodically evaluate them according to the global 'evaluation_interval'.
rule_files:
  # - "first_rules.yml"
  # - "second_rules.yml"

# A scrape configuration containing exactly one endpoint to scrape:
# Here it's Prometheus itself.
scrape_configs:
  # The job name is added as a label `job=<job_name>` to any timeseries scraped from this config.
  - job_name: 'prometheus'

    # metrics_path defaults to '/metrics'
    # scheme defaults to 'http'.

    static_configs:
    - targets: ['localhost:9090']

  - job_name: node
    static_configs:
    - targets: ['localhost:9100']
サービス設定
systemctl enable node_exporter
systemctl enable prometheus
systemctl start node_exporter
systemctl start prometheus
ここまででprometheusのインストールは完了。
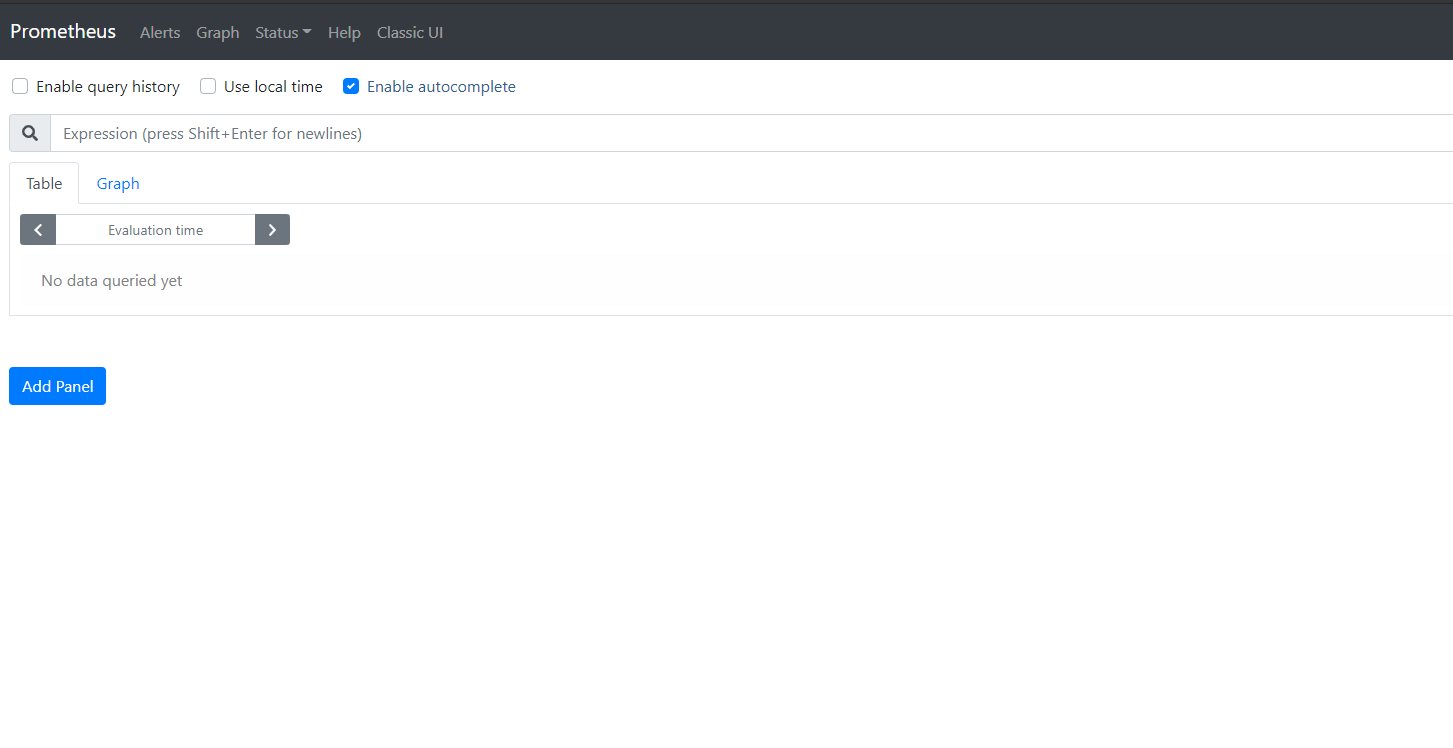
「http://[IPアドレス]:9090」でprometheusの画面が表示できる。

thanos
ここまででprometheusの画面はでたのでthanosをインストールしていく。
引き続きRPMはpackagecloudのものを使用する。
thanosインストール
yum install thanos-0.18.0-1.el8.x86_64
ストレージ設定
今回はストレージとしてS3を使用する。
特別な設定はないので普通に作成してIAMユーザを作成しておく。
IAMユーザのポリシーは以下
{
    "Version": "2012-10-17",
    "Statement": [
        {
            "Sid": "Statement",
            "Effect": "Allow",
            "Action": [
                "s3:ListBucket",
                "s3:GetObject",
                "s3:DeleteObject",
                "s3:PutObject"
            ],
            "Resource": [
                "arn:aws:s3:::[バケット名]/*",
                "arn:aws:s3:::[バケット名]"
            ]
        }
    ]
}
作成したS3の情報を基に設定ファイルを作成する。
type: S3
config:
  bucket: "[バケット名]"
  endpoint: "s3.amazonaws.com"
  region: "ap-northeast-1"
  access_key: "[アクセスキー]"
  insecure: false
  signature_version2: false
  secret_key: "[シークレットキー]"
  put_user_metadata: {}
  http_config:
    response_header_timeout: 2m
    insecure_skip_verify: false
  trace:
    enable: false
  list_objects_version: ""
  part_size: 67108864
  sse_config:
    type: ""
    kms_key_id: ""
    kms_encryption_context: {}
    encryption_key: ""
thanos側コンフィグ設定
今回はt2.micro一台ですべて賄う設定にしている為、分ける場合はそれぞれURLなど変更する。
THANOS_SIDECAR_OPTS='--tsdb.path=/var/lib/prometheus/data --prometheus.url=http://localhost:9090 --objstore.config-file /etc/prometheus/s3.conf'
THANOS_QUERY_OPTS='--http-address=0.0.0.0:10904 --grpc-address=0.0.0.0:10903 --store=localhost:10901'
THANOS_STORE_OPTS='--data-dir=/var/lib/thanos/store --http-address=0.0.0.0:10906 --grpc-address=0.0.0.0:10905 --objstore.config-file /etc/prometheus/s3.conf'
THANOS_COMPACT_OPTS='--data-dir=/var/lib/thanos/compact --http-address=0.0.0.0:10912 --objstore.config-file /etc/prometheus/s3.conf --wait'
thanosの設定は以上だが、このままだと起動してくれないのでprometheus側のtsdb.XXX-block-durationを合わせておく
PROMETHEUS_OPTS='--config.file=/etc/prometheus/prometheus.yml --storage.tsdb.path=/var/lib/prometheus/data --storage.tsdb.min-block-duration=1d --storage.tsdb.max-block-duration=1d'
サービス設定
systemctl restart prometheus

systemctl enable thanos-sidecar
systemctl enable thanos-query
systemctl enable thanos-store
systemctl enable thanos-compact
systemctl start thanos-sidecar
systemctl start thanos-query
systemctl start thanos-store
systemctl start thanos-compact
これで完了そのうちS3にデータが流れていく。
あとがき
container全盛の時代だけど全員がkubernetes使える環境にいるわけではないのでどこかの誰かのお役にたてば幸いです。
EC2に入るってことはほかのcloudやオンプレでも使えるという事なので。