はじめに
職場でSlackを使っているので、定時処理などのお知らせを投稿出来たらいいなぁと思ってやってみた記録。
アプリの作成
まず始めにSlackにAppsというものを作る。
https://api.slack.com/apps へアクセス。
アプリ名を入力し、アプリを作成するワークスペースを選ぶ。そして「Create App」をクリック。

アプリ作成後、アプリの設定画面へ移動するので、Features → App Home をクリック。

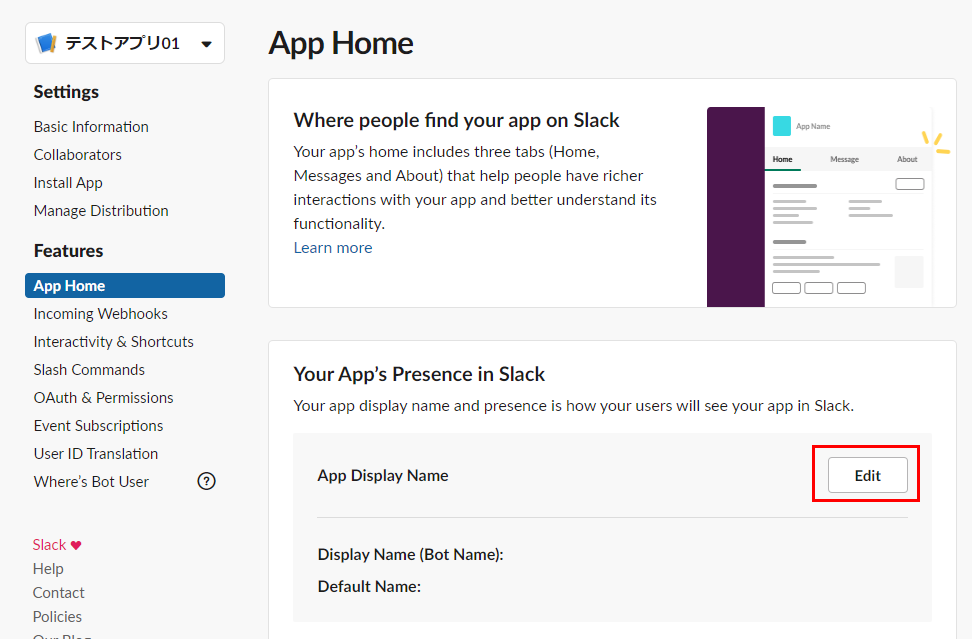
App Display Name の Edit をクリック。

botユーザーの名前を入れて、Addをクリック。これがこのアプリ経由でメッセージなどを発言するユーザーになる。

左のメニューから、Settings → Basic Information をクリック。
Add features and functionality の Bots と Permissions にチェックが付いているのを確認する。

同じページにある Incoming Webhooks をクリック。

ページ下部へ移動し、Add New Webhooks to workspace をクリック。

※このとき、下記「インストールするボットユーザーがありません」のエラー画面になる場合は、Botユーザーもしくはパーミッションの設定が足りていないので見直す。

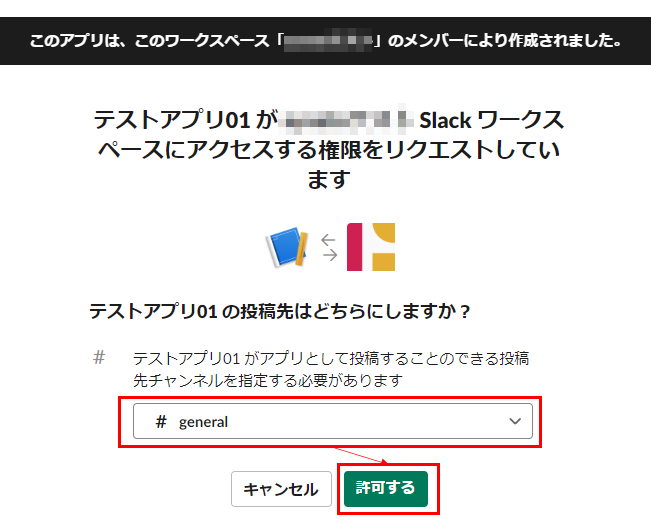
このWebhook URLでメッセージを投稿したりするチャンネルを選んで「許可」をクリック。

サンプルのcurlコマンドを実行すると、指定したチャンネルへメッセージを投稿できる。
…が、自分のPCでは上手くいかなかったので、PowerShellへ書き直して実行した。
$url = "https://hooks.slack.com/services/xxx"
$headers = @{"Content-type" = "application/json"}
$body = "{`"text`":`"Hello, World!`"}"

Invoke-WebRequest -Uri $url -Method POST -Headers $headers -Body $body


