はじめに
個人のメモ程度の出来なのであまり参考にしないで下さい.
環境
Xcode:11.2.1
Swift:5.1.2
2019/11
part1
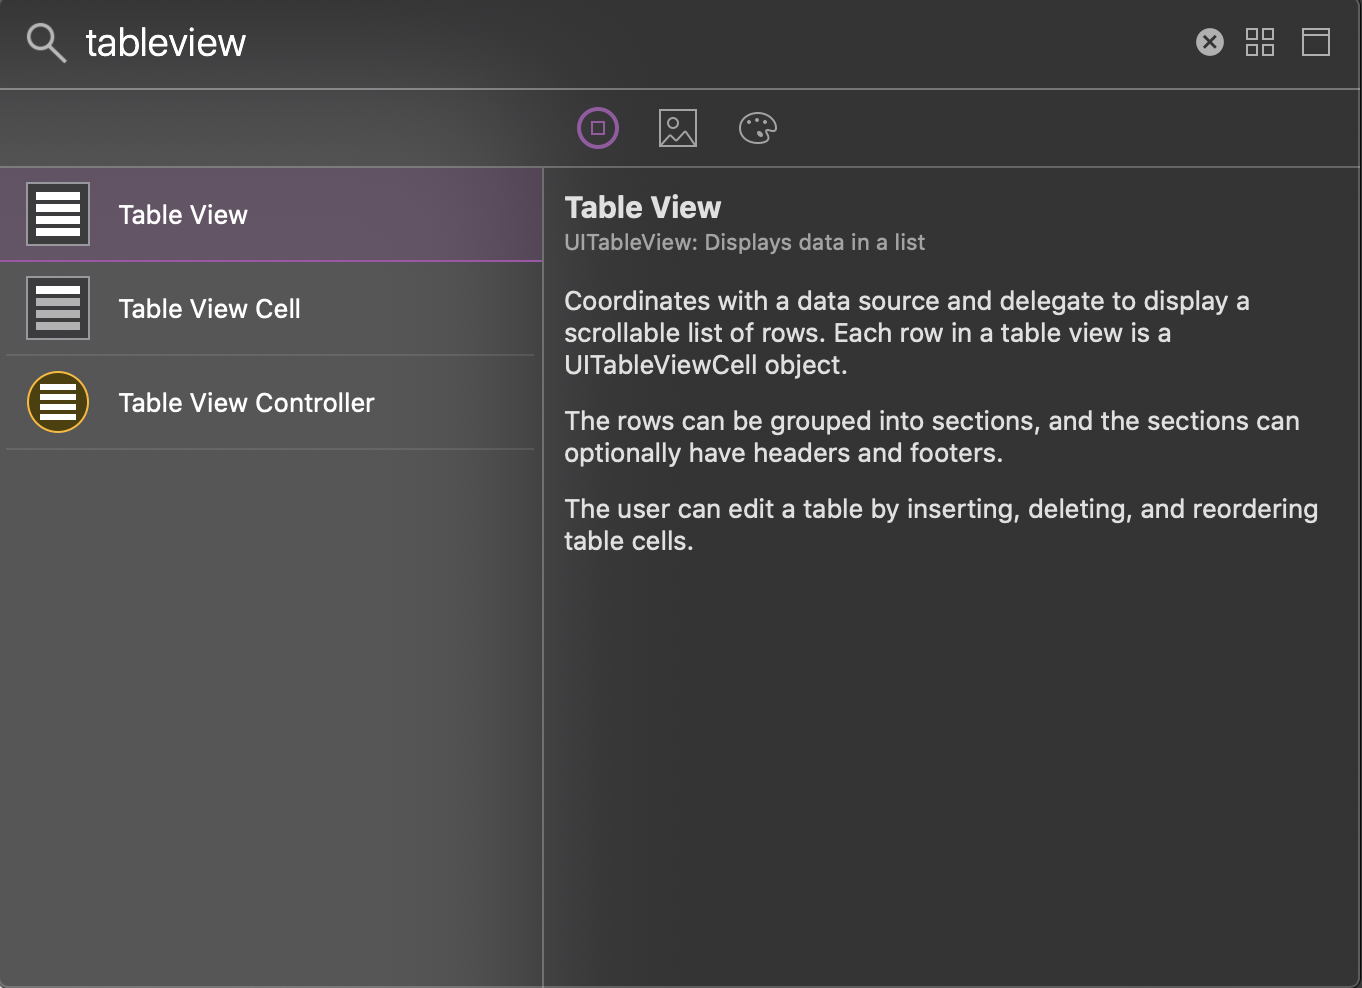
XcodeでTableViewと検索する.
part2
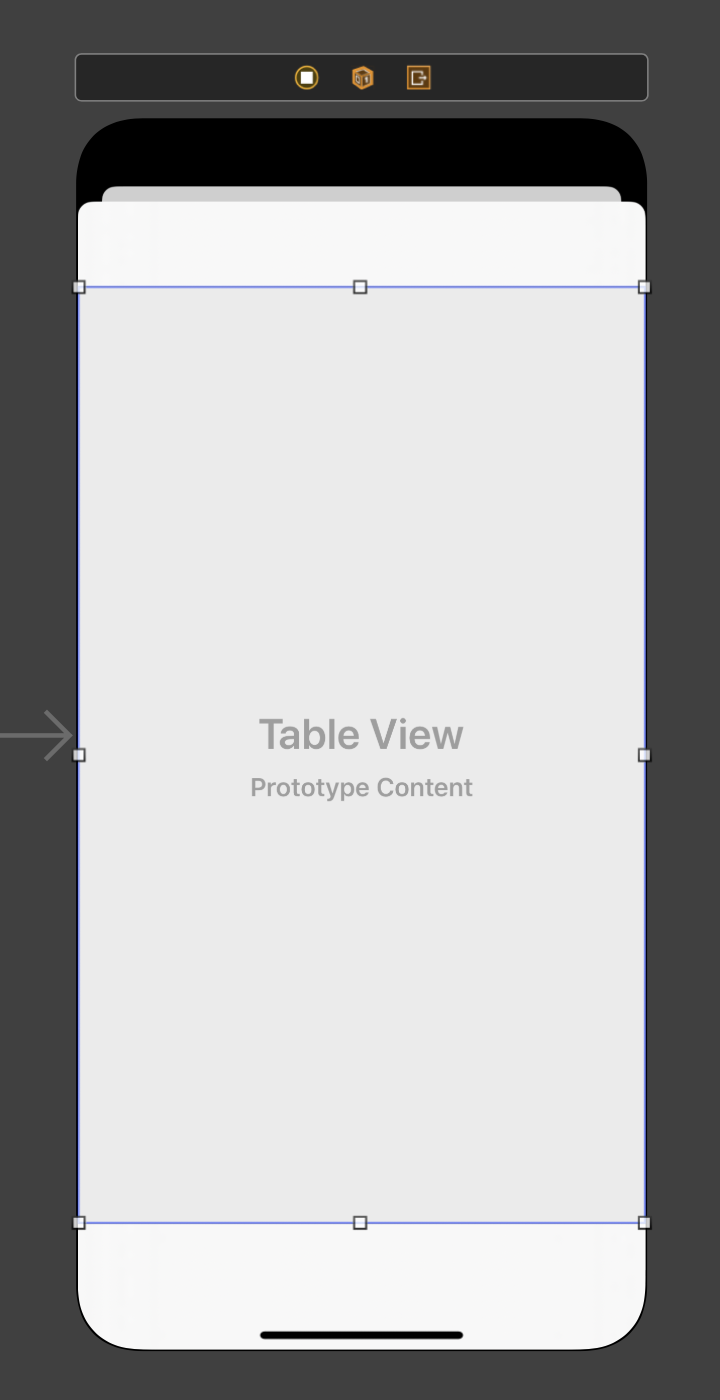
UITableViewを置きたいViewに乗せる.
制約を付ける.
先にbannerViewを置くこと.
part3
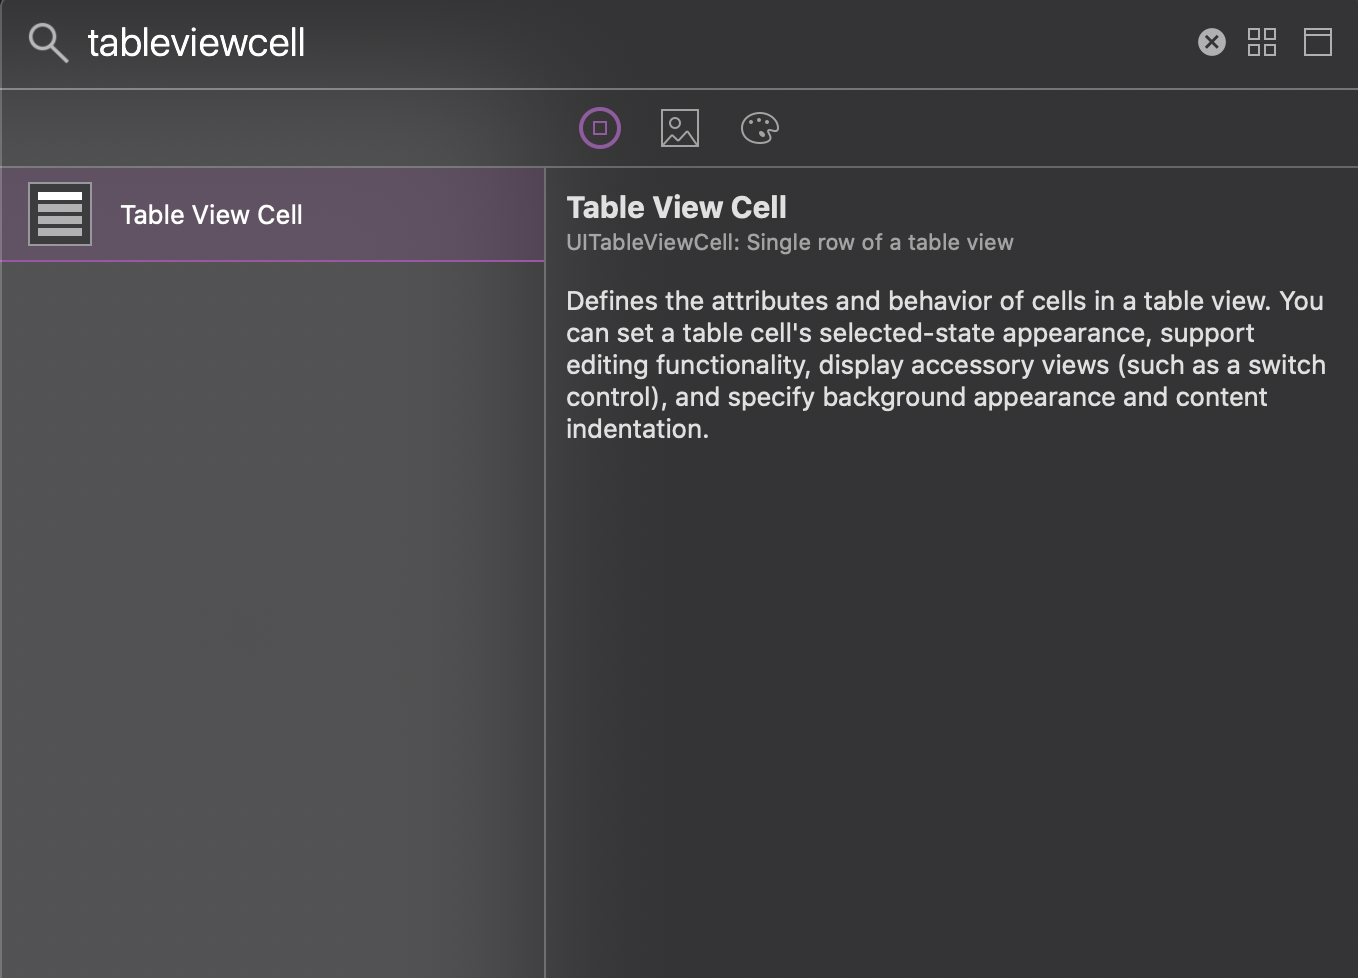
XcodeでTableViewCellと検索する.
part4
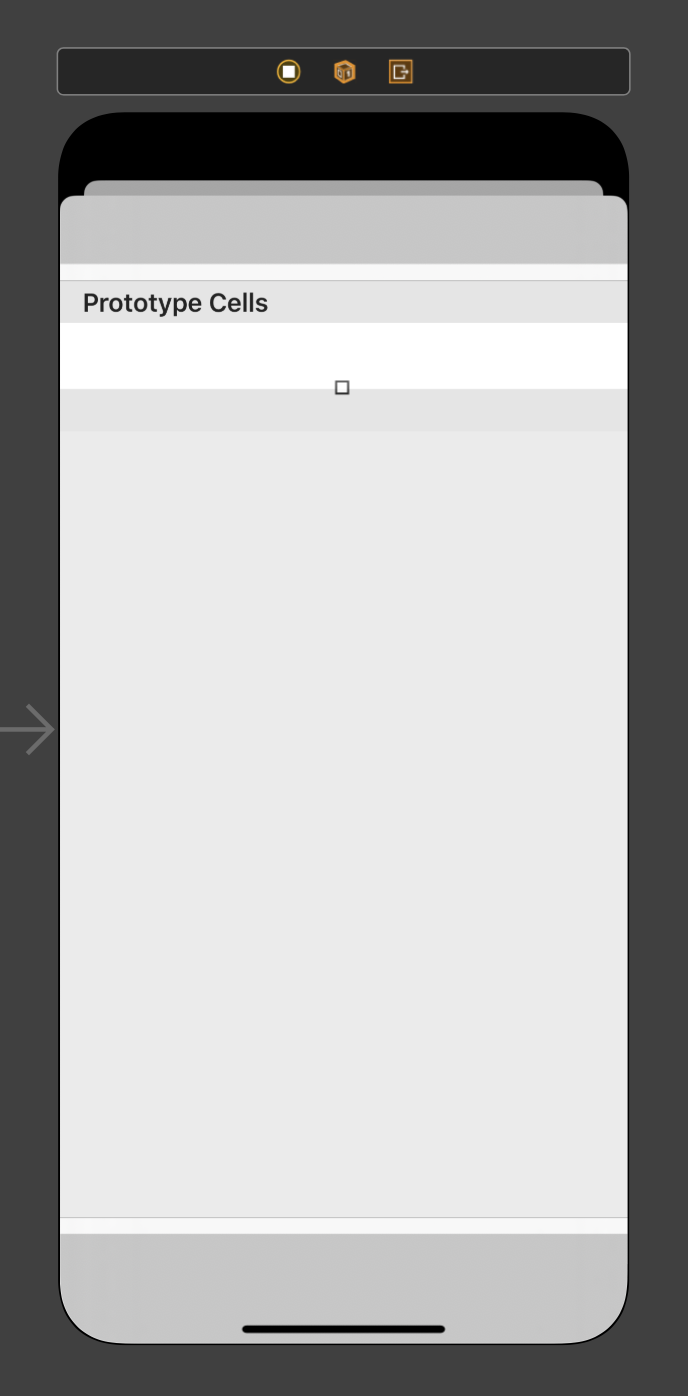
UITableViewCellを先ほど置いたUITableViewに乗せる.
part5
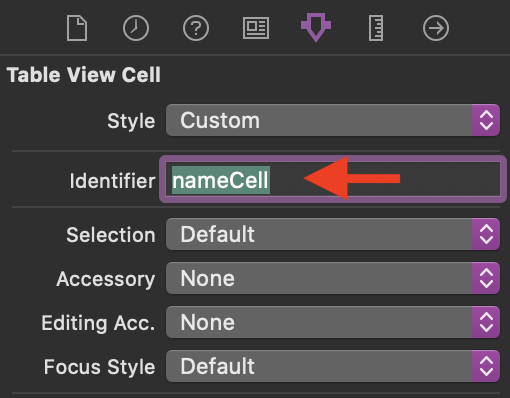
Cellを選択した状態で,Attributes inspectorのIdentifierにCellを識別するための任意の文字列を入力する.
part6
ここからはFirstViewControllerのみ.
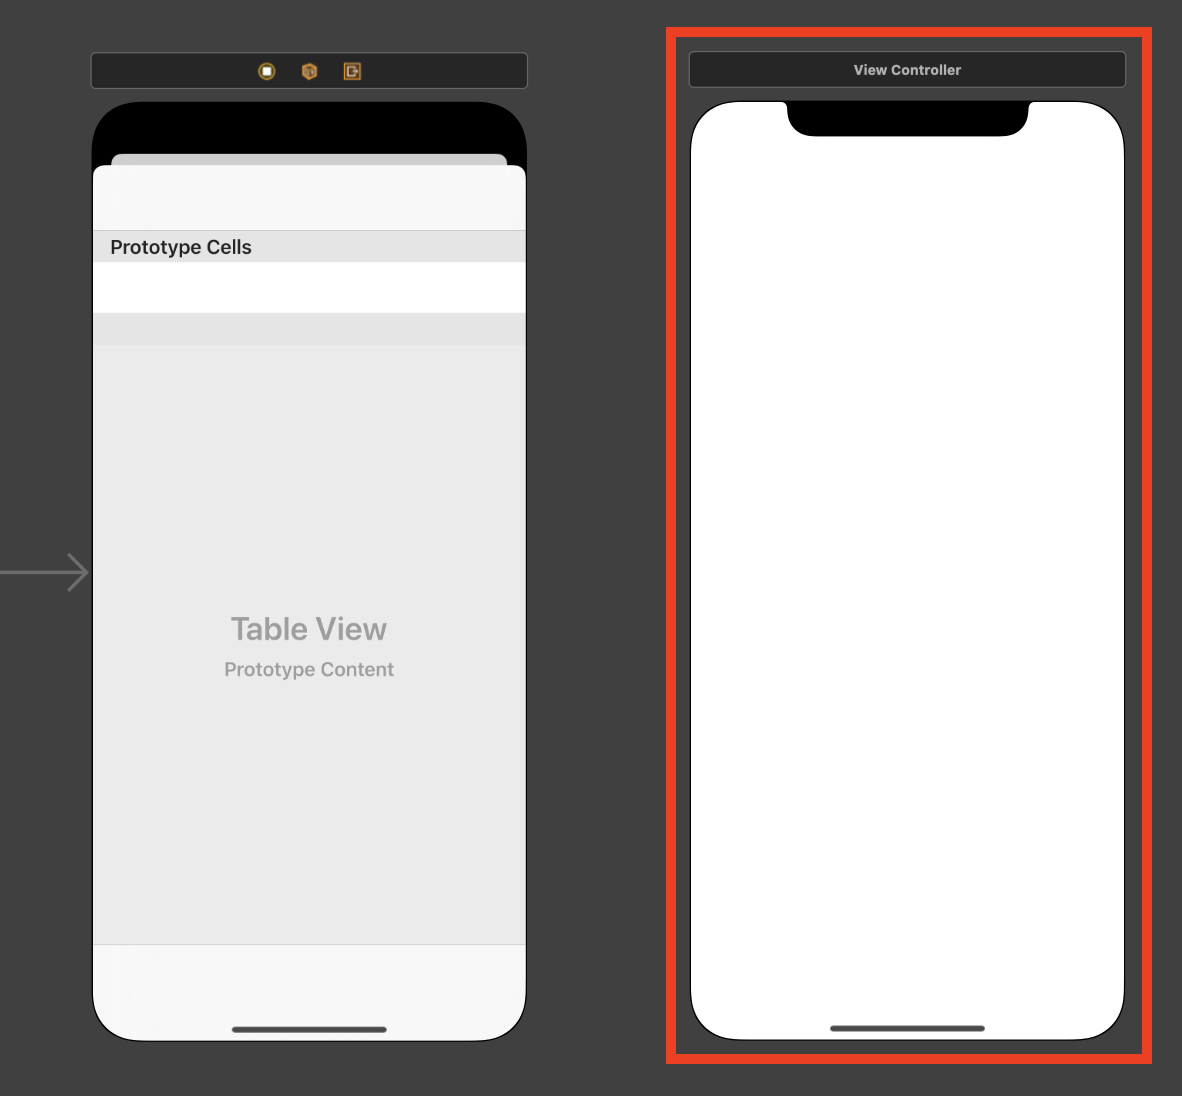
Cellを選択したときに表示するUIViewControllerを置く.
part7
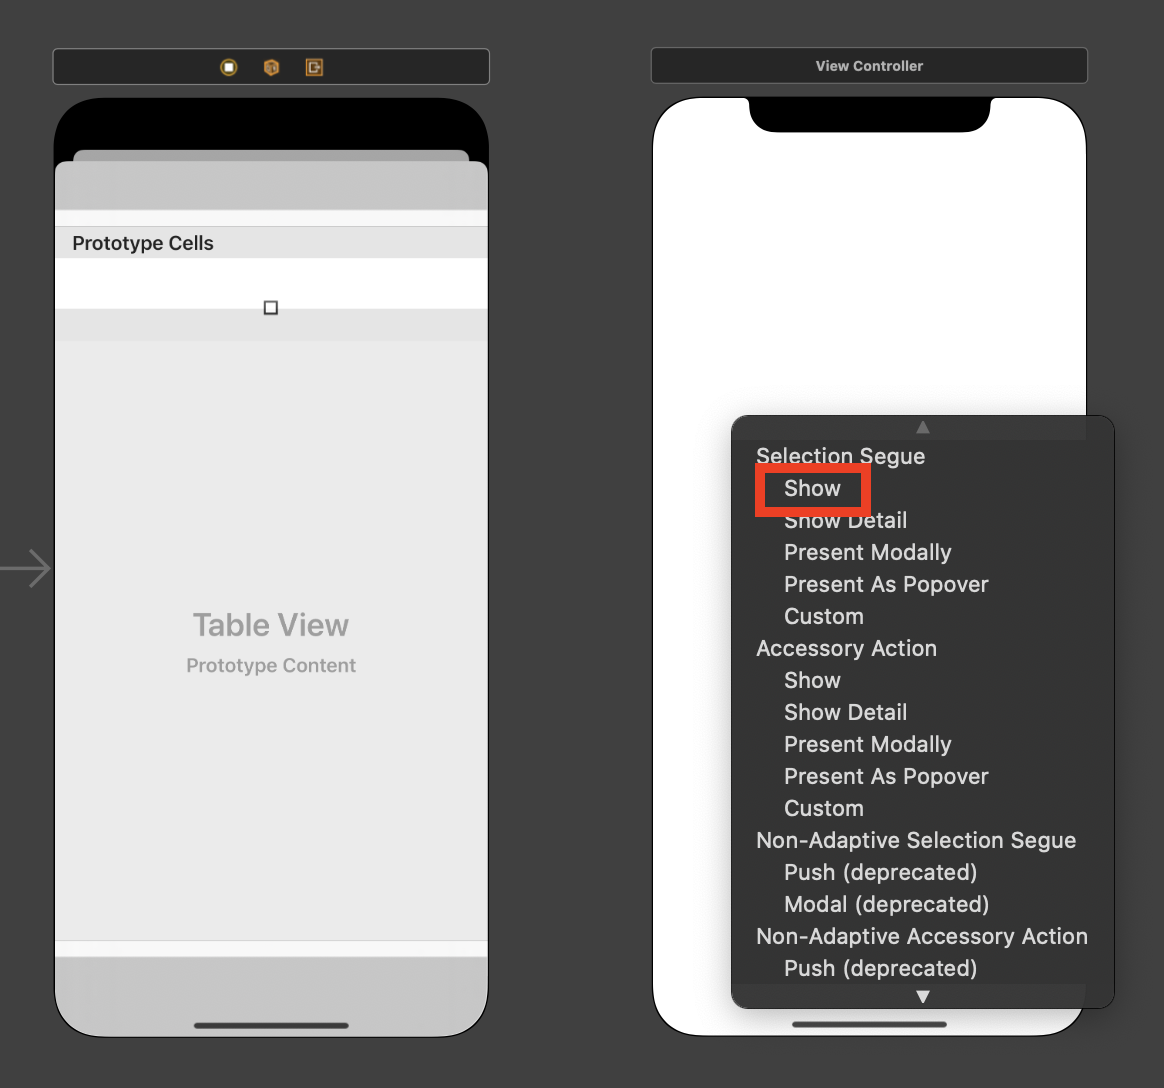
Cellを選択した状態で,contrlキーを押しながら先ほど置いたUIViewControllerにドラッグ・ドロップする.
Showを選択する.
part8
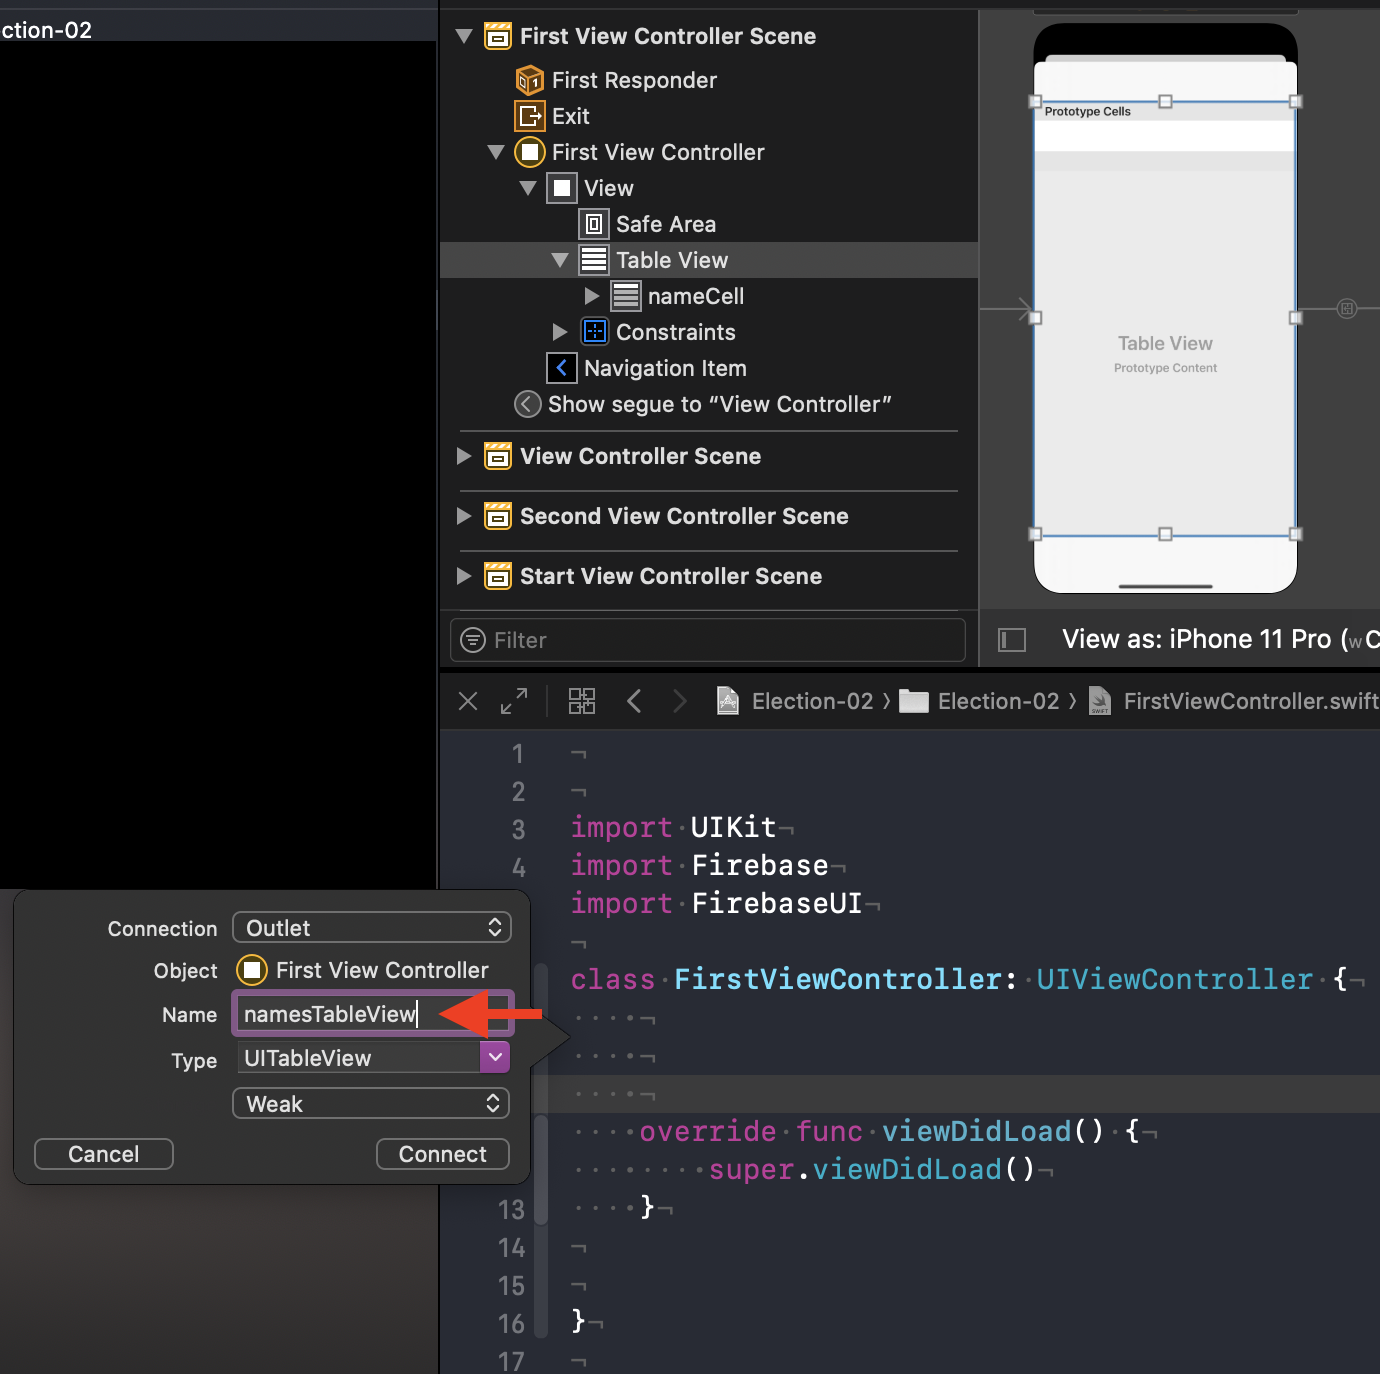
画面を分割し,Main.storyboardでTable Viewを選択する.

part9
contrlキーを押しながらドラッグ・ドロップで,コードと接続する.
part10
-
FirstViewControllerクラスにUITableViewDataSource, UITableViewDelegateの2つを批准させる. -
viewDidLoad()メソッドにnamesTableView.delegate = self,namesTableView.dataSource = selfの2つを追加する. -
tableView(_:numberOfRowsInSection:)メソッドを追加する. -
tableView(_:cellForRowAt:)メソッドを追加する.
下が追加後のコード
import UIKit

//↓↓↓↓↓デリゲートを追加
class FirstViewController: UIViewController, UITableViewDataSource, UITableViewDelegate {

    @IBOutlet weak var namesTableView: UITableView!


    override func viewDidLoad() {
        super.viewDidLoad()

        //↓↓↓↓↓追加
        namesTableView.delegate = self
        namesTableView.dataSource = self
    }

    //↓↓↓↓↓追加
    func tableView(_ tableView: UITableView, numberOfRowsInSection section: Int) -> Int {
        return 5
    }

    //↓↓↓↓↓追加
    func tableView(_ tableView: UITableView, cellForRowAt indexPath: IndexPath) -> UITableViewCell {
        let cell = tableView.dequeueReusableCell(withIdentifier: "nameCell", for: indexPath)
        cell.textLabel?.text = "Test"
        return cell
    }
}
part11
ビルドしてTableViewが使えたらOK.