概要
JAMStackというものがはやっているらしいので入門したいのですが、調べれば調べるほど、microCMSやNetrify, Contentfulなど新しいツールやライブラリを利用した記事が多いため、(自分にとっては)慣れ親しんだGithub(pages,issue,actions)とnuxt.jsだけでJAMStackなページを構築して体系的にJAMStackを学んでみよう!なエントリです。
作ったもの
Githubで完結するブログシステムを作りました。
https://utautattaro.github.io/ghblog/
指定のリポジトリでissueを立てると自動的にページにコンテンツが投稿される仕組みです。
※適当にissueを追加して動作を確認してみてください!
そもそもJAMStackとは
JAMstackとは2016年ごろにNetrifyの創設者Matt Biilmann氏が提唱した新しいフロントエンドスタックです。 リクエストを受けてからサーバー上で処理を行いレスポンスを返す従来のWebサイトの配信方法とは異なり、JAMstackでは事前にビルドされたHTMLをCDN上で配信します。
つまるところユーザーが見るコンテンツは従来のようにクライアントサーバー間でアクセス時にやり取りするのではなく、事前にCI/CDでビルドして静的にホストしておこうぜという感じです。静的サイトとしてホストされるのでパフォーマンス的にもSEO的にもばっちりとのこと。
JAMStackを構成するうえで必要な要素としては以下のようです
1.Static Site Generator
2.CI/CD
3.静的ホスティング
4.APIs
最近ではこれらに特化したツールが数多く登場していますが、今回は導入をなるべく低く、無料で可能な範囲で行うためにそれぞれ
1.nuxt.js
2.Github Actions
3.Github Pages
4.GIthub Issue
で構築してみました
開発
リポジトリの作成
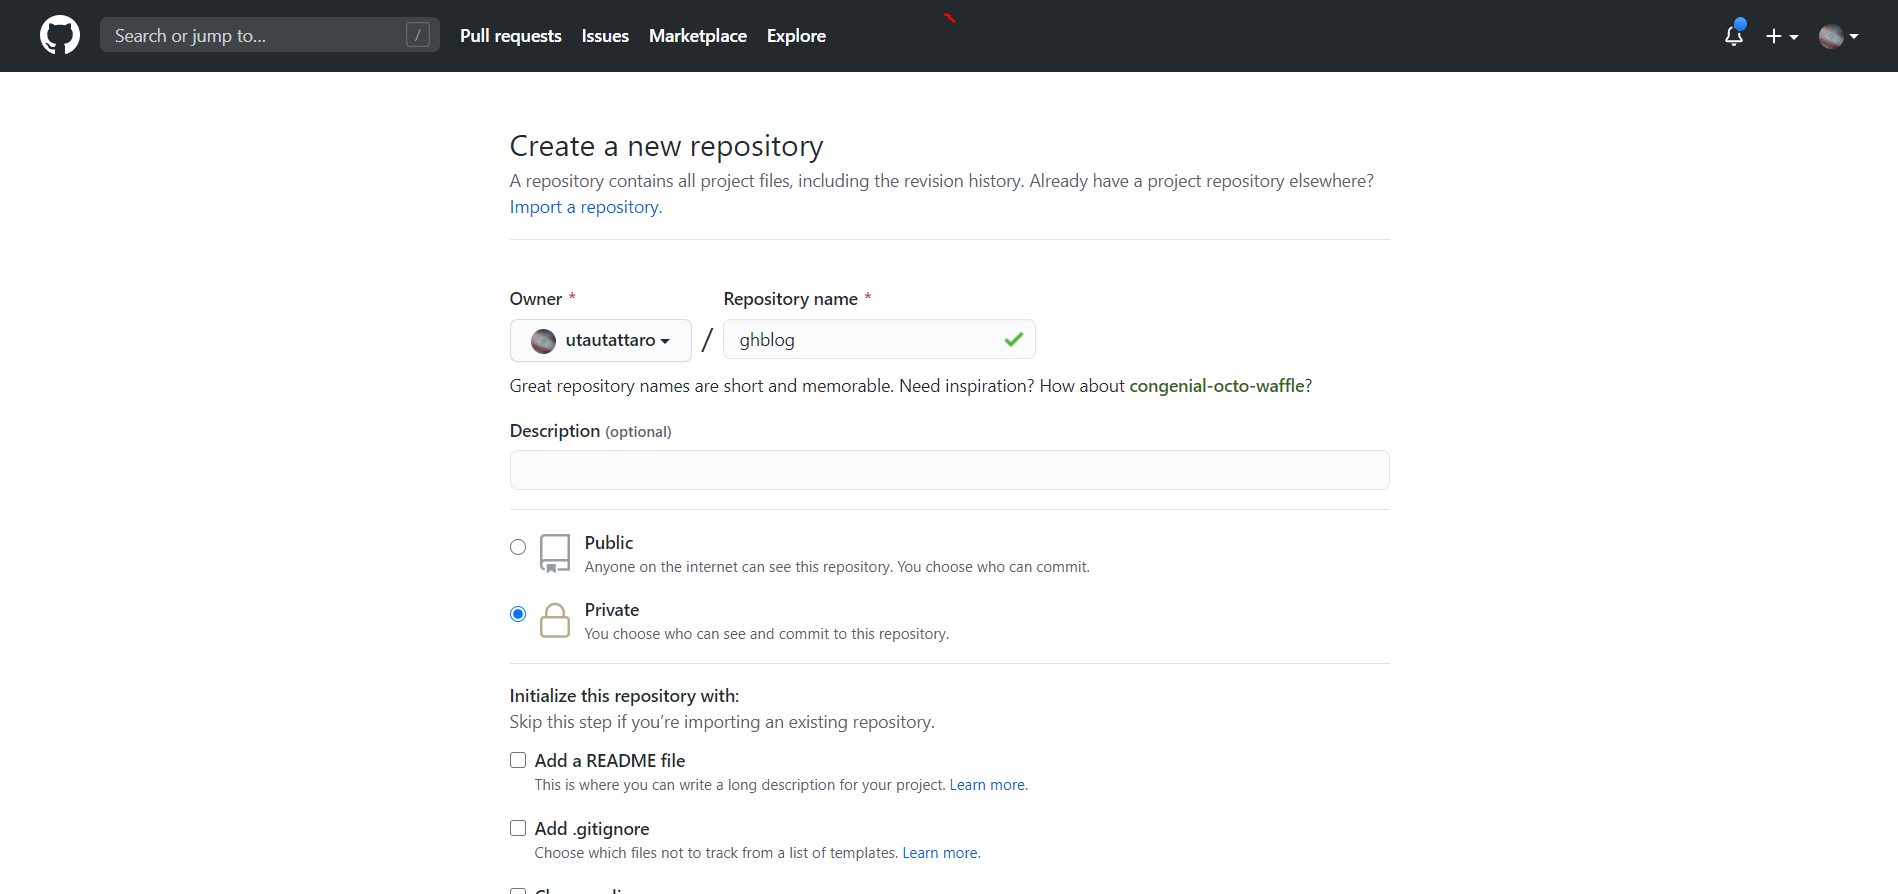
create-nuxt-app
# npx create-nuxt-app ghblog
create-nuxt-app v3.4.0
✨  Generating Nuxt.js project in ghblog
? Project name: ghblog
? Programming language: JavaScript
? Package manager: Npm
? UI framework: Bootstrap Vue
? Nuxt.js modules: Axios
? Linting tools: (Press <space> to select, <a> to toggle all, <i> to invert selection)
? Testing framework: None
? Rendering mode: Universal (SSR / SSG)
? Deployment target: Static (Static/JAMStack hosting)
? Development tools: jsconfig.json (Recommended for VS Code if you're not using typescript)
? What is your GitHub username? utautattaro
? Version control system: Git
個人的にBootStrapが好きなのでBootStrapを選択しています。
Issueを参照する際にaxiosが必要なのでこの場でインストールします。Rendering mode, Deploy targetはそれぞれSSR、Staticを選択します
アプリケーションができたらgit initしておきましょう
git init
git add .
git commit -m "first commit"
git branch -M main
git remote add origin https://github.com/utautattaro/ghblog.git
git push -u origin master
コンテンツの作成
今回はシンプルにIssueのタイトルとボディのみ使います。markdownが使えますが、いったんplantextのみ対応します。
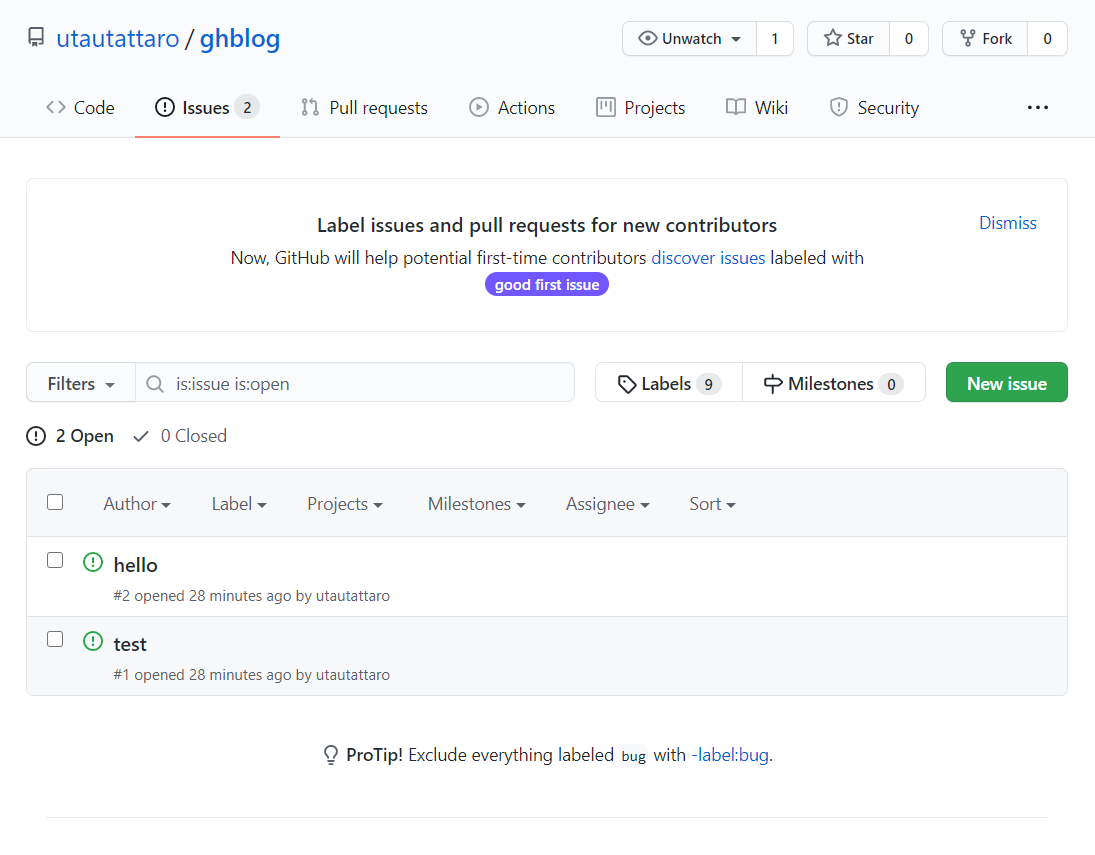
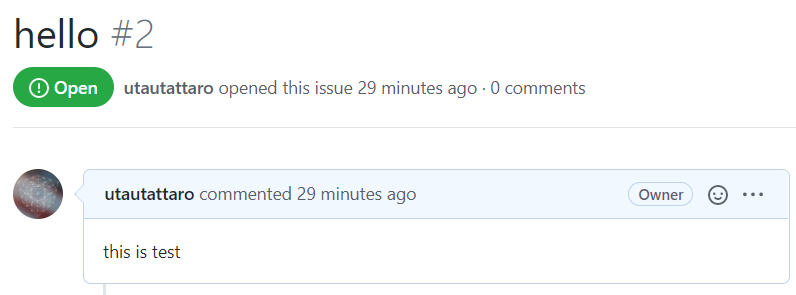
このように適当なIssueを二つほど立てておきます
CI/CDの準備
Actionsのタブに飛んでworkflowファイルを作成します
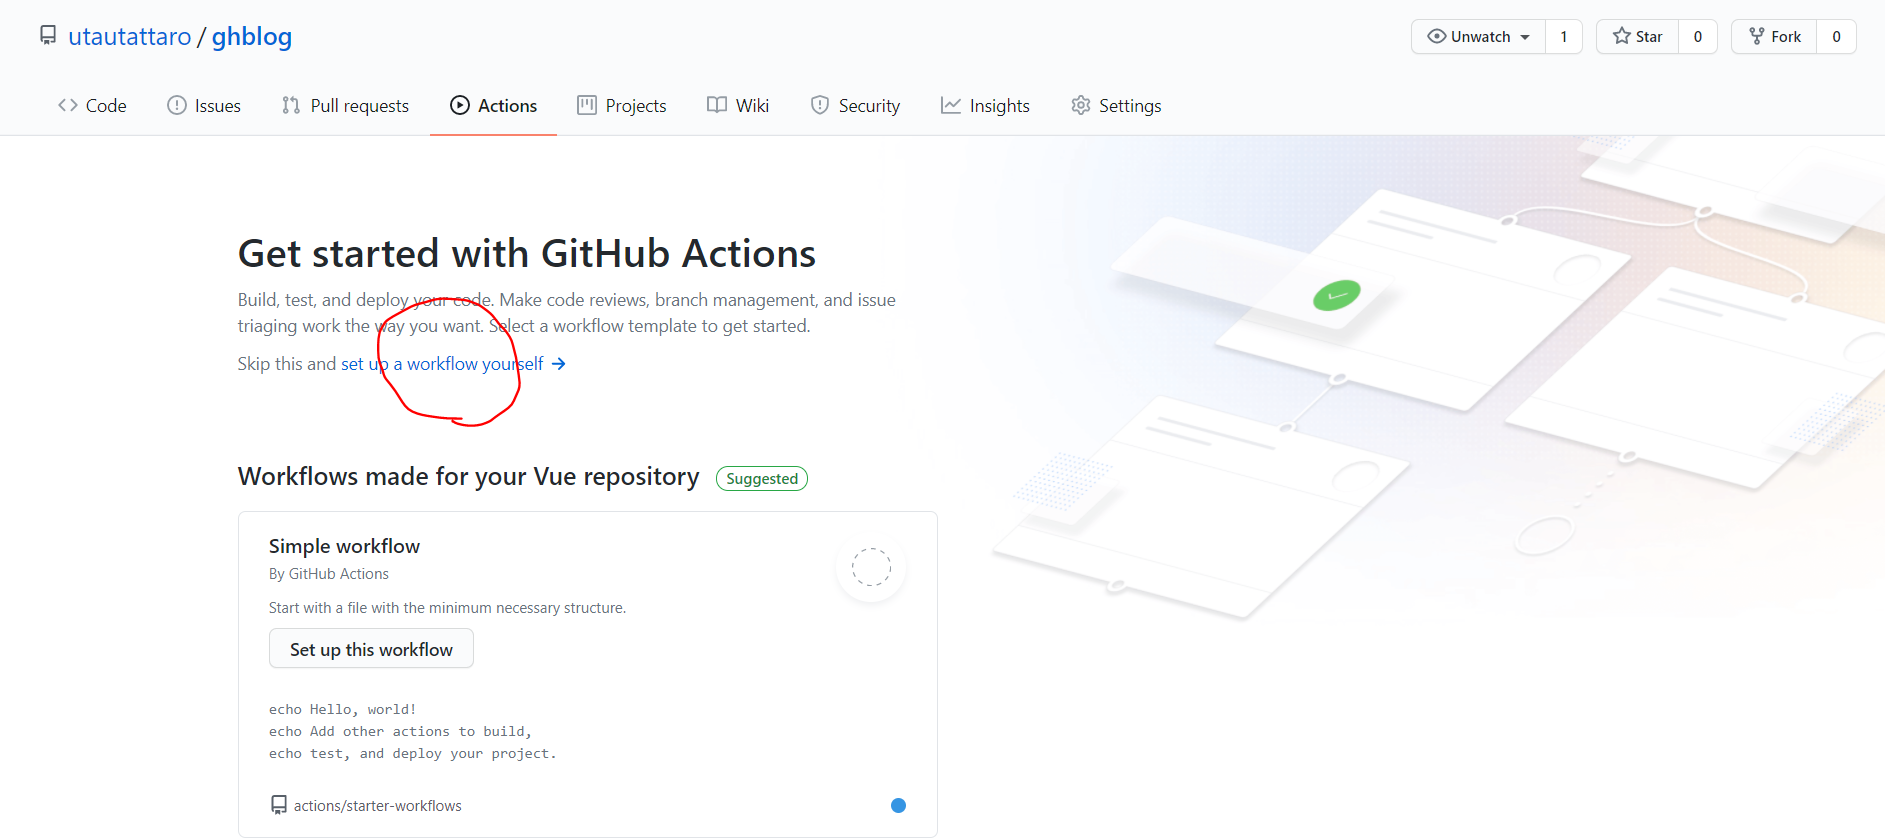
今回はGithub Pagesにデプロイしたいのでgithub-pages-deploy-actionを利用します
# This is a basic workflow to help you get started with Actions

name: CI

# Controls when the action will run. Triggers the workflow on push or pull request
# events but only for the master branch
on:
  push:
    branches: [ master ]

# A workflow run is made up of one or more jobs that can run sequentially or in parallel
jobs:
  # This workflow contains a single job called "build"
  build:
    # The type of runner that the job will run on
    runs-on: ubuntu-latest

    # Steps represent a sequence of tasks that will be executed as part of the job
    steps:
      # Checks-out your repository under $GITHUB_WORKSPACE, so your job can access it
      - name: Checkout 🛎️
        uses: actions/checkout@v2

      - name: setup node
        uses: actions/setup-node@v1
        with:
          node-version: '10.x'

      - name: Cache dependencies
        uses: actions/cache@v1
        with:
          path: ~/.npm
          key: ${{ runner.os }}-node-${{ hashFiles('**/package-lock.json') }}
          restore-keys: |
            ${{ runner.os }}-node-

      - name: install
        run: npm ci

      - name: test
        run: npm test

      - name: generate
        run: npm run generate

      - name: Deploy 🚀
        uses: JamesIves/github-pages-deploy-action@3.6.2
        with:
          GITHUB_TOKEN: ${{ secrets.GITHUB_TOKEN }}
          BRANCH: gh-pages # The branch the action should deploy to.
          FOLDER: dist # The folder the action should deploy.
          CLEAN: true # Automatically remove deleted files from the deploy branch
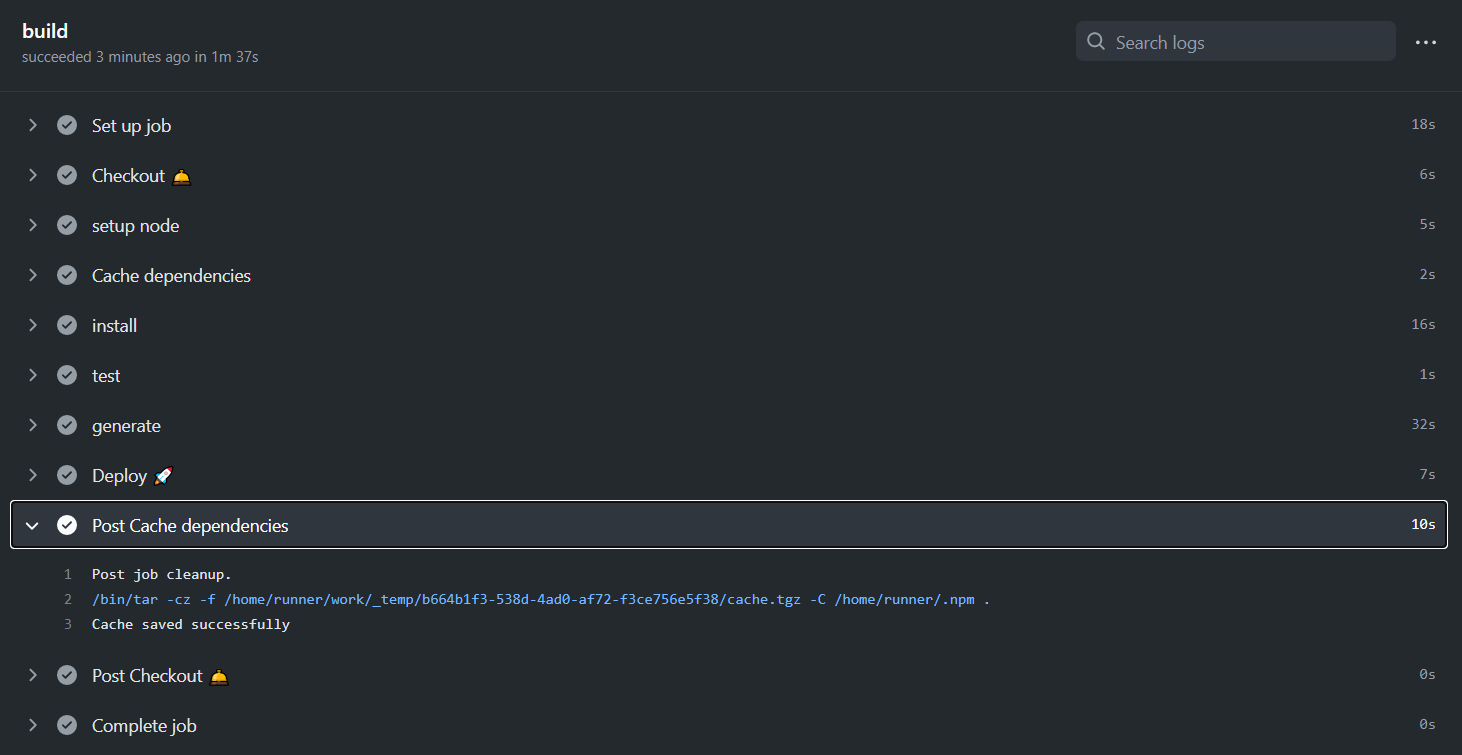
push後、CIが動いていることが確認できたらOKです
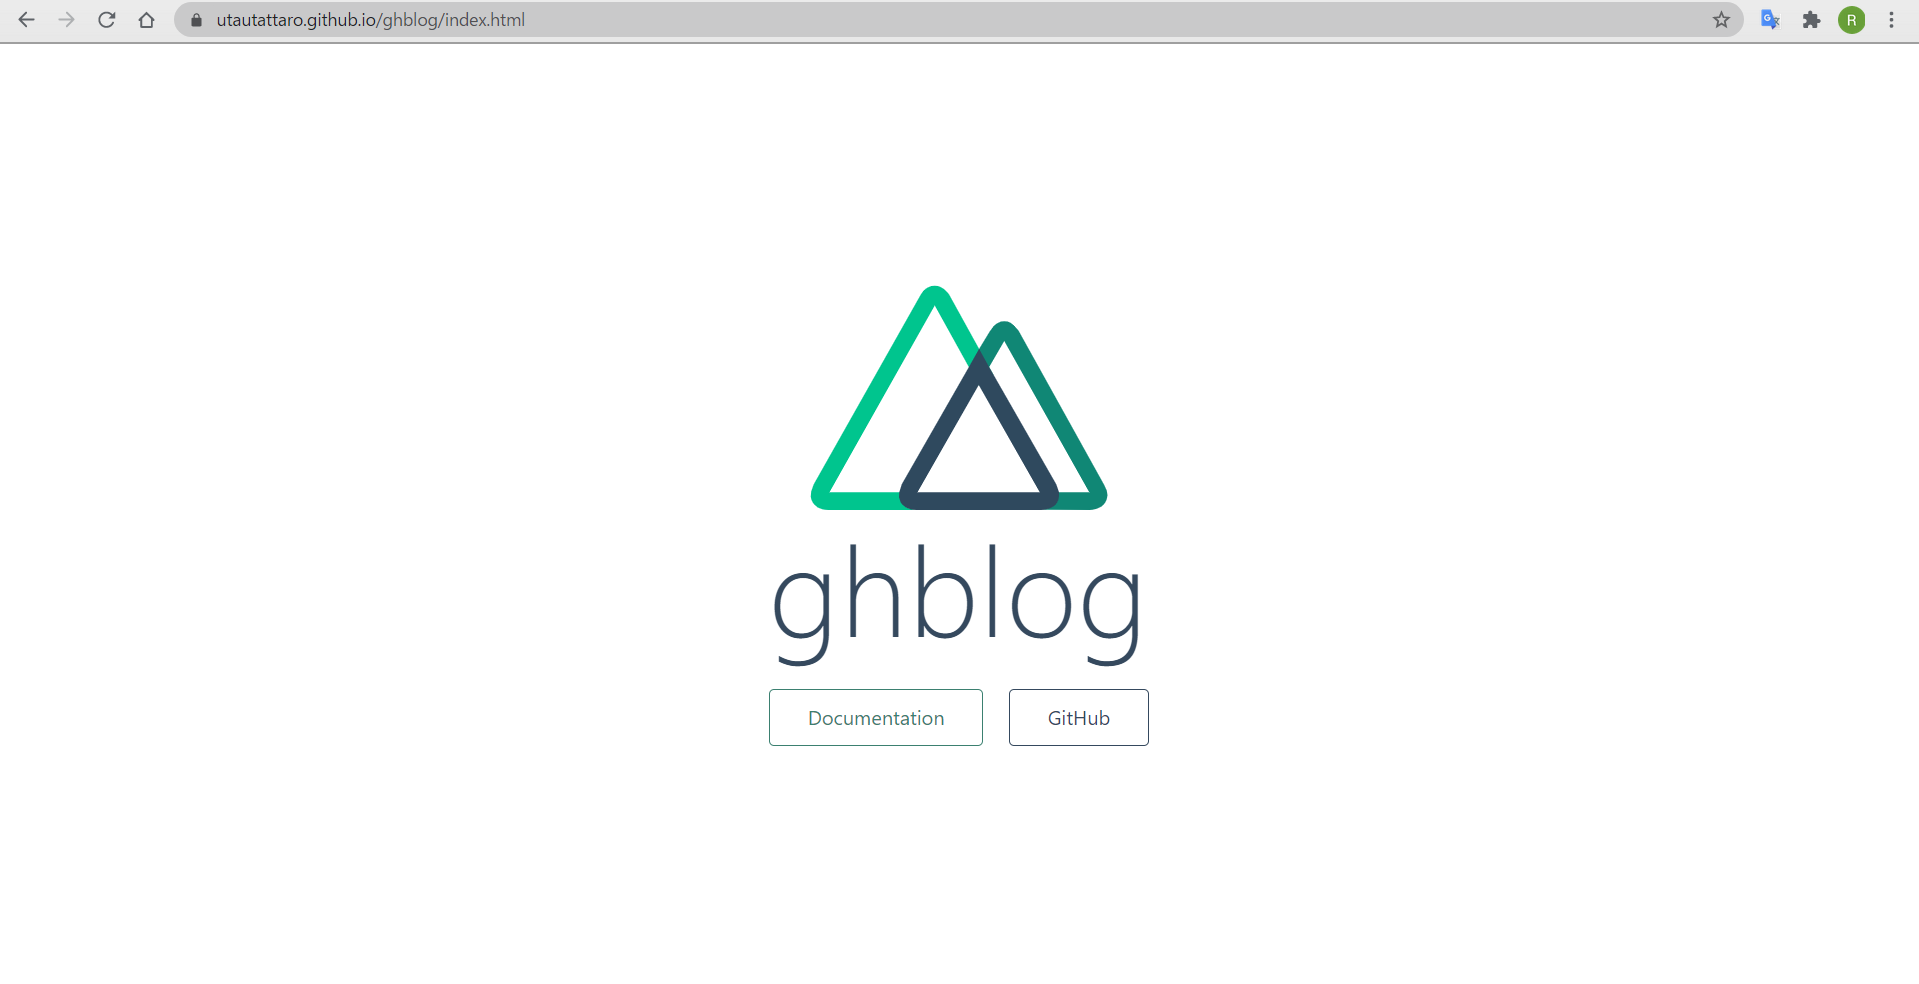
正しくビルドとデプロイができていれば、Github PagesのURLにこのように表示されているはずです
記事ページ作成
Issueから受け取ったデータを表示するための.vueファイルを作成します
<template>
    <div>
        <p>title : {{title}}</p>
        <p>content : {{body}}</p>
        <small>author : {{user.login}} createdAt : {{created_at}}</small>
    </div>
</template>

<script>
    export default {
        data () {
            return {
                // APIで取得してきたデータ群
                title: '',    // タイトル
                body: '',  // コンテンツ
                created_at : '', // 作成日時
                user : '' //ユーザー情報
            }
        },
        async asyncData ({params, error, payload }) {
            // payloadでデータを受け取った場合
            if (payload) {
                return {
                    title: payload.title,
                    body: payload.body,
                    created_at: payload.created_at,
                    user : payload.user
                }
            }
        }
    }
</script>
configにIssueからのAPIを動的ルーティングに流し込む処理を追加します
generate: {
    routes() {
      return axios.get('https://api.github.com/repos/utautattaro/ghblog/issues').then(res => {
        return res.data.map(post => {
          return {
            route: '/post/' + post.id,
            payload: post
          }
        })
      })
    }
  }
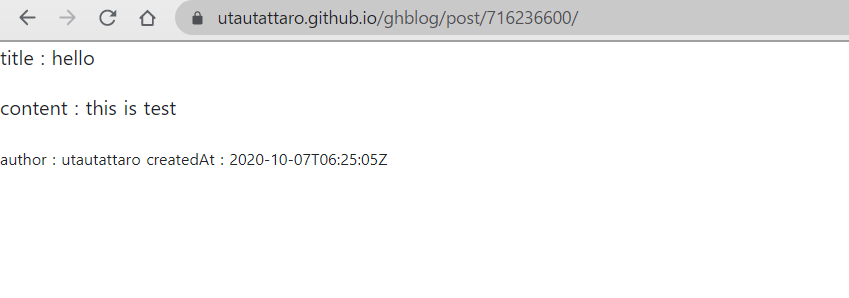
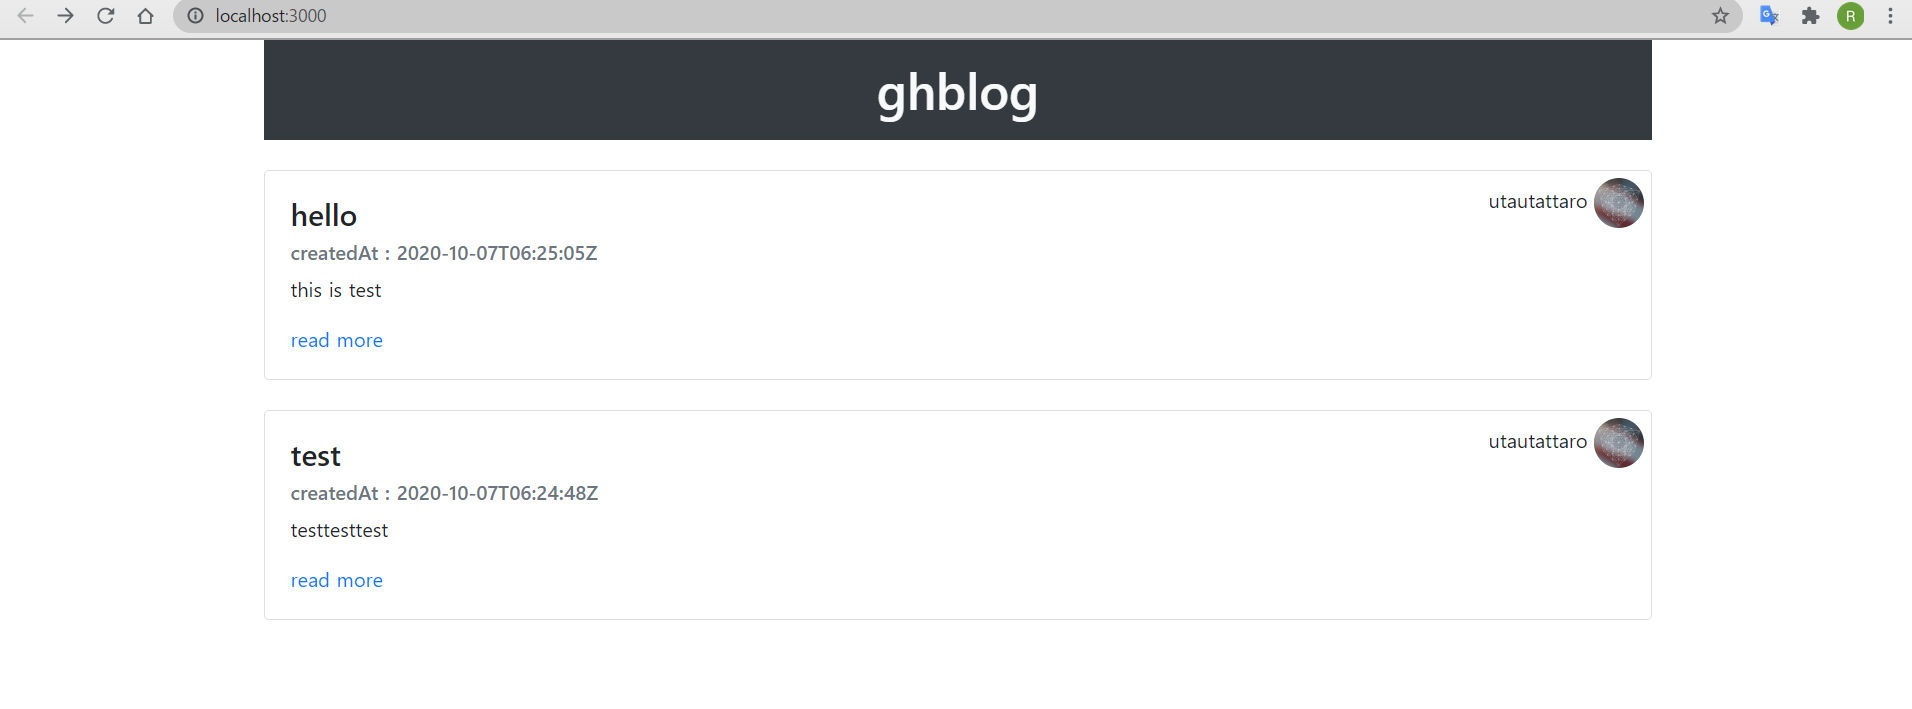
プッシュすると記事のページが正しく表示されていることが確認できました
トップページ作成
トップページはaxiosでIssueの一覧を持ってきて表示する仕組みにしました。
<template>
  <b-container>
    <h1 class="bg-dark text-light text-center p-3">ghblog</h1>
    <b-card v-bind:title="post.title" v-bind:sub-title="new Date(post.created_at).toLocaleString()" class="my-4" v-for="(post, index) in posts" :key="index">
      <b-card-text>
        {{post.body.substr(0, 50)}}{{(post.body.length > 50)?"..." : ""}}
      </b-card-text>
      <span style="position: absolute;top:5px;right:5px;">
        {{post.user.login}}
        <b-avatar v-bind:href="post.user.html_url" target="_blank" v-bind:src="post.user.avatar_url"></b-avatar>
      </span>
      <b-link v-bind:to="'/ghblog/post/'+post.id" class="card-link">read more</b-link>
    </b-card>
  </b-container>
</template>

<script>
export default {
  async asyncData({ $axios }) {
			// 取得先のURL
			const url = "https://api.github.com/repos/utautattaro/ghblog/issues";
			// リクエスト(Get)
			const response = await $axios.$get(url);
			// 配列で返ってくるのでJSONにして返却
			return {
				posts: response
			};
		}
}
</script>

<style>
</style>
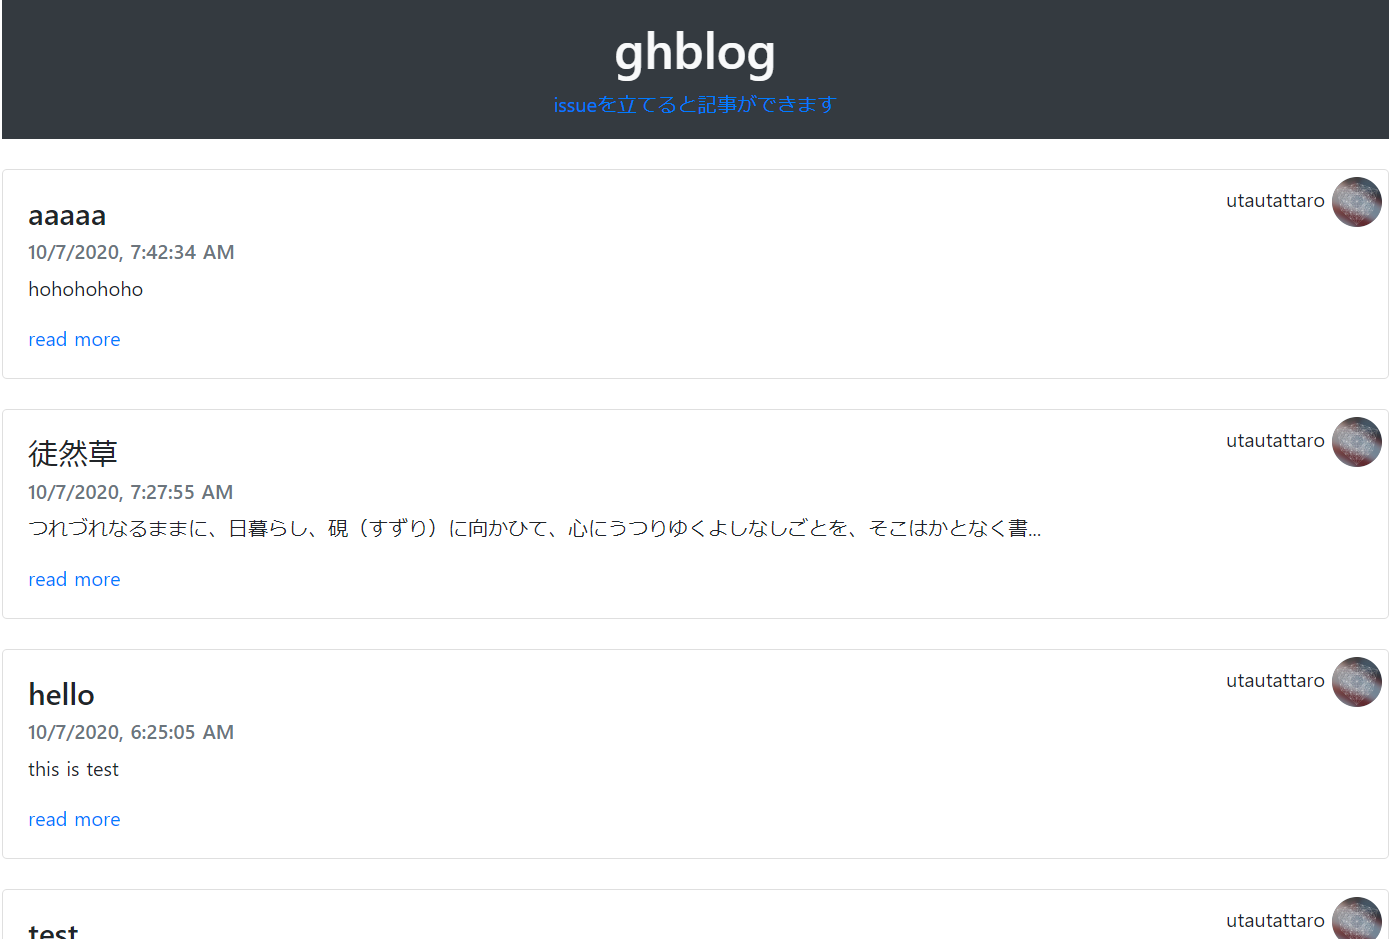
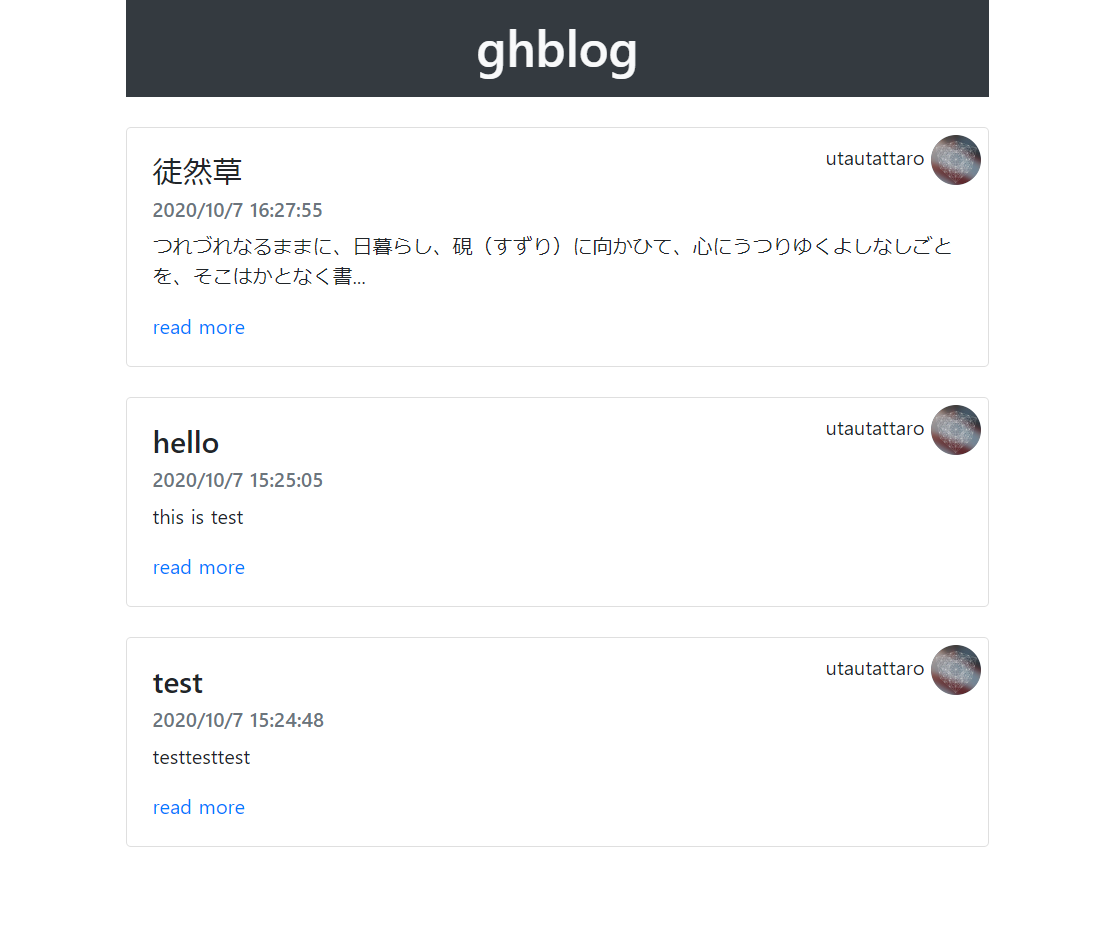
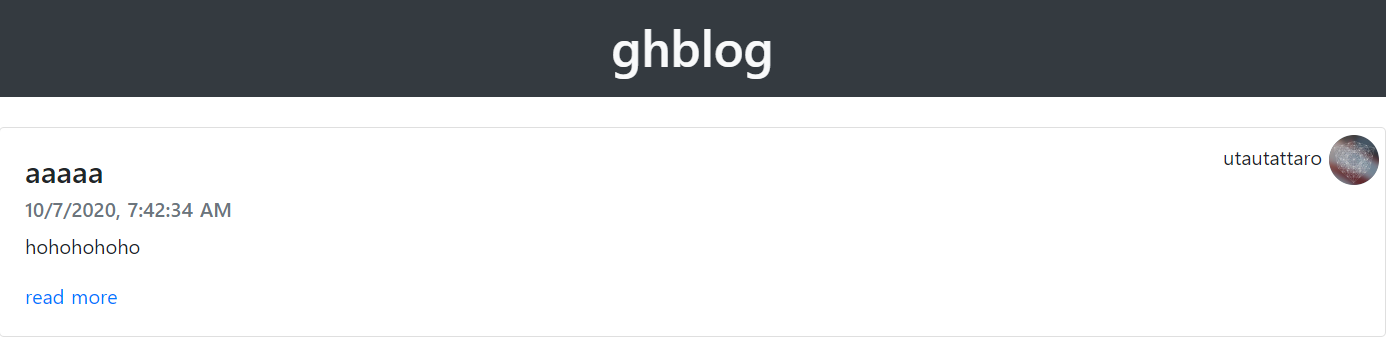
いい感じにトップページができました
長文のbodyがあった場合は50文字で切られる仕様にしてみました
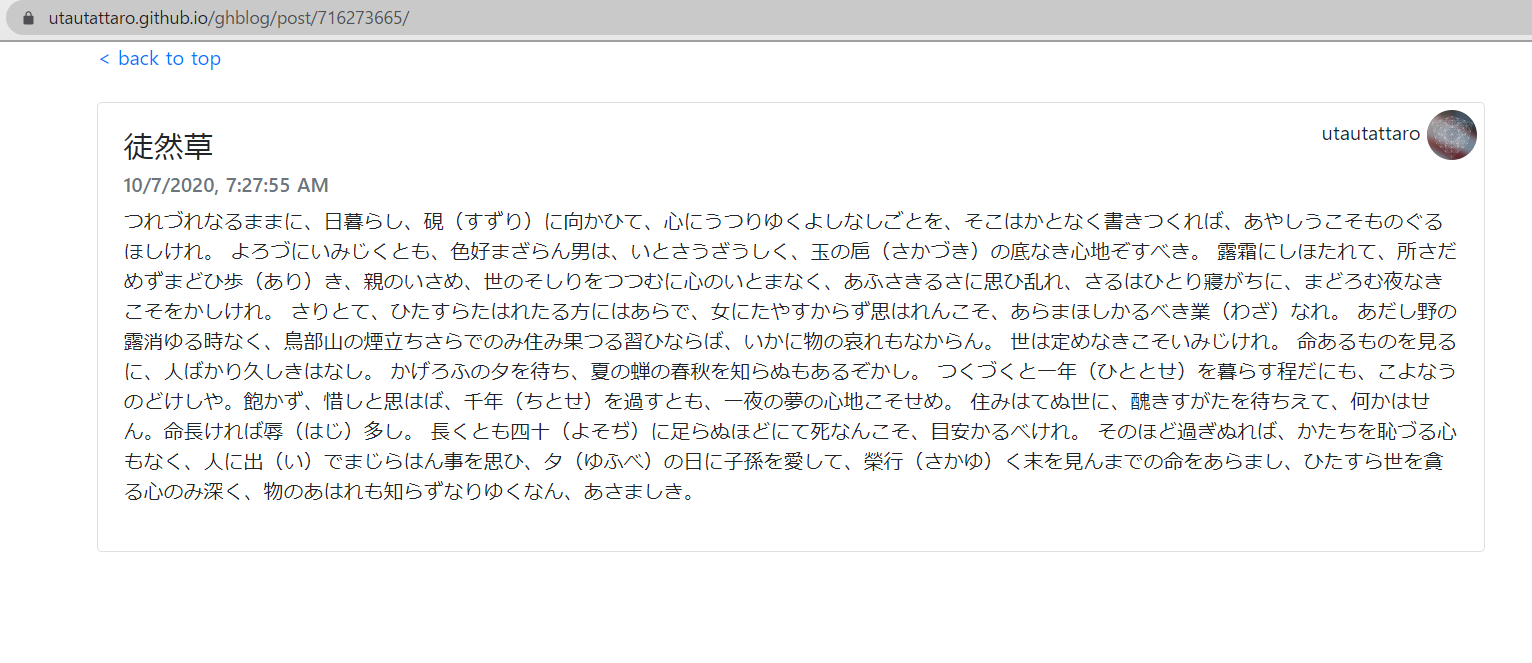
記事ページ整形
記事ページをいい感じに整形しました。またトップへ戻るボタンを作成しました。このとき、nuxt.jsのvue-routerではルートがリポジトリのページのさらに上の階層に行ってしまうため、to="/ghblog/"のようにしています
<template>
    <b-container>
        <b-link to="/ghblog/">< back to top</b-link>
        <b-card v-bind:title="title" v-bind:sub-title="new Date(created_at).toLocaleString()" class="my-4">
            <b-card-text>
              {{body}}
            </b-card-text>
            <span style="position: absolute;top:5px;right:5px;">
              {{user.login}}
              <b-avatar v-bind:href="user.html_url" target="_blank" v-bind:src="user.avatar_url"></b-avatar>
            </span>
          </b-card>
    </b-container>
</template>

<script>
    export default {
        data () {
            return {
                // APIで取得してきたデータ群
                title: 'test',    // タイトル
                body: 'hogehoghoeghoegoe',  // コンテンツ
                created_at : 'ghoegoehge', // 作成日時
                user : '' //ユーザー情報
            }
        },
        async asyncData ({params, error, payload }) {
            // payloadでデータを受け取った場合
            if (payload) {
                return {
                    title: payload.title,
                    body: payload.body,
                    created_at: payload.created_at,
                    user : payload.user
                }
            }
        }
    }
</script>
Issue投稿をトリガにする
ここまで出来たらIssueの投稿をトリガにしてCIを走らせるようにすればJAMStackブログとして独り立ちできます。
# This is a basic workflow to help you get started with Actions

name: CI

# Controls when the action will run. Triggers the workflow on push or pull request
# events but only for the master branch
on:
  push:
    branches: [ master ]
  issues:
    types: [opened, edited]

# A workflow run is made up of one or more jobs that can run sequentially or in parallel
jobs:
  # This workflow contains a single job called "build"
  build:
    # The type of runner that the job will run on
    runs-on: ubuntu-latest

    # Steps represent a sequence of tasks that will be executed as part of the job
    steps:
      # Checks-out your repository under $GITHUB_WORKSPACE, so your job can access it
      - name: Checkout 🛎️
        uses: actions/checkout@v2

      - name: setup node
        uses: actions/setup-node@v1
        with:
          node-version: '10.x'

      - name: Cache dependencies
        uses: actions/cache@v1
        with:
          path: ~/.npm
          key: ${{ runner.os }}-node-${{ hashFiles('**/package-lock.json') }}
          restore-keys: |
            ${{ runner.os }}-node-

      - name: install
        run: npm ci

      - name: test
        run: npm test

      - name: generate
        run: npm run generate

      - name: Deploy 🚀
        uses: JamesIves/github-pages-deploy-action@3.6.2
        with:
          GITHUB_TOKEN: ${{ secrets.GITHUB_TOKEN }}
          BRANCH: gh-pages # The branch the action should deploy to.
          FOLDER: dist # The folder the action should deploy.
          CLEAN: true # Automatically remove deleted files from the deploy branch
適当なIssueを追加すると
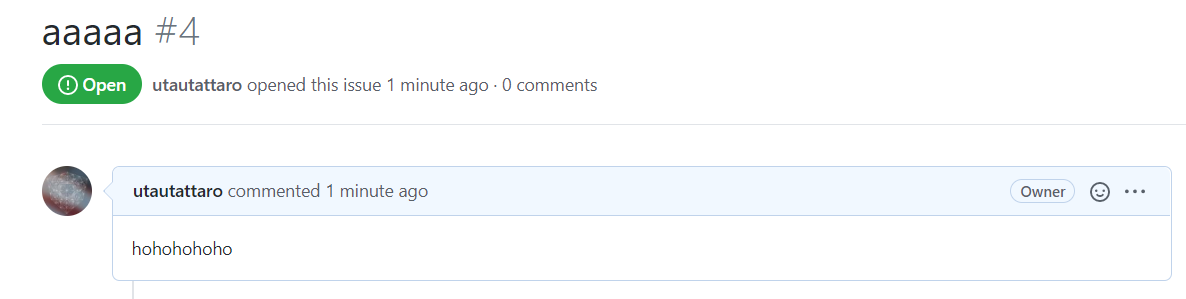
Github Actionsが動いて

公開されました!
まとめ
Githubとnuxt.jsだけで最小構成のJAMStackが実現できました。ひとまず最小の範囲でどんなもんかが理解できました。もっと作りこめば自前のブログシステムとして運用したり、掲示板みたいなものつくれたり、Issueの共有システム作ったり、Github有償の方はprivateリポジトリでこれをやればプライベートブログとして使えたりしそうでなかなか汎用的なんじゃないかと思います。
また、gatsbyなんかを使うと様々なデータソースに対応できたり、contentfulを使うとRESTじゃなくてGraphQLでコンテンツデリバリーできたりといろいろ便利になるそうです。ひとまず概要は理解できたので、一つずつ挑戦していきたいと思います。