Playwrightとは
Playwrightは簡単にクロスブラウザテストが行えるNode.jsのライブラリです。
Playwrightを使ってみる
まず始めにnpm initを実行してpackage.jsonを作成します。
$ npm init -y
Playwrightをインストールするために下記コマンドを実行します。
$ npm i -D playwright
次にサンプルのjsファイルを作成します。
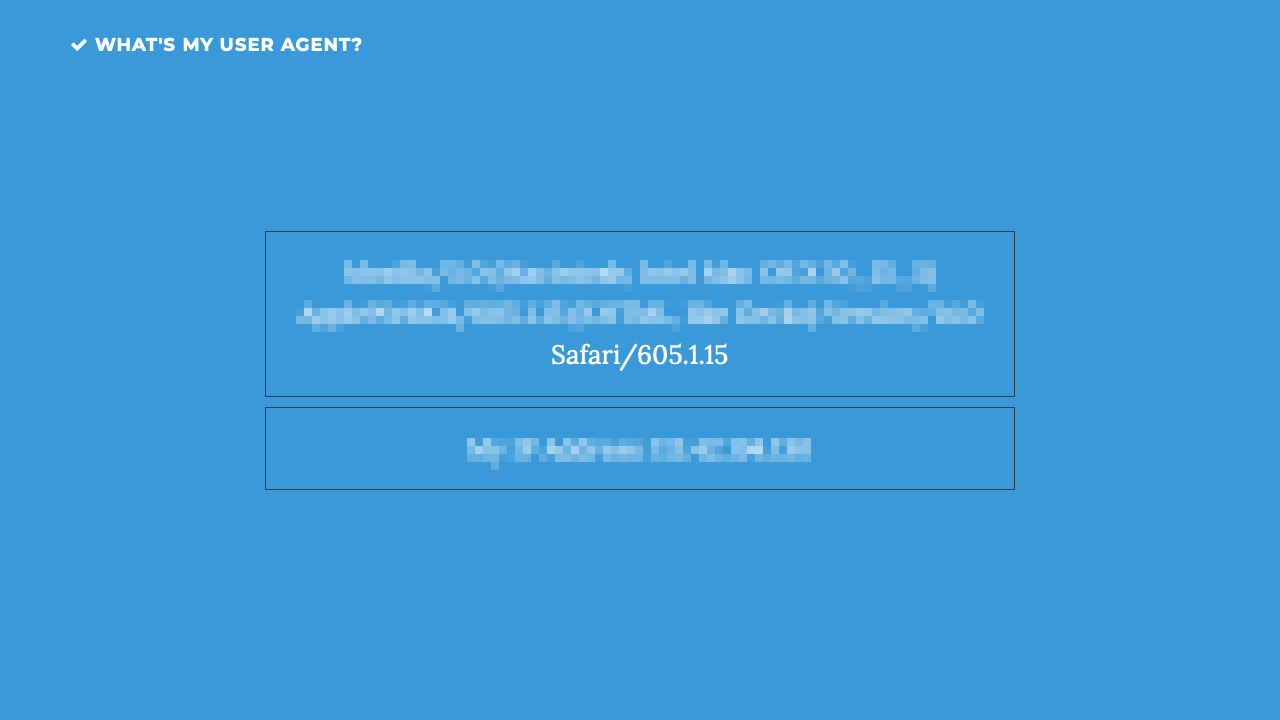
下記のコードの内容は、chromium,firefox,webkitのブラウザでhttp://whatsmyuseragent.org/ へ遷移しスクリーンショットを撮るというものです。
const playwright = require('playwright');

(async () => {
  for (const browserType of ['chromium', 'firefox', 'webkit']) {
    const browser = await playwright[browserType].launch();
    const context = await browser.newContext();
    const page = await context.newPage();
    await page.goto('http://whatsmyuseragent.org/');
    await page.screenshot({ path: `example-${browserType}.png` });
    await browser.close();
  }
})();
下記のコマンドを実行しexample.jsを動かしてみます。
$ node example.js
実行後example.jsと同じ階層にスクリーンショットのファイルが保存されるので確認してみます。
スクリーンショットを確認するとそれぞれのブラウザへ遷移していることがわかります。
Playwright CLIを使ってみる
次に対象のページに遷移してスクリーンショットを撮るだけでなく、ボタンの押下や入力等の操作も行ってみます。
Playwright CLIというライブラリではブラウザ上で実際にページを操作することでテストコード自体を簡単に自動生成することができるので、こちらを使用しました。
Playwright CLIをインストール
$ npm install -D playwright-cli
操作用のブラウザを起動
$ npx playwright-cli codegen todomvc.com/examples/vue/
操作用のブラウザが立ち上がったら任意の操作を行います。
するとターミナル上に操作に応じたコードが下記のように自動生成されます。
ここではtodoアプリケーションで下記の操作を行っています。
- todoに
cleaning,cooking,washingを追加。 -
cleaningのみcompletedにチェックを入れる。 -
completedのtodoを削除。 -
completed以外のtodoを全て表示する。
const { chromium } = require('playwright');

(async () => {
  const browser = await chromium.launch({
    headless: false
  });
  //const context = await browser.newContext();
  const context = await browser.newContext({ recordVideo: { dir: 'videos/' } });

  // Open new page
  const page = await context.newPage();

  // Go to http://todomvc.com/examples/vue/
  await page.goto('http://todomvc.com/examples/vue/');

  // Click input[placeholder="What needs to be done?"]
  await page.click('input[placeholder="What needs to be done?"]');

  // Fill input[placeholder="What needs to be done?"]
  await page.fill('input[placeholder="What needs to be done?"]', 'cleaning');

  // Press Enter
  await page.press('input[placeholder="What needs to be done?"]', 'Enter');

  // Fill input[placeholder="What needs to be done?"]
  await page.fill('input[placeholder="What needs to be done?"]', 'cooking');

  // Press Enter
  await page.press('input[placeholder="What needs to be done?"]', 'Enter');

  // Fill input[placeholder="What needs to be done?"]
  await page.fill('input[placeholder="What needs to be done?"]', 'washing');

  // Press Enter
  await page.press('input[placeholder="What needs to be done?"]', 'Enter');

  // Check //div[normalize-space(.)='cleaning']/input[normalize-space(@type)='checkbox']
  await page.check('//div[normalize-space(.)=\'cleaning\']/input[normalize-space(@type)=\'checkbox\']');

  // Click text="Completed"
  await page.click('text="Completed"');
  // assert.equal(page.url(), 'http://todomvc.com/examples/vue/#/completed');

  // Click text=/.*Clear completed.*/
  await page.click('text=/.*Clear completed.*/');

  // Click text="All"
  await page.click('text="All"');
  // assert.equal(page.url(), 'http://todomvc.com/examples/vue/#/all');

  // Close page
  await page.close();

  // ---------------------
  await context.close();
  await browser.close();
})();
また、下記コードを追加すると操作を動画に出力できます。
const context = await browser.newContext({ recordVideo: { dir: 'videos/' } });

Playwright testを使ってみる
最後にPlaywright testを使ってみます。
Playwrightとjestライクなアサーションを組み合わせたE2Eテストフレームワークです。
Playwright testをインストール
$ npm i -D @playwright/test
テストコード作成
Playwright testでは特に設定をしなくてもTypeScriptをそのまま実行してくれるので
こちらのテストコードは.tsで書きます。
さらに後述するfolioコマンドにテストコードを認識させるため.spec.ts形式でファイルを作成します。
@playwright/testモジュールからテストケースを記述するためのit関数やアサーションを行うexpect関数をimportして使用します。
import { it, expect } from "@playwright/test";

it("is a basic test with the page", async ({ page }) => {
  await page.goto("https://playwright.dev/");
  const name = await page.innerText(".navbar__title");
  expect(name).toBe("Playwright");
});
テスト実行
Playwright testを実行するにはfolioコマンドを使用します。
$ npx folio
ちなみにブラウザの指定もできます。
# Run tests on a single browser
$ npx folio --param browserName=chromium
また、失敗時にスクリーンショットを撮ることもできます。
# Save screenshots on failure in test-results directory
$ npx folio --param screenshotOnFailure
実行結果
成功時と失敗時の結果をみていきます。
失敗時には丁寧なエラーが表示されるので原因が追いやすいです。
Success
Running 1 test using 1 worker
  1 passed (3s)
Failed
Running 1 test using 1 worker
  1) example.spec.ts:3:1 › is a basic test with the page ===========================================
     browserName=chromium, headful=false, slowMo=0, video=false, screenshotOnFailure=false

    Error: expect(received).toBe(expected) // Object.is equality

    Expected: "aaaaaaa"
    Received: "Playwright"

      4 |   await page.goto("https://playwright.dev/");
      5 |   const name = await page.innerText(".navbar__title");
    > 6 |   expect(name).toBe("aaaaaaa");
        |                ^
      7 | });

        at /Users/shun/playwright-example/example.spec.ts:6:16
        at WorkerRunner._runTestWithFixturesAndHooks (/Users/xxx/playwright-example/node_modules/folio/out/workerRunner.js:187:17)

  1 failed
    example.spec.ts:3:1 › is a basic test with the page ============================================
    browserName=chromium, headful=false, slowMo=0, video=false, screenshotOnFailure=false
まとめ
今回Playwrightの一部の機能を使ってみましたが、Node.jsに慣れていない自分でも簡単に導入できました。
気になる方はぜひ使ってみてください。


