たぶん、これが一番楽だと思います。
角丸
マテリアルデザインではあまり使うことはありませんが、プレビューの画像を角丸にしたいだとか稀によくあるかと思います。
実装方法もいろいろありますが、今回は割りと汎用性高そうな実装方法を紹介します。
FrameLayoutこそ至高
ViewGroup の実装はめちゃくそつらいですが、とりあえず FrameLayoutを拡張すればなんとかなります。
LinearLayout のように横に並べたかったとしても、とりあえず FrameLayoutの子に LinearLayout置けばいいだけなので、 LinearLayoutを拡張するなんてことはしません。どう考えても楽じゃない。
サンプルコード
今回はViewにある dispatchDraw(Canvas) メソッドを利用します。
要するに子Viewのdrawに対して角丸にclipするだけです。
CornerClipFrameLayout.java
public class RoundClipFrameLayout extends FrameLayout {

    private final Path mPath = new Path();

    private final RectF mRect = new RectF();

    private int mCornerRadius;

    public RoundClipFrameLayout(Context context) {
        this(context, null);
    }

    public RoundClipFrameLayout(Context context, AttributeSet attrs) {
        this(context, attrs, 0);
    }

    public RoundClipFrameLayout(Context context, AttributeSet attrs, int defStyleAttr) {
        super(context, attrs, defStyleAttr);

        TypedArray ta = context.obtainStyledAttributes(attrs, R.styleable.RoundClipFrameLayout, defStyleAttr, 0);
        mCornerRadius = ta.getDimensionPixelSize(R.styleable.RoundClipFrameLayout_cornerRadius, 0);

        ta.recycle();
    }

    public void setCornerRadius(int radiusPx) {
        if (mCornerRadius != radiusPx) {
            mCornerRadius = radiusPx;
            rebuildPath();
            invalidate();
        }
    }

    private void rebuildPath() {
        mPath.reset();
        mPath.addRoundRect(mRect, mCornerRadius, mCornerRadius, Path.Direction.CW);
        mPath.close();
    }

    @Override
    protected void onSizeChanged(int width, int height, int oldWidth, int oldHeight) {
        super.onSizeChanged(width, height, oldWidth, oldHeight);

        mRect.set(0, 0, width, height);
        rebuildPath();
    }

    @Override
    protected void dispatchDraw(Canvas canvas) {
        int save = canvas.save();
        canvas.clipPath(mPath);
        super.dispatchDraw(canvas);
        canvas.restoreToCount(save);
    }
}
attrs.xml
<resources>
    <declare-styleable name="RoundClipFrameLayout">
        <attr name="cornerRadius" format="dimension"/>
    </declare-styleable>
</resources>
つかう
対象を囲うだけです。
activity_main.xml
<com.example.widget.RoundClipFrameLayout
    android:layout_width="wrap_content"
    android:layout_height="wrap_content"
    app:cornerRadius="4dp">

    <ImageView
        android:layout_width="match_parent"
        android:layout_height="match_parent"
        android:scaleType="centerCrop"
        android:src="@drawable/sample"/>

</com.example.widget.RoundClipFrameLayout>
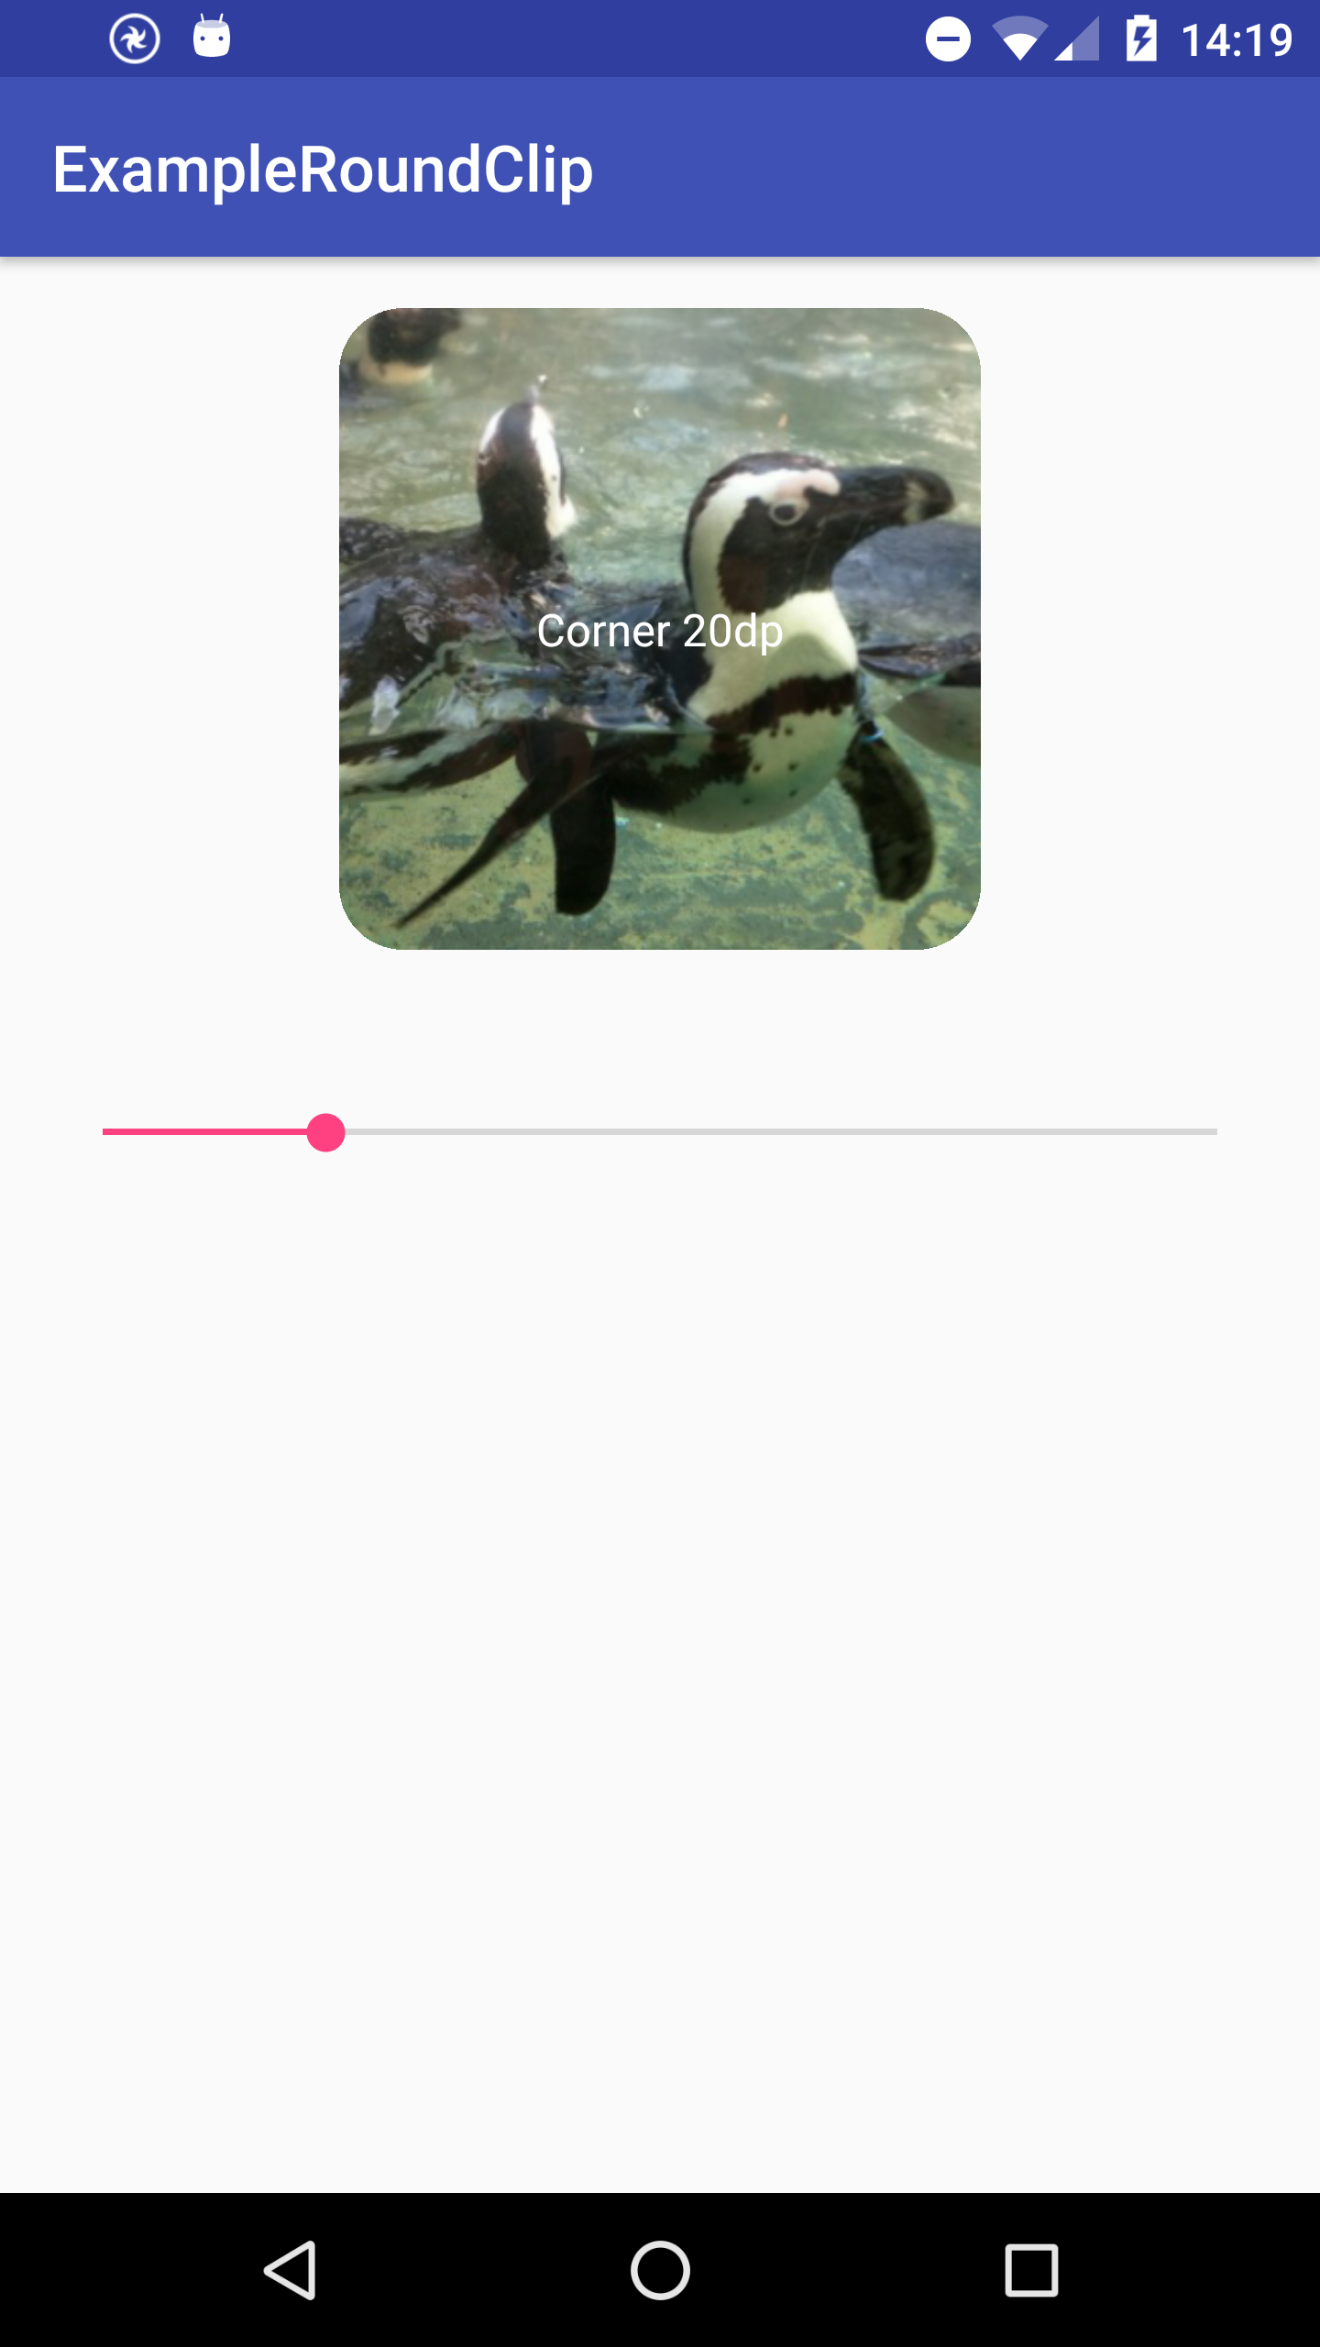
サンプル
自分自身も角丸にしたい
上の実装では、子Viewしか角丸になりません。
当該 Viewの backgroundも丸くしたいぞ!って場合は、draw()メソッドに同様の実装をすればOKです。
@Override
public void draw(Canvas canvas) {
    int save = canvas.save();
    canvas.clipPath(mPath);
    super.draw(canvas);
    canvas.restoreToCount(save);
}
さらに楽な方法がありました
API Level 21で追加された、ViewOutlineProviderを使うことで、Viewの外からもclipping処理を割り込ませることができます。
CircleOutlineProvider
public static class CircleOutlineProvider extends ViewOutlineProvider {

    @Override
    public void getOutline(View view, Outline outline) {
        outline.setRoundRect(
                0,
                0,
                view.getWidth(),
                view.getHeight(),
                radius);
        view.setClipToOutline(true);
    }
}
view.setViewOutlineProvider(new CircleOutlineProvider());
参考にしました
Custom Layout that rounds the corners of its content - Stack Overflow