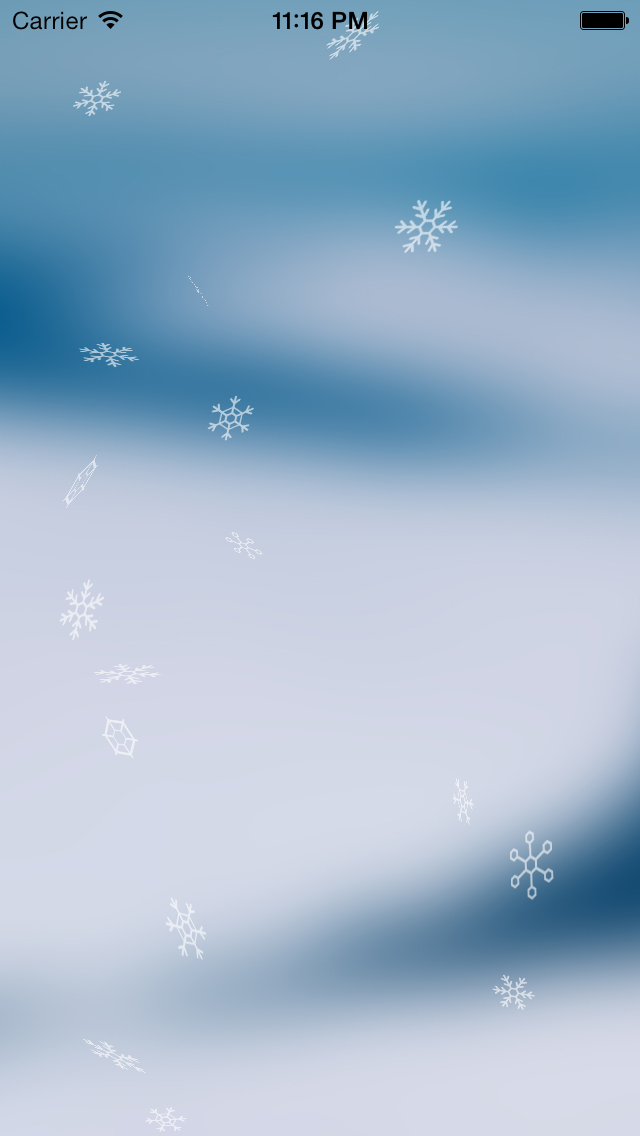
突然ですが、iPhoneで雪を降らせてみましょう。
実装方針
多数の雪の結晶が上からゆっくり落ちてくるようなアニメーションを Core Animation で実装する。落下の最中、3軸それぞれを回転させるとヒラヒラと落ちる雪を演出できる。雪の画像を数種類用意し、各種パラメータを乱数で乱すと尚良い。
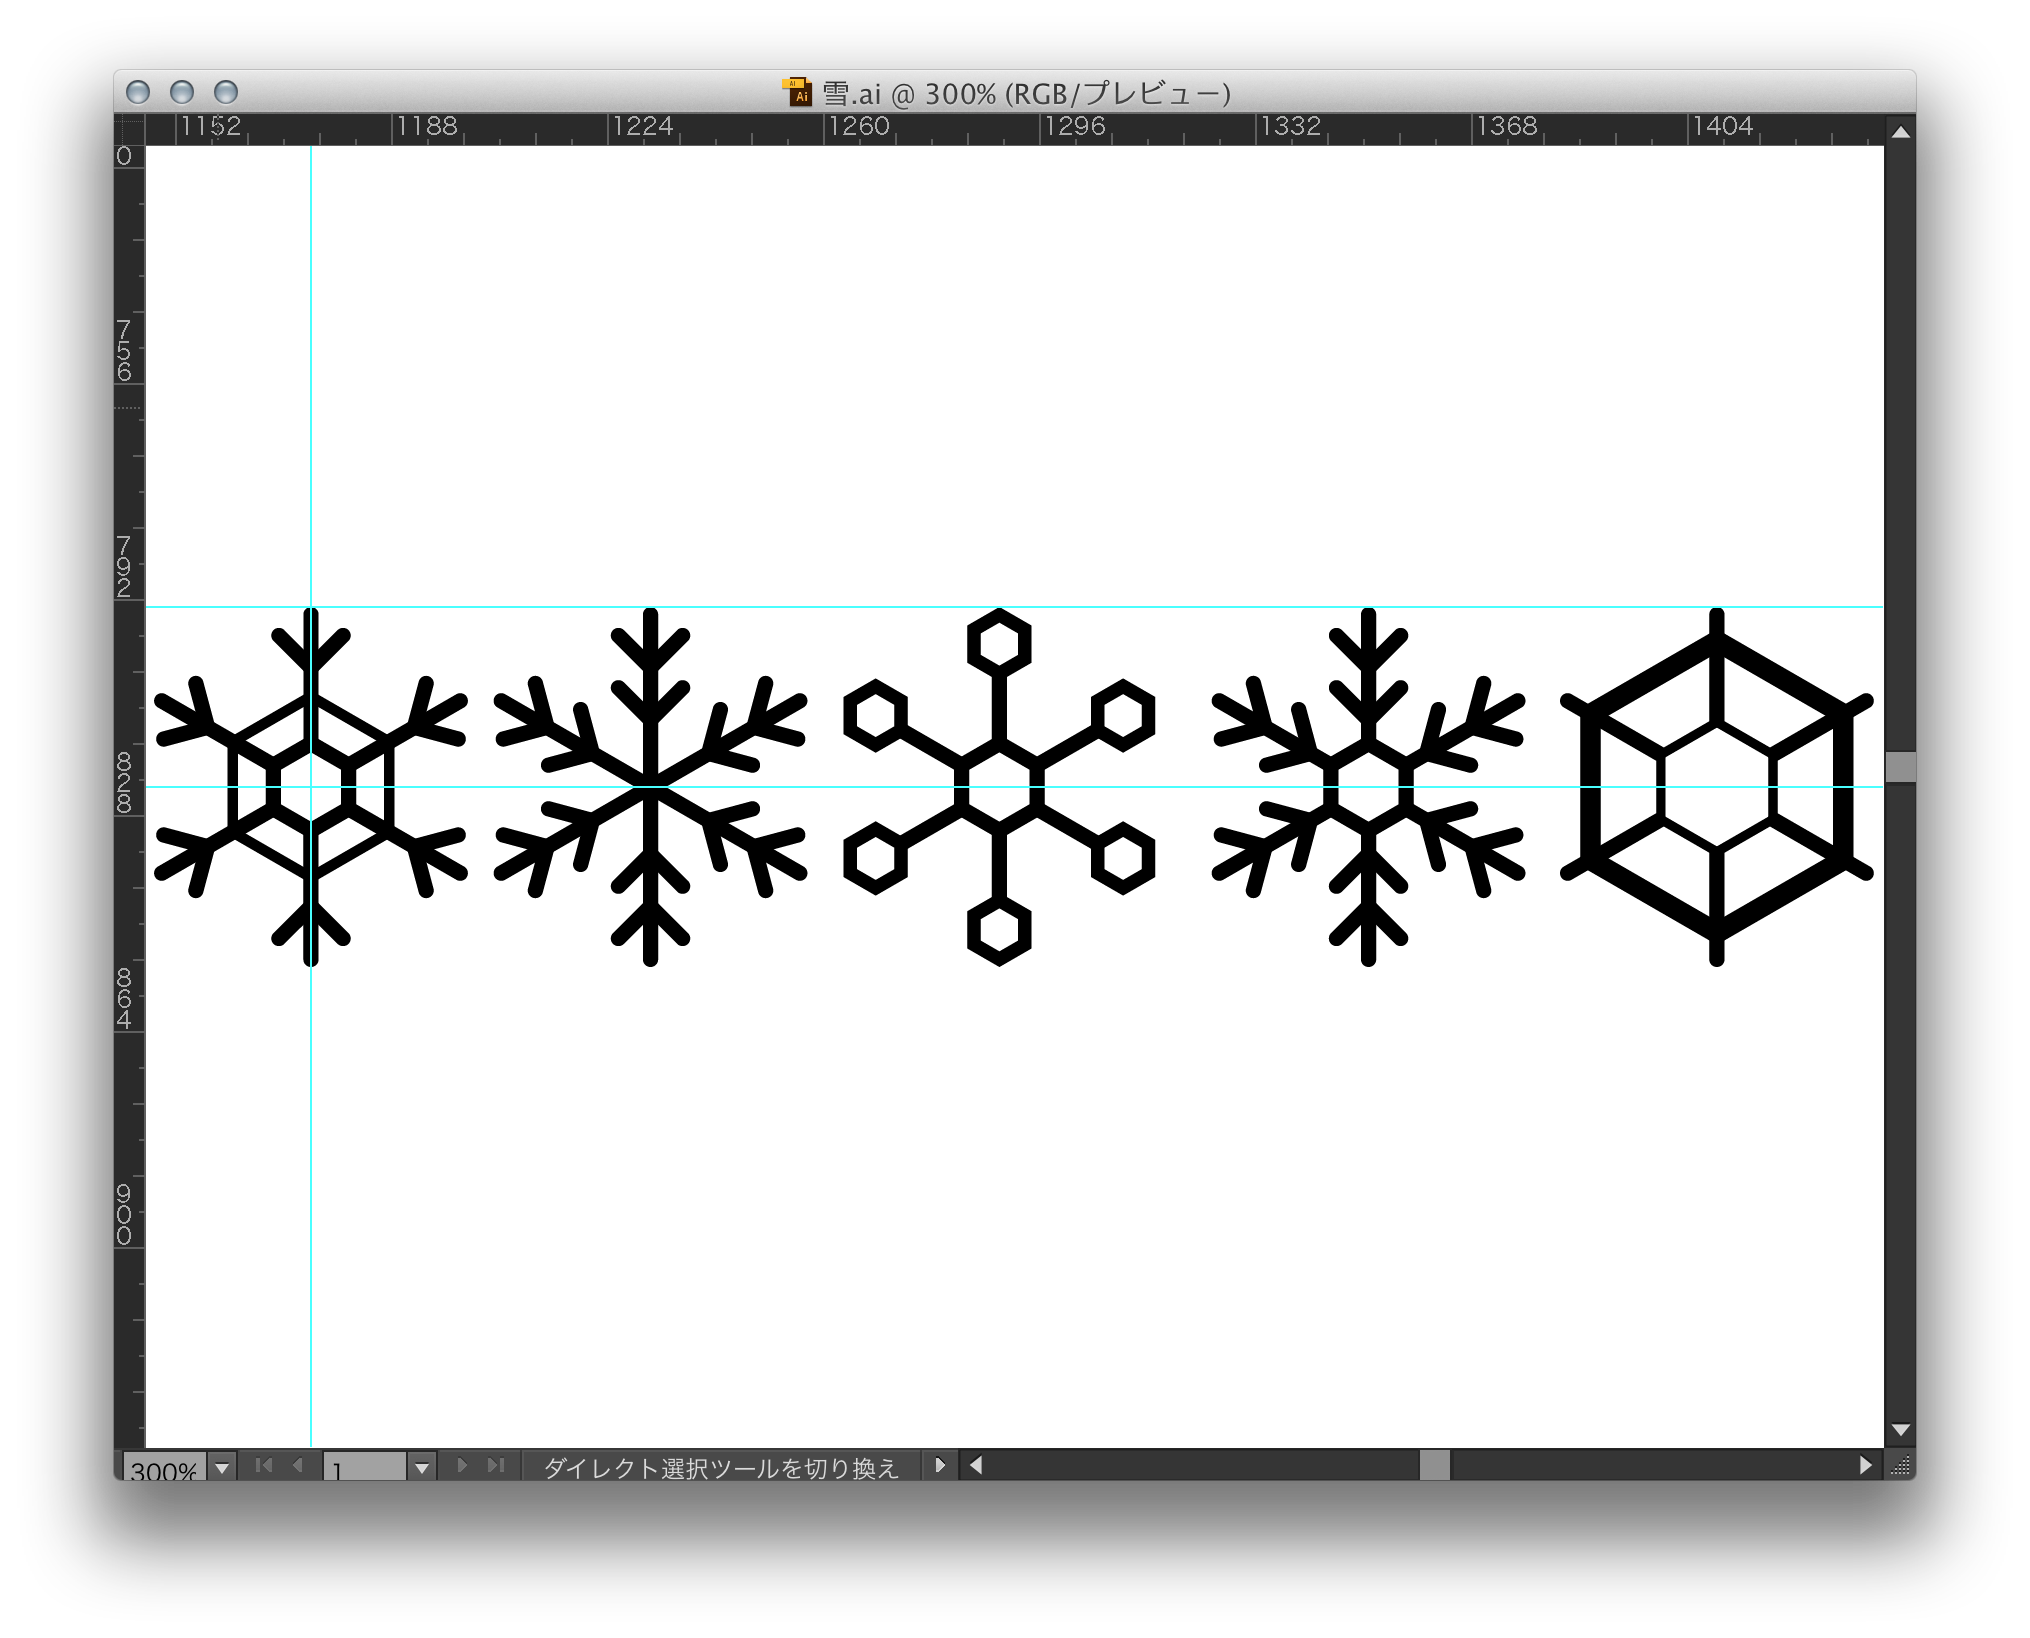
素材の用意
プログラムで扱いやすいように正方形のPNGを用意する。ファイル名には参照しやすいように番号を振る。
Illustratorで雪の結晶を描画、Photoshopで適切な大きさにして終わり。
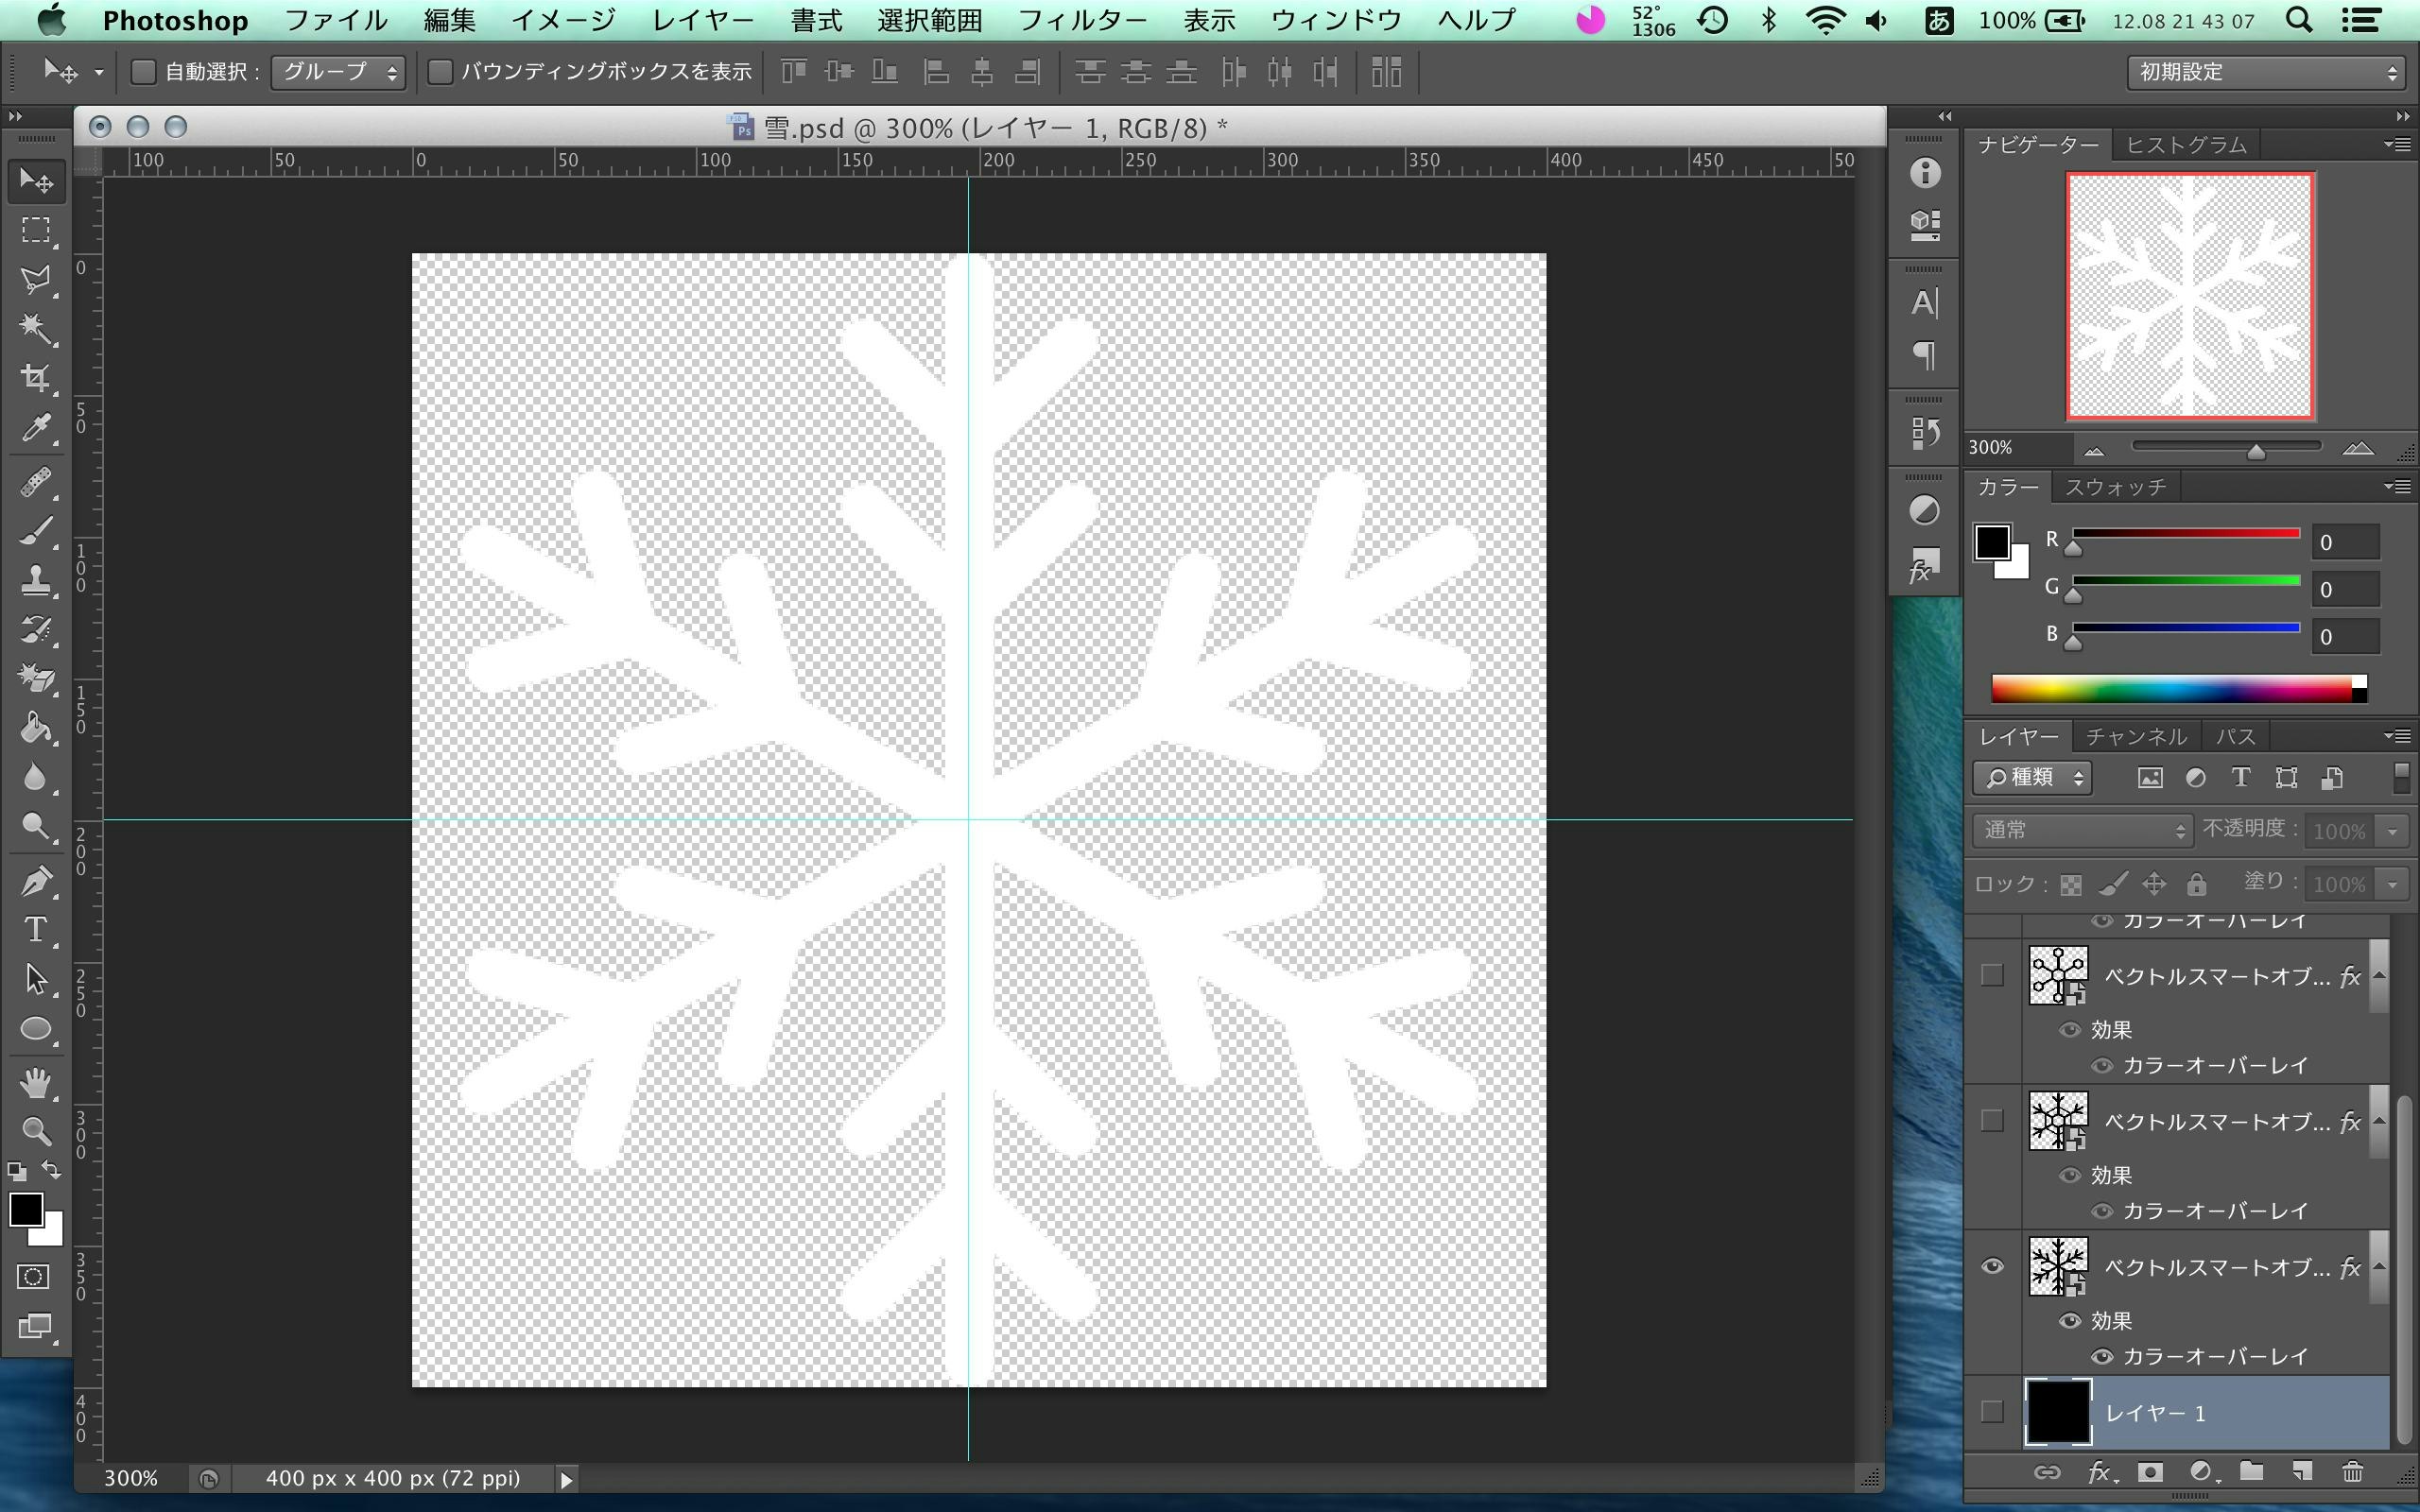
Xcode 6であれば PDF にしても良いかもしれない。
実装
レイヤー生成メソッドの実装
CALayer#shouldRasterize でラスタライズ化するように指定。これにより描画が高速になる。
CALayer#rasterizationScale CALayer#contentsScale それぞれにスケール値を指定しておかないと Retina 環境で解像度が低くなってしまうので、これも忘れずに。
- (CALayer*)dropLayer
{
	// 画像を用意
	u_int32_t imageCount = 5;
	NSString *imageName = [NSString stringWithFormat:@"snow%d", arc4random_uniform(imageCount)];
	UIImage *image = [UIImage imageNamed:imageName];


	// CALayerのインスタンスを作る
	CALayer *layer = [CALayer layer];
	layer.shouldRasterize = YES; // ラスタライズを有効
	layer.rasterizationScale = [UIScreen mainScreen].scale;
	layer.contentsScale = [UIScreen mainScreen].scale;
	layer.contents = (__bridge id)image.CGImage;
	layer.doubleSided = YES; // ひっくり返ったときに背面も見えるようにする
	layer.frame = CGRectMake(0, 0, image.size.width, image.size.height);


	// 大きさを適当に変更
	CGFloat minScale = 0.5;
	CGFloat scale = (arc4random_uniform(6)/10.0) + minScale;

	CATransform3D transform = CATransform3DIdentity;
	transform = CATransform3DScale(transform, scale, scale, 1.0);
	transform.m34 = -1.0 / 300; // 奥行き感を出すおまじない
	layer.transform = transform;


	return layer;
}
タイマーによる定期実行
定期的にレイヤーを作成したいので、NSTimer を使ってレイヤーを生成し続けるようにする。
NSTimeInterval interval = 1.0;
NSTimer *generateTimer = [NSTimer scheduledTimerWithTimeInterval:interval
														   target:self
														 selector:@selector(generator:
														 userInfo:nil
														  repeats:YES];
- (void)generator:(NSTimer*)aTimer
{
	// アニメーション時間
	NSTimeInterval duration = 20.0;

	// レイヤーを生成
	CALayer *dropLayer = [self dropLayer];

	// レイヤーを追加
	[self.snowLayers addObject:dropLayer];
	[self.view.layer addSublayer:dropLayer];

	// レイヤーアニメーションを設定するメソッドを定義
	[self addLayerAnimations:dropLayer
				    duration: duration
		     completionBlock:^(CALayer *layer) {

				 // レイヤーを破棄
				 [layer removeFromSuperlayer];
				 [self.snowLayers removeObject:layer];
			 }];
}
アニメーション
移動、X回転、Y回転、Z回転をそれぞれ個別に設定する。
移動アニメーション
移動はとりあえず画面上端外から画面下端外まで移動するだけのアニメーションを設定し、風などは今回考慮しない。タイミング関数には等速になるように kCAMediaTimingFunctionLinear を指定する。
	{
		[CATransaction begin];
		[CATransaction setCompletionBlock:^{

			// コールバック
			if (completionBlock) {
				completionBlock(layer);
			}
		}];

		// 開始位置、終了位置を適当に設定
		CGPoint startPoint = layer.position;
		CGPoint endPoint = layer.position;

		startPoint.x = arc4random_uniform(CGRectGetWidth(layer.superlayer.bounds));
		startPoint.y = -CGRectGetHeight(layer.bounds);
		endPoint.x = arc4random_uniform(CGRectGetWidth(layer.superlayer.bounds));
		endPoint.y = CGRectGetMaxY(layer.superlayer.bounds) + CGRectGetHeight(layer.bounds);

		CABasicAnimation *positionAnim = [CABasicAnimation animationWithKeyPath:@"position"];
		positionAnim.timingFunction = [CAMediaTimingFunction functionWithName:kCAMediaTimingFunctionLinear];
		positionAnim.duration = duration;
		positionAnim.fromValue = [NSValue valueWithCGPoint:startPoint];
		positionAnim.toValue = [NSValue valueWithCGPoint:endPoint];
		positionAnim.removedOnCompletion = NO; // アニメーション終了後に元に戻らないようにする
		positionAnim.fillMode = kCAFillModeForwards;
		[layer addAnimation:positionAnim forKey:@"position"];

		[CATransaction commit];
	}
回転アニメーション
各軸で指定角度を繰り返しアニメーションし続けるように設定する。
軸ごとに処理を分けると角度とアニメーション時間を別々に指定できるので、動きにムラが出て良い。更に値を乱数にしてやれば尚良い。そして値の累積を有効にして180度ごとの回転を繰り返せば絶え間なく回転し続けるようになる。ここでもタイミング関数には等速になるように kCAMediaTimingFunctionLinear を指定する。
	{
		CABasicAnimation *rotateXAnim = [CABasicAnimation animationWithKeyPath:@"transform.rotation.x"];
		rotateXAnim.timingFunction = [CAMediaTimingFunction functionWithName:kCAMediaTimingFunctionLinear];
		rotateXAnim.duration = randomDuration(duration); // 乱数を生成する自前関数
		rotateXAnim.fromValue = @0.0;
		rotateXAnim.toValue = @(randomRadian()); // 乱数を生成する自前関数
		rotateXAnim.repeatCount = NSIntegerMax; // とにかく大きい数
		rotateXAnim.removedOnCompletion = NO;
		rotateXAnim.fillMode = kCAFillModeForwards;
		rotateXAnim.cumulative = YES; // 累積
		[layer addAnimation:rotateXAnim forKey:@"rotate x"];
	}
Y軸、Z軸でもそれぞれ設定する。
応用
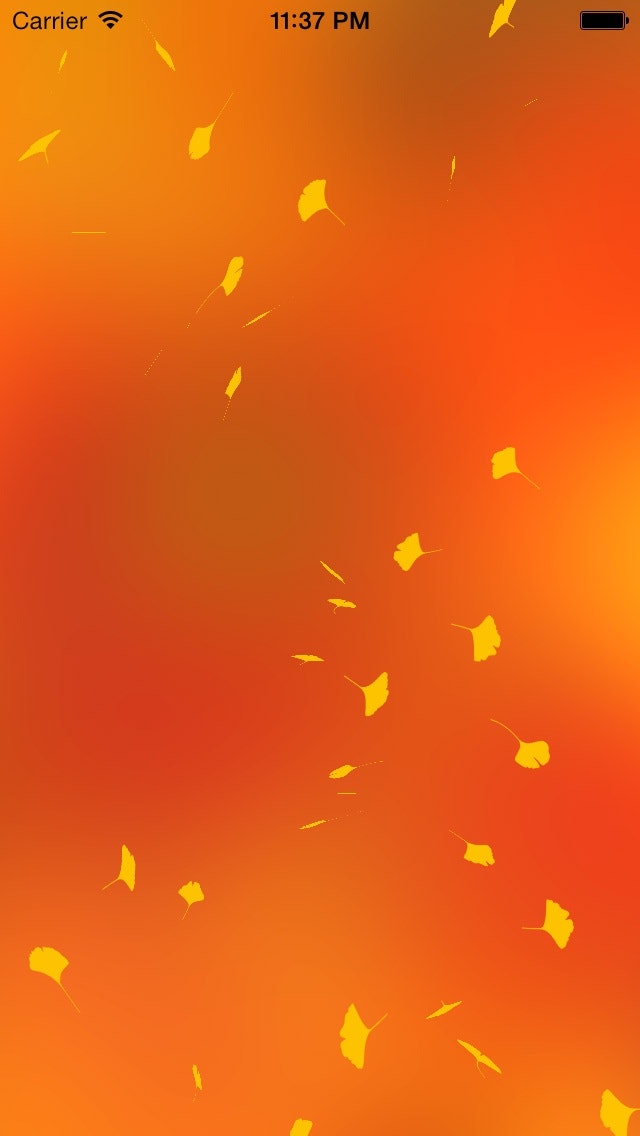
画像をイチョウの葉にしてパラメータを調整すればイチョウ吹雪にもなる。
陰と厚みが無いので若干見栄えが悪いがそこは目を瞑ることにする。