背景
Railsで新規メディアを立ち上げることになり、せっかくなのでRails6を利用することに。
Docker + DockerComposeで開発環境を整え、管理画面はactive_admin 、画像やpdf類のアップロードは Active Storage 、テキストエディタはリッチにしたいから ckeditorと色々組み合わせようとしたら色々とハマったので、自分のメモ用に残します。
リッチエディタに関してはRails6から搭載した AcionTextを利用したかったのだけど、動作が不安定なので今回はckeditorを使用することにしました。
詰まる部分は全てコピペで対応できるようにした(はず)。
かなり情報が少なくて試行錯誤したので、同じように苦戦している人の役に立てば幸いです。
事前準備
Dockerを使って開発するので、コードを載せておきます。
必要ない人はスキップしてください。
Dockerfile
おそらく一般的な構成だと思う。
詳しい説明は書きませんが、webpacker にも対応できるようにyarnやらnodeやらをインストールしています。
あとは画像処理周りは minimagick 使用するので、それら関連もいれてます。
FROM ruby:2.6.2

ENV LANG C.UTF-8

RUN apt-get update -qq && apt-get install -y build-essential libpq-dev postgresql-client graphviz imagemagick libmagickcore-dev libmagickwand-dev libmagic-dev

# yarnパッケージ管理ツールをインストール
RUN apt-get update && apt-get install -y curl apt-transport-https wget && \
    curl -sS https://dl.yarnpkg.com/debian/pubkey.gpg | apt-key add - && \
    echo "deb https://dl.yarnpkg.com/debian/ stable main" | tee /etc/apt/sources.list.d/yarn.list && \
    apt-get update && apt-get install -y yarn
# Node.jsをインストール
RUN curl -sL https://deb.nodesource.com/setup_8.x | bash - && \
    apt-get install nodejs

WORKDIR /tmp
COPY Gemfile Gemfile.lock ./
RUN bundle install

WORKDIR /app
COPY . /app

COPY entrypoint.sh /usr/bin/
RUN chmod +x /usr/bin/entrypoint.sh
ENTRYPOINT ["entrypoint.sh"]
EXPOSE 3000

CMD ["rails", "server", "-b", "0.0.0.0"]
entrypoint.sh
rails server 立ち上げた時に server.pid を削除するお決まりのやつ。
docker-compose.yml のコマンドで記載しても良いのだけど、一旦こんな構成で。
# !/bin/bash
set -e

# Remove a potentially pre-existing server.pid for Rails.
rm -f tmp/pids/server.pid

# Then exec the container's main process (what's set as CMD in the Dockerfile).
exec "$@"
docker-compose.yml
おそらく一般的な構成だけど、webpackerに対応できるようにしています。
version: '3.3'
services:
  db:
    image: postgres:10.10
    environment:
      POSTGRES_USER: postgres
      POSTGRES_PASSWORD:
    expose:
      - "5432"
    ports:
      - "5433:5432"
    volumes:
      - ./.postgres:/var/lib/postgresql/data
  web: &app_base
    build:
      context: .
      dockerfile: Dockerfile
    ports:
      - "3000:3000"
    environment:
      POSTGRES_HOST: db
      POSTGRES_USER: postgres
      POSTGRES_PASSWORD: ''
      POSTGRES_PORT: 5432
    volumes:
      - .:/app
      - bundle:/bundle
    depends_on:
      - db
    tty: true
    stdin_open: true

  webpack:
    <<: *app_base
    command: "bin/webpack-dev-server"
    ports:
      - "3035:3035"
    depends_on:
      - web
    tty: false
    stdin_open: false

volumes:
  bundle:
    driver: local
ちなみにdatabase.ymlはこんな感じ。
default: &default
  adapter: postgresql
  encoding: utf-8
  pool: <%= ENV.fetch("RAILS_MAX_THREADS") { 5 } %>
  host: <%= ENV['POSTGRES_HOST'] || 'localhost' %>
  username: <%= ENV.fetch("POSTGRES_USER") { 'postgres' } %>
  password: <%= ENV.fetch("POSTGRES_PASSWORD") { '' } %>
  port: <%= ENV.fetch('POSTGRES_PORT') {5432} %>

development:
  <<: *default
  database: app_development

production:
  <<: *default
  database: app_production
docker-sync.yml
同期が遅いのが気になるので入れる。
まず以下のコマンドで必要なもの準備(Macの想定)。
gem install docker-sync
brew install eugenmayer/dockersync/unox
brew install fswatch unison rsync
ルート直下に以下のようなファイルを設置。
version: '2'
syncs:
  web-sync:
    notify_terminal: true
    src: './'
    sync_host_ip: '127.0.0.1'
    sync_host_port: 10871
    sync_strategy: 'rsync'
    watch_strategy: 'fswatch'
    sync_excludes: ['.bundle', '.postgres', '.redis', 'frontend/node_modules', '.git/', '.env', 'vendor/bundle/', 'node_modules/']
    watch_excludes: ['.bundle', '.postgres', '.redis', 'frontend/node_modules', '.git/', '.env', 'vendor/bundle/', 'node_modules/']
あとはbuildしてdocker-syncを起動したら同期が高速化される。
docker-compose build --no-cache
# docker-sync start & docker-compose up
docker-sync-stack start
Active Admin
まずはgemを入れる。
詳しい説明は省きますが、
- 管理者ユーザーを作るのに
devise - 管理画面用の
activeadmin - リッチエディタのために
ckeditor - 画像のリサイズなどを扱うために
mini_magick
を使用する感じです。
gem 'devise'
gem 'activeadmin'
gem 'ckeditor', git: "https://github.com/galetahub/ckeditor", branch: "master"
gem "mini_magick"
ckeditorはmasterを指定してあげないとファイルの読み込みができずにエラーになるので、必ず指定してください。
これにハマって数時間かかりました・・
# bundle install走らせる
$ docker-compose build

# active admin install
$ docker-compose --rm web rails g active_admin:install
# 管理者ユーザーテーブルを作成
$ docker-compose --rm web rails db:migrate
# テスト管理ユーザーを作成
$ docker-compose --rm web rails db:seed
http://localhost:3000/admin でログインページに行くはず。
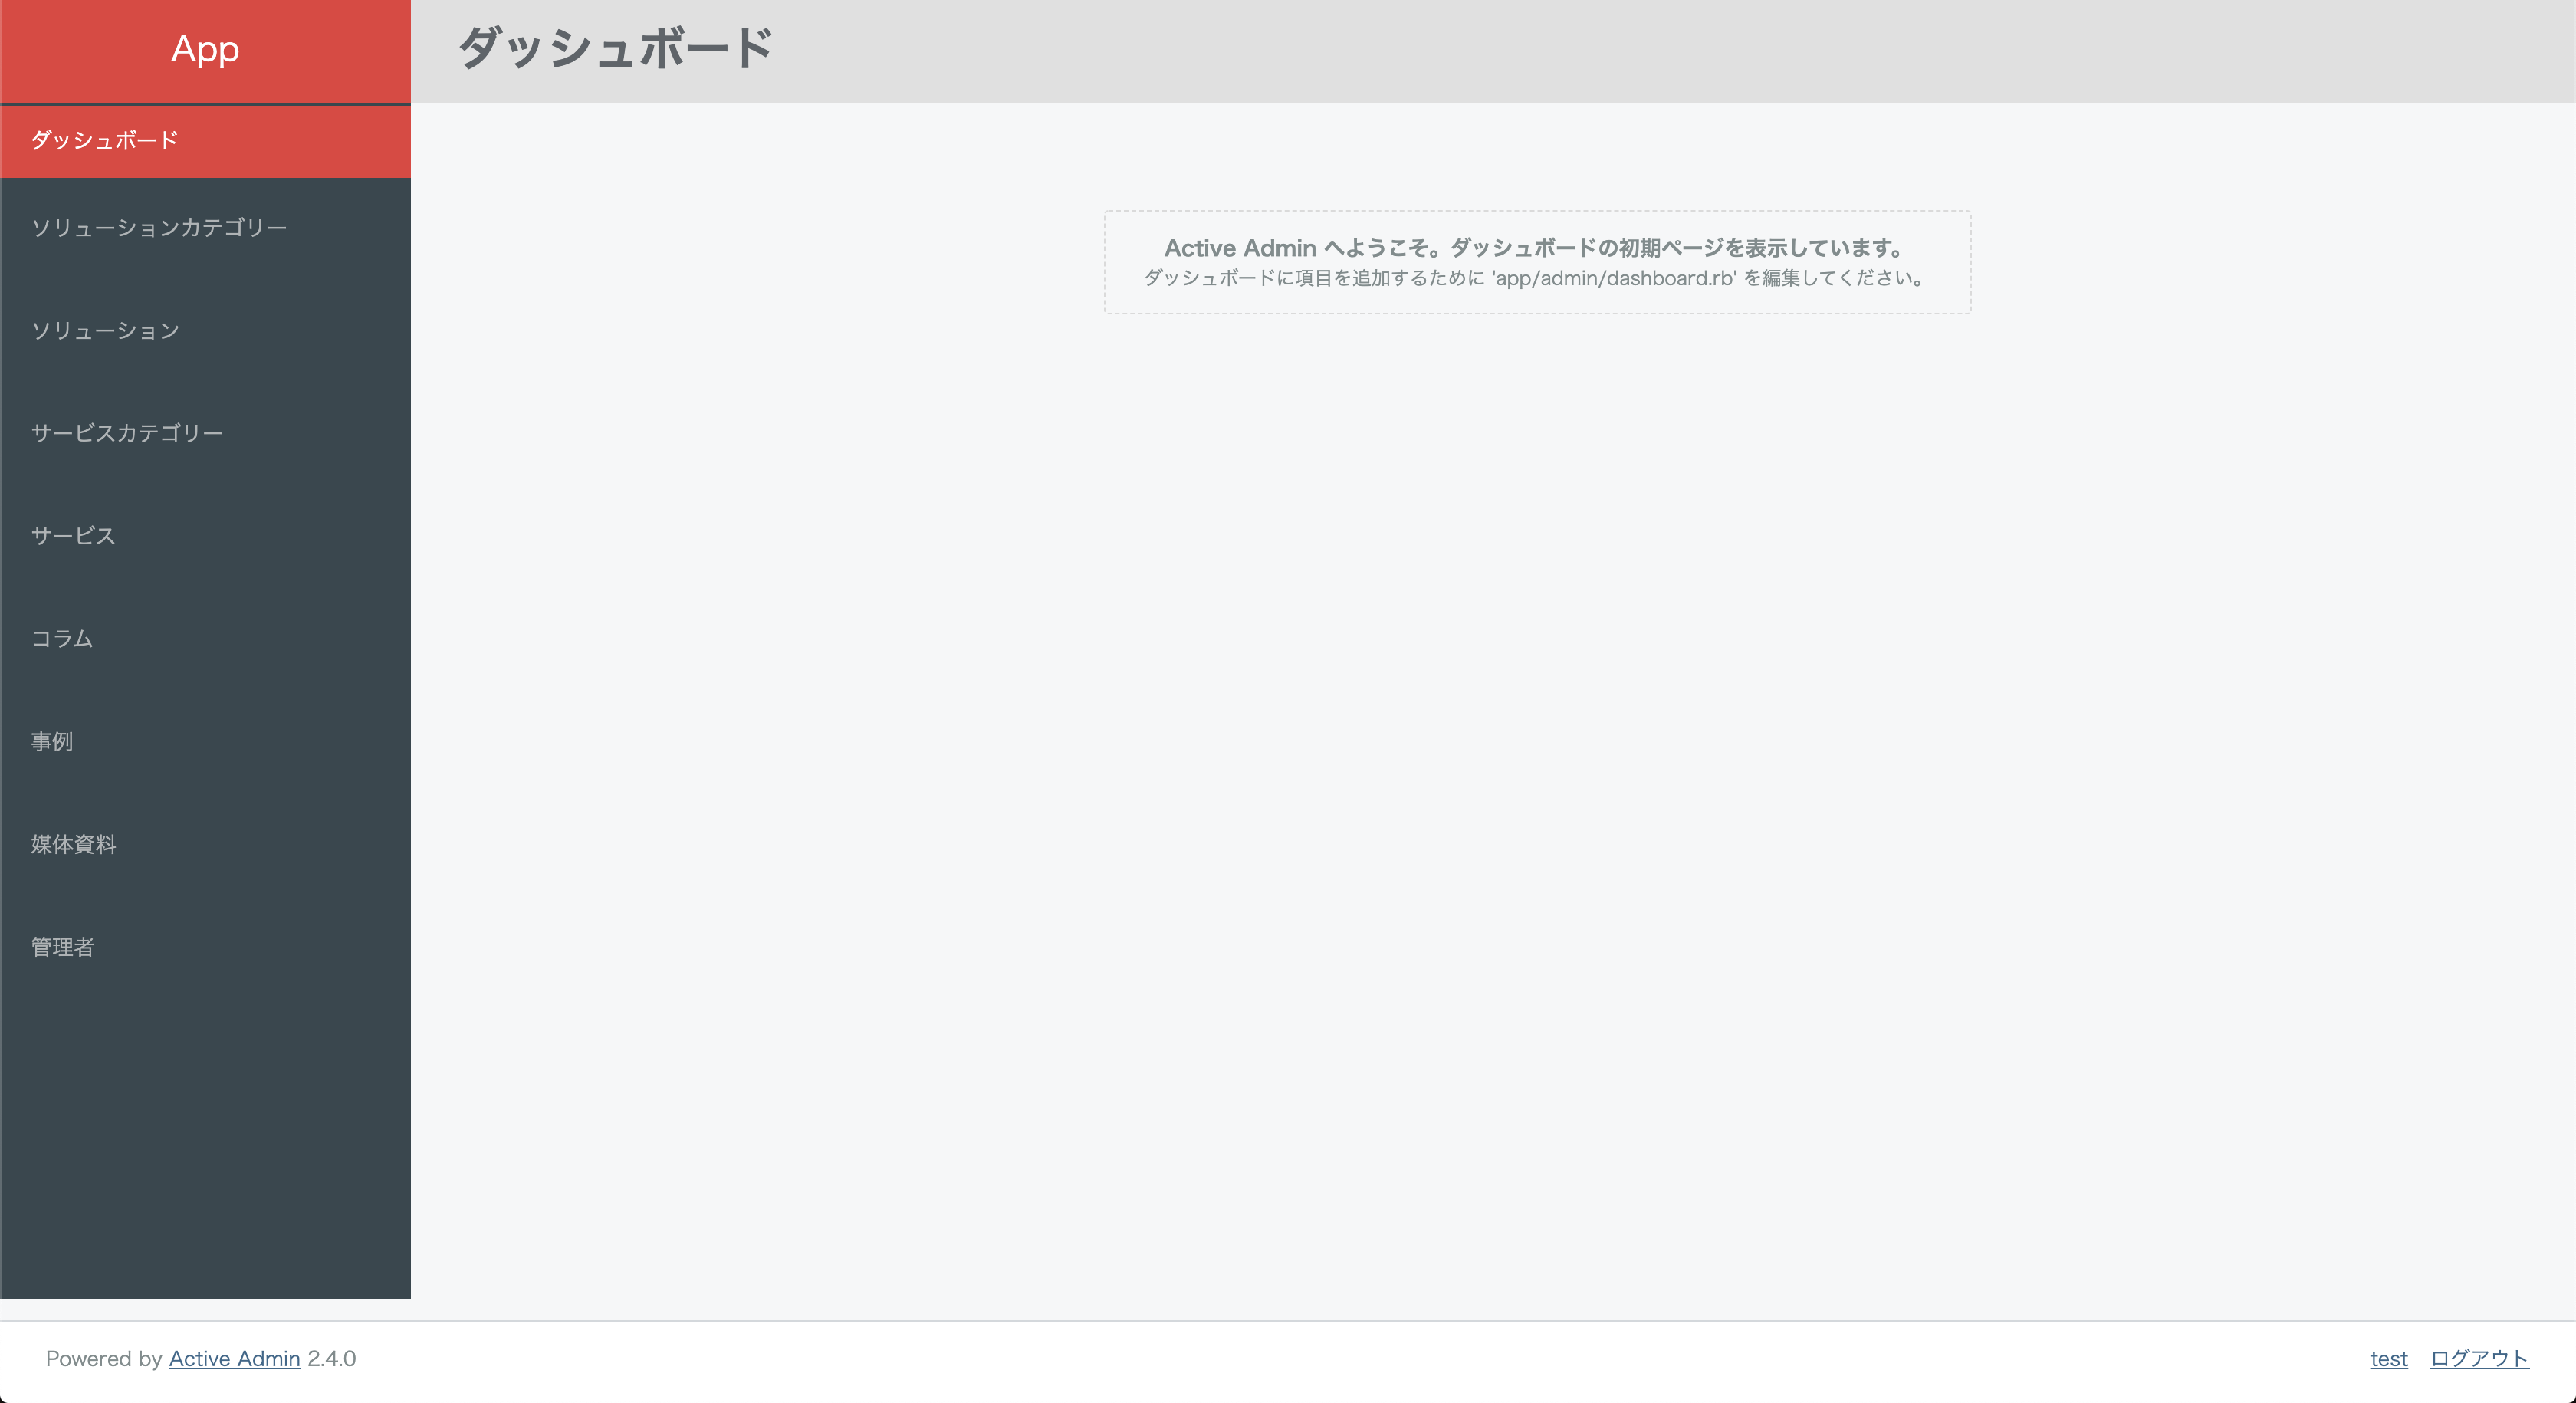
- ※
active_admin_flat_skinというgemを使ってデザインを変えてます - ※ デフォルトでは英語なのを日本語化してます
Active Storage
画像やpdfのアップロードはRails5.2から導入されたActive Storageを使用します。
今回は記載しませんが、S3などのストレージにアップロードすることも可能です。
$ docker-compose --rm web rails active_storage:install
$ docker-compose --rm web rails db:migrate
これでインストールは完了なので、ファイルを紐付けたいモデルに記載していきましょう。
ファイル用のカラムは作成しなくても良いので、carrierwaveなどを使っていた人は注意。
class Comment < ApplicationRecord
  has_one_attached :image # こんな感じ
end
Active Admin + Active Storage + ckeditor
いよいよ本題です。
上のステップでckeditorのgemはインストールしているので、まだの人は追加してください。
bundle installが完了したら以下を追加。
Rails.application.config.assets.precompile += %w[ckeditor/config.js]
次にgithubにも載っている通り、mActiveRecord + active_storageで利用するために以下のコマンドを叩く。
$ docker-compose run --rm web rails generate ckeditor:install --orm=active_record --backend=active_storage
・・・と多分エラーが出て先に進めません。。(ここでどハマりした)
ググってみると同じように悩まれている人がいたので、そちらの解決方法を参考に、backendオプションなしで実行する。
$ docker-compose run --rm web rails generate ckeditor:install --orm=active_record
多分このコマンドでapp/models/ckeditor 内に、
- asset.rb
- attachment_file.rb
- pictture.rb
が作成されているはず。なければ作成してください。
それぞれ中身を以下のものに置き換えます。
# frozen_string_literal: true

class Ckeditor::Asset < ActiveRecord::Base
  include Ckeditor::Orm::ActiveRecord::AssetBase
  include Ckeditor::Backend::ActiveStorage

  attr_accessor :data

  has_one_attached :storage_data
end
# frozen_string_literal: true

class Ckeditor::AttachmentFile < Ckeditor::Asset
  # for validation, see https://github.com/igorkasyanchuk/active_storage_validations

  def url_thumb
    @url_thumb ||= Ckeditor::Utils.filethumb(filename)
  end
end
# frozen_string_literal: true

class Ckeditor::Picture < Ckeditor::Asset
  # for validation, see https://github.com/igorkasyanchuk/active_storage_validations

  def url_content
    rails_representation_url(storage_data.variant(resize: '800>').processed, only_path: true)
  end

  def url_thumb
    rails_representation_url(storage_data.variant(resize: '118x100').processed, only_path: true)
  end
end
次にckeditor.rbを変更します。
- ormがactive_recordになっている事
- config.cdn_urlが設定されていること
# frozen_string_literal: true

# Use this hook to configure ckeditor
Ckeditor.setup do |config|
  # ==> ORM configuration
  # Load and configure the ORM. Supports :active_record (default), :mongo_mapper and
  # :mongoid (bson_ext recommended) by default. Other ORMs may be
  # available as additional gems.
  require 'ckeditor/orm/active_record'

  # Allowed image file types for upload.
  # Set to nil or [] (empty array) for all file types
  # By default: %w(jpg jpeg png gif tiff)
  # config.image_file_types = %w(jpg jpeg png gif tiff)

  # Allowed flash file types for upload.
  # Set to nil or [] (empty array) for all file types
  # By default: %w(jpg jpeg png gif tiff)
  # config.flash_file_types = %w(swf)

  # Allowed attachment file types for upload.
  # Set to nil or [] (empty array) for all file types
  # By default: %w(doc docx xls odt ods pdf rar zip tar tar.gz swf)
  # config.attachment_file_types = %w(doc docx xls odt ods pdf rar zip tar tar.gz swf)

  # Setup authorization to be run as a before filter
  # By default: there is no authorization.
  # config.authorize_with :cancancan

  # Override parent controller CKEditor inherits from
  # By default: 'ApplicationController'
  # config.parent_controller = 'MyController'

  # Asset model classes
  # config.picture_model { Ckeditor::Picture }
  # config.attachment_file_model { Ckeditor::AttachmentFile }

  # Paginate assets
  # By default: 24
  # config.default_per_page = 24

  # Customize ckeditor assets path
  # By default: nil
  # config.asset_path = 'http://www.example.com/assets/ckeditor/'

  # CKEditor CDN
  # More info here http://cdn.ckeditor.com/
  # By default: nil (CDN disabled)
  config.cdn_url = '//cdn.ckeditor.com/4.11.3/standard/ckeditor.js'

  # JS config url
  # Used when CKEditor CDN enabled
  # By default: "ckeditor/config.js"
  # config.js_config_url = 'ckeditor/config.js'
end
上記で設定したurlをactive_admin.rbで呼び出せばOK。
ckeditorのバージョンが最新のものの対応方法が載ってなく、手探りでやっと対応したので苦労しました。。
# ...
  config.register_javascript  Ckeditor.cdn_url
  config.register_javascript 'ckeditor/config.js'
# ...
これで準備完了です。
最終的なファイルはこんな感じです。
class Column < ApplicationRecord
  has_one_attached :image
end
ActiveAdmin.register Column do
  # imageはActive Storage
  # contentはckeditorを使用するtext型カラム
  permit_params :title, :description, :image, :content

  index do
    selectable_column
    id_column
    column :title
    column :description
    column :created_at
    actions
  end

  filter :title
  filter :description
  filter :created_at

  form do |f|
    f.inputs do
      f.input :title
      f.input :description
      f.input :content, as: :ckeditor # ここでckeditorを呼び出す
      f.input :image, as: :file # active storageを使って画像UPする際はas: :file
      f.actions
    end
  end

  show do
    attributes_table do
      row :title
      row :description
      row :content do |r|
        r.content.html_safe # html_safeでhtmlコンテンツを表示
      end
      row :image do |r|
        image_tag url_for(r.image)
      end
    end
  end
end
起動してみるといい感じに表示されているはずです。
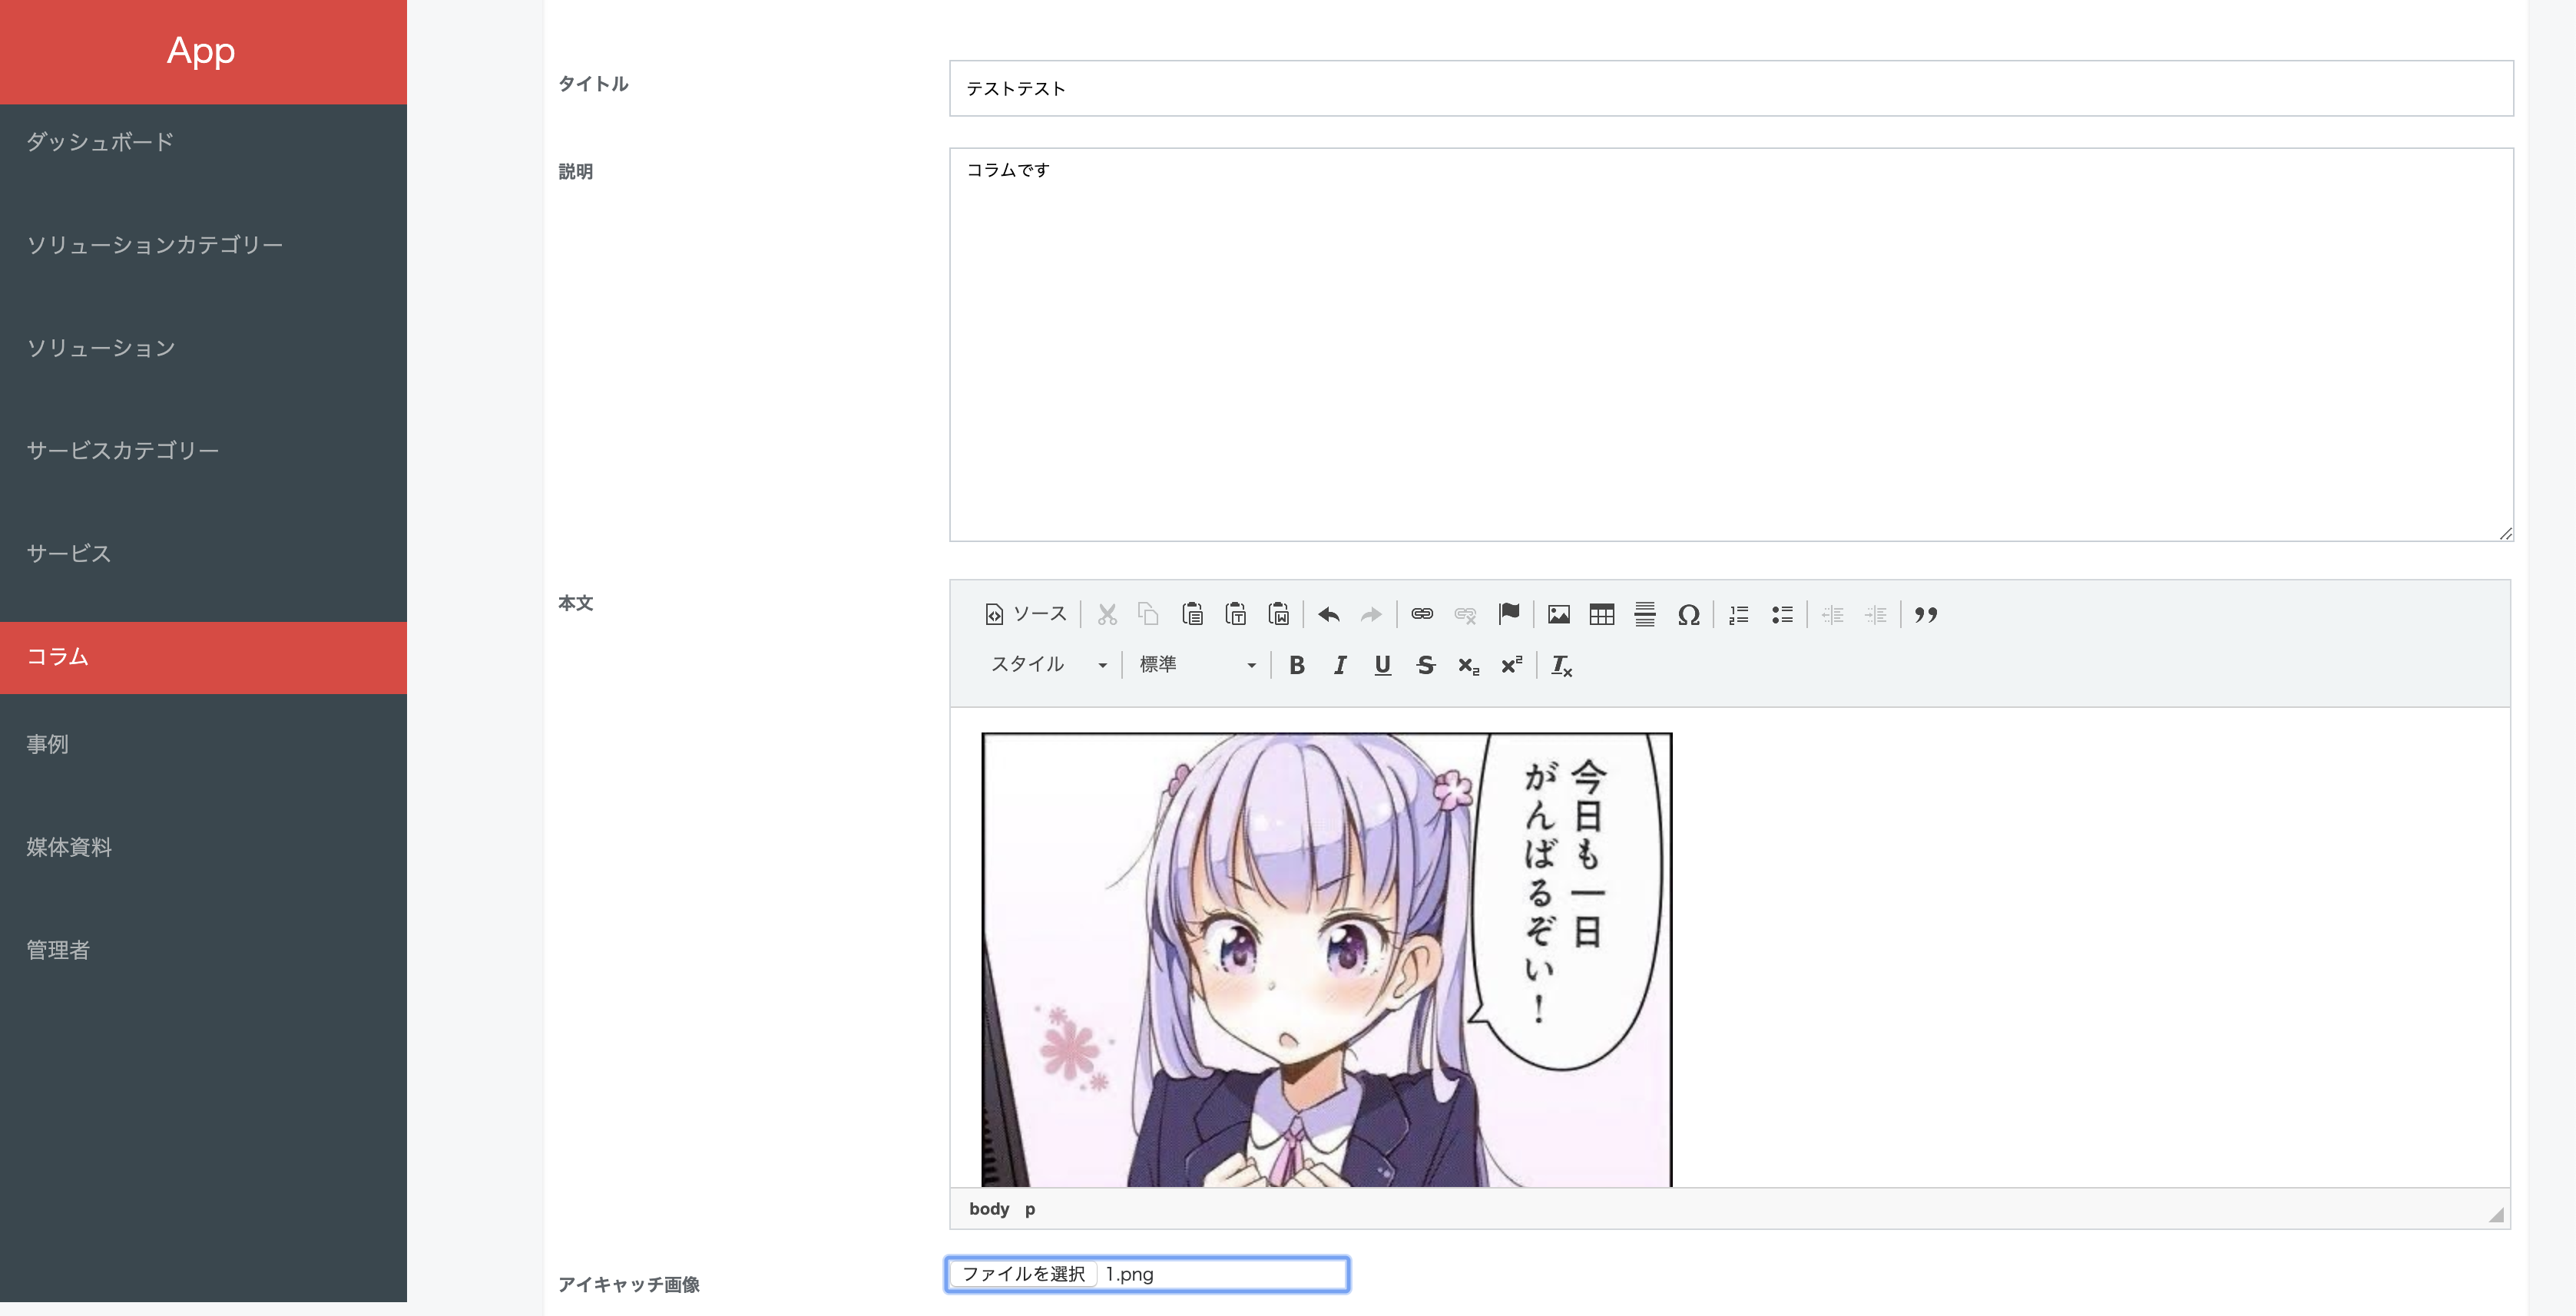
ドラッグ&ドロップで画像のアップロードもできます!
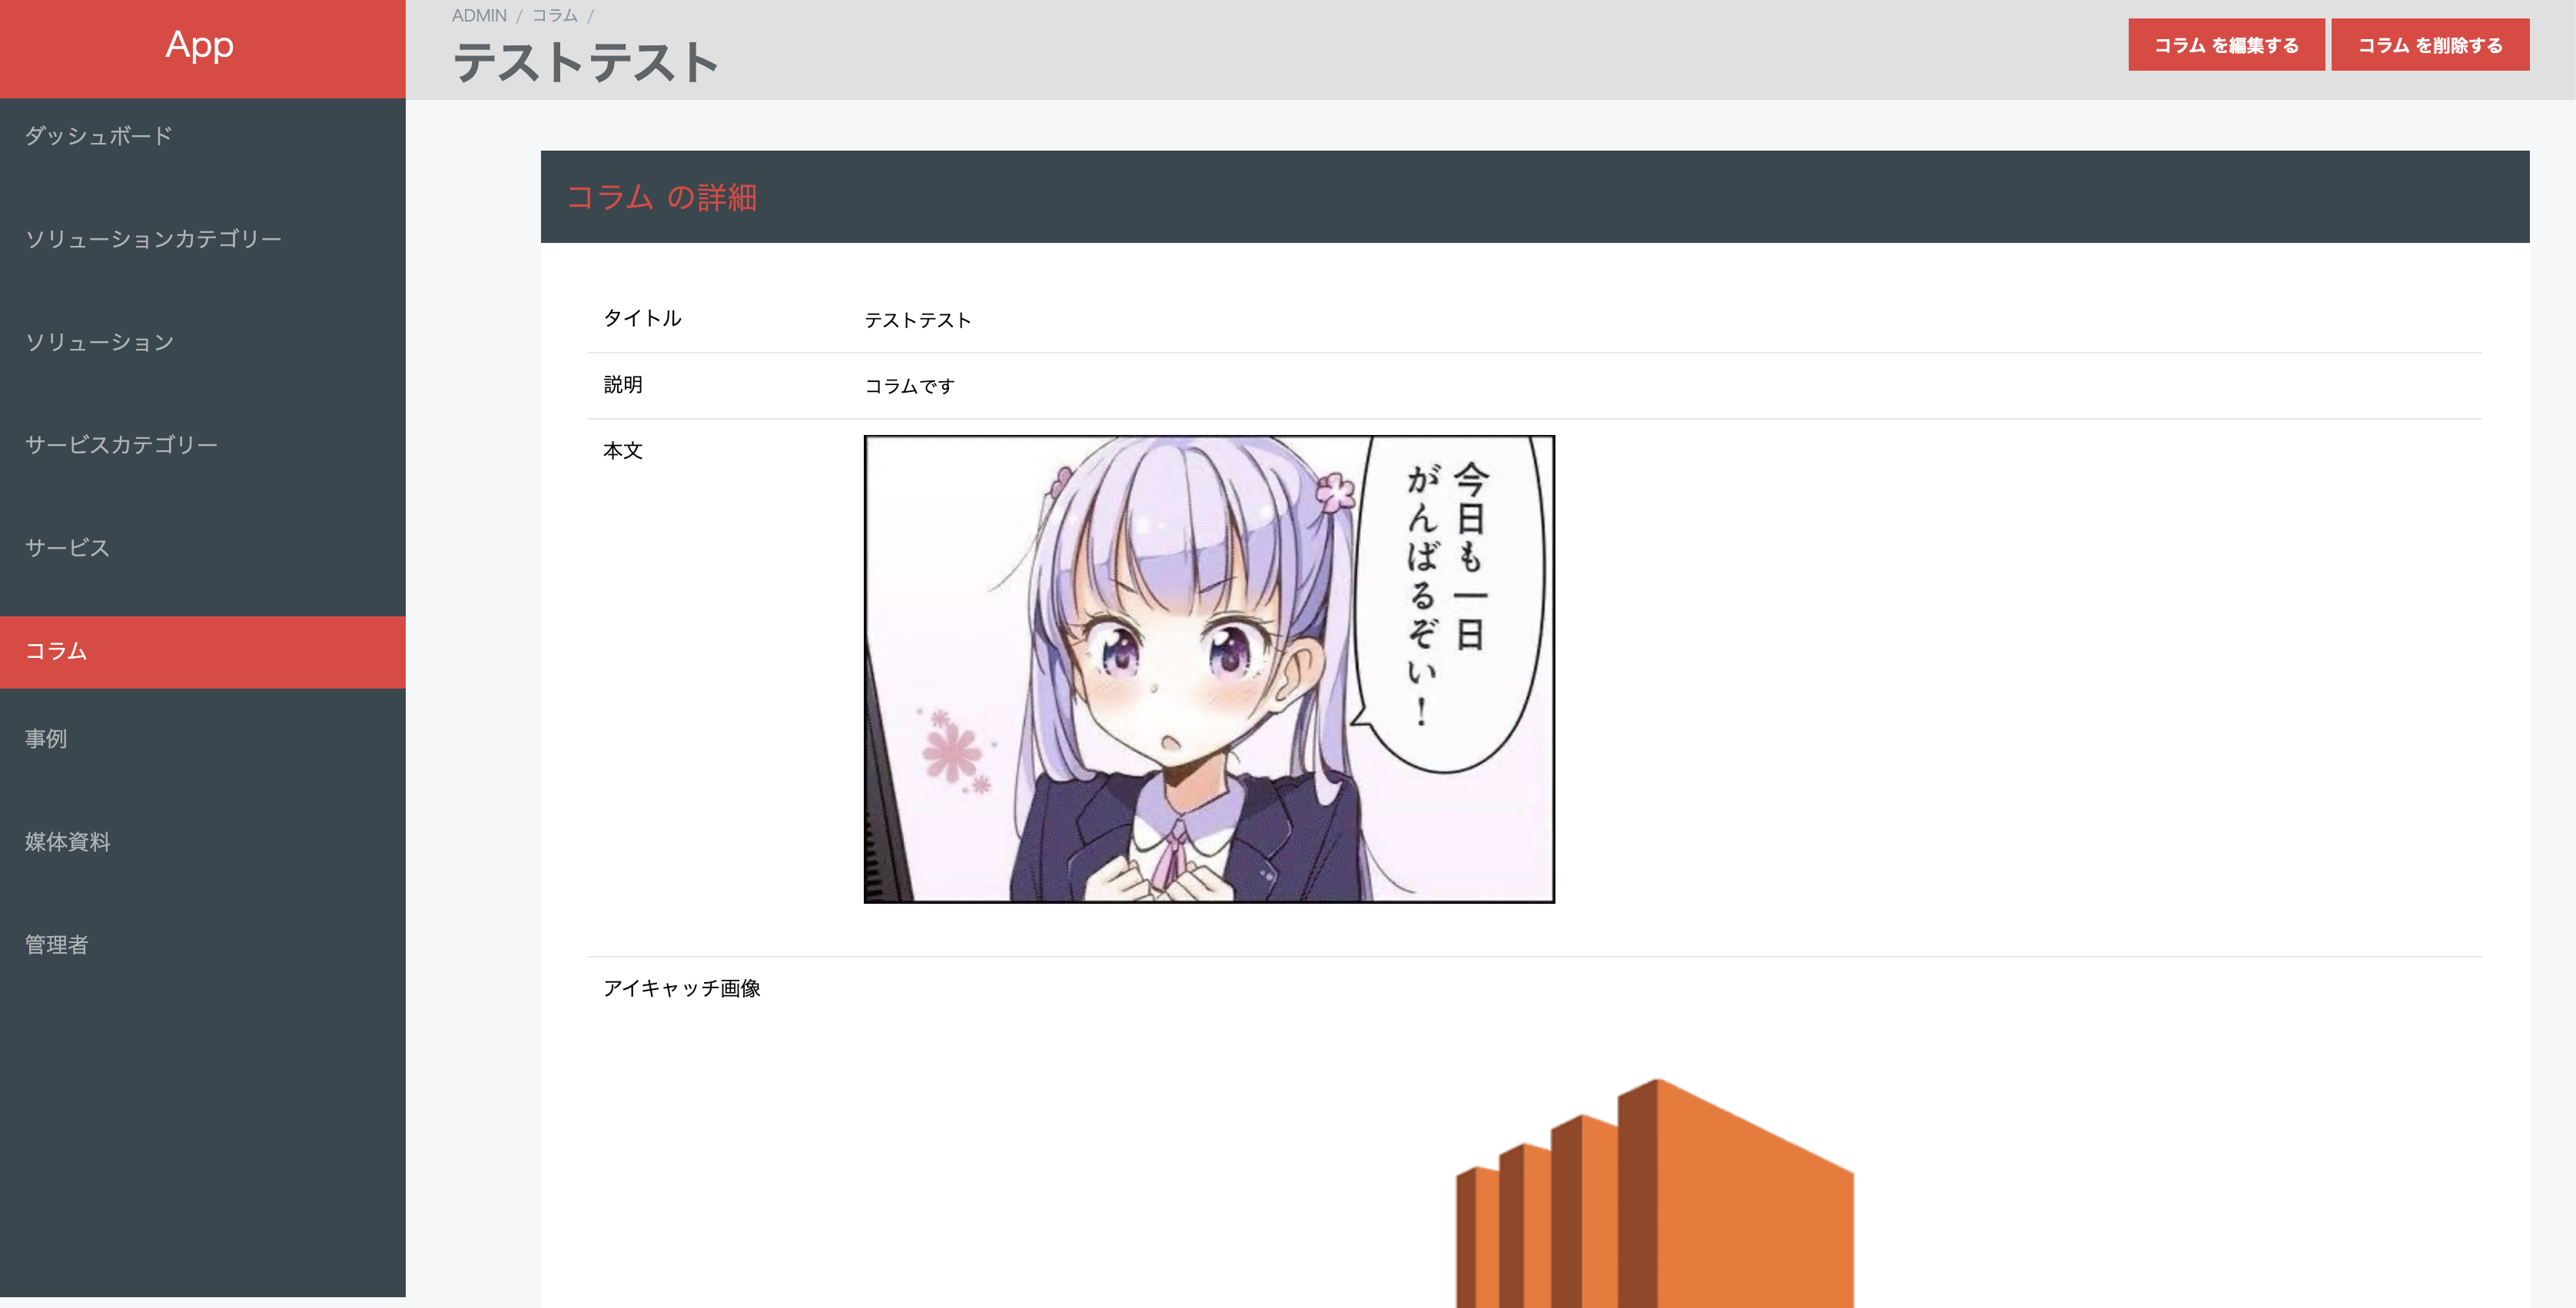
投稿しても画像がきちんと表示されてますね 🎉
これで完成です💪
まとめ
新しいことにチャレンジするとつまずくことばかりですね。
いつも皆様のQiitaやStackOverflowに助けていただいてばかりで還元できなかったので、今回の記事で少しでも困っている人の役に立てたらこの上なく嬉しいです!