概要
FortigateからMicrosoft Sentinelへ送信するログを暗号化します。ここで暗号化に使用する証明書は自己署名(オレオレ)証明書を使用します。
前提
暗号化未対応でMicrosoft Sentinelにログが送信できていること。送信方法について、以前Qiitaに記事を書いたので参照ください。
環境
- Fortigate-60F
- Ubuntu 20.04.4 (Azure VM)
- rsyslog 8.2001.0
$ cat /etc/os-release
NAME="Ubuntu"
VERSION="20.04.4 LTS (Focal Fossa)"

$ rsyslogd -v
rsyslogd  8.2001.0 (aka 2020.01) compiled with:
証明書とSyslogのTLS対応
CA証明書、SyslogのTLS対応は以下のリンクを参考にしてください。このページの手順でほぼできますが、私の環境ではcerttoolをインストールする時のパッケージ名がgnutls-utilsではなくgnutls-binでした。
また、ポートは6514にしてください。Fortigateのデフォルトがこのポートのためここではこのポートで進めます。環境に合わせて変更してください。
$ sudo apt install -y gnutls-bin
Fortigateの設定
CLIで暗号化を有効にします。ファームウェアのバージョンによるかもしれませんが、有効にするとポートが6514に変更されると思います。
config log syslogd setting
set enc-algorithm high-medium
end
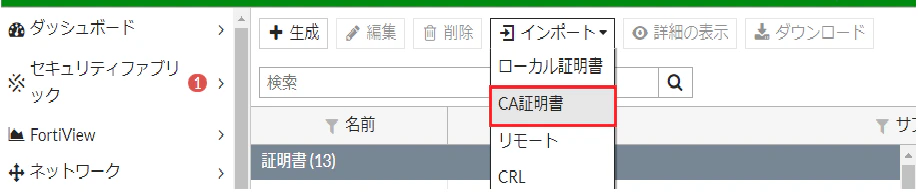
CA証明書(上のリンクの手順で作成した場合、ca.pem)をアップロードします。
システム > 証明書 > CA証明書
以上で設定完了です。