BlynkでRaspberryPIからエアコンを操作してみた
序文
最近IoTが家庭にもずいずいと浸透しはじめており、Philips hueやIRKitが流行ってきています。私も例に漏れず物欲センサーに引っかかり購入を検討したのですが、高かったり在庫切れだったりしたのでここぞとばかりにRaspberryPIを使って自作してみました。ないものはつくる。そう、シアトルコンサルティングならね。
iPhoneアプリインストール
アプリ
アプリを起動して適当なアカウントでログインするとこのような画面が表示されます。

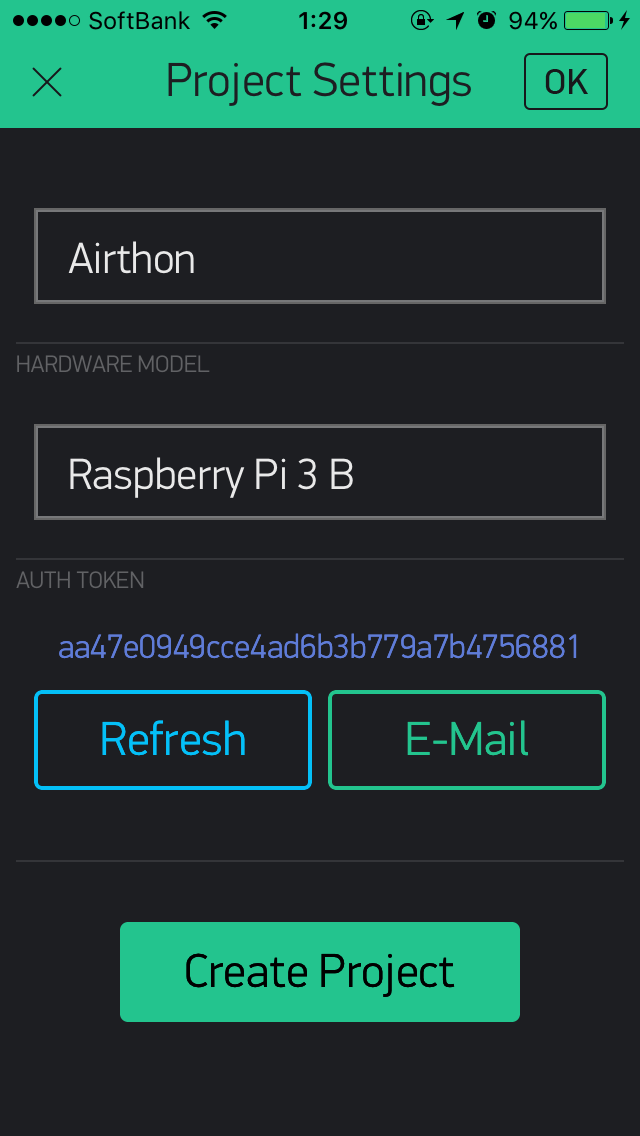
Create New Projectをタップして以下のように入力します。この場合、AirthonがProject Nameとなります。
この画面のAUTH TOKENは後ほど使用するのでメモしておきます。
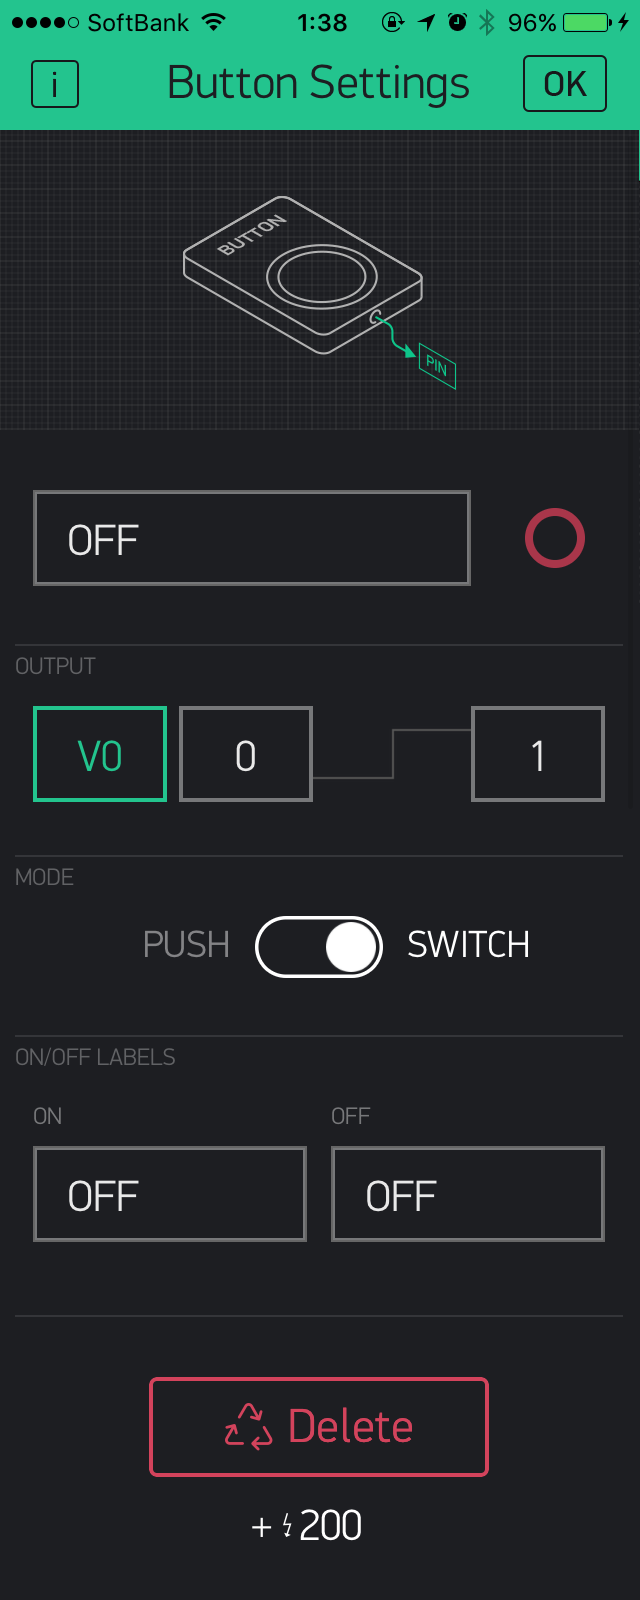
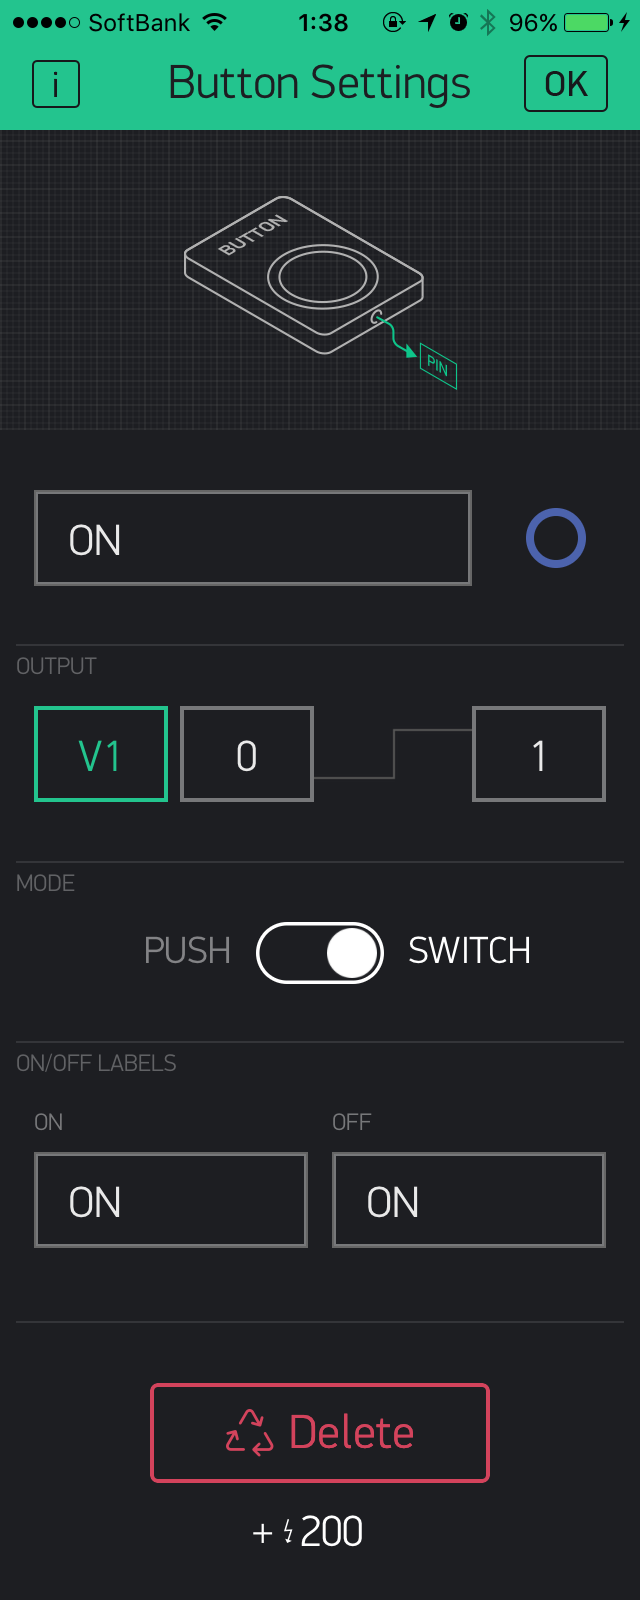
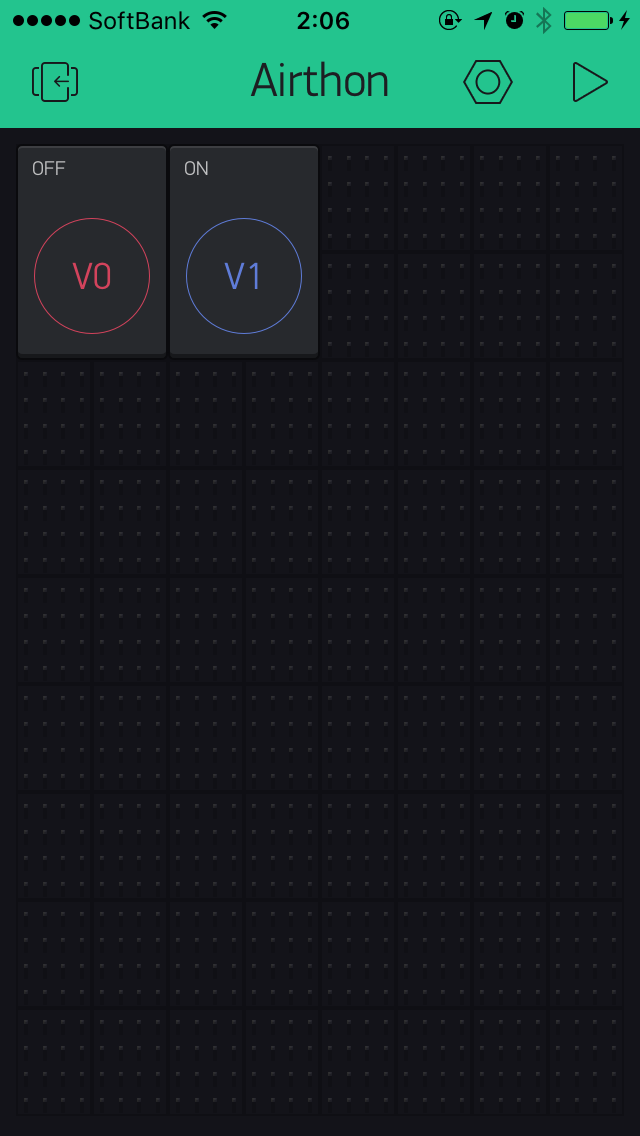
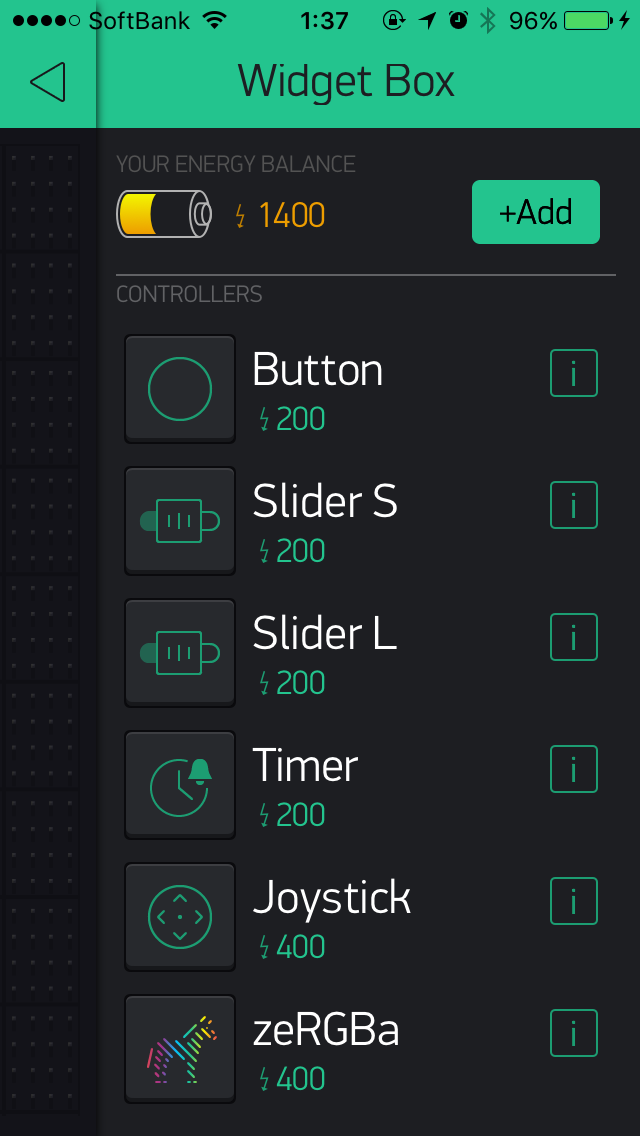
Projectを作成後、黒い画面をタップすると下記のようにWidgetを選択できます。今回はButtonを2つ選択します。
LIRC
wiringPIをインストールします。
$ git clone git://git.drogon.net/wiringPi
$ cd wiringPi
$ ./build
赤外線リモコン信号受信・送信からscanir.c, sendir.cをそれぞれファイルにコピペし、コンパイルします。
$ sudo gcc scanir.c -o scanir -lwiringPi
$ sudo gcc sendir.c -lm -o sendir -lwiringPi
リモコンの赤外線を学習させる
$ sudo ./scanir air_on.data 29
write file: air_on.data
scaning pin: 29 (wiringpi)
max keep time: 40(ms)
Infrared LED scanning start.
Pressed Ctrl+C, this program will exit.
// ここで受信モジュールに向けてリモコンのONボタンを押下
Scanning has been done.

$ sudo ./scanir air_off.data 29
write file: air_off.data
scaning pin: 29 (wiringpi)
max keep time: 40(ms)
Infrared LED scanning start.
Pressed Ctrl+C, this program will exit.
//ここで受信モジュールに向けてリモコンのOFFボタンを押下
Scanning has been done.
blynk-libraryインストール
$ git clone https://github.com/blynkkk/blynk-library.git
$ cd blynk-library/linux
$ make clean all target=raspberry
main.cppの下記の部分のコードを書き換えます。
BLYNK_WRITE(V1)
{
  printf("Got a value: %s\n", param[0].asStr());
}
void blynk_exec_off(int pin) {
  char command[256] = "";
  sprintf(command, "/home/pi/home/airthon/BLYNK_OFF_V%d.sh", pin);
  BLYNK_LOG("Command: %s", command);
  system(command);
}

void blynk_exec_on(int pin) {
  char command[256] = "";
  sprintf(command, "/home/pi/home/airthon/BLYNK_ON_V%d.sh", pin);
  BLYNK_LOG("Command: %s", command);
  system(command);
}

BLYNK_WRITE(V0) { blynk_exec_off(V0); }
BLYNK_WRITE(V1) { blynk_exec_on(V1); }
Got a value: 1
Got a value: 0
実行!
$ sudo ./blynk --token=xxx
