MicrosoftのCodePushに感動した話。
背景
ハイブリッドアプリのjs/ts部分をちょこっと修正する度にストアに申請するのは手間である!!
(特にiOSの場合は審査に時間を要するしね。)
そこで「ゆーてNativeの部分を書き換えないんだし、jsだけ更新する仕組みないかなぁ...」と思ったら、ありました。
CodePushとの運命的な出会いです。
CodePush
CodePushとは、IonicやReact Nativeなどハイブリッドアプリの生産性向上のために生み出された魔法のようなツールです。冒頭での紹介の通り、公式ストアでのアップデートを介さずにHTML,CSS,JSなどを更新する機能を持ちます。
ネットの評判読んだ感じ「Ionic4ではうまく動かないよ!」という感触だったのですが、いざ使ってみるとちゃんと稼働したので記事にしたためました。
(未検証ですがReact Nativeでの実装も同様にできそうです。)
実装
今回の環境
- macOS Mojave(v10.14.6)
- Node.js v10.15.0
- Ionic: v5.2.5
- cordova v9.0.0
- [実機]Google Pixel 3a(Android 9)
途中の処理でcordovaバージョン9.0.0を必須としてきているので、お手元のバージョンを必ずご確認ください。
1. Ionic プロジェクトの作成
Blankで作成しますが、ご自身の環境にあわせて適宜変更してください。詳細は割愛します。
2. Microsoft AppCenterでの作業
2-1. ログイン
 CodePushは現在Microsoft AppCenter内の一機能のようですので、まずはこちらにログインしましょう。Microsoft・Googleアカウントでの認証以外にも、先日買収したことで話題になったGithubでの認証も実装されています。
2-2. アプリの作成
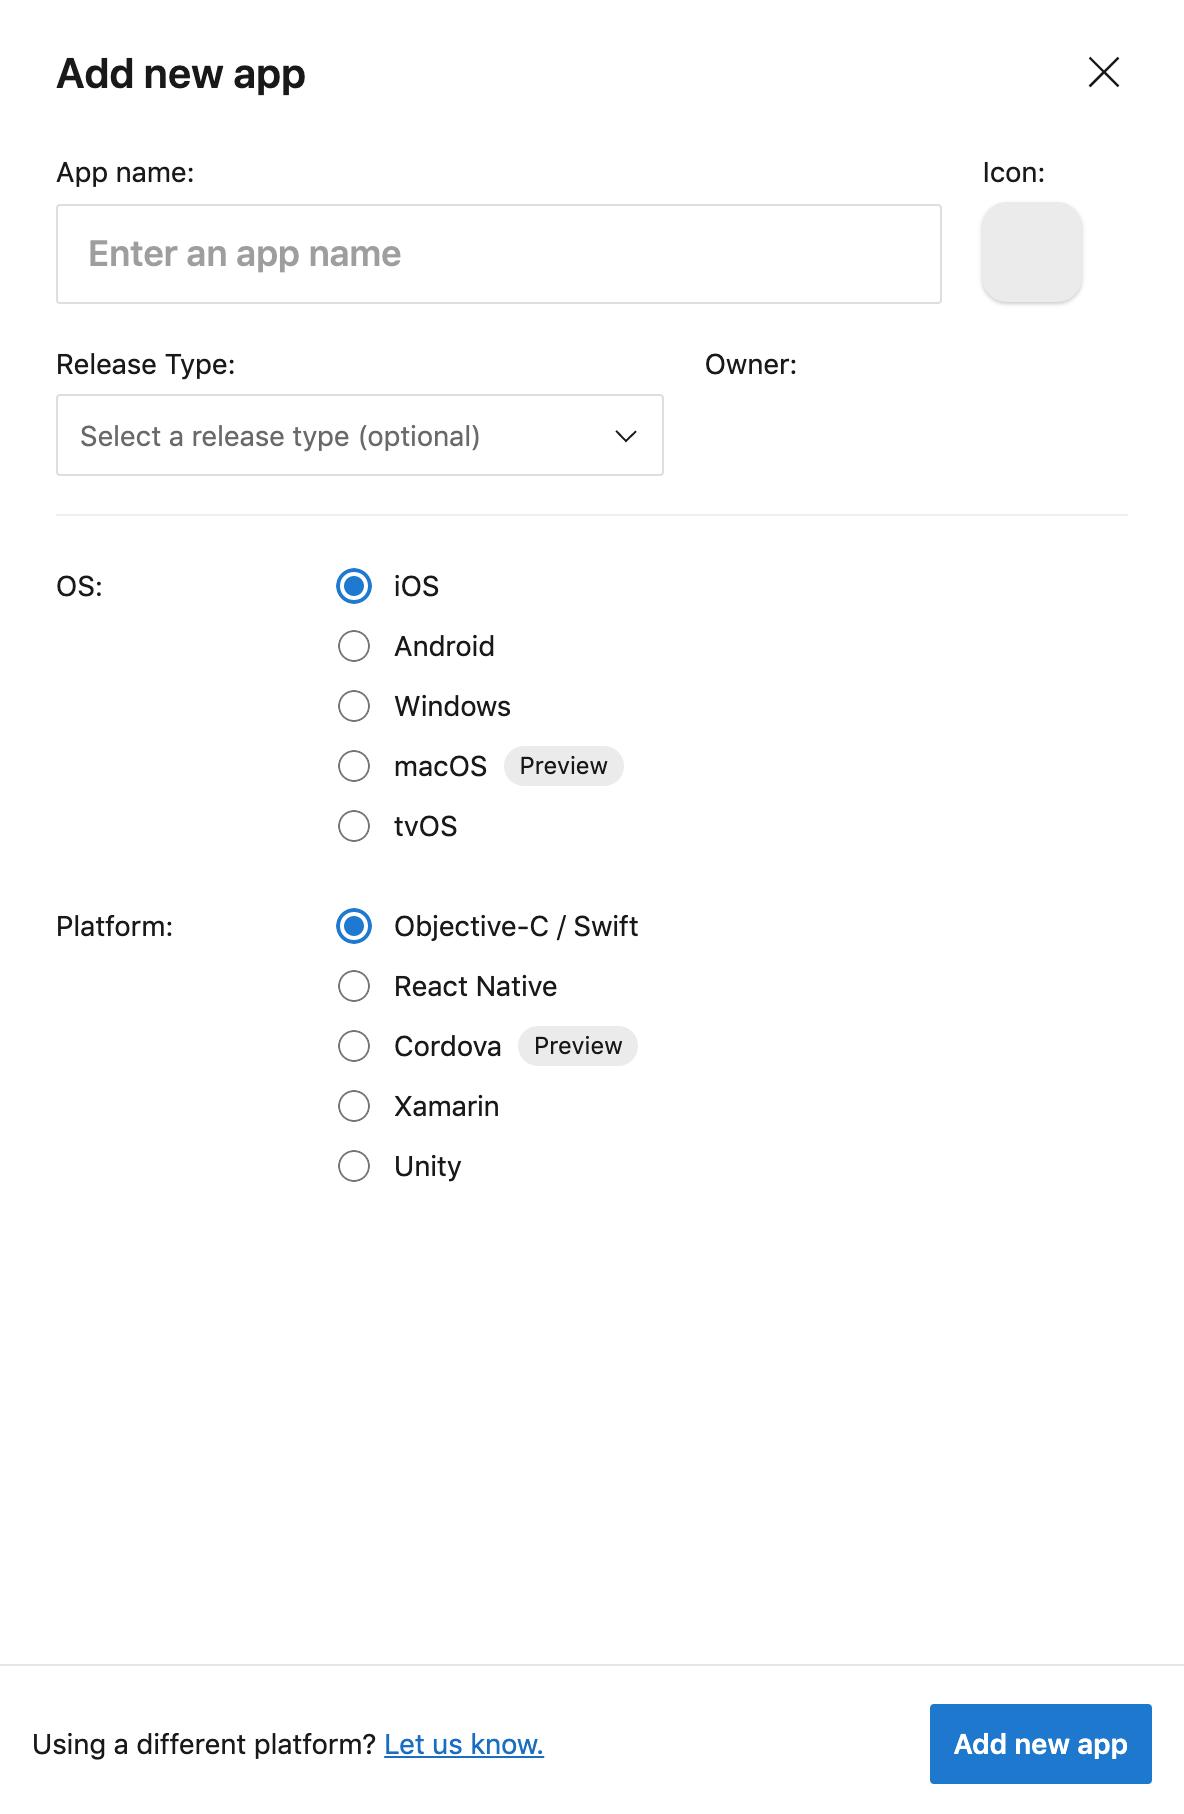
画面中央の【Add app】を押して、アプリを作成しましょう。
OSはAndroid/iOSのいずれかを選択します。
またIonicで作成する場合には、PlatformはCorodvaを選択します。
【Getting started】の画面に遷移したら、[2]Link the SDKの項にあるとおり
<platform name="[OS name]">
  <preference name="APP_SECRET" value="xxxxxxxx-xxxx-xxxx-xxxx-xxxxxxxxxxxx" />
</platform>
を、先ほど作成したプロジェクトのconfig.xmlに適用します。
3. プロジェクトの設定
3-1. プラグインの導入
CodePushプラグインを導入します。公式サイトにあるとおり
$ ionic cordova plugin add cordova-plugin-code-push
$ npm install @ionic-native/code-push
で問題ありません。(src/app/app.module.tsへの追記をお忘れ無きよう。)
3-2. CodePushの利用
アプリ起動時にこっそり同期していて欲しいので、src/app/app.component.tsに所定の処理を記述します。
import { Component } from "@angular/core";

import { Platform } from "@ionic/angular";
import { SplashScreen } from "@ionic-native/splash-screen/ngx";
import { StatusBar } from "@ionic-native/status-bar/ngx";

// 追記
import { CodePush } from "@ionic-native/code-push/ngx";

@Component({
  selector: "app-root",
  templateUrl: "app.component.html",
  styleUrls: ["app.component.scss"]
})
export class AppComponent {
  constructor(
    private platform: Platform,
    private splashScreen: SplashScreen,
    private statusBar: StatusBar,
    private codePush: CodePush, // 追記
  ) {
    this.initializeApp();
  }

  initializeApp() {
    // ここから追記
    this.codePush.sync().subscribe(syncStatus => console.log(syncStatus));
    const downloadProgress = progress => {
      console.log(
        `Downloaded ${progress.receivedBytes} of ${progress.totalBytes}`
      );
    };
    this.codePush
      .sync({}, downloadProgress)
      .subscribe(syncStatus => console.log(syncStatus));
    // ここまで追記
    this.platform.ready().then(() => {
      this.statusBar.styleDefault();
      this.splashScreen.hide();
    });
  }
}
4. 使ってみる
4-1. CodePushでの操作
まずCodePushを再び開きます。アプリの左メニューに【Distribute/CodePush】があるのでこちらに移動しましょう。
↑ここです。
「デプロイを設置してね」と言われるので青いボタンを押します。おそらくStagingリリース とProductionリリースが設置されると思います。
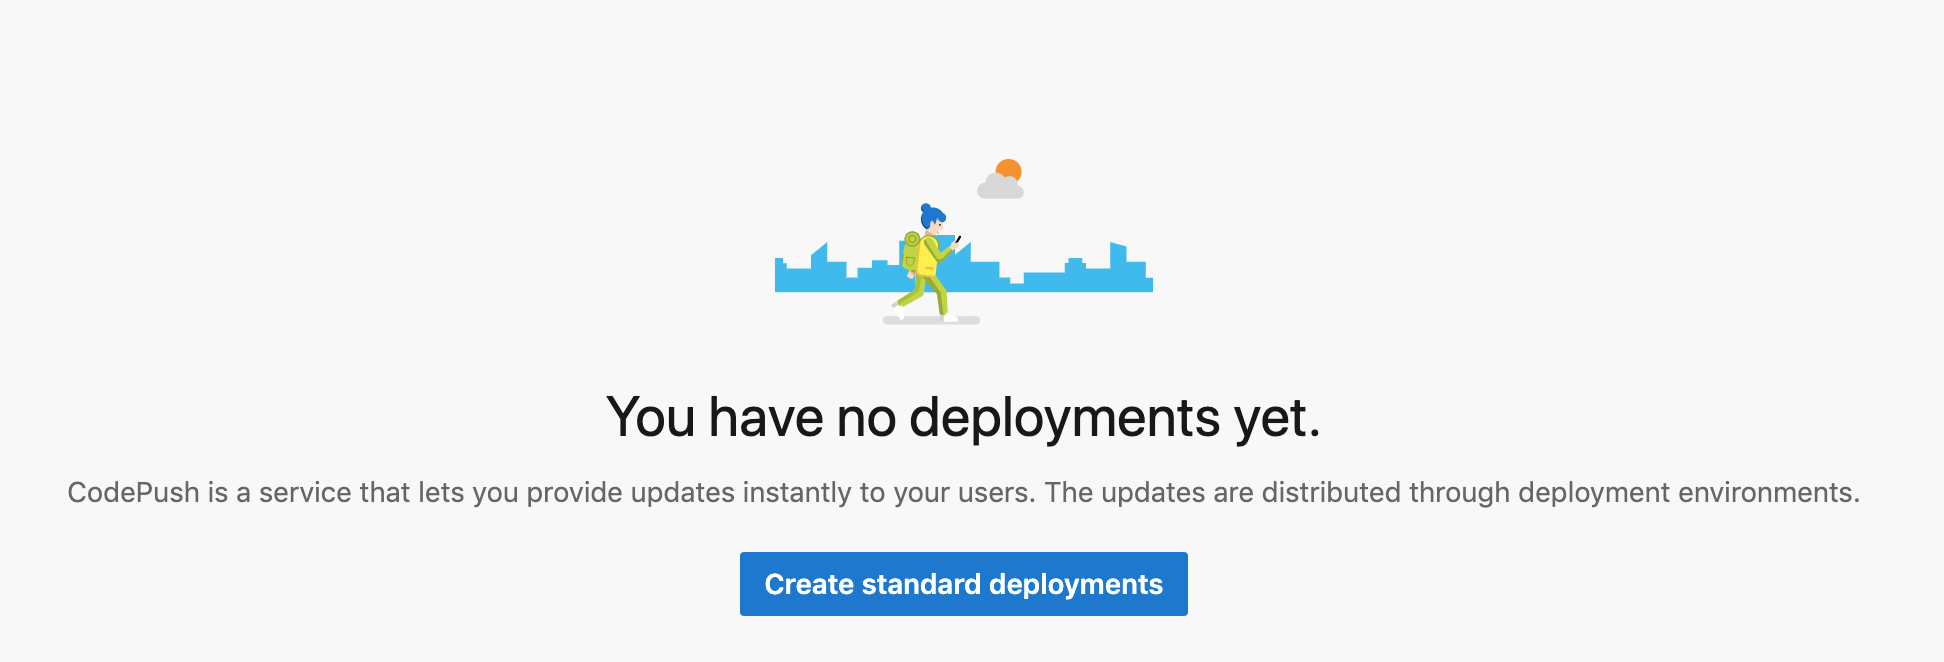
**Everything is ready.**と言われたらあと一歩です!
右上の工具マークを押してデプロイキーを表示しましょう。

このうち使いたいリリースのデプロイキーをコピーします。(今回はProduction)
そしてプロジェクトのconfig.xmlの対応するOSの位置に下記の設定を記述します。
<preference name="CodePushDeploymentKey" value="[先ほどのデプロイキー]" />
また、このページの**【Release an update】**のコマンドをどこかに控えておいてください。
4-2. 実機へのインストールその1
開発端末に実機を接続しionic cordova run androidを実行します。すると初期版のアプリが実機にインストールされます。
4-3. CodePushへデプロイ
その後実機を切断して、ソースコードを改変します。src/app/home/home.page.htmlに追記するのがわかりやすいかと思います。
<ion-header>
  <ion-toolbar>
    <ion-title>
      Ionic Blank
    </ion-title>
  </ion-toolbar>
</ion-header>

<ion-content>
  <div class="ion-padding">
    The world is your oyster.
    <p>If you get lost, the <a target="_blank" rel="noopener" href="https://ionicframework.com/docs/">docs</a> will be
      your guide.</p>
    <!--ここから下 -->
    <br>
    <br>
    <p><b>This is the new Version</b></p>
  </div>
</ion-content>
次に、CLI上でAppCenterにログインします。下記のコマンドを実行しましょう。
$ npm i -g appcenter
$ appcenter login
そしてプロジェクトルートで先ほどのRelease an updateのコマンドを実行します。
$ ionic cordova build android # wwwディレクトリを更新します
$ appcenter codepush release-cordova -a 【プロジェクト名】 -d 【リリース名】
その後実機のアプリを一度閉じて開くと...無事に実機の表示が更新されているはずです。
更新されないときは...
AppCenterのCodePushページで適当なリリースにデプロイされているか確認できます。
また、デプロイ一覧からデプロイを押すと詳細を確認できます。(アップデートのリーチ状況など)
万が一それでもダメなときは、デプロイ設定(右上の工具マーク)から**【Required Update】**をオンにするとイケそうです。
欠点(...?)
あくまでwwwディレクトリの更新なので、Native APIは更新できない(ionic cordova plugin add hogeで導入するやつ)
まとめ
- Ionicがますます便利になりそう
- AppCenter、実はアクティブユーザー等統計や、Push通知なども実装している
- そのうち検証したいです。