はじめに
最近プロジェクトでGoogleMapAPIを利用したので、細かな使い方を記事として残しておきます。
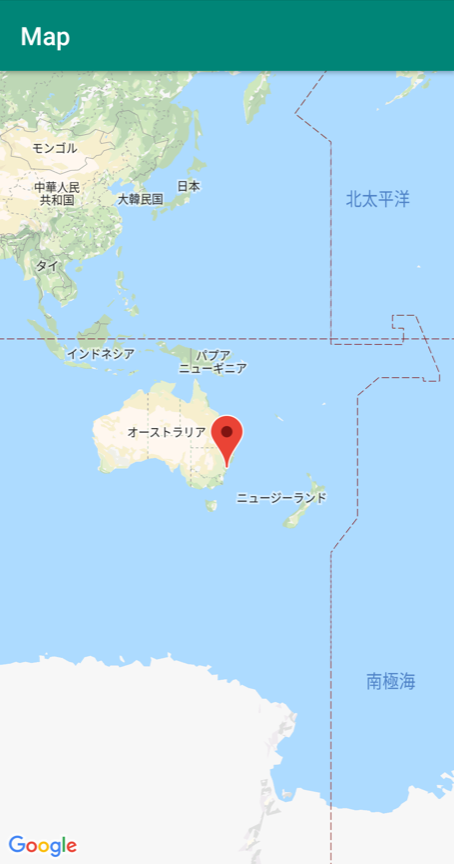
プロジェクト作成〜地図の表示
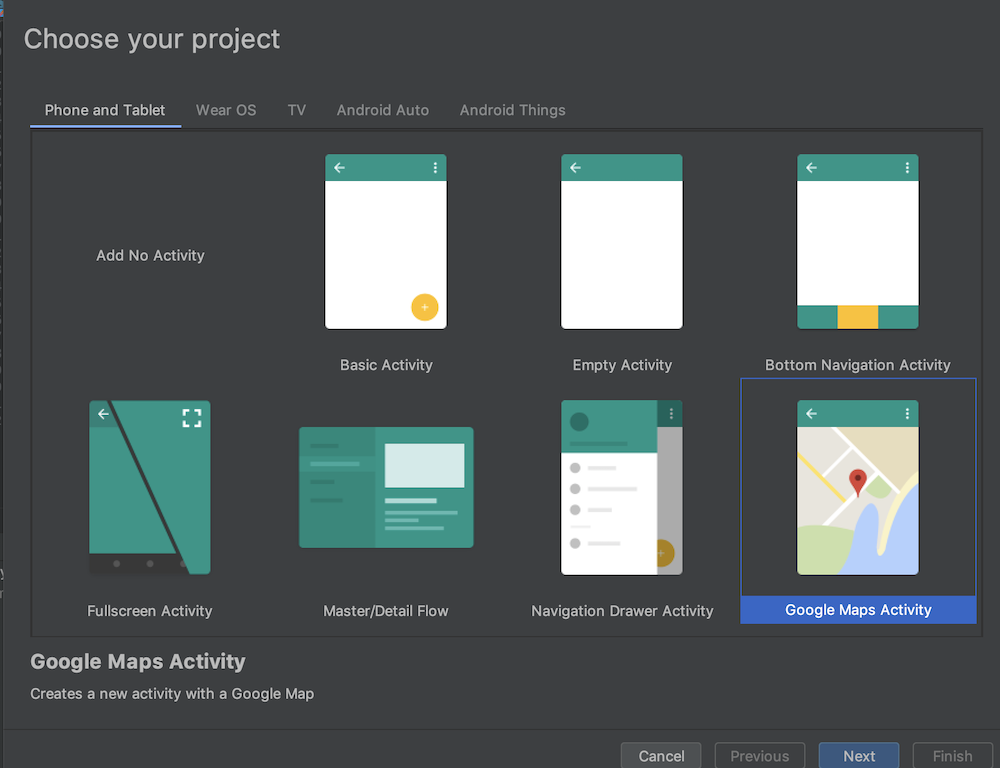
AndroidStudioのプロジェクトウィザードで簡単に作れます。
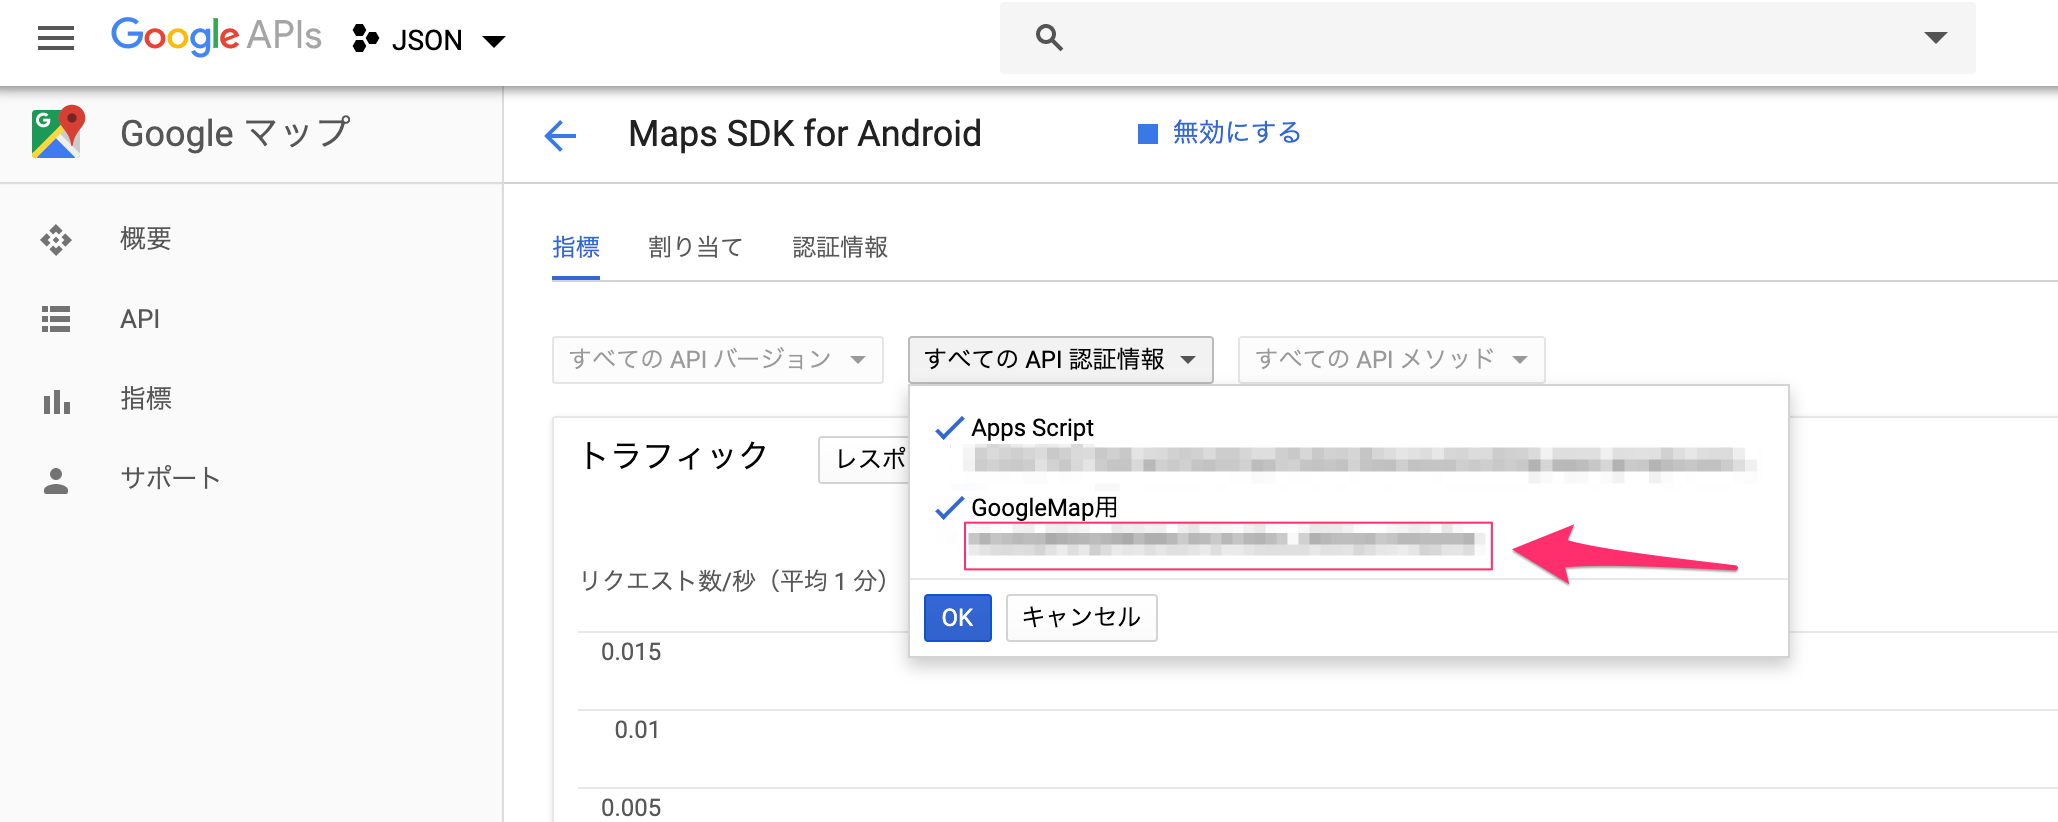
生成された、google_maps_api.xml を開き、YOUR_KEY_HERE を更新します。

キーは https://console.developers.google.com から取得します。
UIの設定
移動
スワイプで地図を平行移動できます。
googleMap.uiSettings.isScrollGesturesEnabled = true
ズーム
ピンチイン・アウトで縮尺を変更できます。
googleMap.uiSettings.isZoomGesturesEnabled = true
回転
ピンチからの回転で地図が回転できます。
googleMap.uiSettings.isRotateGesturesEnabled = true
ズームボタン
画面右下にズーム変更ボタンが表示されます。

googleMap.uiSettings.isZoomGesturesEnabled = true
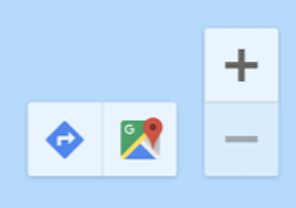
ツールバー
マーカーをタップした時に、
画面の右下に表示されるGoogleMapのユーザインターフェイスです。
googleMap.uiSettings.isMapToolbarEnabled = true
ズームボタンと同時に表示するとこのように表示されます。
ティルト
2本指でスワイプで視点を傾けることができます。
googleMap.uiSettings.isTiltGesturesEnabled = true

コンパス
画面左上の表示されます。
googleMap.uiSettings.isCompassEnabled = true
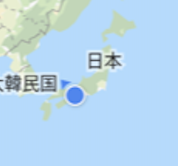
現在地表示
ACCESS_COARSE_LOCATION または ACCESS_FINE_LOCATION
の許可を取得しておく必要があります。
googleMap.isMyLocationEnabled = true
現在地ボタン
画面の右上に表示されます。
タップすると現在地にカメラと縮尺が調整されます。
googleMap.isMyLocationButtonEnabled = true

カメラの移動
// アニメーションなし
googleMap.moveCamera(CameraUpdateFactory.newLatLng(latLng))

// アニメーションあり
googleMap.animateCamera(CameraUpdateFactory.newLatLng(sydney))
カメラの縮尺変更
val zoomValue = 14.0f // 1.0f 〜 21.0f を指定
googleMap.animateCamera(CameraUpdateFactory.newLatLngZoom(latLng, zoomValue))
おおよその詳細レベル
1: World
5: Landmass/continent
10: City
15: Streets
20: Buildings
ズームレベルの詳細はこちらを参考に
https://developers.google.com/maps/documentation/android-sdk/views
https://qiita.com/SnowMonkey/items/795779913be692c12a0b
マーカー表示
val sydney = LatLng(-34.0, 151.0)
googleMap.addMarker(
    MarkerOptions()
        .position(sydney)             // 地図上のマーカーの位置
        .title("Marker in Sydney")    // マーカーをタップ時に表示するテキスト文字列
        .snippet("Australian cities") // タイトルの下に表示される追加のテキスト
        .icon(BitmapDescriptorFactory.defaultMarker(BitmapDescriptorFactory.HUE_BLUE)) // アイコン
)
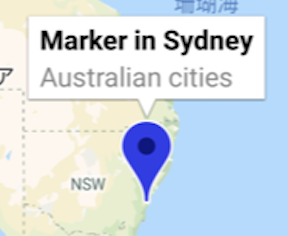
また、マーカーをタップしなくても吹き出しを表示することも出来る。
val marker = googleMap.addMarker(
    MarkerOptions()
        .position(latLng)
        .title("test")
        .icon(BitmapDescriptorFactory.defaultMarker(BitmapDescriptorFactory.HUE_RED))
)
marker.showInfoWindow() // タップした時と同じ挙動
円の描画
val latLng = LatLng(35.681236, 139.767125) // 東京駅
val radius = 1000 * 10.0 // 10km
googleMap.addCircle(
    CircleOptions()
        .center(latLng)          // 円の中心位置
        .radius(radius)          // 半径 (メートル単位)
        .strokeColor(Color.BLUE) // 線の色
        .strokeWidth(2f)         // 線の太さ
        .fillColor(0x400080ff)   // 円の塗りつぶし色
)

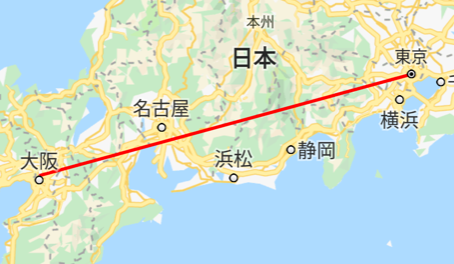
線の描画
googleMap.addPolyline(
    PolylineOptions()
        .add(LatLng(35.681236, 139.767125)) // 東京駅
        .add(LatLng(34.7331, 135.5002))     // 新大阪駅
        .color(Color.RED)                   // 線の色
        .width(8f)                          // 線の太さ
)
2点間に距離を計算(SphericalUtil)
距離を簡単に計算するのに必要なユーティリティライブラリを追加します。
https://developers.google.com/maps/documentation/android-sdk/utility/
dependencies {
  ...
  // add
  implementation 'com.google.maps.android:android-maps-utils:0.5'
}
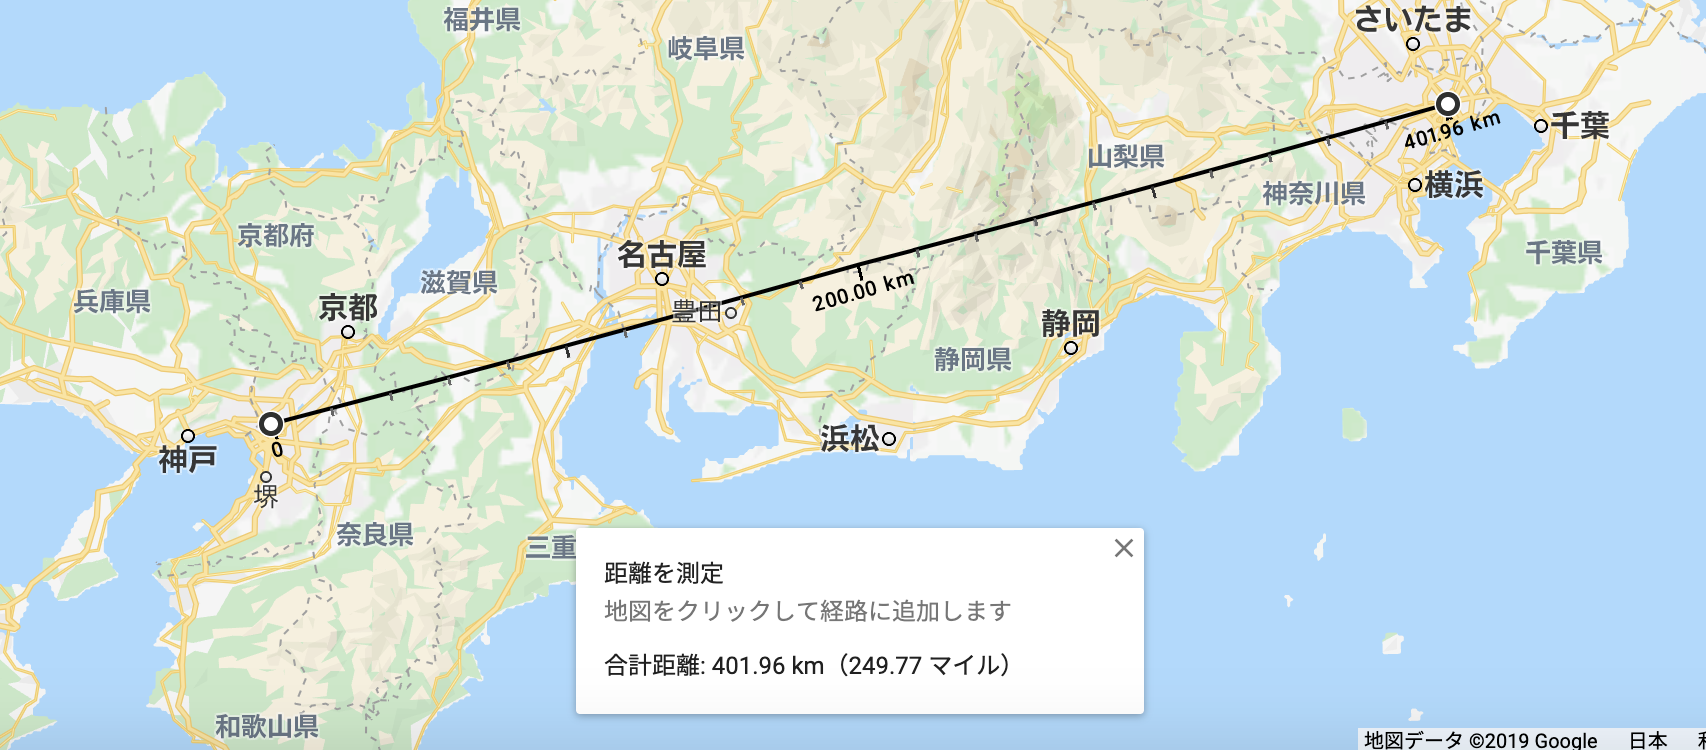
検証として、東京駅 〜 新大阪駅 の緯度経度を使います。
val latLngA = LatLng(35.681236, 139.767125)
val latLngB = LatLng(34.7331, 135.5002)

// 距離をメートル単位で返す
val distance = SphericalUtil.computeDistanceBetween(latLngA, latLngB)

println("AB: $distance m")
println("AB: ${distance / 1000} km")
出力
AB: 401709.92548952583 m
AB: 401.70992548952586 km
以下は、PCのブラウザでGoogleMapで距離を測った結果です。
2点間に距離を計算(Location)
ユーティリティライブラリを入れなくても、Locationクラスで2点間の距離を計算できます。
簡単に呼び出せるように以下のExtensionを定義しておきます。
fun LatLng.distanceBetween(toLatLng: LatLng): Float {
    val results = FloatArray(1)
    try {
        Location.distanceBetween(
            this.latitude, this.longitude,
            toLatLng.latitude, toLatLng.longitude,
            results
        )
    } catch (e: IllegalArgumentException) {
        return -1.0f
    }
    return results[0]
}
呼び出し元
val latLngA = LatLng(35.681236, 139.767125)
val latLngB = LatLng(34.7331, 135.5002)

// 距離をメートル単位で返す
val distance = latLngA.distanceBetween(latLngB)

println("AB: ${latLngA.distanceBetween(latLngB)} m")
println("AB: ${latLngA.distanceBetween(latLngB) / 1000} km")
SphericalUtilと比較した結果、こちらは少し誤差が出るようです。
 AB: 402483.6 m
 AB: 402.48358 km
まとめ
本記事で記述しているのはGoogleMapAPIの中でもごく一部です。
忘れた頃にいちいちググりにいくのが面倒なので、ひとまずまとめておきました。
公式資料
https://developers.google.com/android/reference/com/google/android/gms/maps/GoogleMap
http://googlemaps.github.io/android-maps-utils/javadoc/com/google/maps/android/SphericalUtil.html
