はじめに
navigationBarにボタンを3つ以上配置するのはデザイン上の面で良くないなと思っていた。
そこでnavigationBarのタイトルにボタンを配置し、デザイン上の面で綺麗な配置にしたかった。
また、navigationBarのタイトルにボタンがあるということを視覚的にわかりやすい見た目にしたかった。
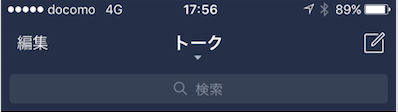
下記のLINEのnavigationBarのように。
開発環境
- Xcode9
- Swift4
- iOS10.0
やり方
navigationBarにはtitleViewというものがあり、navigationBarのタイトル部分をViewで置き換えれるという仕組みがある。
その仕組みを利用し、navigationBarのタイトル部分に、ボタンを配置し、なおかつボタンがあるということが分かりやすい見た目にする。
下記にソースコードを示す。
ソースコード
ViewController.swift
import UIKit

class ViewController: UIViewController {

    override func viewDidLoad() {
        super.viewDidLoad()

        //元となるViewを生成(ここにボタンやviewを乗せていく)
        let view = UIView(frame: CGRect(x: 0, y: 0, width: 80, height: 44))
        //ボタンを生成
        let filterButton = UIButton(frame: CGRect(x: 0, y: 0, width: 44, height: 44))
        filterButton.addTarget(self, action: #selector(filterButtonTap), for: .touchUpInside)//タップされた時に関数動く
        view.addSubview(filterButton)//メインのviewにviewをのせる
        //タイトルとなるViewを生成
        let label = UILabel(frame: CGRect(x: 0, y: 13, width: 80, height: 18))
        label.text = "タイトル"
        label.textAlignment = .center
        label.font = UIFont.boldSystemFont(ofSize: 17)
        label.textColor = UIColor.black
        view.addSubview(label)
        //三角形のimageを生成
        let imageView = UIImageView(frame: CGRect(x: 35, y: 30, width: 10, height: 10))
        imageView.image = UIImage(named: "triangle.png")
        view.addSubview(imageView)
        //navigationBarのtitleViewに作ったviewを渡す
        navigationItem.titleView = view
    }

    override func didReceiveMemoryWarning() {
        super.didReceiveMemoryWarning()
    }

    //titleViewをタップした時に動く関数
    @objc func filterButtonTap(){
        let alert: UIAlertController = UIAlertController(title: "タイトルタップ", message: .none, preferredStyle:  UIAlertControllerStyle.actionSheet)
        var titleName:[String] = ["1","2","3","4","5"]

        let defaultAction: UIAlertAction = UIAlertAction(title: titleName[0], style: UIAlertActionStyle.default, handler:{
            (action: UIAlertAction!) -> Void in
            //タップされた時の処理を書く
        })

        let defaultAction1: UIAlertAction = UIAlertAction(title: titleName[1], style: UIAlertActionStyle.default, handler:{
            (action: UIAlertAction!) -> Void in
            //タップされた時の処理を書く
        })
        let defaultAction2: UIAlertAction = UIAlertAction(title: titleName[2], style: UIAlertActionStyle.default, handler:{
            (action: UIAlertAction!) -> Void in
            //タップされた時の処理を書く
        })
        let defaultAction3: UIAlertAction = UIAlertAction(title: titleName[3], style: UIAlertActionStyle.default, handler:{
            (action: UIAlertAction!) -> Void in
            //タップされた時の処理を書く
        })
        let defaultAction4: UIAlertAction = UIAlertAction(title: titleName[4], style: UIAlertActionStyle.default, handler:{
            (action: UIAlertAction!) -> Void in
            //タップされた時の処理を書く
        })
        let cancelAction: UIAlertAction = UIAlertAction(title: "キャンセル", style: UIAlertActionStyle.cancel, handler:{
            (action: UIAlertAction!) -> Void in
            //タップされた時の処理を書く
        })

        alert.addAction(defaultAction)
        alert.addAction(defaultAction1)
        alert.addAction(defaultAction2)
        alert.addAction(defaultAction3)
        alert.addAction(defaultAction4)
        alert.addAction(cancelAction)
        present(alert, animated: true, completion: nil)
    }
}
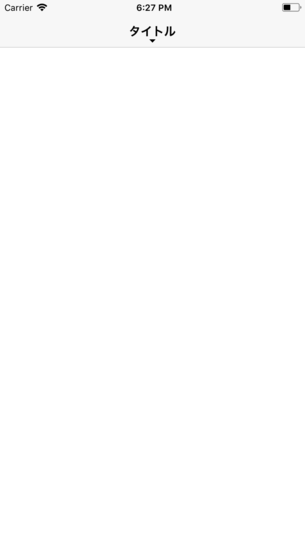
完成図
下記のようにnavigationBarのタイトル部分に、ボタンを配置し、なおかつボタンがあるということが分かりやすい見た目にすることができた。
navigationBarのタイトル部分をタップすると、下記の画像のようにアクションシートが出てくる。
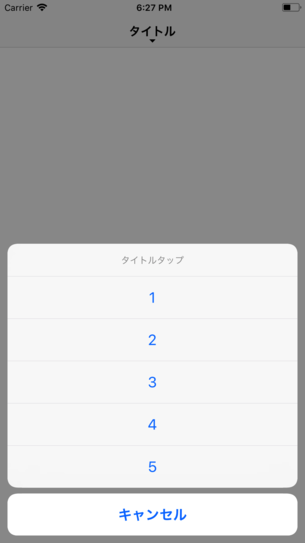
これにて完成。
参考URL
【Swift】Navigation Barの使い方。タイトルを画像にしたり、高さや行数を変更する方法。
【Swift】Navigation Itemの使い方。ナビゲーションバーに表示するタイトルとボタンを管理するクラス。