はじめに
自分の写真フォルダにアクセスして、その中の写真を扱いたいという時があると思います。(サムネイルの設定など)
しかし、ネット検索でそういった情報を探そうとすると、情報が古かったり、あまりまとまった内容ではないものが多かったりします。
なので、自分がまとめておきたいと思います。
完成図
開発環境
- Xcode9
- Swift4
- iOS 10.0
PhotoLibraryから写真を取得し、表示させる方法
まず、info.plistにPhotoLibraryを使う旨を教えます。
上記の青枠で示されているように設定します。
※設定をしないと、PhotoLibraryにアクセスすることができません。
次に、選択された写真を表示するためのimageViewと、PhotoLibraryにアクセスする時にトリガーとして扱うButtonを配置します。
上記のように配置します。そしてViewController.swiftと繋ぎます。
次にソースコードを書きます。
下記にソースコードを示す。
import UIKit

class ViewController: UIViewController,UIImagePickerControllerDelegate,UINavigationControllerDelegate{

    //storyboardと接続
    @IBOutlet weak var imageView: UIImageView!

    override func viewDidLoad() {
        super.viewDidLoad()
    }

    override func didReceiveMemoryWarning() {
        super.didReceiveMemoryWarning()
    }


    //PhotoLibraryにアクセスする処理。
    @IBAction func pictureSetting(_ sender: UIButton) {
        let ipc = UIImagePickerController()
        ipc.delegate = self
        ipc.sourceType = UIImagePickerControllerSourceType.photoLibrary
        //編集を可能にする
        ipc.allowsEditing = true
        self.present(ipc,animated: true, completion: nil)
    }


    //写真を選択した時の処理を書く。
    func imagePickerController(_ picker: UIImagePickerController, didFinishPickingMediaWithInfo info: [String : Any]) {

        //編集機能を表示させたい場合
        //UIImagePickerControllerEditedImageはallowsEditingをYESにした場合に用いる。
        //allowsEditingで指定した範囲を画像として取得する事ができる。
        //UIImagePickerControllerOriginalImageはallowsEditingをYESにしていたとしても編集機能は表示されない。
        if info[UIImagePickerControllerOriginalImage] != nil {
            let image = info[UIImagePickerControllerEditedImage] as! UIImage
            //画像を設定する
            imageView.image = image
        }

        //編集機能を表示させない場合
        //let image = info[UIImagePickerControllerOriginalImage] as? UIImage
        //imageView.image = image

        dismiss(animated: true,completion: nil)
    }
}
上記のソースコードは、写真を選択し終えた後に、正方形に切り取ることができる編集機能付きのソースコードになっています。
コメントを所々挟んでいるので、それを読んで理解してもらえればと思います。
ここまで実装をすることができれば完成です!
以下、余談。
余談
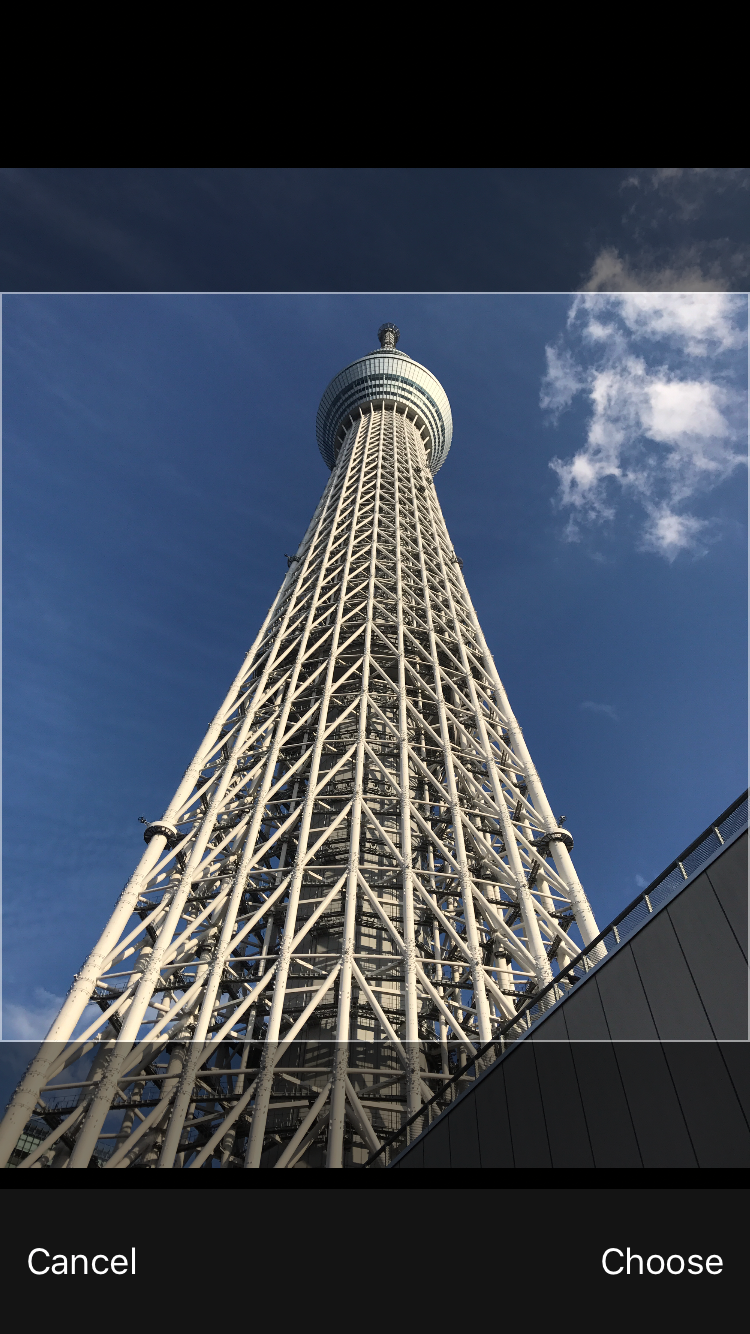
写真の設定画面は、初期設定だと下記のように英語表記になっていると思います。

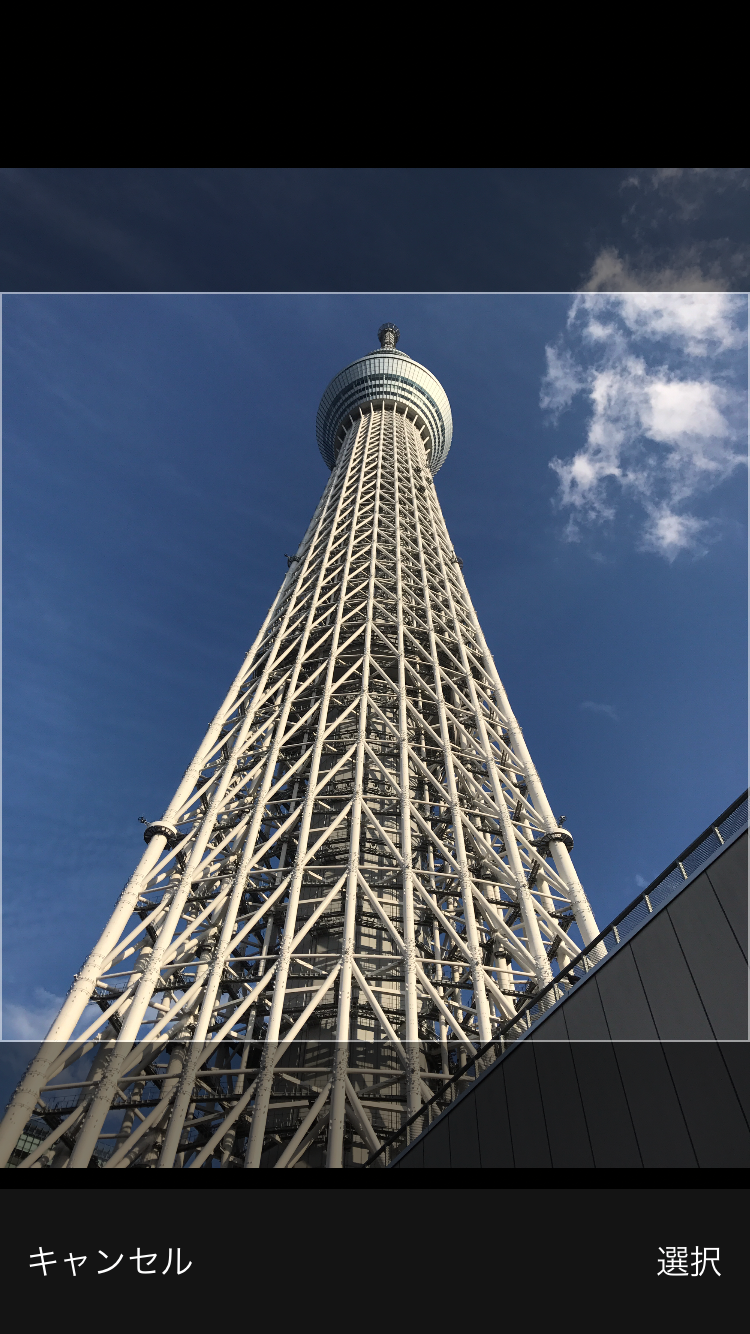
それを日本語表記にするには、下記のようにinfo.plistのLocalization native development regionをJapanに設定します。
これを設定することにより、下記のように日本語表記になります。

※注意:実機だと日本語表記になるが、シミュレーターだとなぜか英語表記のままだった。


