Ubuntuにcerbotを入れて無料SSLを使う方法
UbuntuにCerbotを入れてSSLする方法を備忘録的にまとめます。
1. パッケージのアップデート
まずはお馴染みのパッケージの更新をする。
最新にしておきましょう。
sudo apt update
sudo apt upgrade -y
2. cerbotのインストール
ホスティングサービスごとに分かれているので、自分が使っているサービス用にインストールしましょう。
私はnginxを使用しているため以下のコマンドを実行。
sudo apt install certbot python3-certbot-nginx -y
apacheユーザーはこちらでインストールできます。
sudo apt install certbot python3-certbot-apache -y
今回は、nginx向けに説明していきます。
3. SSL化の実行
早速ドメインをSSL化する、以下のコマンドでドメインをSSL化できる
-dはドメインの指定なので、SSL化するドメインをその後ろに入れてあげる
sudo certbot --nginx -d example.com -d www.example.com
途中メールアドレスを聞かれるので、普段使っているメールを入れるといいと思う
証明書の有効期限が近づくとメールで通知してくれるのはありがたい

その後色々聞かれるので、"Y"を入力して進めていく
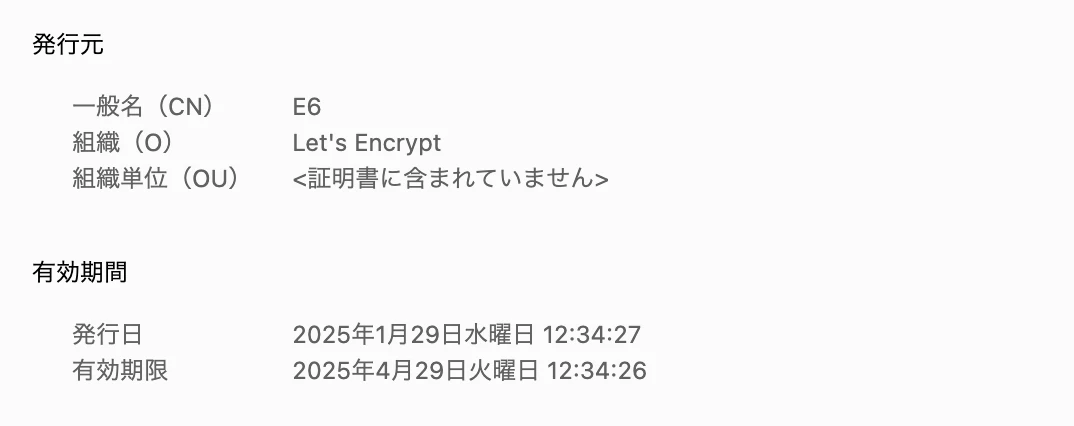
Successfullyと出たら証明書が発行されているので、確認しにいくと有効化されている

4. 証明書の自動更新
証明書の自動更新をしておくと、忘れずに済むので結構便利
以下のコマンドで、自動更新ができるかどうかをまずはテスト
sudo certbot renew --dry-run
Congratulationsと出たらうまくいっている

crontab -eコマンドでcronを設定しよう
これは定期実行をさせるための機能で、あるタイミングで更新コマンドを実行させるために使う
sudo crontab -e
とりあえず、2ヶ月に1回午前3時のタイミングで更新するように設定
この辺りの詳しい解説はネットに落ちてるから見てみるといいかも
0 3 1 */2 * /usr/bin/certbot renew --quiet
以下のコマンドの入力で設定値が適用されていたら完成
crontab -l

これでSSL化が無料で行える