概要
勉強の一環として、備忘録を残します。誤った情報を発信している可能性も十二分にございますので、 間違いを発見された方はご指摘いただけますと幸いです。
実行環境
- Ruby 2.7.8
- Rails 6.1.7.3
- Docker 20.10.24
- docker-compose v2.17.2
- MySQL 8.0.32
作業フロー
- Docker for Macをインストール
- 作業ディレクトリに各種ファイルを作成
- アプリを作成
- DBの設定を変更
- DBを作成
- Dockerでrails serverを起動
Docker for Mac(デスクトップ版)のインストール
※Docker公式HPより
作業ディレクトリに各種ファイルを作成
①Userフォルダ(ローカル)配下に、作業ディレクトリ(myapp)を作成②作業ディレクトリ(myapp)にアプリケーションを構築するために必要な下記5つのファイルを作成
- Gemfile
- Gemfile.lock
- Dockerfile
- entrypoint.sh
- docker-compose.yml
作業フォルダの作成
$ mkdir myapp
$ cd myapp
Gemfileの作成
source 'https://rubygems.org'
gem 'rails', '~> 7'
インストールするRailsのバージョンを指定。
ここではRails 7に対応するようにしている。
Gemfileの内容は、後でrails new実行後に書き換わる。
Gemfile.lockの作成
空のGemfile.lockを作成。
Dockerfileの作成
クイックスタートのコードを元に作成。
FROM ruby:2.7.8
RUN apt-get update -qq && apt-get install -y build-essential libpq-dev nodejs
RUN mkdir /myapp
WORKDIR /myapp
COPY Gemfile /myapp/Gemfile
COPY Gemfile.lock /myapp/Gemfile.lock
RUN bundle install
COPY . /myapp

# Add a script to be executed every time the container starts.
COPY entrypoint.sh /usr/bin/
RUN chmod +x /usr/bin/entrypoint.sh
ENTRYPOINT ["entrypoint.sh"]
EXPOSE 3000

# Start the main process.
CMD ["rails", "server", "-b", "0.0.0.0"]

# Install of yarn
RUN apt-get update && apt-get install -y curl apt-transport-https wget && \
curl -sS https://dl.yarnpkg.com/debian/pubkey.gpg | apt-key add - && \
echo "deb https://dl.yarnpkg.com/debian/ stable main" | tee /etc/apt/sources.list.d/yarn.list && \
apt-get update && apt-get install -y yarn
Rails6以降、アプリ作成時(rails new実行時)にwebpackerが導入されるようになった。
→rails serverを起動する為に、webpackerのインストールが必要。
→webpackerをインストールする為に、yarnのインストールが必要。
→yarnをDockerfileに記述し、インストールする。
entrypoint.shの作成
初回起動時のみに処理したい内容を記述するヘルパースクリプト。#!/bin/bash
set -e
# Remove a potentially pre-existing server.pid for Rails.
rm -f /myapp/tmp/pids/server.pid
# Then exec the container's main process (what's set as CMD in the Dockerfile).
exec "$@"
set -e : エラーが発生するとスクリプトを終了する
rm ... : railsのpidが存在している場合に削除する
exec "$@" : DockerfileのCMDで渡されたコマンドを実行
docker-compose.ymlの作成
DB(mysqlコンテナ)とweb(webアプリケーション用コンテナ)の作成準備。
version: '3'
services:
  db:
    image: mysql
    environment:
      MYSQL_ROOT_PASSWORD: 'pass'
      MYSQL_USER: 'webapp'
      MYSQL_PASSWORD: 'test'
      MYSQL_DATABASE: myapp_development

  web:
    build: .
    volumes:
      - .:/myapp
    ports:
      - '3000:3000'
    depends_on:
      - db
【注意点】
MySQLのroot権限のパスワード(MYSQL_ROOT_PASSWORD: password)を設定していないと、DB作成時に以下のエラーを吐く。
[ERROR] [Entrypoint]: Database is uninitialized and password option is not specified
アプリを作成
下記コマンドを実行すると、docker-compose.ymlに記述されたimageからコンテナがビルドされ、ビルドされたコンテナ(web)の中にアプリが作成される。$ docker-compose run web rails new . --force --database=mysql --skip-bundle
実行後、
・作業ディレクトリ(myapp)の中にRailsのファイル群が作成される。
・webpackerのインストールが完了する。
次にGemfileの変更を適用するために、下記コマンドを実行する。
$ docker-compose build
DBの設定を変更
config/database.ymlの設定を変更する。adapter: mysql2
encoding: utf8mb4
host: db
pool: <%= ENV.fetch("RAILS_MAX_THREADS") { 5 } %>
username: <%= ENV.fetch('DB_USERNAME', 'root') %>
password: <%= ENV.fetch('DB_PASSWORD', 'pass') %>
【注意点】
①docker-compose.ymlの「depend_on」の名前と、database.ymlの「host」は同じにする。
②passwordをdocker-compose.ymlの「MYSQL_ROOT_PASSWORD」と同じにする。
DBを作成
$ docker-compose run web rake db:create
Dockerでrails serverを起動
コンテナを再度立ち上げ、rails serverを起動する。$ docker-compose up
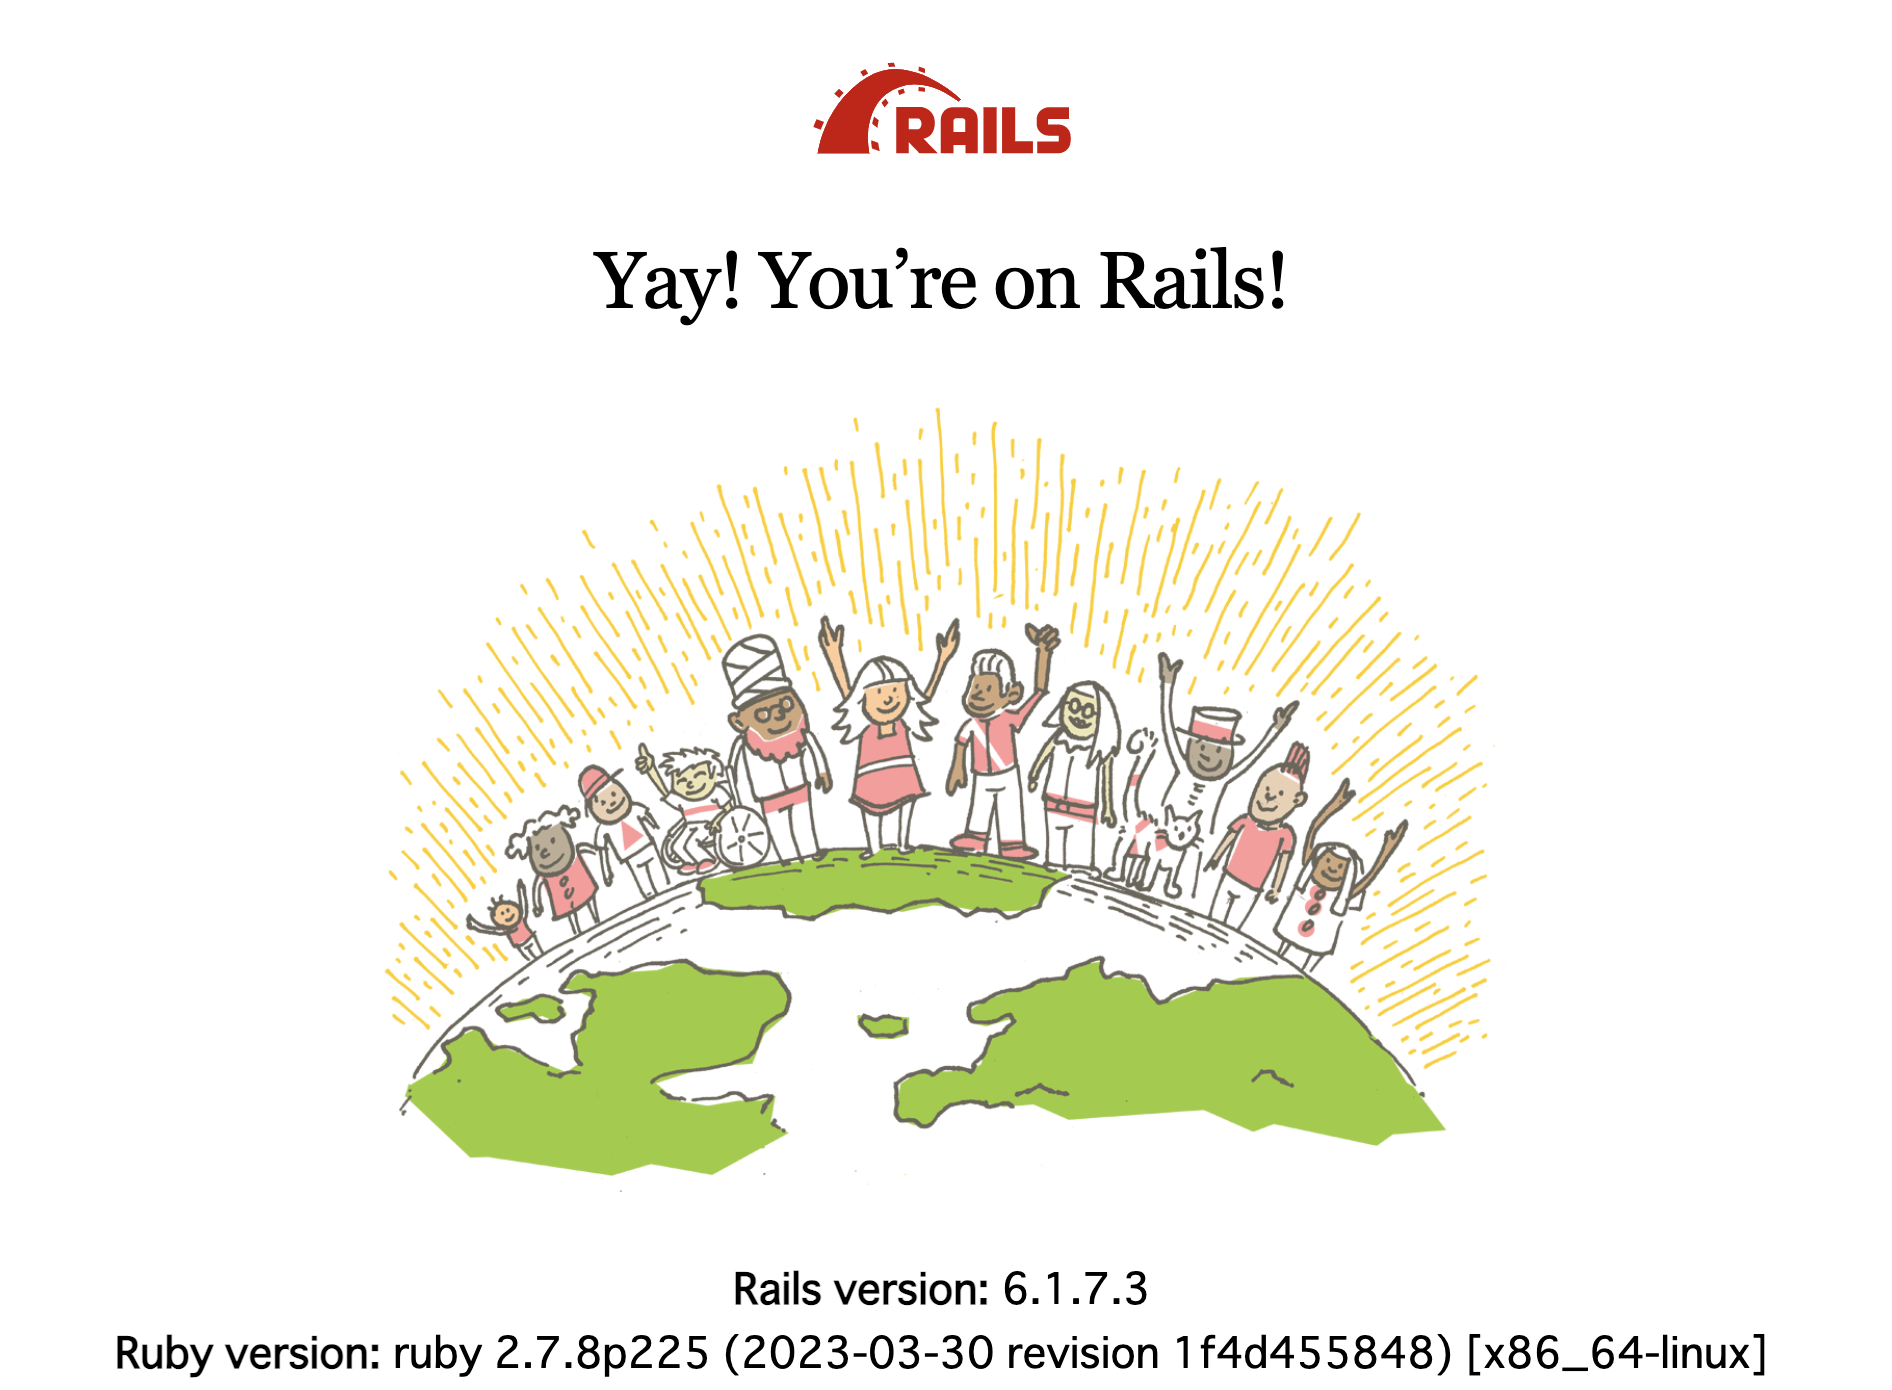
http://localhost:3000にアクセスして、接続できれば、構築完了。

サーバーの起動が確認できたら、コンテナを停止させる。
$ docker-compose down
参考記事
下記の記事を参考にさせていただきました。この場を借りてお礼申し上げます。・超初心者がDocker for MacでRuby + Rails + Mysqlの開発環境を構築
・DockerでRuby on Railsの環境構築を行うためのステップ【Rails 6対応】
・【MySQL】Unknown MySQL server host 'db' (-2)の対処法【Docker】