概要
絶賛開発中のThree.jsラッパーライブラリore-threeに組み込みで作ったPostProcessing機能が結構気に入ったので、単体で公開しました。複数のポストプロセスをかけることも可能です。
npmからインストールできます。
インストール
npm
$ npm i three-post-processing
import
import TPP from 'three-post-processing';
使い方
サンプル(GitHub)
一つのポストプロセスは以下のオブジェクトで定義できます。
{
  fragmentShader: //postprocess シェーダー,
  uniforms: //uniform変数
}
これを配列にして、three-post-processingに渡せばOKです。
this.uniforms = {
  time:{
    value: 0
  }
}

let pp1 = {
  fragmentShader: require('./post-processing1.glsl'),
  uniforms:this.uniforms
};

let pp2 = {
  fragmentShader: require('./post-processing2.glsl'),
  uniforms:this.uniforms,
}

this.pp_params = [pp1,pp2];
this.tpp = new TPP(this.renderer,this.pp_params);
render()でレンダリングされます。
this.tpp.render(this.scene,this.camera);
シェーダー
ポストプロセスのシェーダーにはuniform変数backbufferで一つ前のレンダリング結果が送られてきます。
uvはvUvで送られてきます。
post-processing1.glsl
uniform sampler2D backbuffer;
uniform float time;
varying vec2 vUv;

void main(){
	vec3 c = texture2D(backbuffer,vUv).xyz;
	c = vec3(c.x);
	gl_FragColor = vec4(c,1.0);
}
post-processing2.glsl
uniform sampler2D backbuffer;
uniform float time;
varying vec2 vUv;

void main(){
	vec3 c = texture2D(backbuffer,vUv).xyz;
	c += sin(vUv.x * 100.0) * 0.3;
	gl_FragColor = vec4(c,1.0);
}
結果
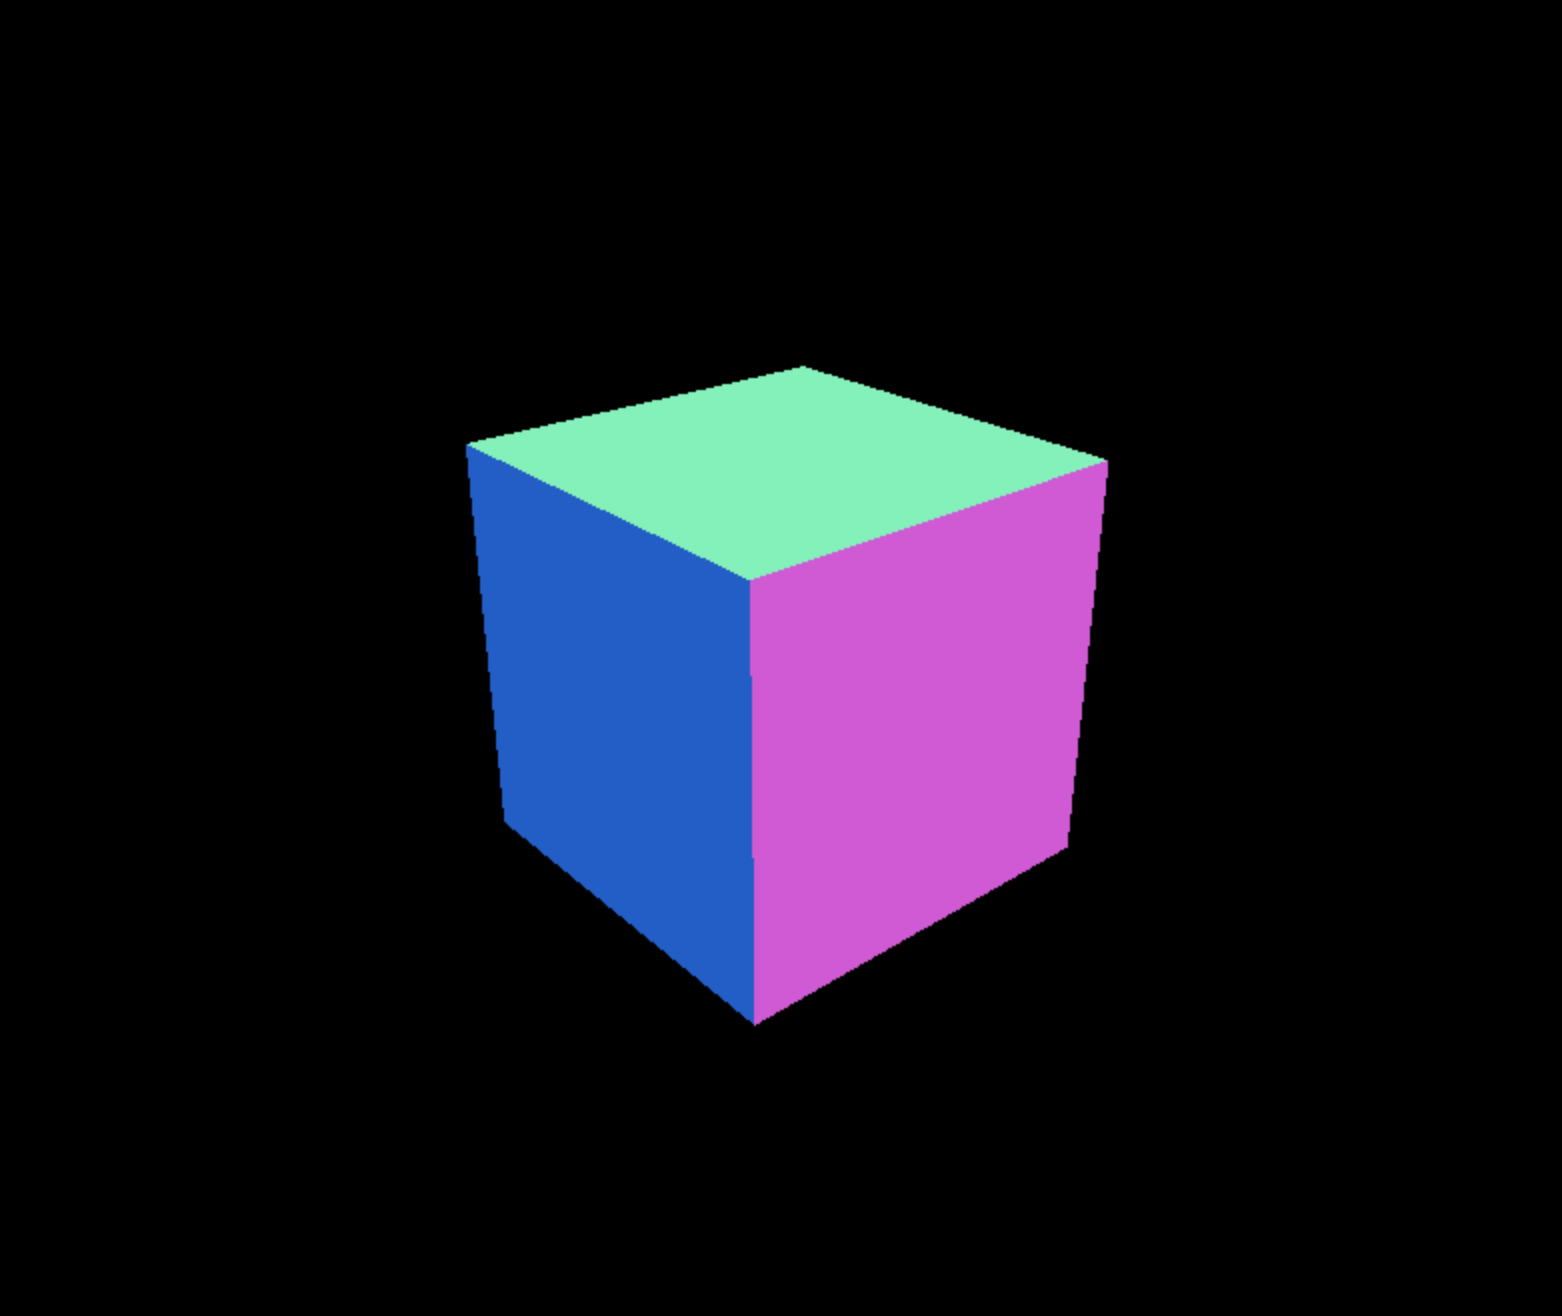
これが、
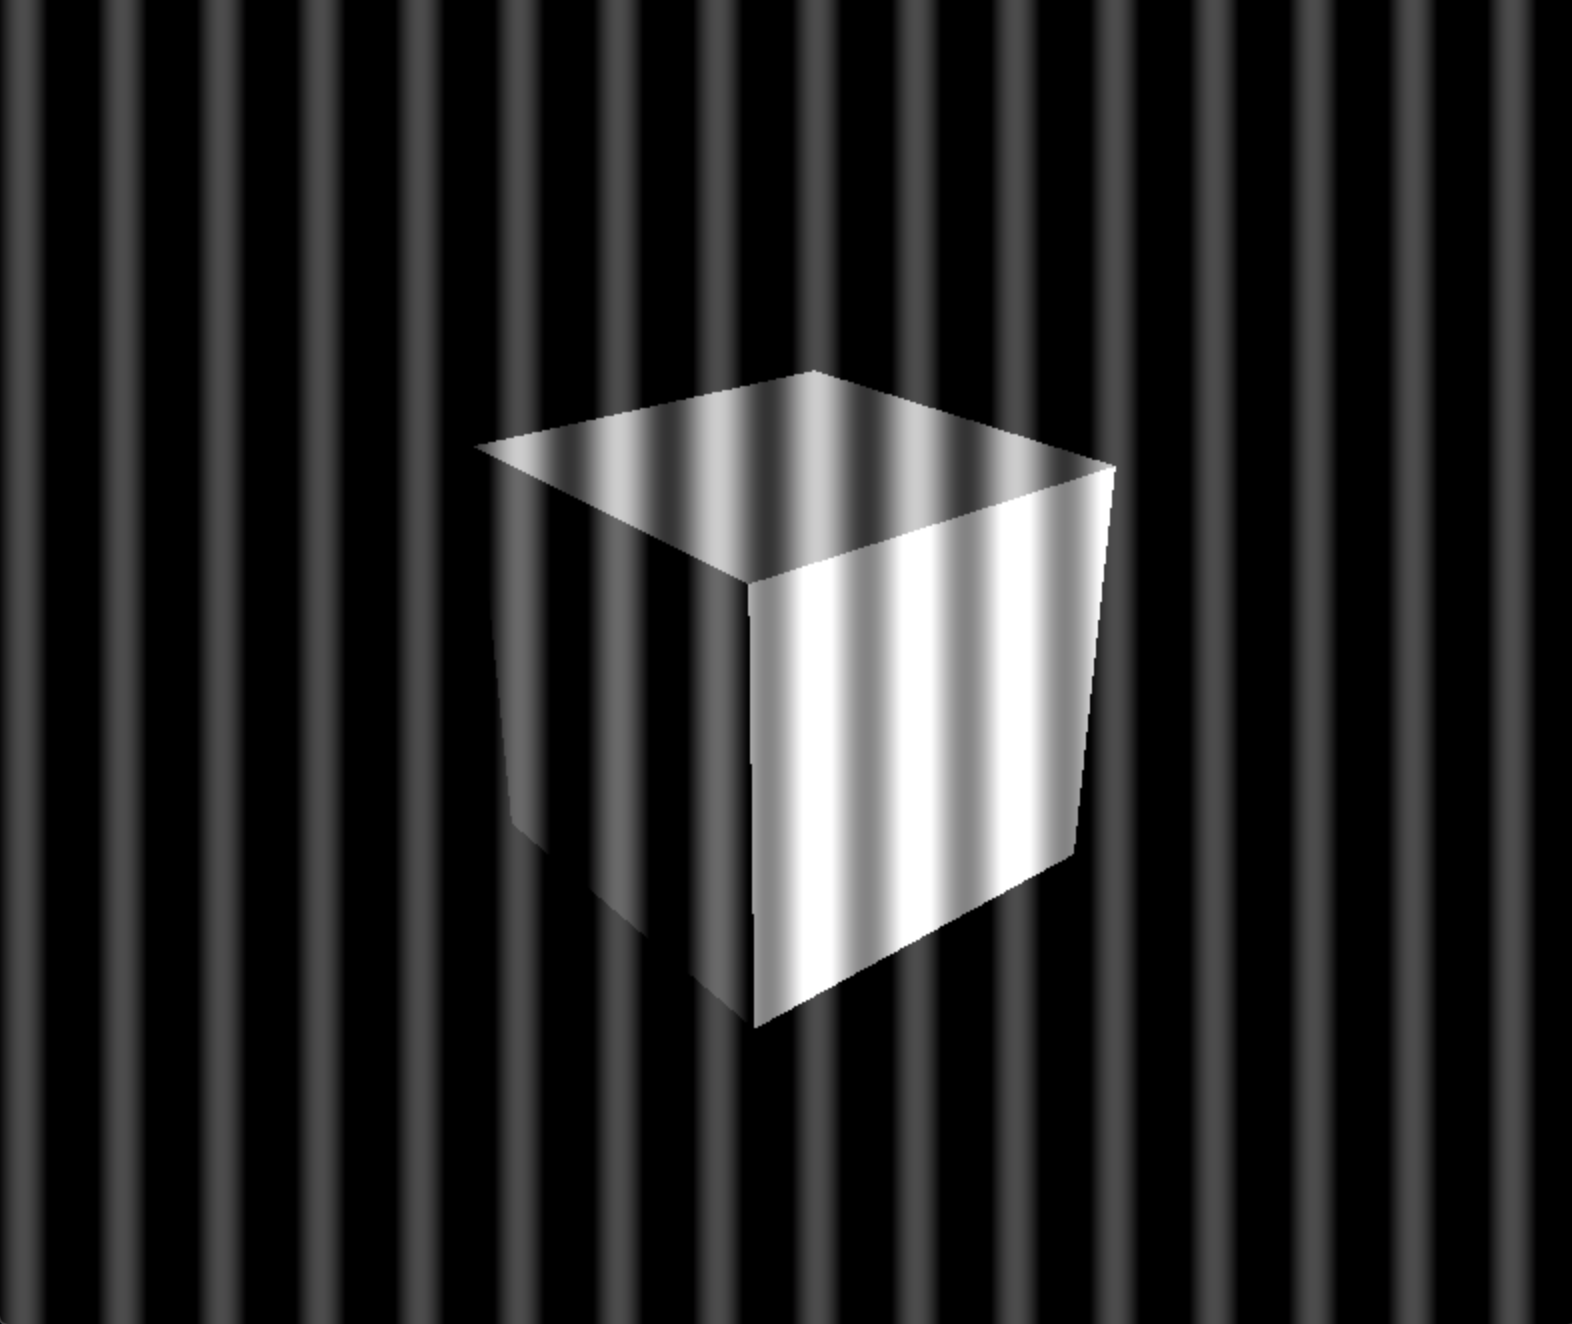
こうなりました。
おわり
よかったら使ってくださいね❤️