概要

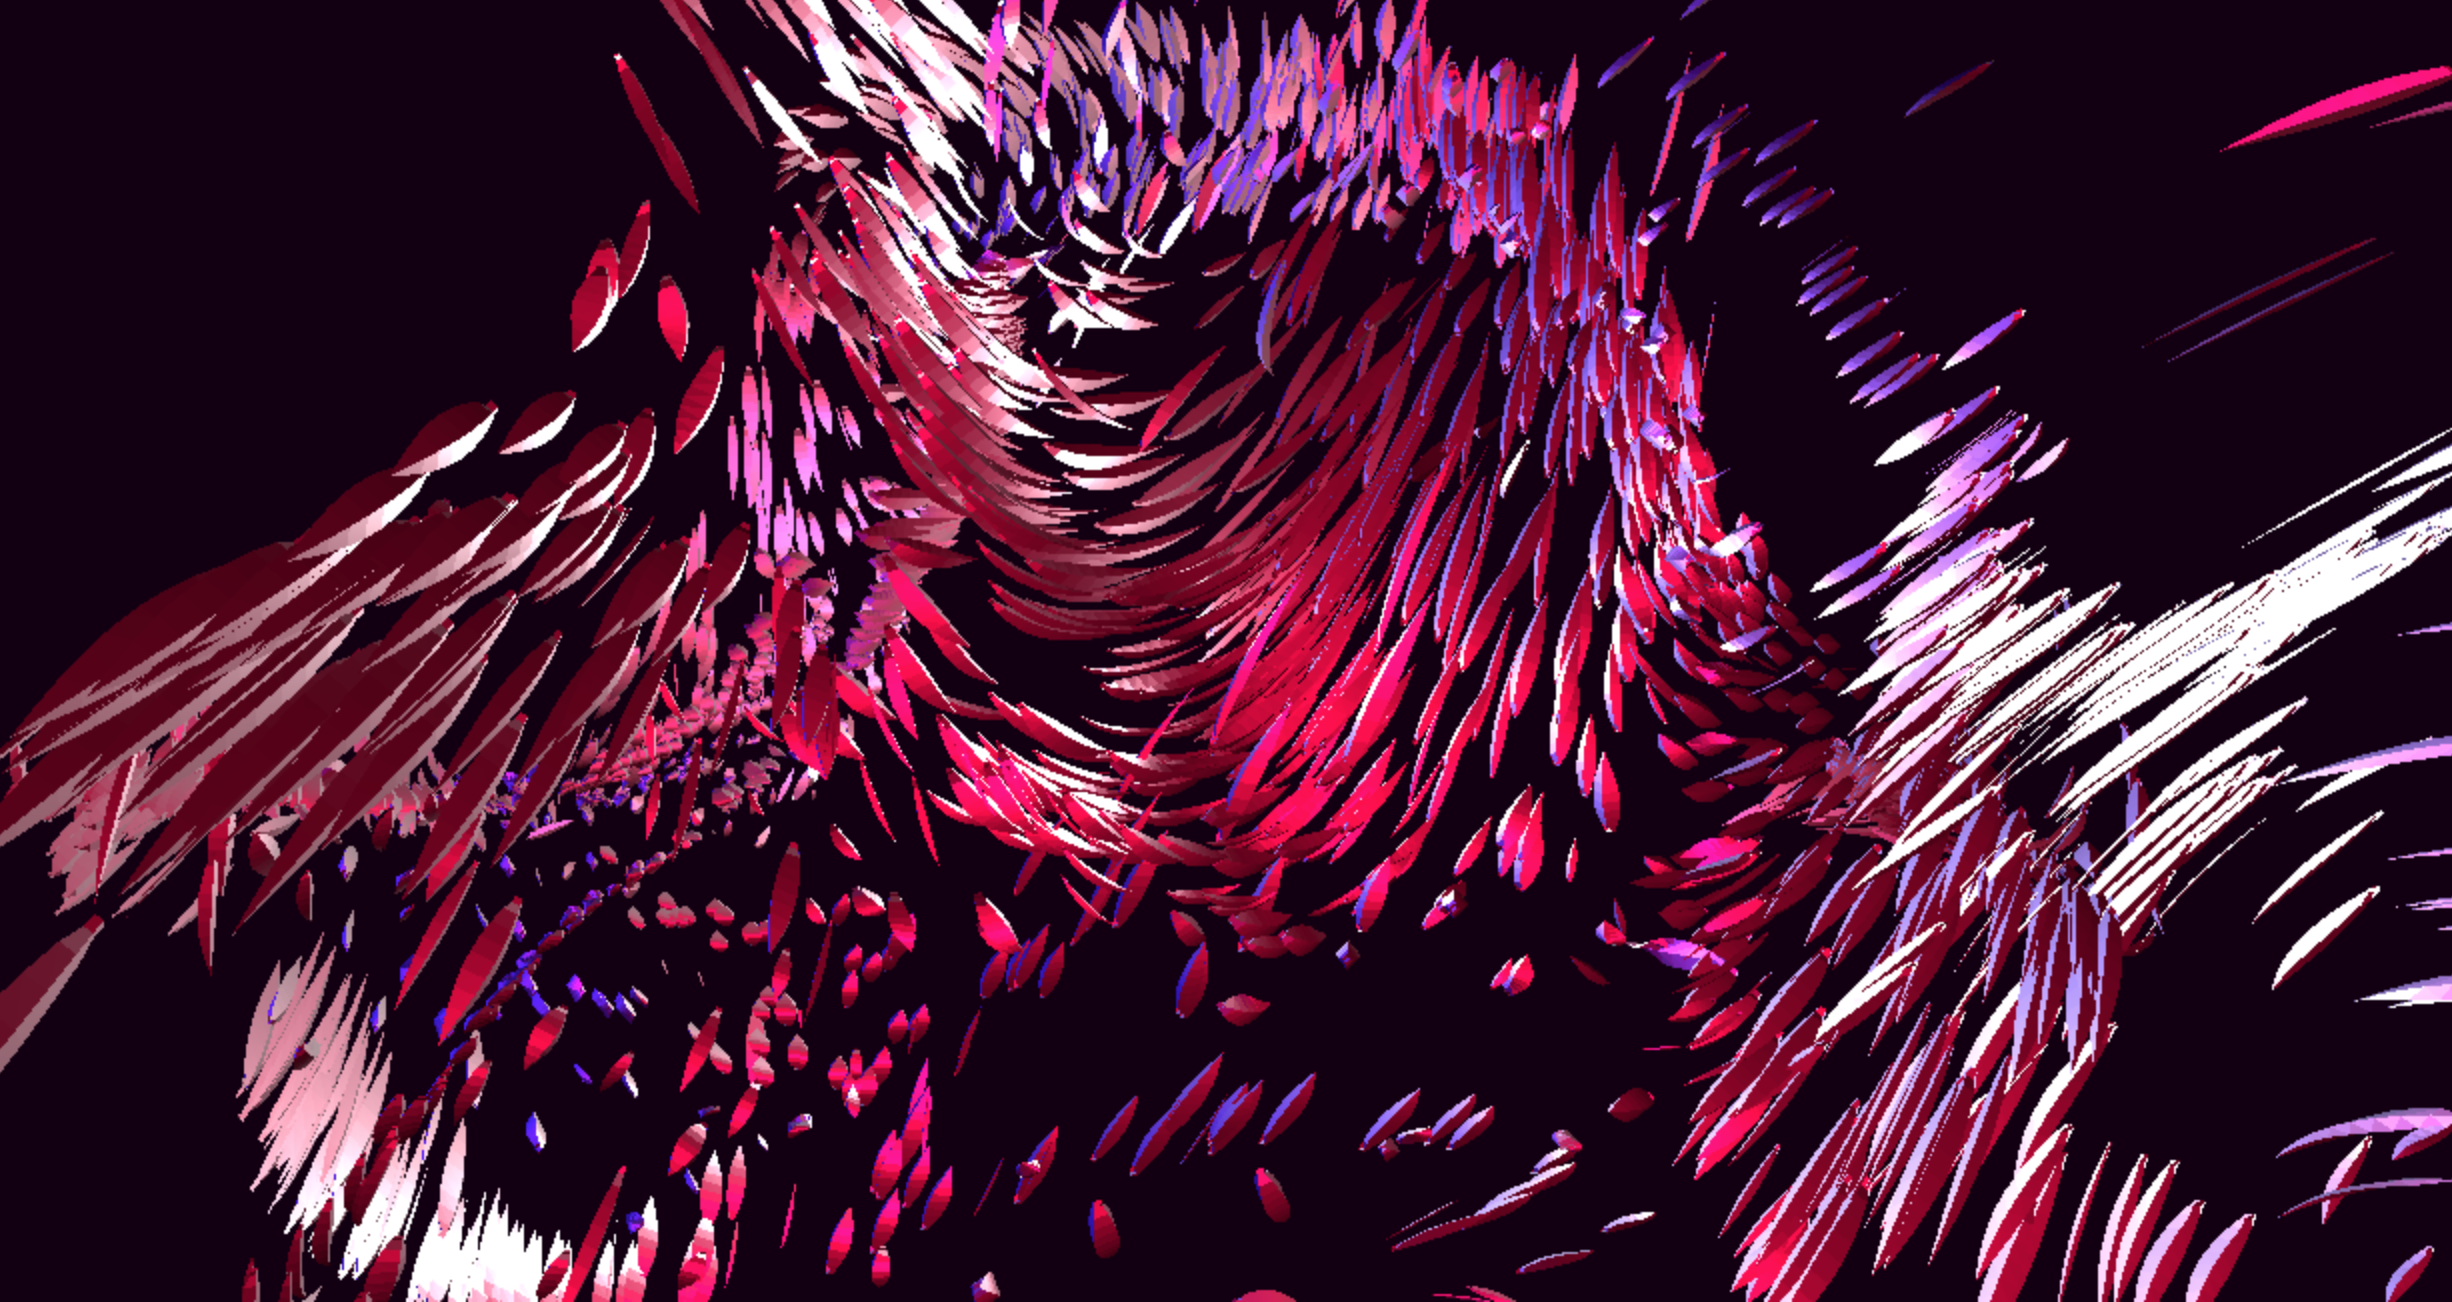
Three.jsでラーメンを作ります。
ラーメンの主な成分はGPU Trailですが、こちらは前の記事でベースを作ったのでそちらも参照してください。だいたい同じ内容です。
Three.jsでGPU Trails
今回はこいつにメッシュを貼って食べ応えのあるラーメンに仕上げていきたいと思います。
GPUComputationRendererの初期化
GPUComputationRendererを初期化します。
initComputeRenderer(){
        this.computeRenderer = new GPUComputationRenderer(this.length,this.num,this.renderer);

        let initPositionTex = this.computeRenderer.createTexture();
        let initVelocityTex = this.computeRenderer.createTexture();

        this.initPosition(initPositionTex);

        this.comTexs.position.texture = this.computeRenderer.addVariable("texturePosition",comShaderPosition,initPositionTex);
        this.comTexs.velocity.texture = this.computeRenderer.addVariable("textureVelocity",comShaderVelocity,initVelocityTex);

        this.computeRenderer.setVariableDependencies( this.comTexs.position.texture, [ this.comTexs.position.texture, this.comTexs.velocity.texture] );
        this.comTexs.position.uniforms = this.comTexs.position.texture.material.uniforms;

        this.computeRenderer.setVariableDependencies( this.comTexs.velocity.texture, [ this.comTexs.position.texture, this.comTexs.velocity.texture] );
        this.comTexs.velocity.uniforms = this.comTexs.velocity.texture.material.uniforms;
        this.comTexs.velocity.uniforms.time =  { type:"f", value : 0};
        this.comTexs.velocity.uniforms.seed =  { type:"f", value : Math.random() * 100};

        this.computeRenderer.init();
    }
    initPosition(tex){
        var texArray = tex.image.data;
        let range = new THREE.Vector3(10,10,10);
        for(var i = 0; i < texArray.length; i += this.length * 4){
            let x = Math.random() * range.x - range.x / 2;
            let y = Math.random() * range.y - range.y / 2 + 5;
            let z = Math.random() * range.z - range.z / 2;
            for(let j = 0; j < this.length * 4; j += 4){
                texArray[i + j + 0] = x;
                texArray[i + j + 1] = y;
                texArray[i + j + 2] = z;
                texArray[i + j + 3] = 0.0;
            }
        }
    }
麺を生成
今回の肝である、麺のメッシュを貼っていきたいと思います。
基本は前回のTrailの生成と同じですが、メッシュを貼るためにはインデックスを設定する必要があります。
インデックスとはどの頂点同士を繋いで面を構成するかを示す配列です。
なんとなく今までやりたくなかったインデックスの生成ですが、そろそろ観念して面張りの達人になりたいと思います。
コード
createTrails(){
        let geo = new THREE.BufferGeometry();

        let posArray = [];
        let indexArray = [];
        let uvArray = [];

        for(let i = 0; i < this.num; i++){
            for(let j = 0; j < this.length; j++){
                let cNum = i * this.length + j;

                for(let k = 0; k < this.shapes; k++){
                    let rad = Math.PI * 2 / this.shapes * k;
                    let x = Math.cos(rad) * this.r;
                    let y = Math.sin(rad) * this.r;
                    let z = 0;

                    posArray.push(x);
                    posArray.push(y);
                    posArray.push(z);

                    uvArray.push(j / this.length);
                    uvArray.push(i / this.num);

                    if(j > 0){
                        let currentBase = cNum * this.shapes;
                        let underBase = (cNum - 1) * this.shapes;
                        let next = (k + 1) % this.shapes;

                        indexArray.push(currentBase + k);
                        indexArray.push((underBase + next));
                        indexArray.push((currentBase + next));

                        indexArray.push(currentBase + k);
                        indexArray.push(underBase + k);
                        indexArray.push((underBase + next));
                    }
                }
            }

            let n = i * this.length;
            indexArray.push(n, n + 2, n + 1, n, n + 3, n + 2);

            n = (i + 1) * this.length * this.shapes - 1;
            indexArray.push(n, n - 2, n - 1, n, n - 3, n - 2);
        }

        let pos = new Float32Array(posArray);
        let indices = new Uint32Array(indexArray);
        let uv = new Float32Array(uvArray);

        geo.addAttribute('position', new THREE.BufferAttribute( pos, 3 ) );
        geo.addAttribute('uv', new THREE.BufferAttribute( uv, 2 ) );
        geo.setIndex(new THREE.BufferAttribute(indices,1));

        let stFrag = THREE.ShaderLib.standard;

        let customUni = {
            texturePosition : {value: null},
            textureVelocity : {value: null},
            uvDiff: {value: 1 / this.length},
            lineWidth: {value: this.lineWidth}
        }

        this.uni = THREE.UniformsUtils.merge([stFrag.uniforms, customUni]);
        this.uni.diffuse.value = new THREE.Vector3(1.0,0.8,0.0);
        this.uni.roughness.value = 0.3;

        let mat = new THREE.ShaderMaterial({
            vertexShader: vert,
            fragmentShader: stFrag.fragmentShader,
            uniforms: this.uni,
            lights: true,
            flatShading: true
        });

        this.obj = new THREE.Mesh(geo,mat);
        this.obj.castShadow = true;

        this.obj.customDepthMaterial = new THREE.ShaderMaterial({
            vertexShader: depth,
            fragmentShader: shadowFrag,
            uniforms: mat.uniforms
        });
    }
解説
インデックス
WebGLで面を作る場合、3つの頂点で1つの面を作る必要があります。
例えば、以下のような4つの頂点があったとすると面を張るために頂点0,1,3と頂点0,2,3の二枚の三角面を使って面を貼ります。また、頂点を指定する順番は面の表と裏の情報になります。
これを踏まえて頂点を作りながらindexを指定して行きます。

マテリアルの設定
美味しい麺を作るためにはやはり麺の光沢感というのが必要です。
今回はせっかくメッシュを貼ったので、Three.jsのライトを考慮したマテリアル、というかThree.jsのStandardマテリアルをShaderMaterialで設定しました。
fragment shaderの場所
Three.jsのデフォルトシェーダーたちはThree.ShaderLibから取得できるようになっています。
uniform変数の初期化
必要なUniform変数もセットになっているので
THREE.UniformsUtils.merge([uniform1,uniform2]);
で、がっちゃんこしちゃいます。
console.logとか使ってFragmentShaderの中見て、最低限必要なであるdiffuseとroughnessを設定します。
影をつける
ShaderMaterialをShadowマップに対応させるために、customDepthMaterialを設定します。
設定項目はマテリアルとほぼ一緒です。
ただ、他のサンプルを見るとfragmentShaderにTHREE.ShaderLib.basic.fragmentShaderをつけているところが多いのですがなぜか動かなく、結局THREE.ShaderLib.basic.fragmentShaderをコピーしてgl_FragColorのalphaを0にしたら綺麗に出ました。
this.obj.customDepthMaterial = new THREE.ShaderMaterial({
    vertexShader: vert,
    fragmentShader: shadowFrag,
    uniforms: mat.uniforms
});
麺のシェーダーを書く
vertex shaderでは隣の頂点座標と自身の頂点座標から向きを計算し、回転させています。x軸の回転しかしてないけど、それっぽく動いたからOK!!
varying変数はフラグメントシェーダーで必要だから忘れないように書きます。
varying vec3 vViewPosition;
varying vec3 vWorldPosition;
uniform sampler2D texturePosition;
uniform float uvDiff;
uniform float lineWidth;

float PI = 3.141592653589793;

highp float atan2(in float y, in float x)
{
    return x == 0.0 ? sign(y) * PI / 2.0 : atan(y, x);
}

highp mat2 rotate(float rad){
    return mat2(cos(rad),sin(rad),-sin(rad),cos(rad));
}

void main() {
    vec2 nUV = uv + vec2(uvDiff,0.0);
    if(nUV.x >= 1.0){
        nUV = uv - vec2(uvDiff,0.0);
    }
    vec3 p = position;
    vec3 pos = texture2D( texturePosition, uv ).xyz;
    vec3 nPos = texture2D( texturePosition, nUV).xyz;

    vec3 vec = normalize(nPos - pos);
    float rotX = atan2(vec.y,vec.z);

    p.xy *= lineWidth * (abs(sin(uv.y * 2.0)) + 0.1);
    p.yz *= rotate(rotX);

    vec4 mvPosition = modelViewMatrix * vec4(p + pos, 1.0 );
    gl_Position = projectionMatrix * mvPosition;

    vec4 worldPosition = modelMatrix * vec4(p + pos, 1.0);
    vWorldPosition = worldPosition.xyz;
    vViewPosition = -mvPosition.xyz;
}
コンピュートシェーダー
速度
 void main() {
    if(gl_FragCoord.x >= 1.0) return;

    vec2 uv = gl_FragCoord.xy / resolution.xy;
    vec3 pos = texture2D( texturePosition, uv ).xyz;
    vec3 vel = texture2D( textureVelocity, uv ).xyz;
    float idParticle = uv.y * resolution.x + uv.x;

    vel.xyz += 40.0 * vec3(
      snoise( vec4( 0.15 * pos.xyz, 7.225 + seed + 0.4 * time ) ),
      snoise( vec4( 0.15 * pos.xyz, 3.553 + seed * 100.0 + 0.4 * time ) ),
      snoise( vec4( 0.15 * pos.xyz, 1.259 + seed * 200.0 + 0.4 * time ) )
    ) * 0.2 * vec3(1.0,1.0,1.0);

    vec3 bPos = pos - vec3(0.0,7.0,0.0);
    vel += -(bPos) * length(bPos) * 0.15;
    vel.xyz *= 0.9 + abs(sin(uv.y * 9.0)) * 0.03;

    if(pos.y < 2.0){
      vel.y += 15.0;
    }
    gl_FragColor = vec4( vel.xyz, 1.0 );
}
位置更新
void main() {
    vec2 uv = gl_FragCoord.xy / resolution.xy;

    if(gl_FragCoord.x <= 1.0){
        vec3 pos = texture2D( texturePosition, uv ).xyz;
        vec3 vel = texture2D( textureVelocity, uv ).xyz;

        pos += vel * 0.01;

        gl_FragColor = vec4(pos,1.0);
    }else{
        vec2 bUV = (gl_FragCoord.xy - vec2(1.0,0.0)) / resolution.xy;
        vec3 beforePos = texture2D( texturePosition, bUV ).xyz;
        vec3 pos = beforePos;

        gl_FragColor = vec4(pos,1.0);
    }
}
コンピュート
update(){
        this.time += this.clock.getDelta();
        this.computeRenderer.compute();
        this.comTexs.velocity.uniforms.time.value = this.time;
        this.uni.texturePosition.value = this.computeRenderer.getCurrentRenderTarget(this.comTexs.position.texture).texture;
        this.uni.textureVelocity.value = this.computeRenderer.getCurrentRenderTarget(this.comTexs.velocity.texture).texture;
    }
盛り付け
いよいよ今までつくった材料を組み合わせてラーメンを仕上げたいと思います。
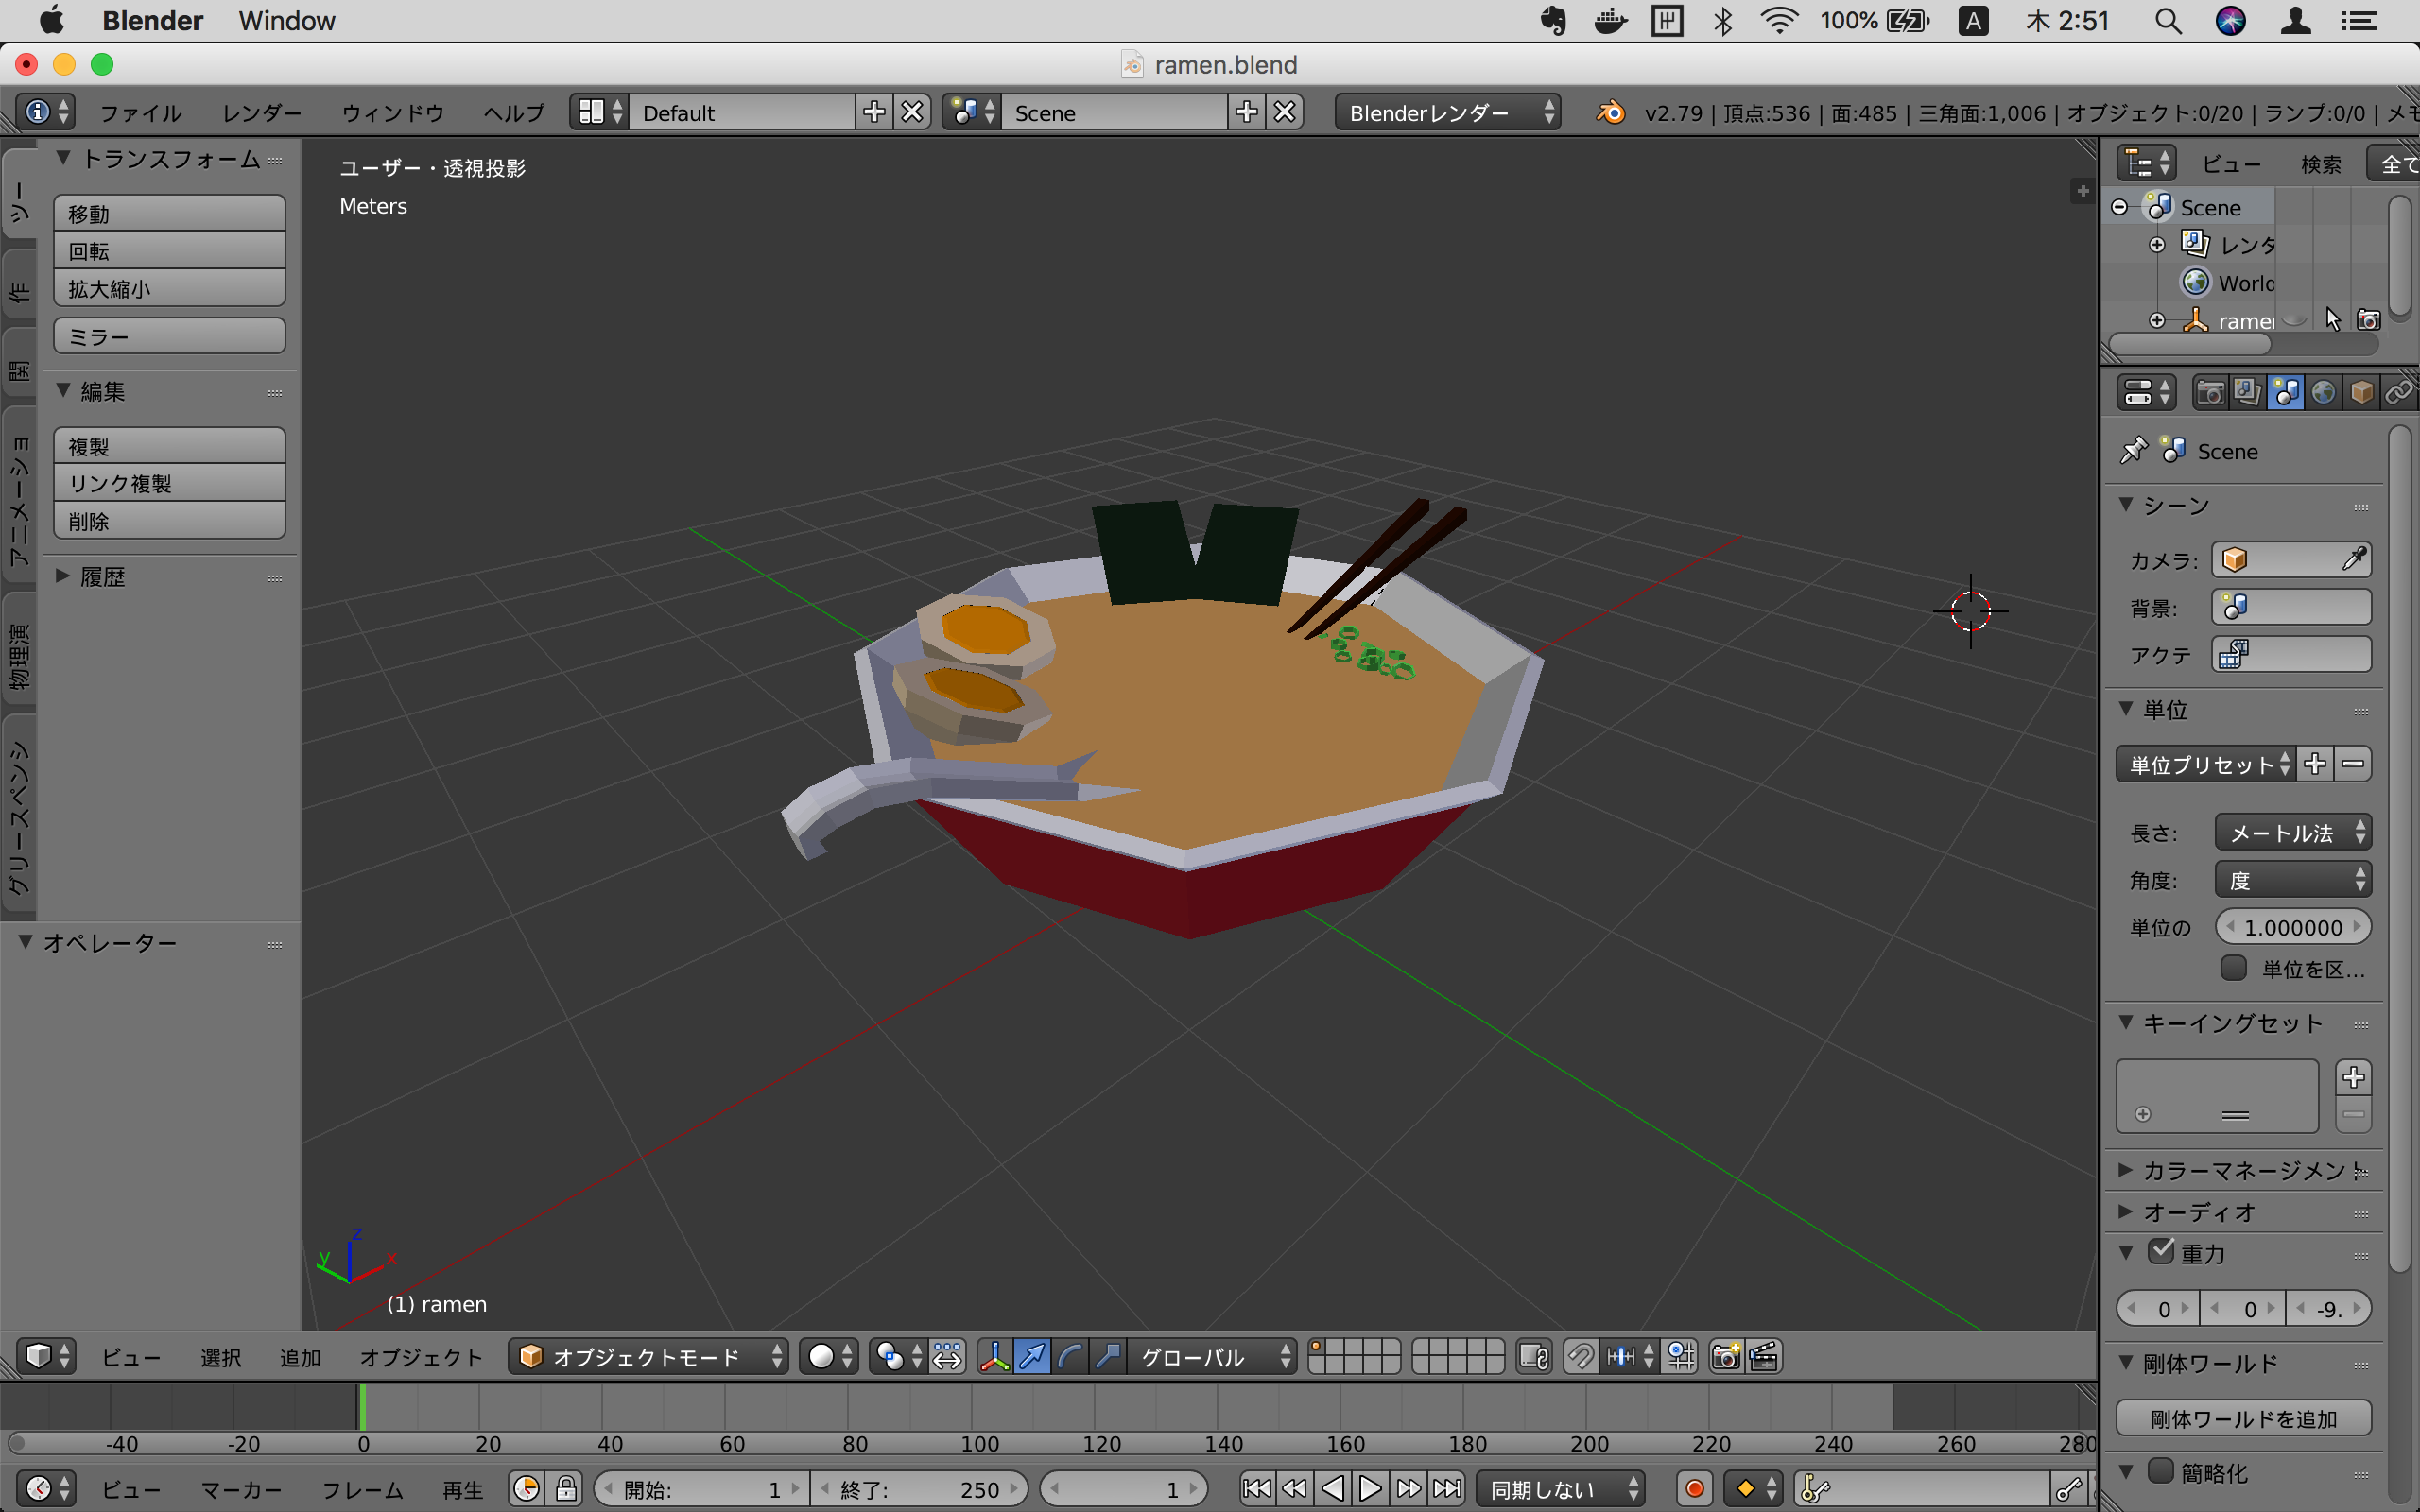
丼ぶりを作る
丼ぶりを読み込む
gltfの読み込みにはthree-gltf2-loaderを使いました。npmでインストールできます。
webpackで読み込む。
import GLTF2Loader from 'three-gltf2-loader';
GLTF2Loader(THREE);
ロードします。object.traverseで再帰的に子要素のreceiveShadowをtrueにしてます。
loader.load('./models/ramen.glb', (gltf) => {
    var object = gltf.scene;
    object.traverse((child) => {
        if (child.isMesh) {
            child.receiveShadow = true;
        }
    });

    object.position.y = 0.5;
    object.scale.set(2,2,2);
    this.scene.add(object);
});
ポストプロセシングで味付け
ポストプロセシングはthree-effectcomposer-es6を使いました。npmでインストールできます。
import EffectComposer,{RenderPass,ShaderPass,CopyShader} from 'three-effectcomposer-es6';
this.composer = new EffectComposer(this.renderer);
        this.composer.addPass(new RenderPass(this.scene,this.camera));

        var effect = {
            uniforms:{
                tDiffuse:{
                    value: null,
                    type:'t',
                },
                time: {
                    value: 0,
                    type: "f",
                }
            },
            vertexShader: ppVert,
            fragmentShader: ppFrag,
        }
        this.customPass = new ShaderPass(effect);
        this.customPass.renderToScreen = true;
        this.composer.addPass(this.customPass);
ポストプロセスシェーダー
uniform float time;
uniform sampler2D tDiffuse;
varying vec2 vUv;
# define N 16

void main() {
    vec2 uv = vUv;
    vec2 u = uv * 2.0 - 1.0;
    vec2 uu = u + vec2(0.0,0.4);
    vec3 c;

    float w = -max(.0,length(uu)) * 0.01;

    vec2 vig = uu * w;

    for(int i = 0; i < N; i++){
        vig *= 1.0 + (0.2 / float(N) * float(i));
        c.x += texture2D(tDiffuse,uv + vig).x;
        c.y += texture2D(tDiffuse,uv + vig * 0.8).y;
        c.z += texture2D(tDiffuse,uv + vig).z;
    }
    c /= float(N) - 5.0;
    gl_FragColor = vec4(c,1.0);
}
さいごに
すごくざっくりした解説になってしまいましたが、とっても美味しそうなラーメンが作れました。
今回はラーメンでしたが、同じものをうまく使うと結構カッコ良い表現ができます。
FISHデモ

indexにめげずにメッシュを貼って、厚みのあるコンテンツを作って行きたいと思います。
それと子供の頃の僕の夢はラーメン屋さんでした。
