概要
WebGLでのARライブラリといえばAR.jsなどがありますが、こちらはマーカーが必要で、あまり実用的ではありません。
そこでこちらの、8th Wallというサービスを使って、マーカーレスARをThree.jsで実装してみたいと思います。
こんなの作ります。
8thWallを使用した、Webブラウザで動くマーカーレスARです。
— 右近左近 (@UkskSan) 2019年4月4日
↓Qiitaにもまとめました。https://t.co/0JMgnpwYFg#8thwall #threejs #webgl pic.twitter.com/zgHiGCbu3C
8th Wallについて
8th Wallは8th Wall SLAM(Simultaneous Localization and Mapping)という独自の6DoF ARエンジンを使い、Webやアプリに汎用的に使用できるAPIを提供しているようです。
参考(公式ページ)
また、8th Wallには以下の3つのモード(?)があるようです。
8th Wall Web
ブラウザで動作するARのライブラリです。Three.js、A-Frame、AmazonSumerianに対応しているようです。
今回はこちらを使います。
AR Camera
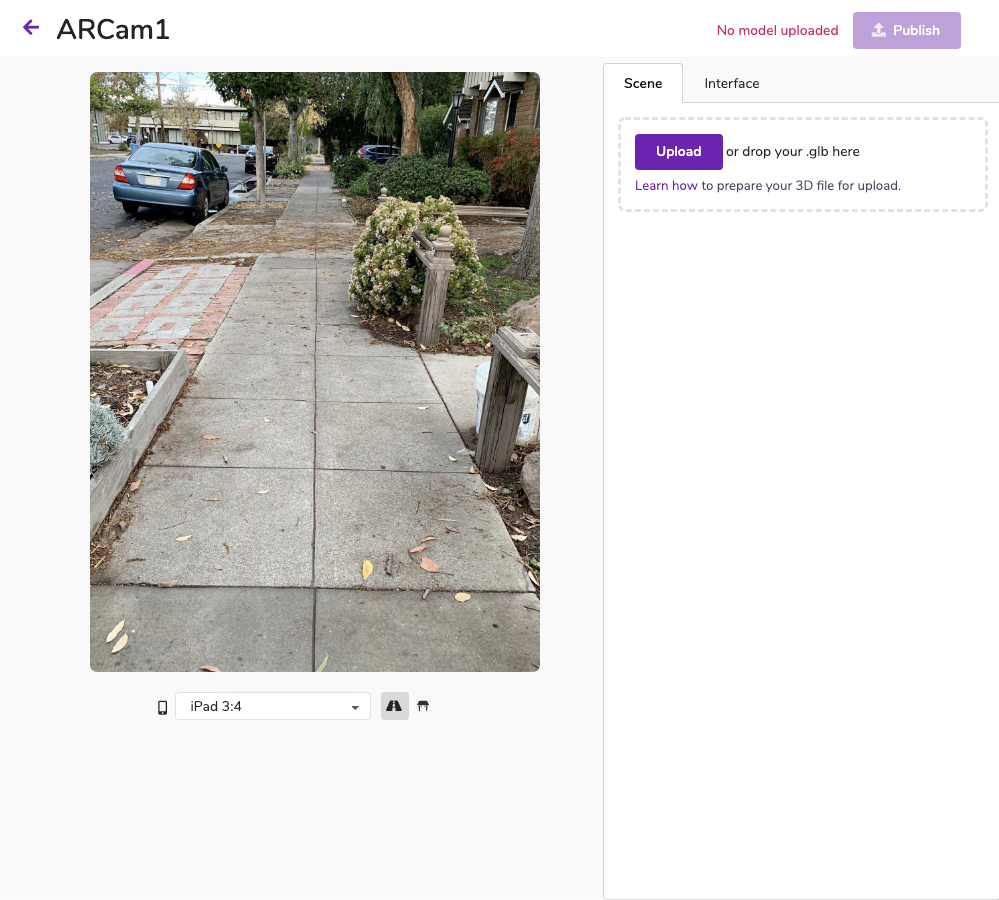
Webブラウザ上のGUI上でぽちぽちやってARモデルを表示するページを作れるツールのようです。ARkitのAR Quick Look的な立ち位置でしょうか。
8th Wall XR
Unity用のライブラリらしいです。通常6DofのARはARkitかARCoreに対応しているデバイスのみですが8th Wall XRを使うと、ARkitやARCoreに対応していないデバイスには代わりにSLAMを使用してカバーするようです。
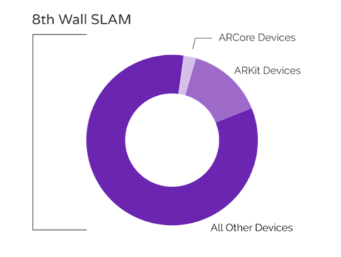
強い
費用
個人向けには1000view/月以下のローカル開発での使用までは無料のようです。
それ以上については公式ページを参照してください。
作ってみよう
実装して行きます。
公式サンプルを参考にしました。
実装の流れ
three.jsでの8th WallはPipeline Moduleというひとまとまりの処理を複数繋げてARを実装していくようです。Pipeline Moduleは独自に定義することもでき、それを使って様々な処理を行わせるようです。
以下が実装の大まかな流れです。
- APIキーの発行、8thWall APIを読み込ませる
- タップした場所にモデルをロードするPipeline Moduleを定義
- Pipeline Moduleをつなぎ、アプリを動作させる。
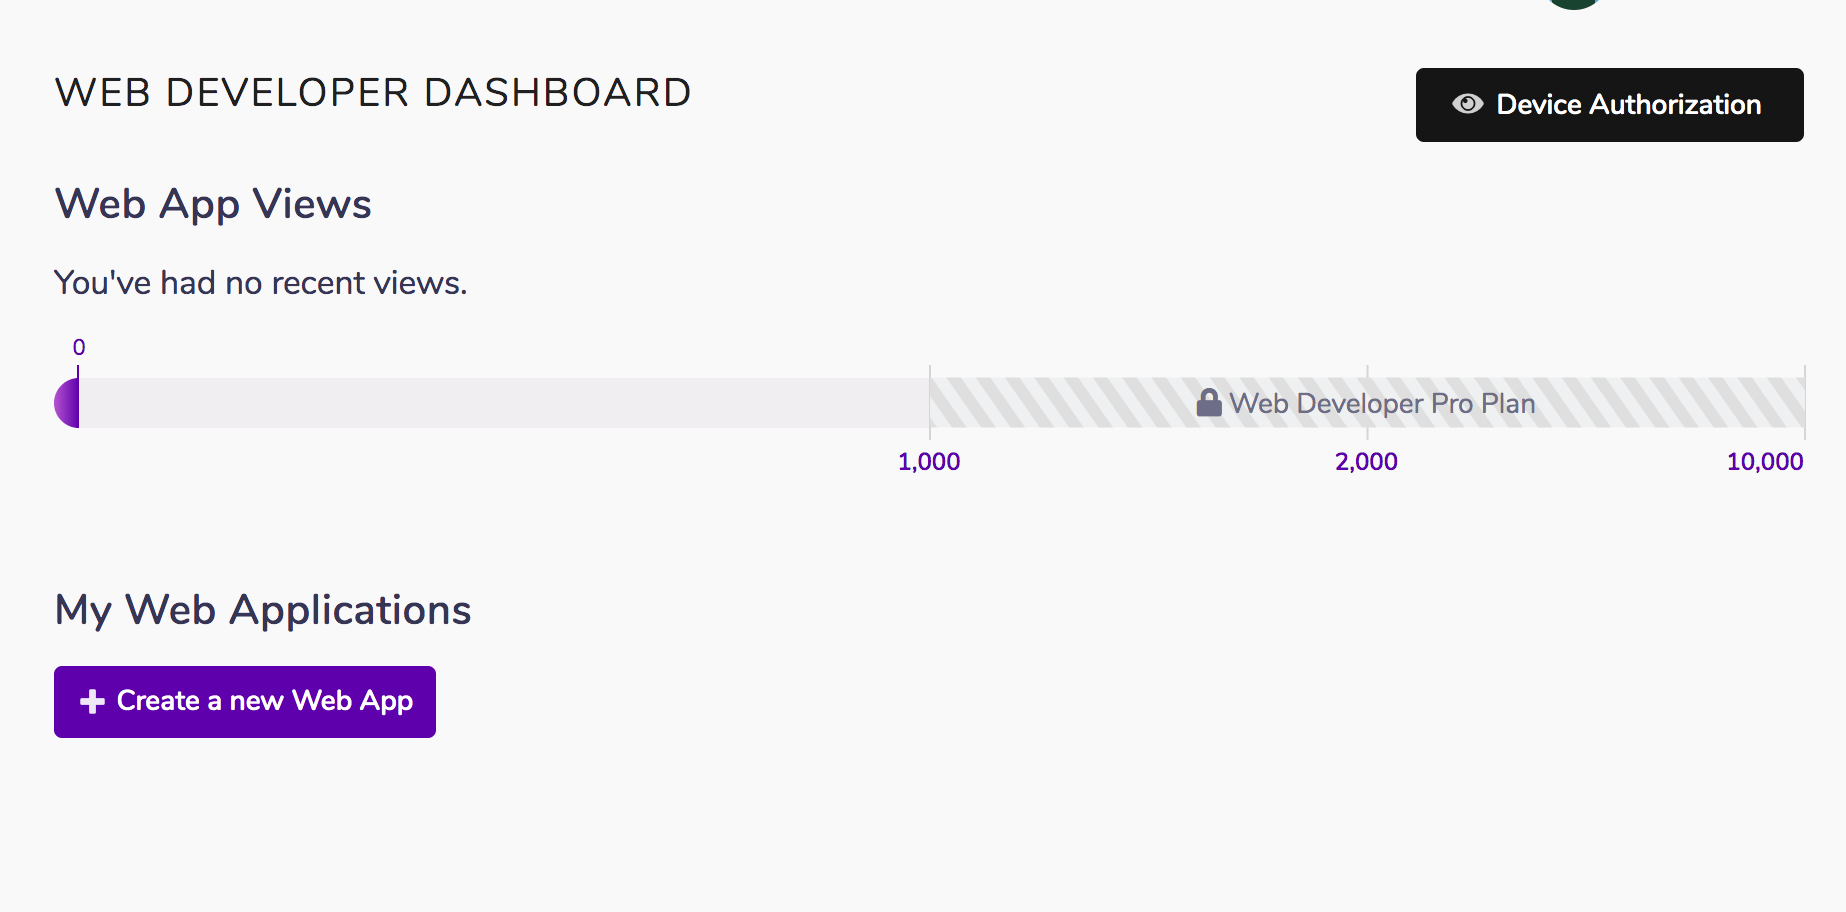
1.APIキーの発行・登録
アカウントを作成し、ログイン後、Web Developer > Create a new Web Appを選択。
プロジェクト名を入力し、Createをクリック
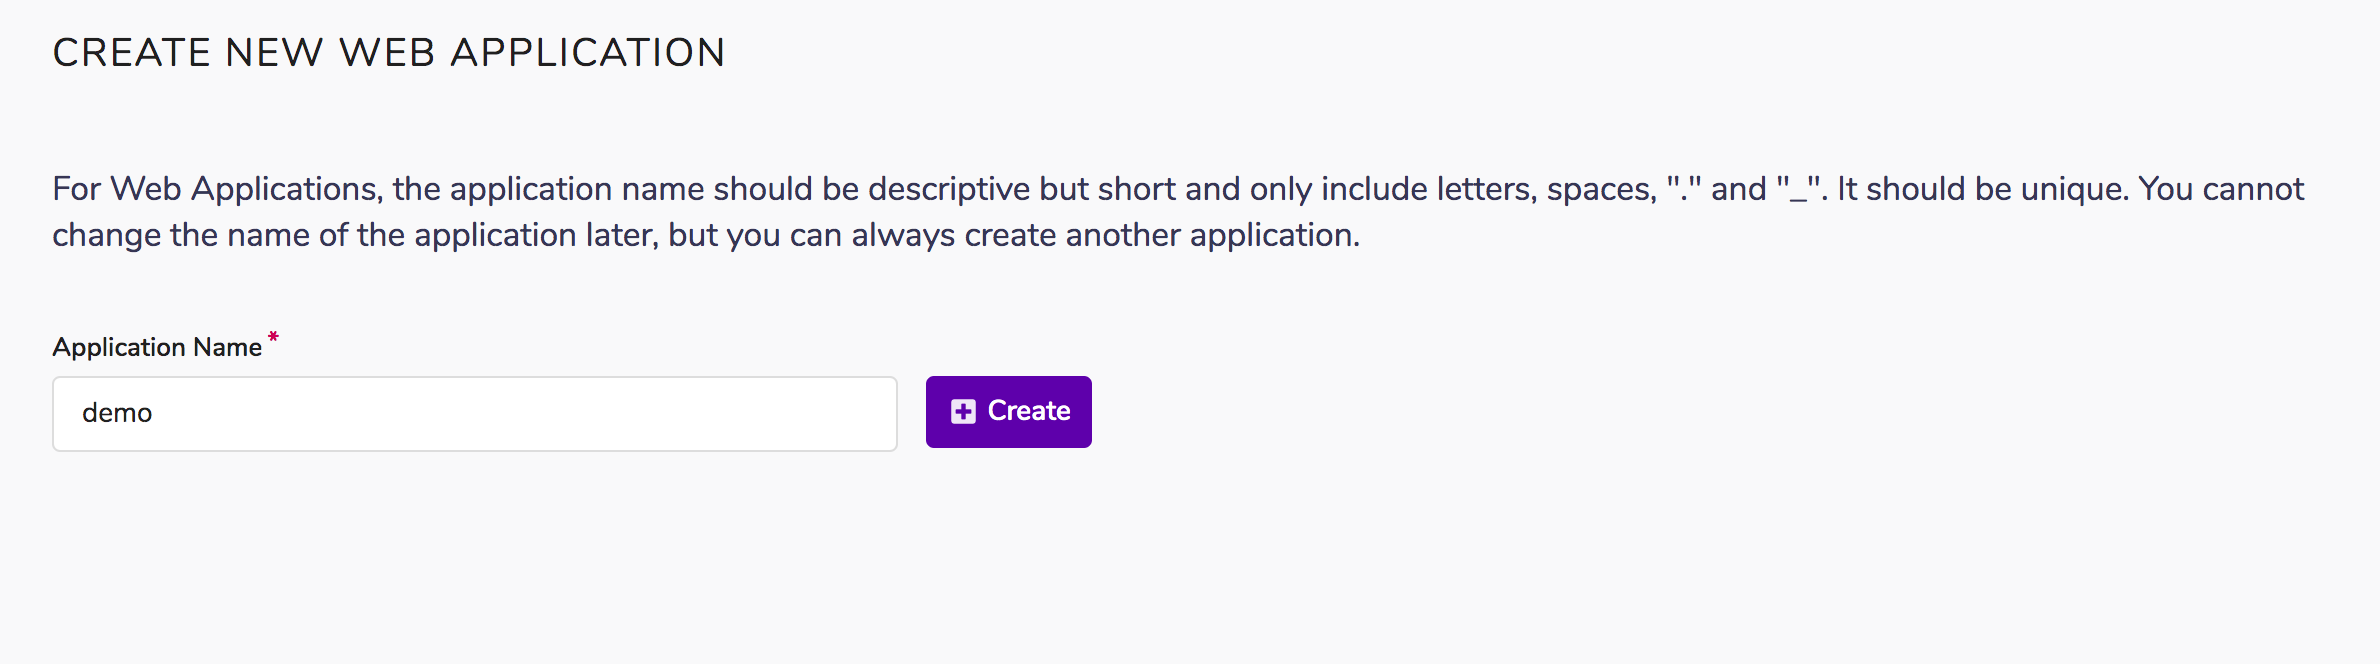
APIキーが発行されます。
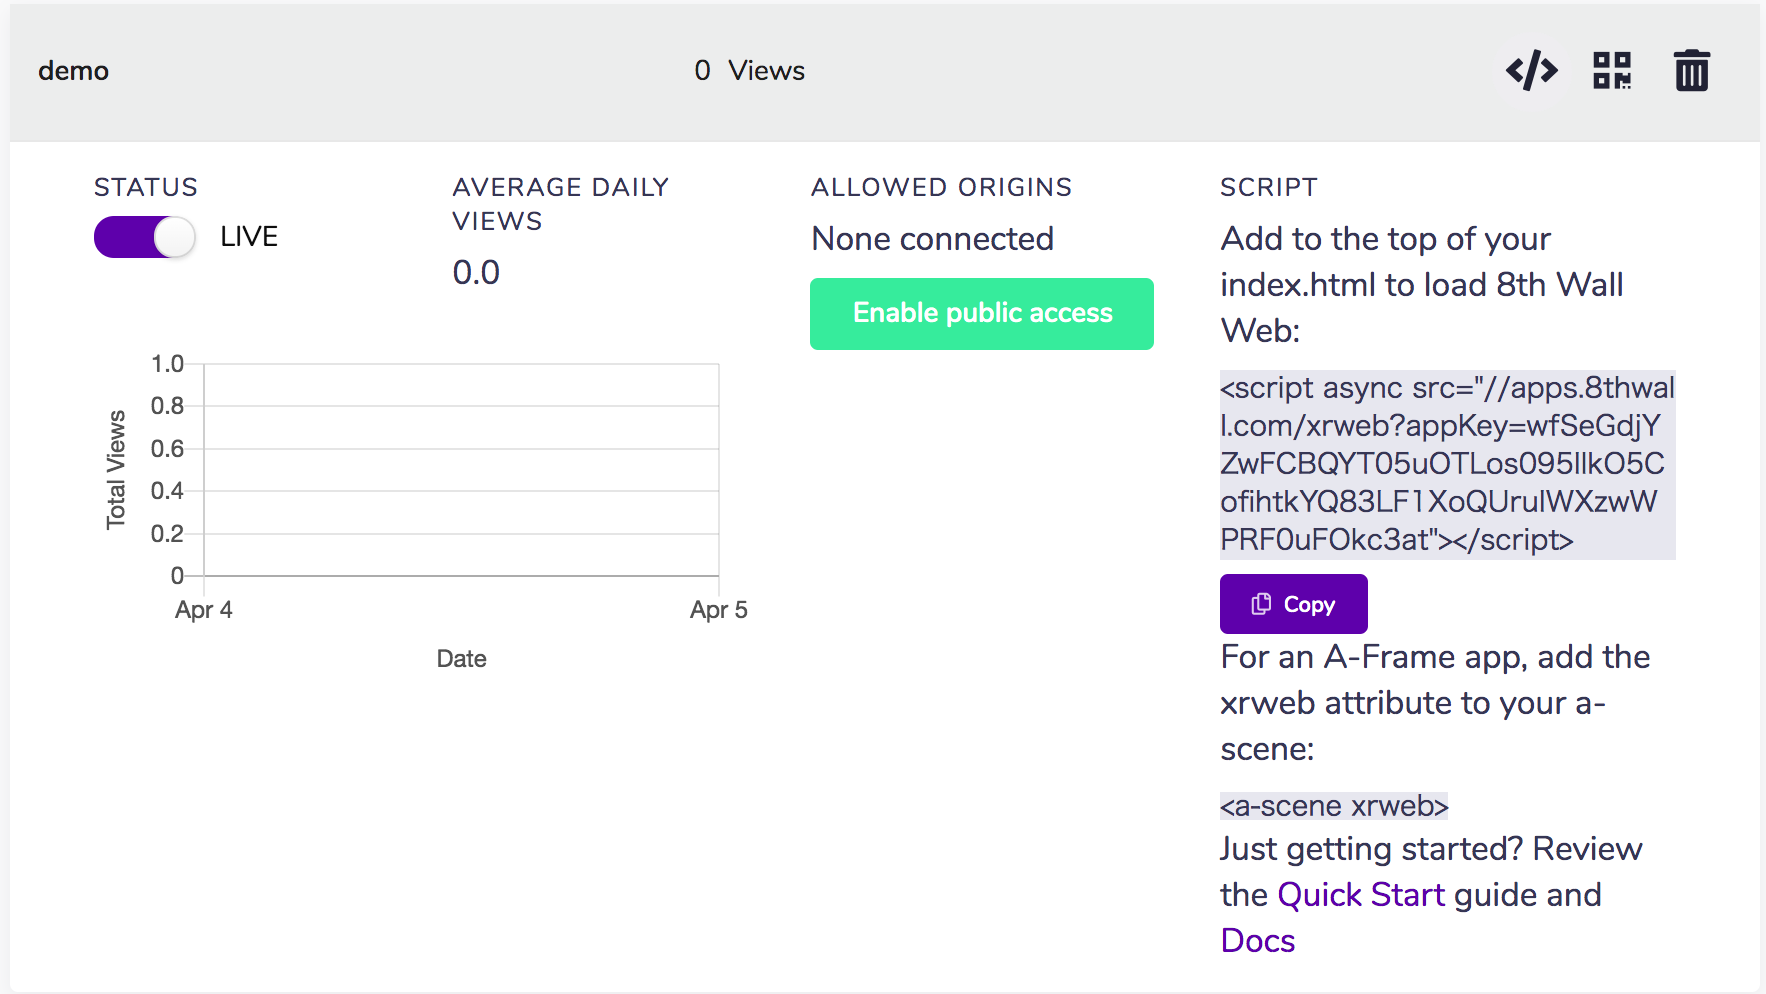
Three.jsの場合、以下のXXXXを自分のAPIキーに書き換えます。
<script defer src="https://apps.8thwall.com/xrweb?appKey=XXXXXXXXXX"></script>
ロード画面やエラー処理などのユーティリティ(?)を読み込ませます。
<script src="//cdn.8thwall.com/web/xrextras/xrextras.js"></script>
HTML全体はこんな感じです。
<html lang="ja">
<head>
    <meta charset="UTF-8">
    <meta name="viewport" content="width=device-width, initial-scale=1.0">
    <meta http-equiv="X-UA-Compatible" content="ie=edge">
    <title>8thWall - Demo</title>
    <script src="./js/script.js"></script>
    <script src="//cdn.8thwall.com/web/xrextras/xrextras.js"></script>
    <script defer src="https://apps.8thwall.com/xrweb?appKey=XXXXXXXXXX"></script>
    <link rel="stylesheet" href="./css/style.css">
</head>
<body>
    <canvas id="canvas"></canvas>
</body>

</html>
2.カスタムPipeLineModuleを作成
PipeLineModuleはオブジェクトで、nameプロパティと実行開始時に呼ばれるonStartプロパティを最低限含んでいれば動くようです。
let pipelineModule = {
    name: 'name',
    onStart: () => {
    }
}
onStartにはCanvasや回転の情報などが送られてくるようです。
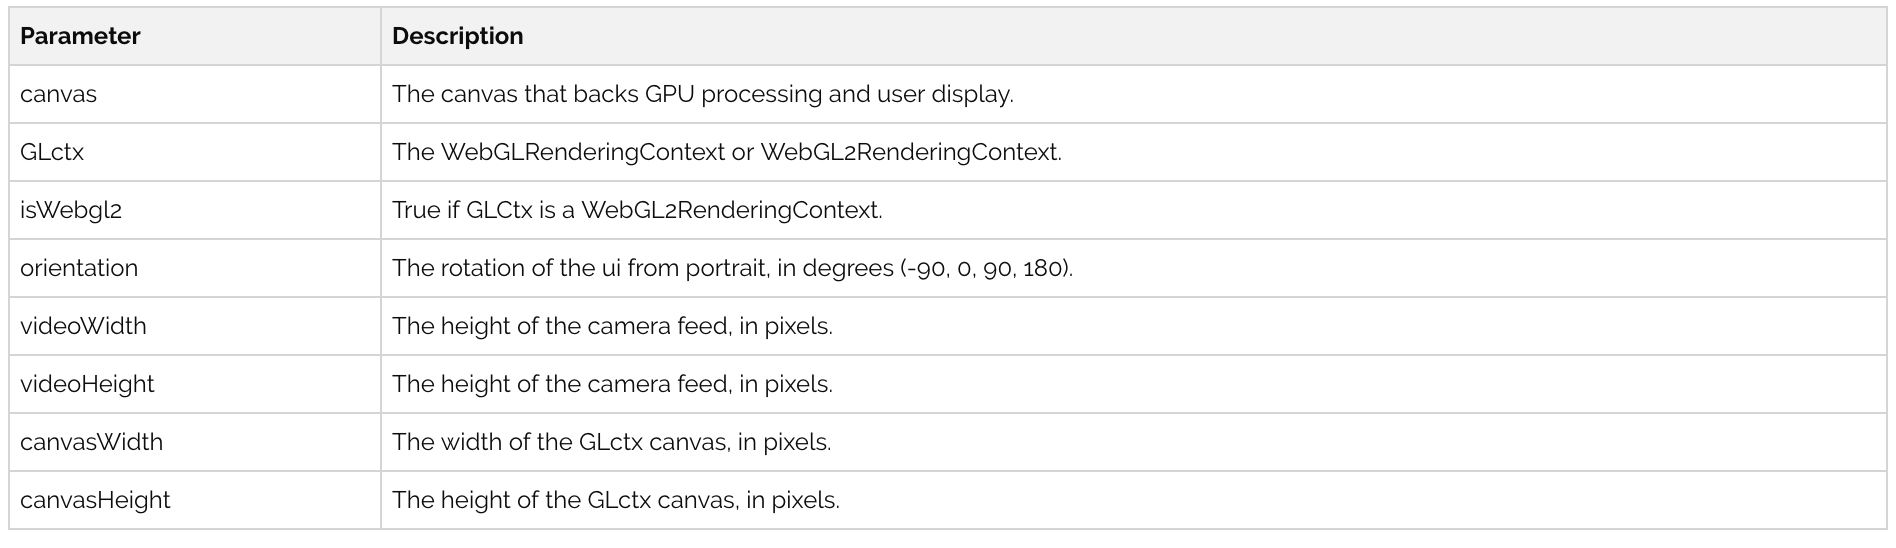
引用(公式ドキュメント)
PipeLineMoudle全体は以下のようになりました。
サンプルでは関数の返り値をpipelineModuleとしていましたが、自分はクラスに持たせちゃいました。
export default class putModelPipelineModule{
    constructor(){
        this.raycaster = new THREE.Raycaster();
        this.loader = new THREE.GLTFLoader();
        this.scene;
        this.camera;

        this.xrmodule = {
            name: 'putModel',
            onStart: ({canvas,canvasWidth,canvasHeight}) => {
                let {scene, camera} = XR.Threejs.xrScene();
                this.scene = scene;
                this.camera = camera;
                this.initScene();
                canvas.addEventListener('touchstart', this.onTouch.bind(this), true)
                XR.XrController.updateCameraProjectionMatrix({
                    origin: this.camera.position,
                    facing: this.camera.quaternion,
                })
            }
        }
    }

    initScene(){
        let groundGeo = new THREE.PlaneGeometry(100,100,10,10);
        let groundMat = new THREE.MeshBasicMaterial({
            transparent: true,
            opacity: 0.0,
            side: THREE.DoubleSide
        });
        this.ground = new THREE.Mesh(groundGeo,groundMat);
        this.ground.rotateX(-Math.PI / 2);
        this.ground.position.set(0,0,0);
        this.scene.add(this.ground);

        this.light = new THREE.DirectionalLight();
        this.light.position.set(0,10,0);
        this.scene.add(this.light);
        this.camera.position.set(0, 1, 0);

        this.alight = new THREE.AmbientLight();
        this.scene.add(this.alight);
    }

    onTouch(e){
        let tapPos = new THREE.Vector2((e.touches[0].clientX / window.innerWidth) * 2 - 1,- (e.touches[0].clientY / window.innerHeight) * 2 + 1);
        this.raycaster.setFromCamera(tapPos,this.camera);

        let intersects = this.raycaster.intersectObject(this.ground);
        if (intersects.length == 1) {
            let o = intersects[0];
            this.loader.load('assets/models/baku.glb',( gltf ) => {
                let model = gltf.scene;
                let baku = model.getObjectByName('baku_lowpoly');
                baku.position.set(o.point.x,o.point.y,o.point.z);
                this.scene.add(baku);
            });
        }

    }
}
基本的には通常のThree.jsと変わらずです。
SceneはXR.Threejs.xrScene()から取得できるので、そこに好きなオブジェクトをおけば、AR表示してくれます。すごい。
3.PipeLineModuleを組み合わせる
さっき作ったpipelineModuleを初期化します。
this.pModelModule = new PutModelModule();
一覧のPipelineModuleをXR.addCameraPipeLlineModulesを用いて登録します。
組み込みのPipelineModuleもいろいろあるようですが、よくわからないのでサンプル通りに設定しました。
XR.addCameraPipelineModules([
    XR.GlTextureRenderer.pipelineModule(),
    XR.Threejs.pipelineModule(),
    XR.XrController.pipelineModule(),
    XRExtras.AlmostThere.pipelineModule(),
    XRExtras.FullWindowCanvas.pipelineModule(),
    XRExtras.Loading.pipelineModule(),
    XRExtras.RuntimeError.pipelineModule(),
    this.pModelModule.xrmodule, //カスタムpipelineModule
])
最後に、XR.runを実行します。描画用のcanvasを一緒に渡します。
XR.run({
    canvas: document.getElementById('canvas')
})
全体はこんな感じです。
import { BaseScene } from './utils/ore-three/';
import PutModelModule from './utils/putModelPipelineModule';

export default class MainScene extends BaseScene {
    constructor(renderer) {
        super(renderer);
        this.pModelModule = new PutModelModule();

        if(window.XR){
            this.init();
        }else{
            window.addEventListener('xrloaded', this.init.bind(this));
        }
    }

    init() {
        XR.addCameraPipelineModules([
            XR.GlTextureRenderer.pipelineModule(),
            XR.Threejs.pipelineModule(),
            XR.XrController.pipelineModule(),
            XRExtras.AlmostThere.pipelineModule(),
            XRExtras.FullWindowCanvas.pipelineModule(),
            XRExtras.Loading.pipelineModule(),
            XRExtras.RuntimeError.pipelineModule(),
            this.pModelModule.xrmodule,
        ])

        XR.run({
            canvas: document.getElementById('canvas')
        })
    }
}
最後に
今回は8th Wallを使用して、マーカーレスARを実装してみました。
ARkitやARCoreを使わず、ブラウザでできてしまうのは未来を感じました...
ドキュメントを見る限りまだまだ機能がたくさんあるようなので、色々やってみたいですね!